
Disclosure: this post may contain affiliate links, which means I may make a commission if you decide to make a purchase through one of my links, at no cost to you.
This post may contain affiliate links. This won’t change your price, but may share some commission. Read my full disclosure here.
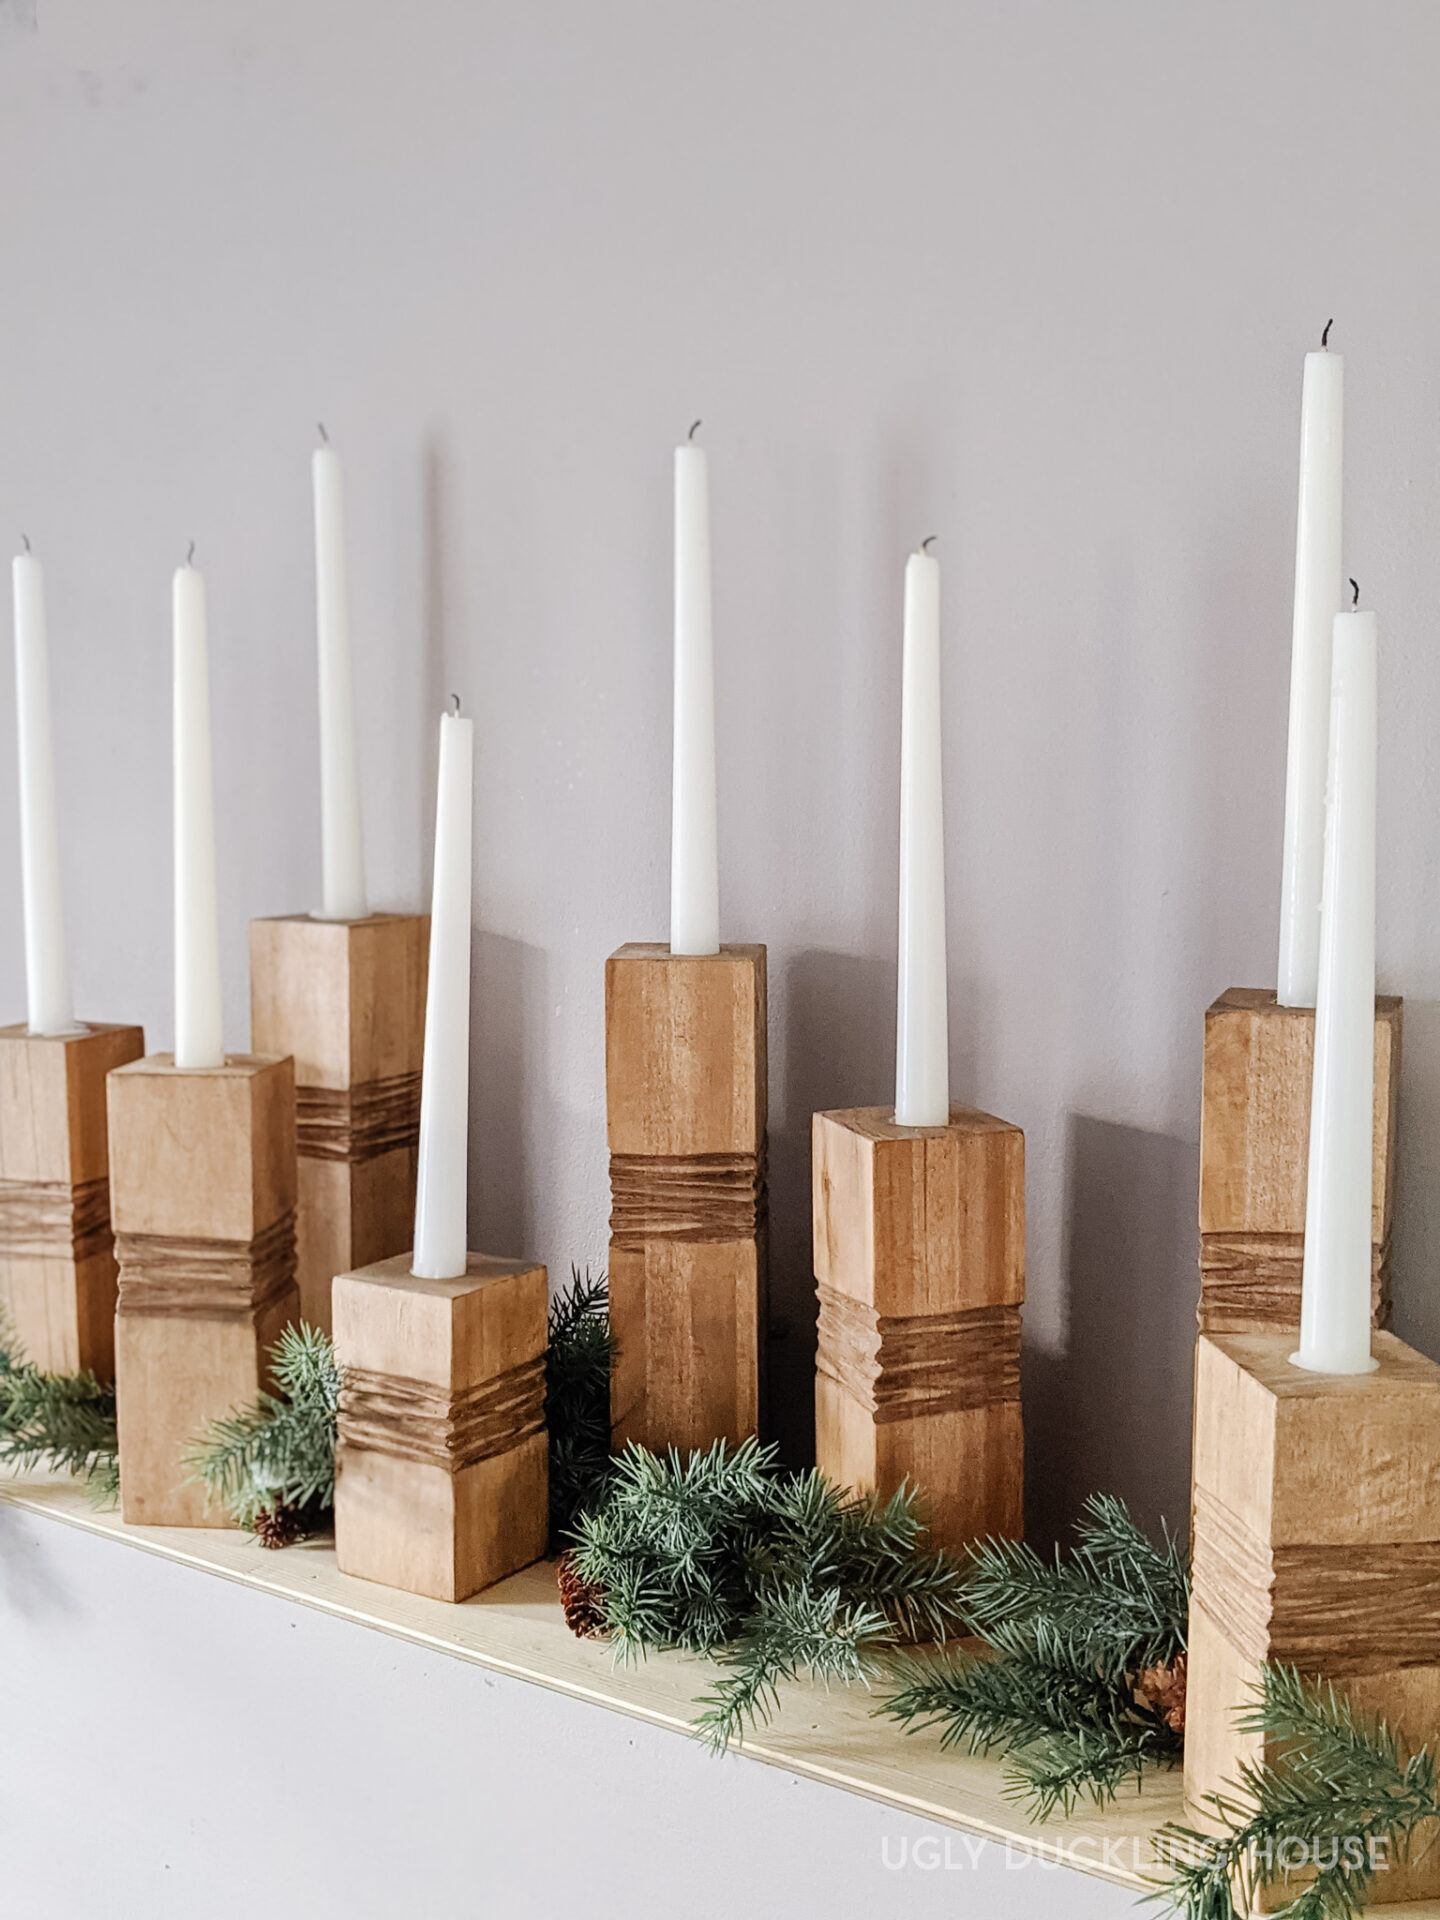
A large set of candle holders looks chic for holiday décor, but they can get expensive to buy individually. This year, I made a custom set! Here’s how.
I’ve been thinking about a simple holiday mantel for a while now: a bunch of wooden candle holders, all at varying heights, with long, tapered candles sticking out and some beautiful cedar garland.
While this year is definitely not how I envisioned (and I’m sure I’m not alone in that), this project came out just like I wanted!

(Erm… minus the fresh garland, that is. I pulled some faux for now!)
This post is sponsored by Minwax. All words are 100% my own.
Materials & Tools
- Minwax Pickled Oak stain
- Minwax water-based stain in Vermont Maple
- Minwax Pre-stain Wood Conditioner
- Minwax Wipe-On Polyurethane
- 1×3 poplar or 3×3 poplar block
- pencil
- miter saw
- orbital sander
- sandpaper
- measuring tape
- safety gear (glasses, hearing protection, breathing mask)
- wood glue
- multi-surface glue
- angle grinder
- 60-grit 4-1/2″ flap discs
- drill or benchtop drill press
- 7/8″ spade bit
- clamps
- white tapered candles
DIY Easy-Carve Pillar Candlestick Holders
Make this set of carved wooden candlestick holders for tapered candles. They add a beautiful ambiance or even make a great last-minute gift idea!
- (1×3 only): Glue up to make 3×3 blocks
You can actually buy 3×3 wood blocks in three foot lengths pre-made at the hardware store, but they are a little pricier than if you bought 1x3s and glued them together. Use lots of clamps if you glue them up yourself to ensure there are no gaps in the middle once you start cutting.
- Cut 3×3 blocks to size
On my miter saw, I cut the pillars to 3 different sizes: 10″, 8″, and 6-1/2″. One block wound up being 5″ tall as a cut-off, so I still used it.

- Mark each candle holder for carving
I made markings on all 4 sides of each wood pillar. For the first one, I sort of eyeballed where I wanted the markings to go (a little further up than halfway). I then used that as a template to mark all of the other blocks of the same size before carving.
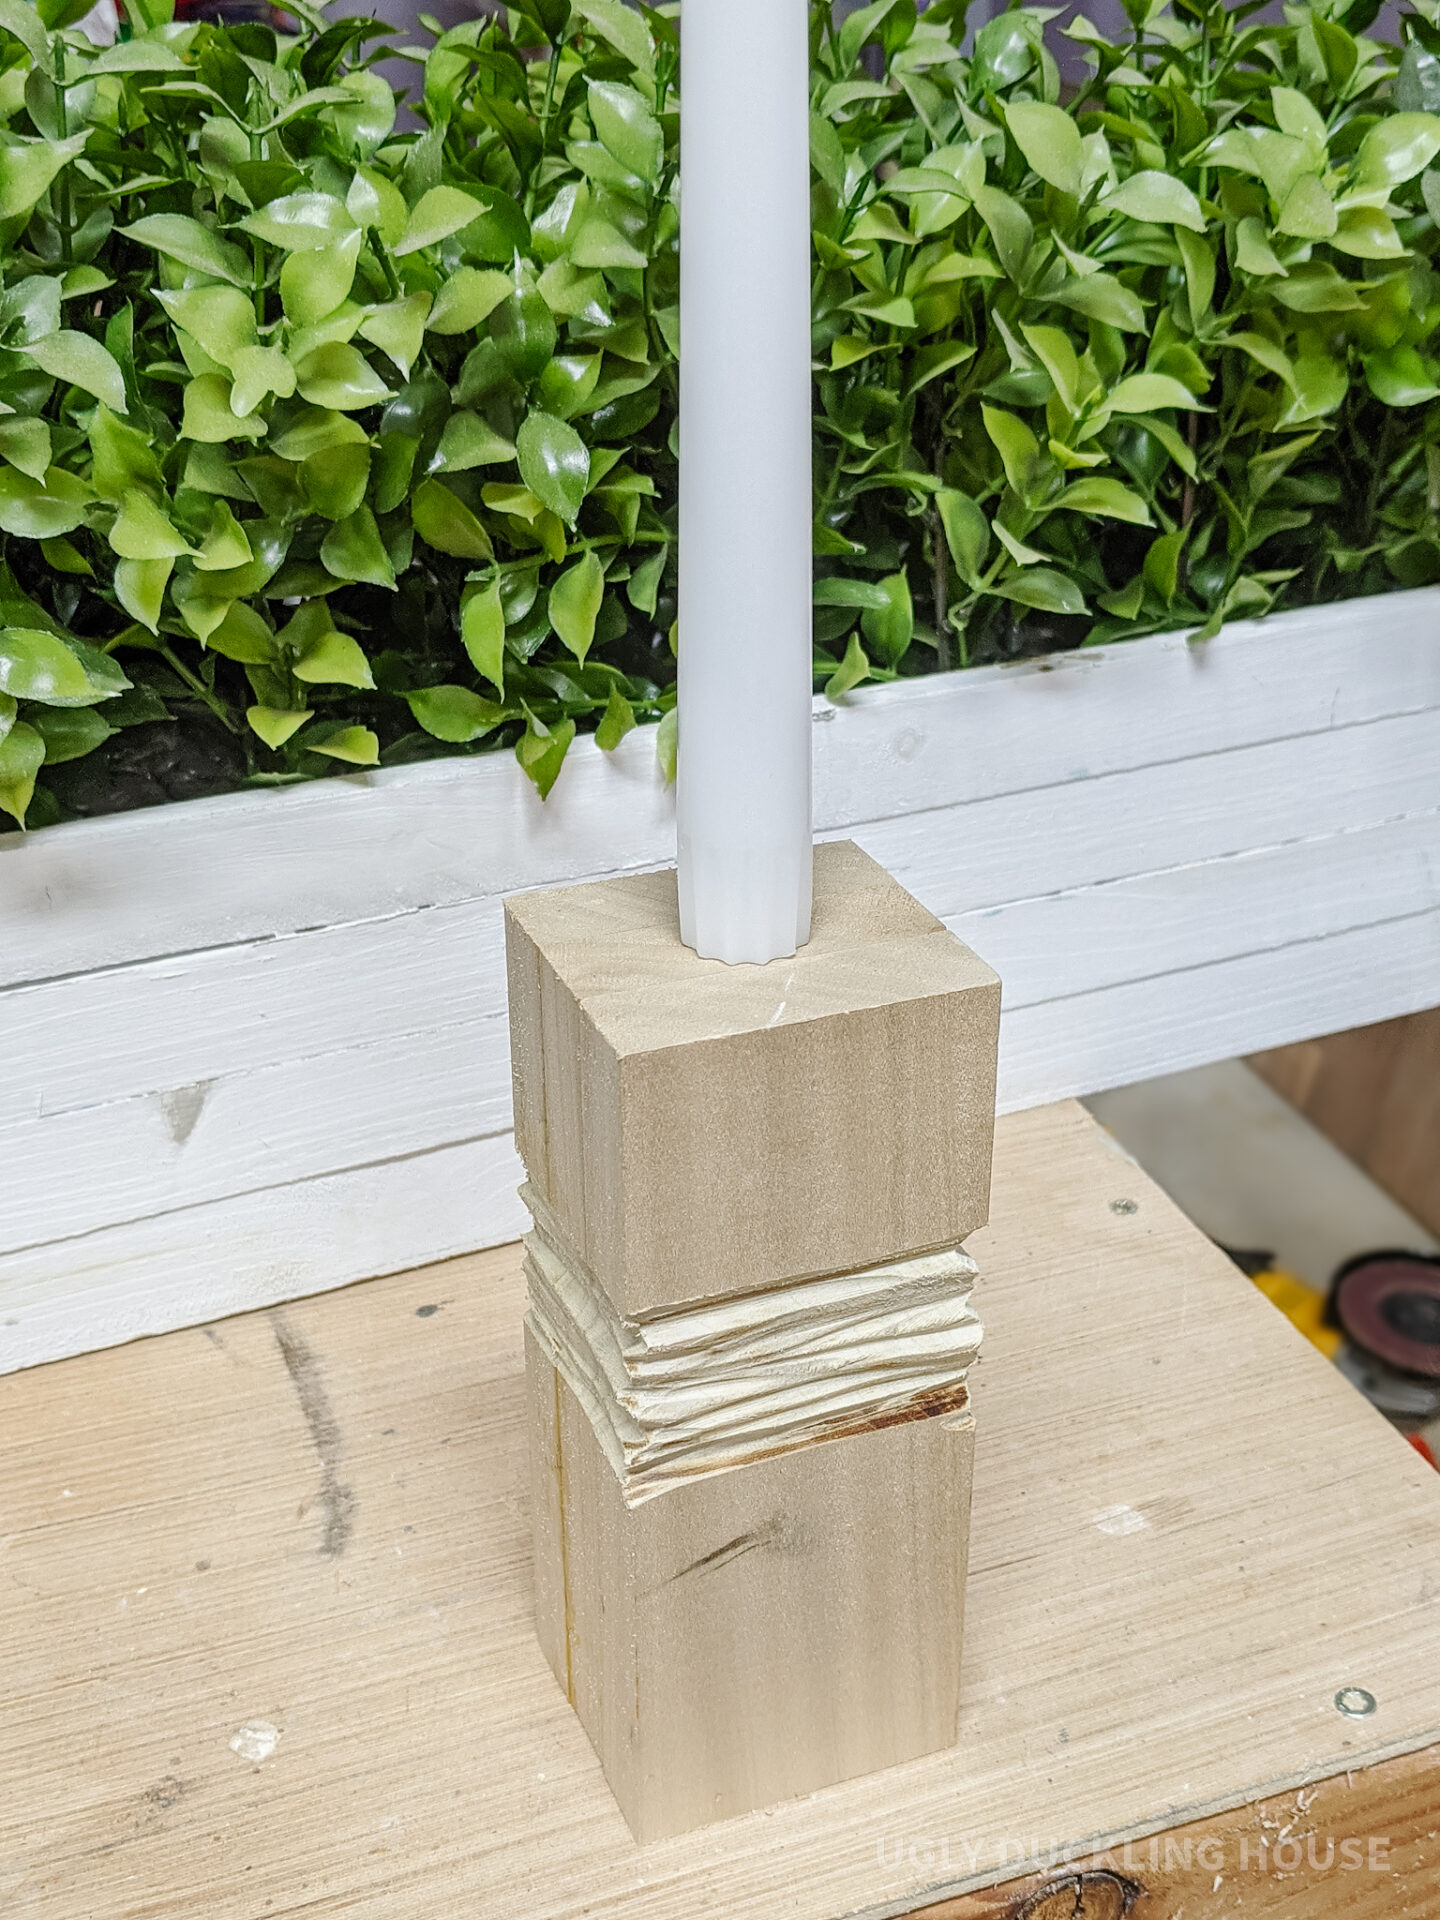
- Carve!
With an angle grinder and 60-grit flap disc (you can use other grits, but this one was just what I had), I did the top and bottom edges as straight as possible so they would meet a line all the way around. I then went in different directions in the middle area to make a more organic-looking stripe pattern.

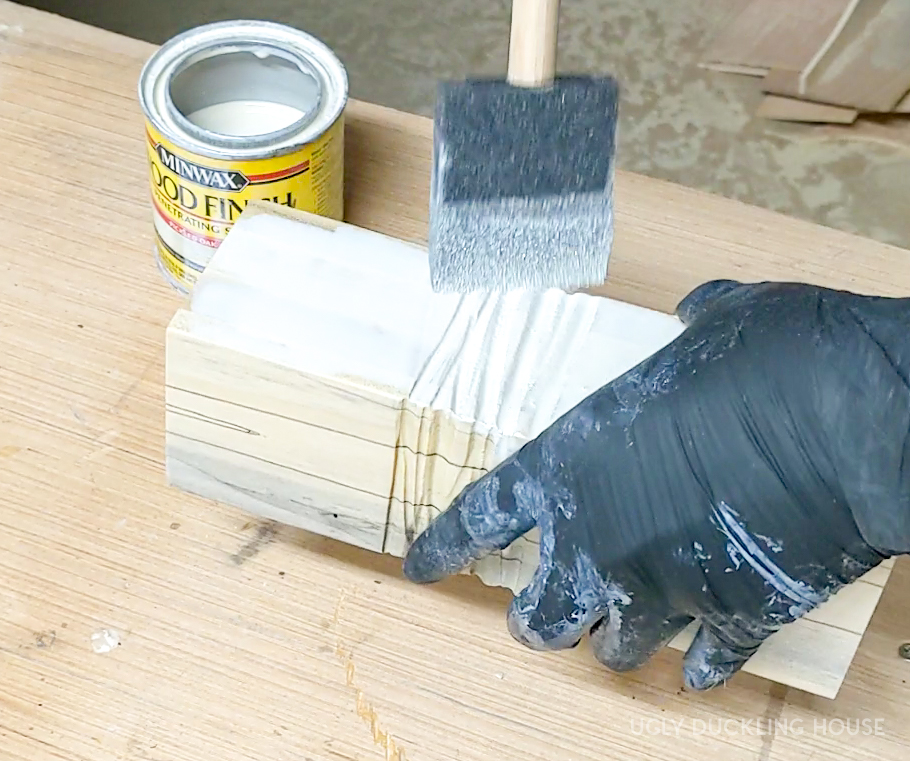
- Pre-treat for even stain
Since poplar wood sometimes has green streaks, I like to pre-treat the wood before staining with Minwax Pre-Stain Wood Conditioner. This ensures less blotchiness and a more even penetration of stain. I sanded the wood down with #220 grit, painted on the conditioner (it looks milky white but dries clear), wiped off the excess, and let it dry for about 15-30 minutes. Since pre-stain conditioner raises the grain, I again sanded with #220 grit sandpaper before staining.
- Stain with light layer
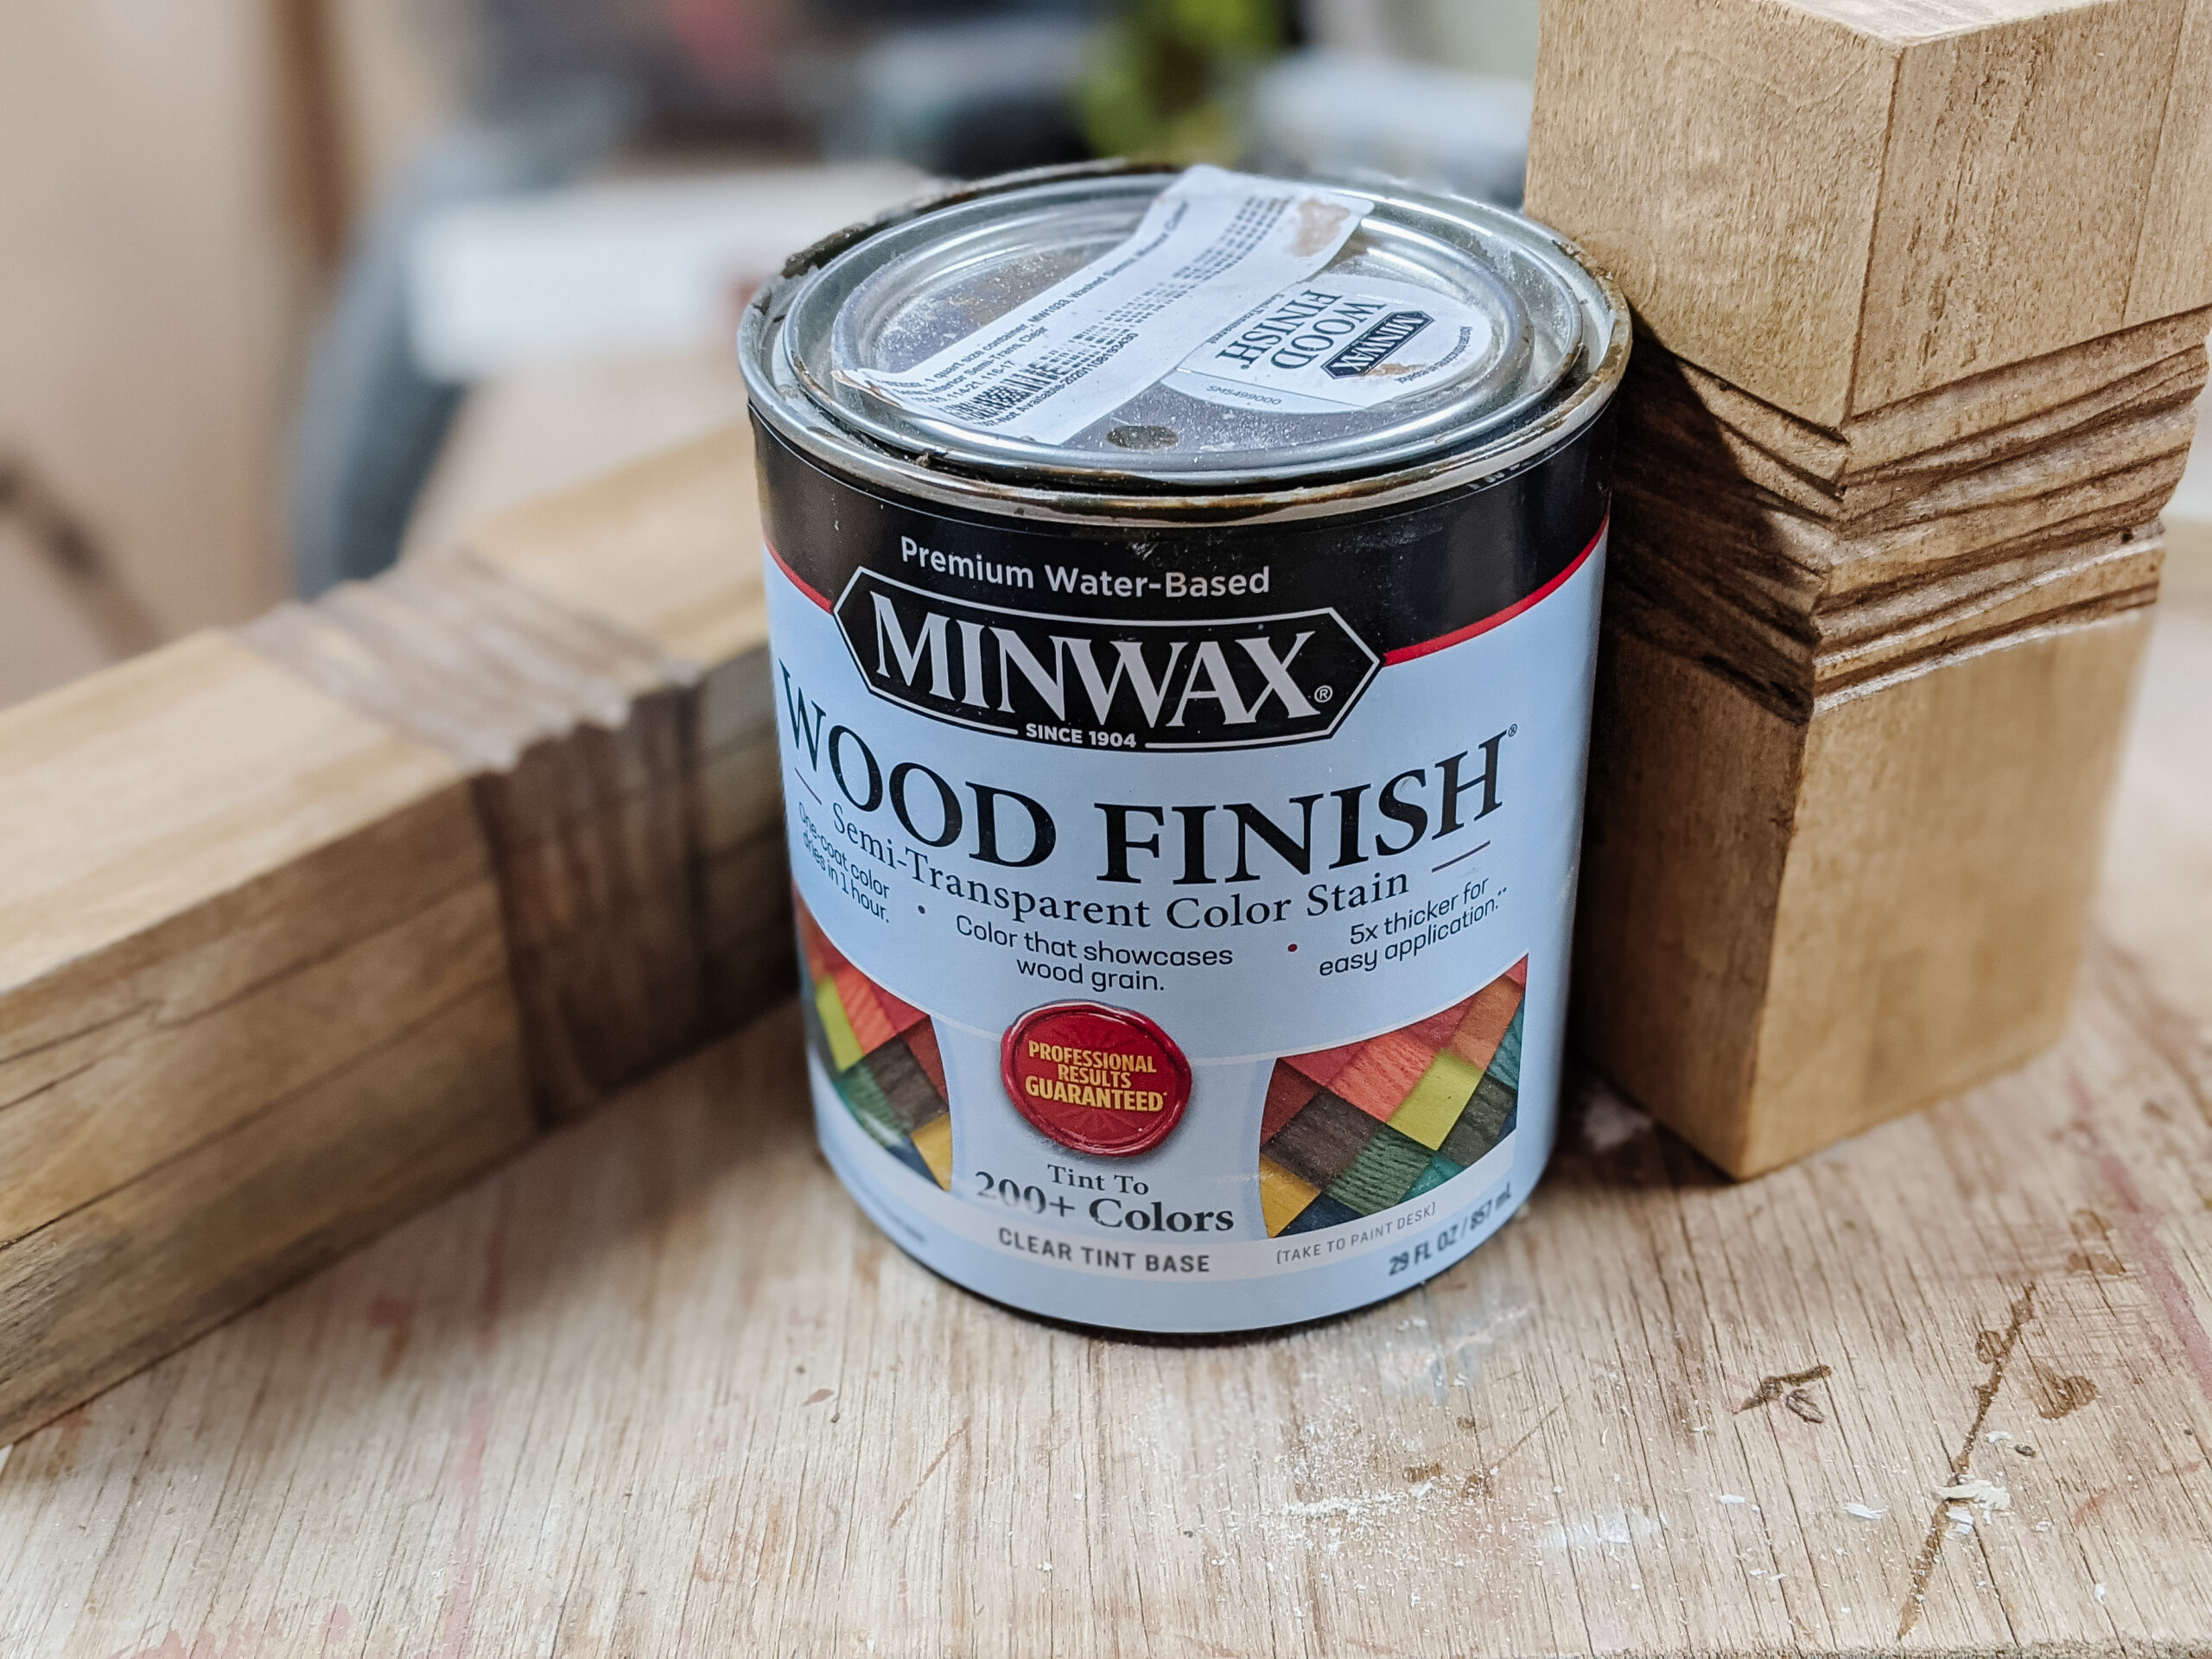
Lately, I tend to layer my stains to get a more custom color. I first started with a layer of Minwax oil-based stain in Pickled Oak.

- Add another stain color
I then added Minwax water-based stain in Vermont Maple on top (I know it sounds odd to layer a water-based stain on top of oil-based, but it worked fast and dried in a matter of minutes and went on really well!). I find layering a lighter stain under a darker one helps reduce the green areas in the poplar while retaining the grain patterns and keeping the finish light (if I’d have skipped the pickled oak beneath, the Vermont Maple color would have been much darker). I also added a flat poly on top to protect the wood for long-term use.
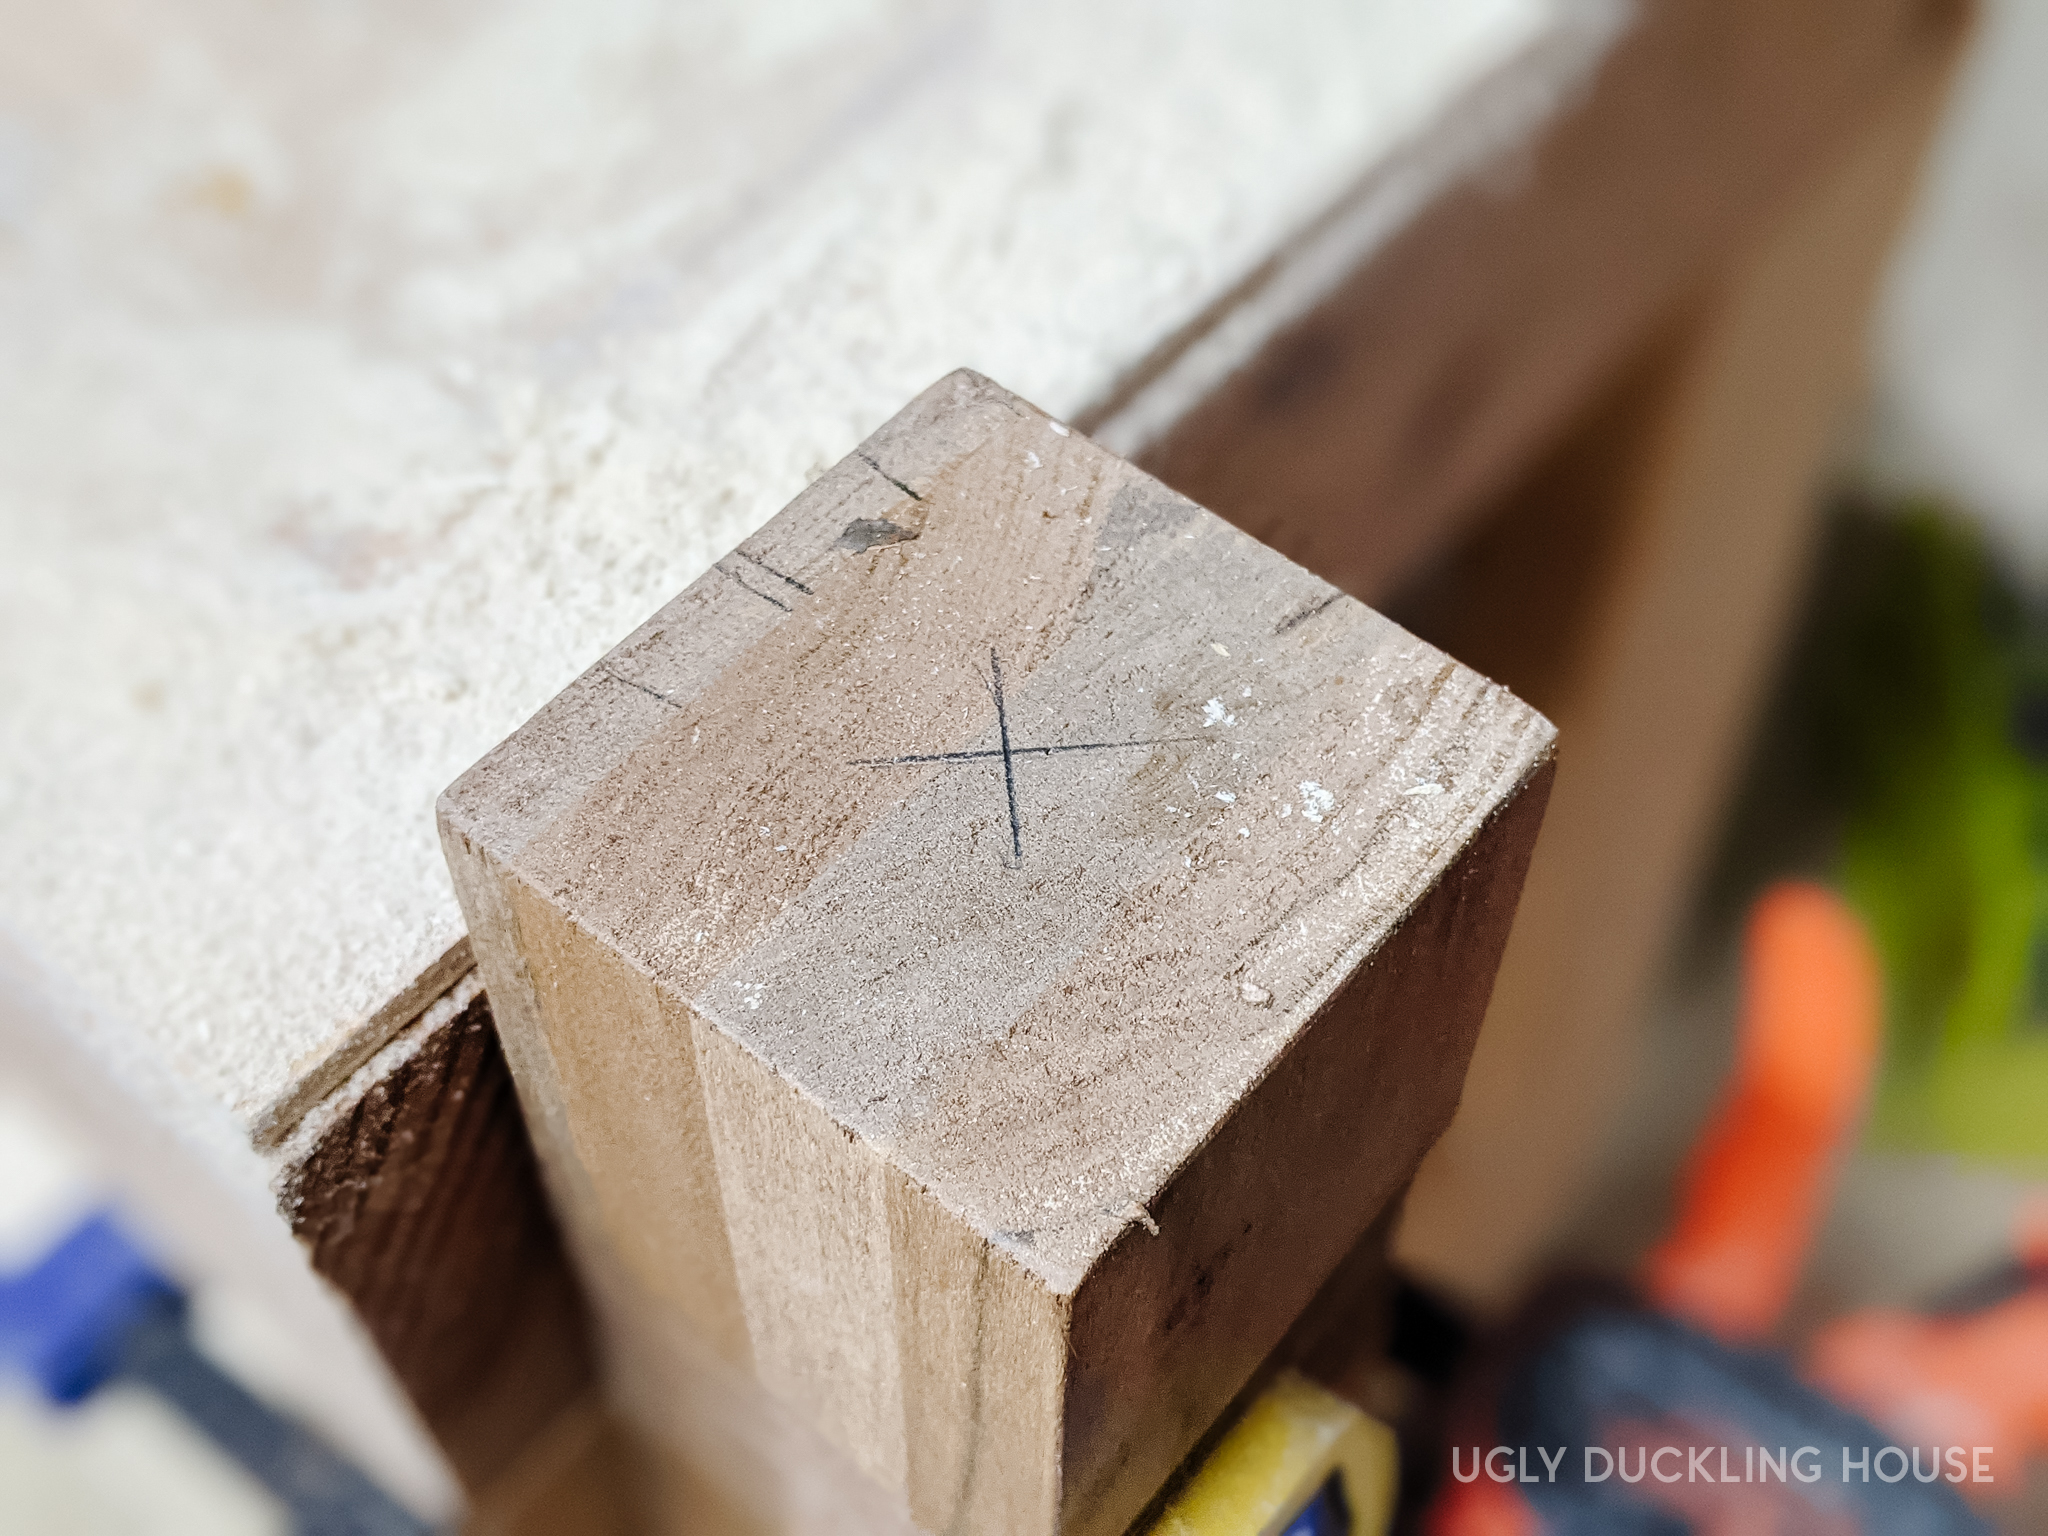
- Drill the candle placement
Ideally, you should drill candle placement before you stain, but as you can see, I drilled after I stained the candlesticks. Blame my indecisiveness — I wanted to see how the finished result would look before I picked tapered or tea light candles (which would require different hole sizes). I also nearly grabbed copper fittings to add to the base of the candle, but nixed it at the last second (the plumbing section is a great source for these, and I found that 3/4″ copper or PVC couplings were the best fit and in my price range (they come either smooth or with a line in the middle, so I chose the cheaper one). Brass would also be a good option, but I couldn’t find a pack of them to suit all of my candle holders (there are some online that I think would work well though). Ultimately, plain worked better for me! To mark the precise middle for drilling, I used a straight edge from one corner to the opposite corner and marked the middle with my pencil; where these two lines meet is your “X” for drilling!
- Set the tapered candles
The 3/4″ drill bit would have been too snug for my candles at the base, but the 7/8″ was just a smidge too wide. So, I melted a little wax and poured it into the hole for each tapered candle, then set the candle in and let the wax cool around it. This helped the candle to stand nice and straight.


If you’re new to carving, this is a good beginner project since you can mess up and it will still look great. In fact, I think if all the carving marks had been perfect, it would look too factory-made; I love the handmade, organic feel to these wood candle holders! Feel free to play with patterns and come up with your own design, or use carving bits (like I did on this planter project) to make different patterns!
I love DIY projects like this one for a couple of reasons.
1. While this is definitely a tutorial, let your creativity go wild! Make ’em beefy for pillar candles, drill wider holes for votive candles, tie on some ribbon, stain them black for Halloween, or tie in copper pipes for a wood-on-metal combo. I’ve used them on my fireplace mantel but a group of these would also make a killer Christmas tablescape or a minimalist wedding centerpiece.
2. It’s as budget-friendly as you want to make it. If you’re a frequent DIYer, you might have some wood scraps laying around that could be given new life. You could make this for next to nothing. Candles can be found at the dollar store and thrift store, heck, even Dollar Tree sells them.
3. They’re not fragile. Helllooo toddler-nado. And broken glass candle holders in storage. I just don’t want to baby a single home decoration. Easy DIY candlestick holders aren’t really “easy” if taking care of them is a pain, ya know?
Thanks to Minwax for sponsoring this project! Want more of my stain and craft ideas? Check out this scroll saw mountain art here and my Murphy bed nook reveal. Be sure to follow on Facebook and Pinterest for more inspo!


The carving looks like leather lacing wrapped around and so neat. I appreciated the info on stain layering, especially for the type of wood and how it could have looked different.
So glad you liked them, Sydney!
Love these!!! Thanks for the great instructions – I want to make some too!! These are great for year round use too which is awesome ?
Thanks, Emily! I agree, these would be great any time of year!