Disclosure: this post may contain affiliate links, which means I may make a commission if you decide to make a purchase through one of my links, at no cost to you.
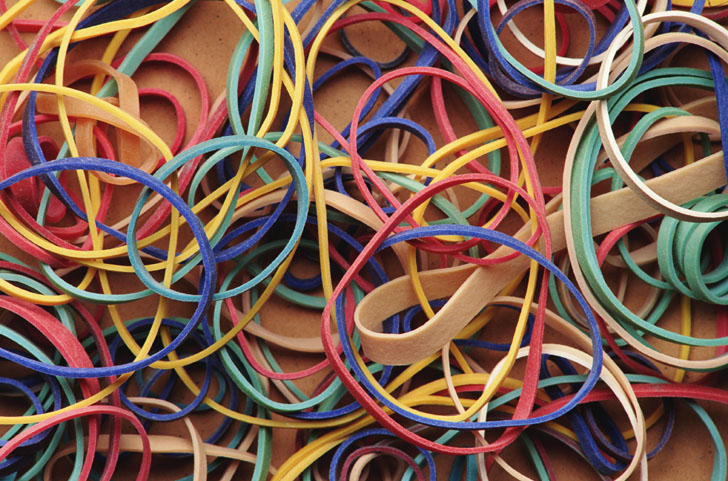
Rubber bands (just like my hair ties) seem to collect in the most random places in my house. Growing up, there was always one door near the kitchen that the family made the “rubber band door” – when a rubber band was found, this is the place we’d go to store it.

Perhaps this was a habit my parents had left over from college, but it was pretty innocent to us kids. The rubber band would be looped over the door knob and await its next use. So many would randomly collect there that over time, we must have had 30 wrapped around the knob. To this day, I still have no idea how we had so many. I don’t ever remember any of us coming home and saying “I picked up those rubber bands you needed”. Were they stragglers, hitching a ride home in one of our book bags?
If I’d only known how useful they are when DIY-ing (and other household uses), I may have started that same tradition in my own house already, so I’d know where they are when I needed one.
1. Prevent paint drips. This tip is one I got off of HGTV. When painting straight from the can, wrap a rubber band vertically around it. This way, when you dip your brush into the paint, you can wipe the sides of the brush against the rubber band, which gets rid of excess paint and limits drippage.

2. Keep bristles straight. Paint brushes can get as scraggly as an old man’s beard with enough use, but you can keep them looking new for longer by wrapping a rubber band around the end of a paint brush after cleaning. This keeps the bristles close together, and lets them dry in that shape for the next use. Use this technique for your brooms too.
3. Be ridiculously anal about your paint. If, for some reason, you need to know just how much paint you have in each of your paint cans, wrap the rubber band horizontally around the can at the level of paint remaining. I don’t have so many cans where I’d really need to know this, but I suppose you can use it in other places in your house where this could be useful and not overkill.
4. Spoonrest. I really hate it when I get distracted when mixing something, then I look back to what I was doing, and the spoon has slipped into the batter. By wrapping a rubber band around the handle, the spoon will stop when the rubber part meets the rim.
5. Cushion the remote. Since we have been putting in our new floors, it’s been a concern of mine to protect my new investment. Wrapping a rubber band around the top and bottom of the TV remote will keep the floor from being damaged when I’m a klutz and knock it off the couch. Plus, it will keep the remote from busting into pieces and avoid that awkward butt-in-the-air search on the floor for the missing batteries.
So, there you have it. Five smarty-pants ways of recycling your rubber bands. Do you have any tips of your own to add? Have you tried any of the above?
Image from chem1.com


Wow, those are some good uses for rubber bands. For some of them it's like “why didn't I think of that?” – like the paint can one. I've been wiping the paint drips off on the side of the can, but then the paint builds up and the top doesn't go on right. Now I just have to find a jumbo rubber band for my next paint project!
~Chelsea
Who knew! I find #1 and #2 especially helpful, I could have used those tips when I painted our guest bedroom and furniture!
I've used a rubber band around a spoon handle before, and that works really well.
I'd never seen tip #1, and I have a feeling it'll come in handy very soon. Thanks!
I just twisted a few on my bottle of dishsoap. It is an oddly designed bottle (not very ergonomic) and I needed a grip-y surface.
We totally had a rubber band door knob near the kitchen at my parents' too! Although, it seems to have gone out of fashion. Now they are mostly in a plastic sandwich bag in the kitchen junk drawer.
I found this post and loved it. Wondering if our followers use any odd tools around the house! Tweeted!