
Disclosure: this post may contain affiliate links, which means I may make a commission if you decide to make a purchase through one of my links, at no cost to you.
On a scale of 1 to nonstop, what’s the delivery situation going on at your doorstep? This sign idea might be something you need!
If you’re anything like us, delivery services have become a necessity to stay out of stores as much as possible. Both K and I are immunocompromised, and Ellis joining our lives also means caring for a vulnerable newborn. I thought about the combination of those two things merging on our doorstep, and it inspired this simple Cricut project! I’ll also share some tips on cutting and transferring super small letters (I did it as a first project, so I know you can too!).
Funny story — I wrote this post and created this project in anticipation of our next stage as new parents. Except our little Ellis had plans of his own, and arrived early! I kept the post as-is for nostalgia’s sake rather than rewrite it. I hope you enjoy.
Have you ever thought of yourself in terms of Now You vs. Future You? I sometimes do when I’m planning projects. With our November due date getting so close, I’ve been thinking often about “Future Me” — the chick with a newborn and a fuzzy brain, adjusting to motherhood, etc. What will Future Me need most to get through the newborn phase? What sort of things can I do now to make evening feedings better? To sleep better? It feels like there’s so much, but I’m trying to tackle it little by little.
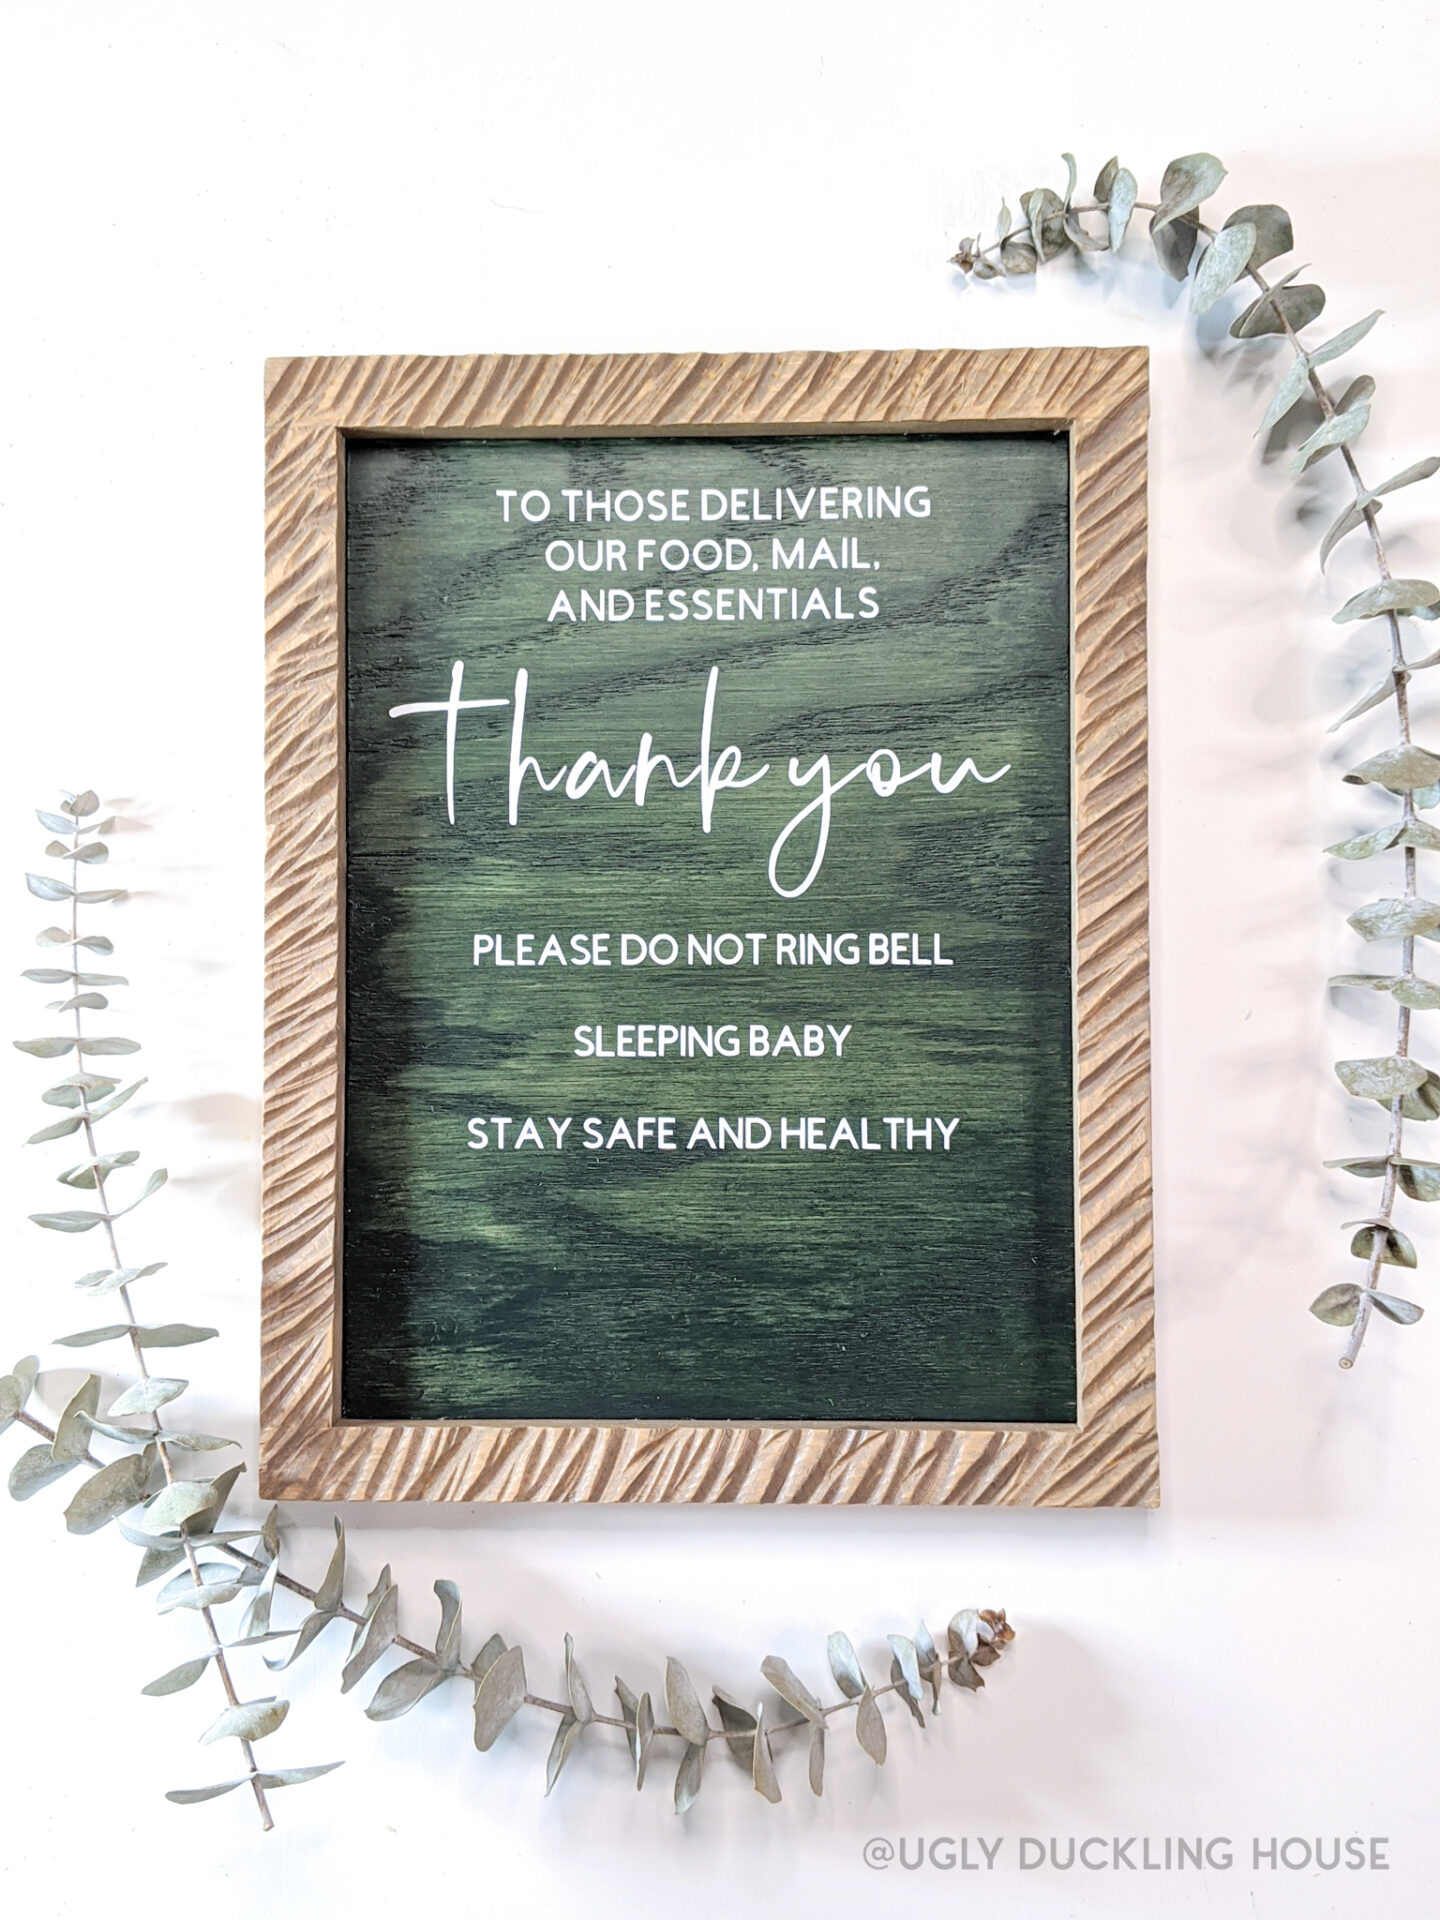
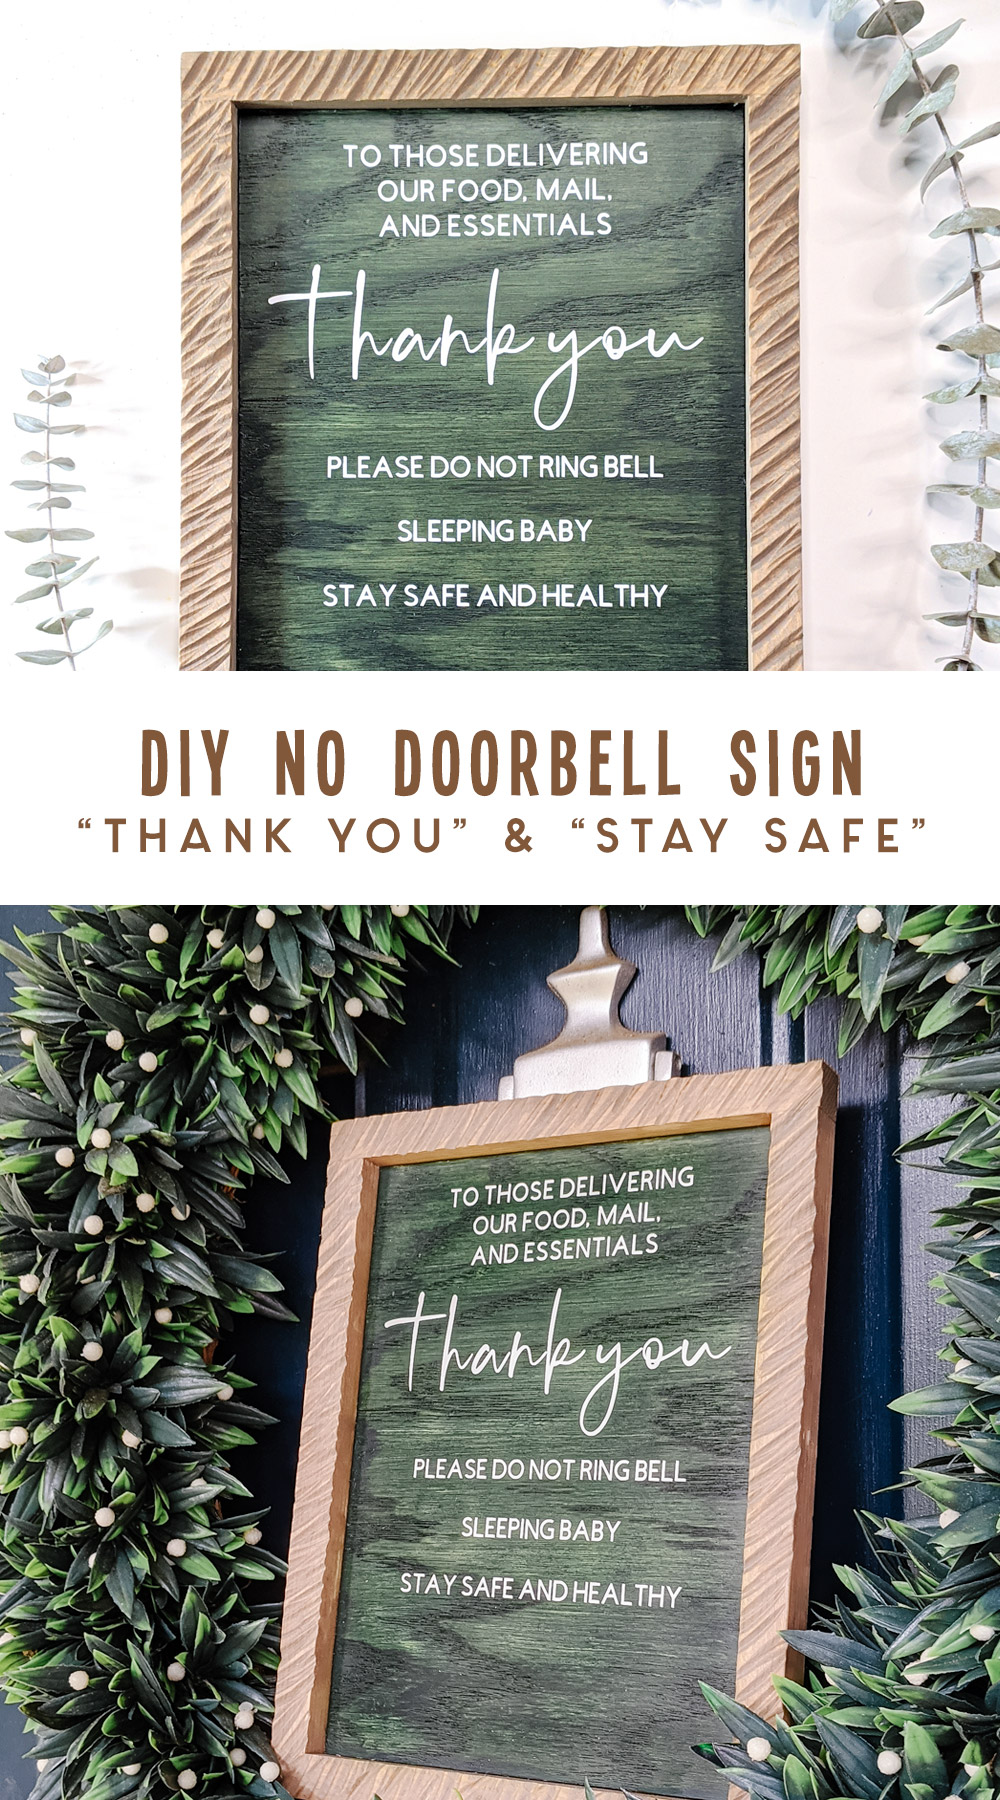
In many ways, I think it’s the little things that may really make a difference, and that’s why this DIY project came to mind. I’m no stranger to the “baby sleeping, please don’t ring the doorbell!” signs that I’ve seen my friends use, on Etsy, etc. There is no doubt we’ll be desperate for the baby to be napping and stay that way (Charlie’s barking will already be enough of a challenge on its own, so we don’t want her competing with the bell). So, when Cricut reached out to me about using one of their machines, this was the very first “quick-win project” that came to mind! I wanted to put my own spin on it and also acknowledge how much we appreciate the delivery people who come by our home and wish them well in these crazy pandemic times.
Follow along with the DIY video below:
The honest truth: I’ve been wanting a Cricut machine since I began blogging. I would see craft and DIY bloggers using their machines and nifty specialty tools get a little green-eyed with envy. So when I got an email from the Cricut team, it felt like a dream come true. I can’t really describe it, because it was a “pinch me, I’m a real blogger!” moment. Past me would be over the moon!
The Cricut Maker
This is a sponsored post written by me on behalf of Cricut. All opinions are 100% mine.
For my needs, I chose the Cricut Maker. I have a ton of future ideas to make with this machine, and I really wanted something that could cut a large variety of materials. This machine can even cut thin pieces of wood! A few key details on what it can do (you can grab the machine right here or scroll to the Materials List box for all the tools I used):
- Cut, draw, score, deboss, engrave, and create perforations and wavy lines
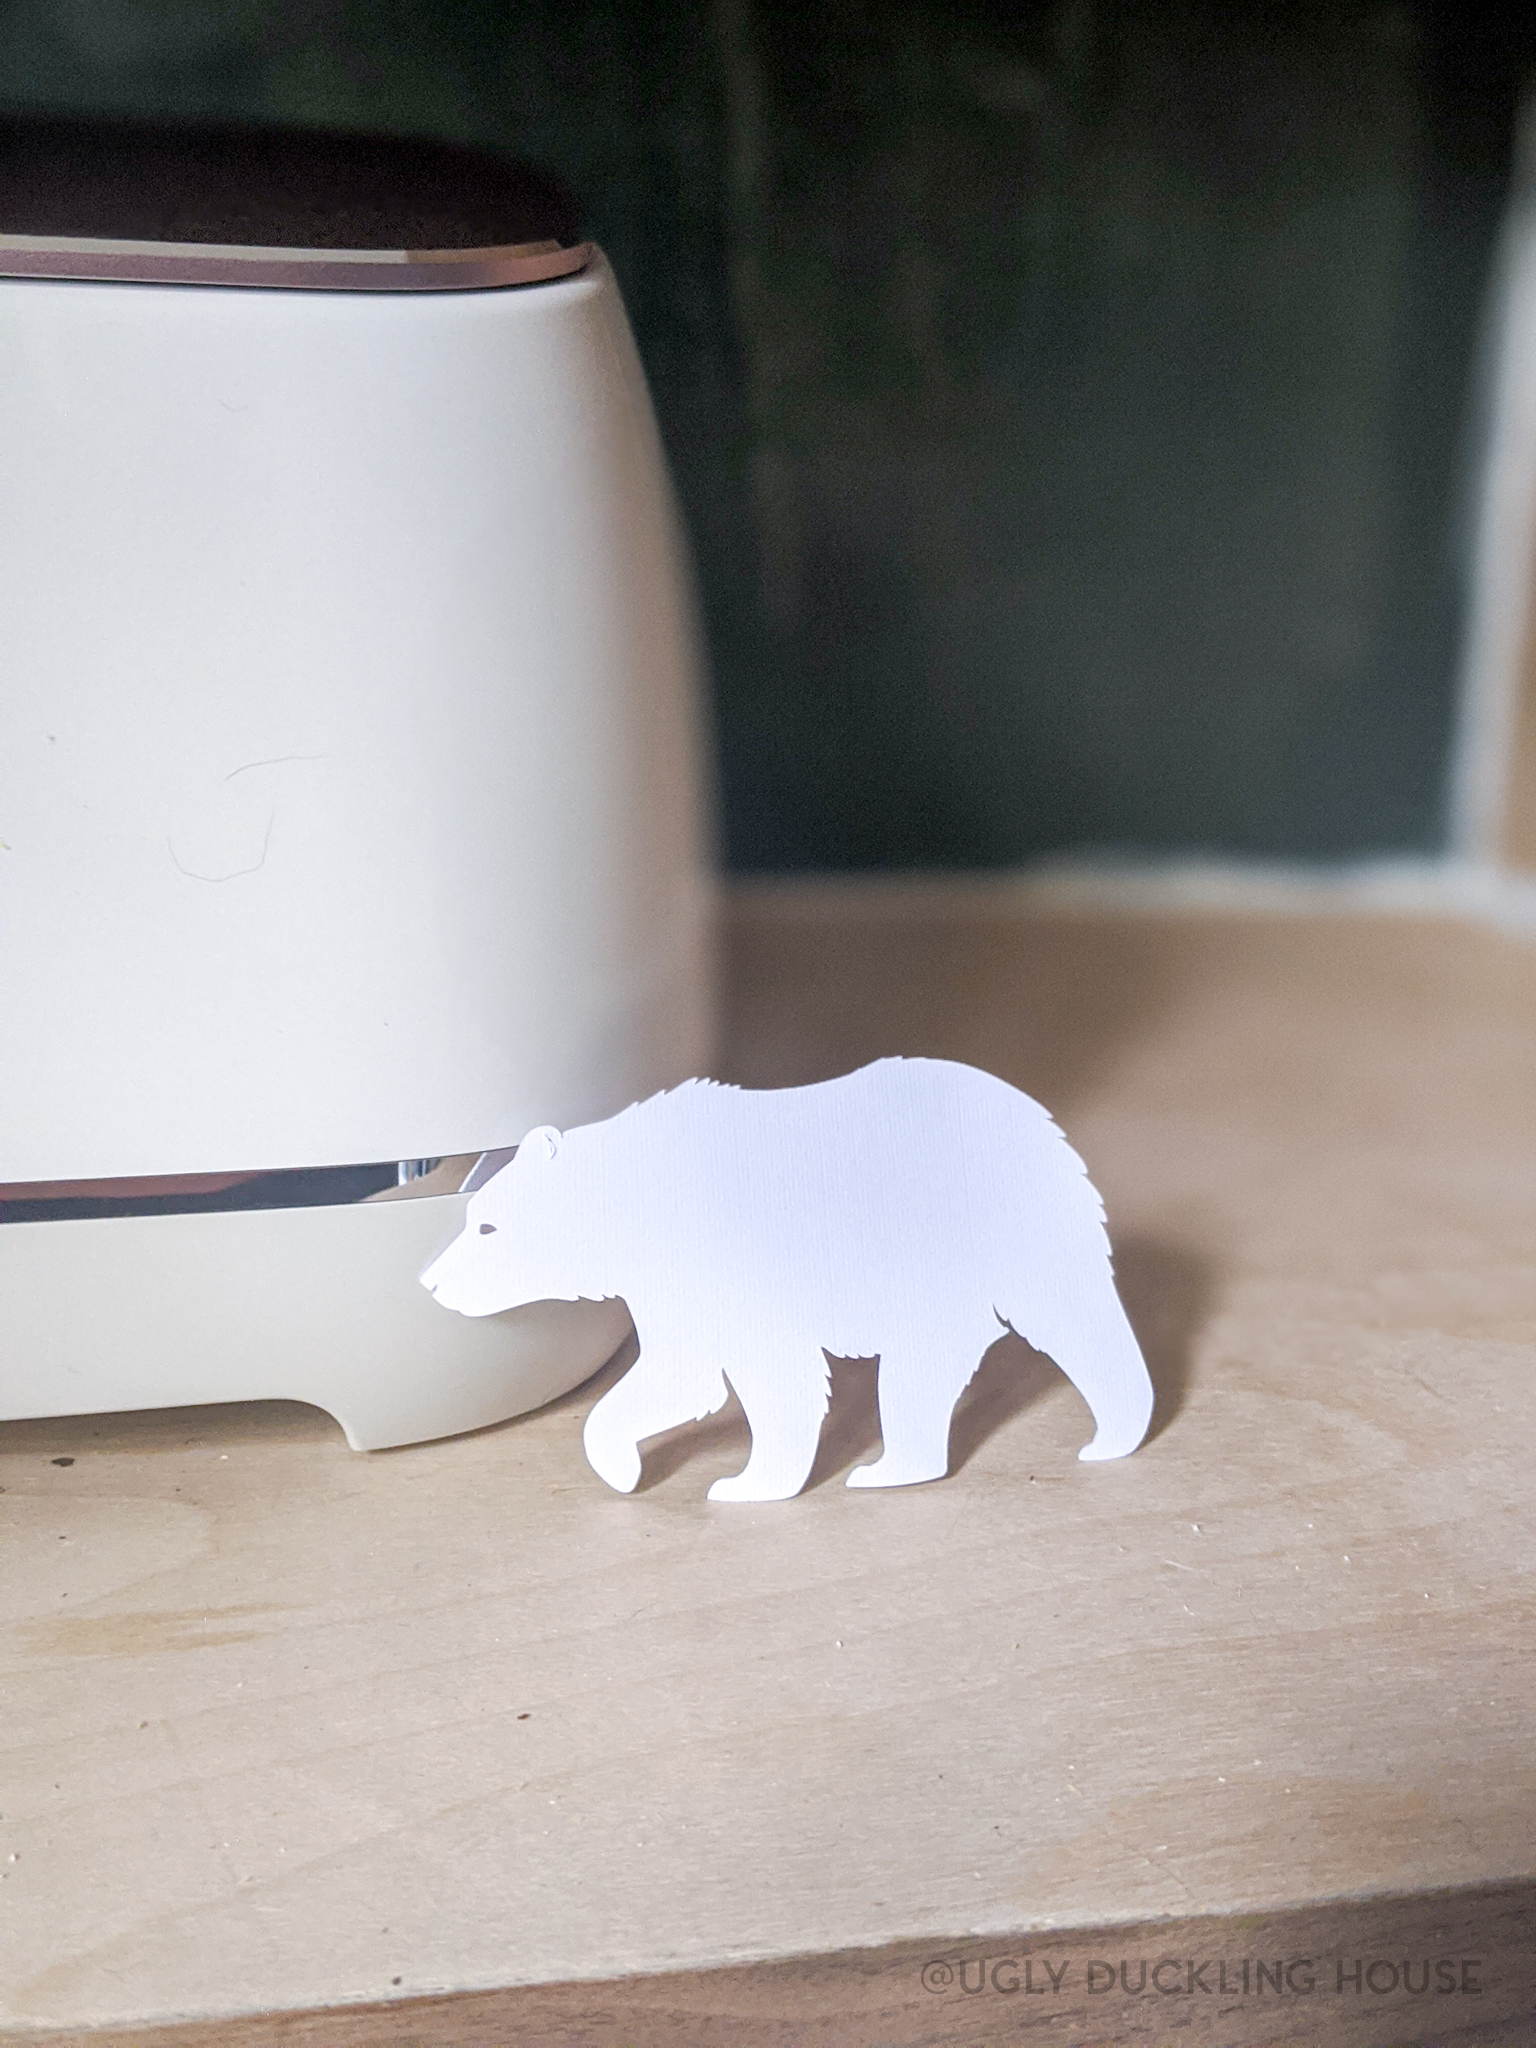
- Cut over 300 materials (including foil, duct tape, linen and other fabrics, leather, vinyl, cardstock, basswood, etc.)
- Cricut Design Space (the software) can be used on desktop and mobile
- It makes me happy every time I look at it and all the accessories 🙃
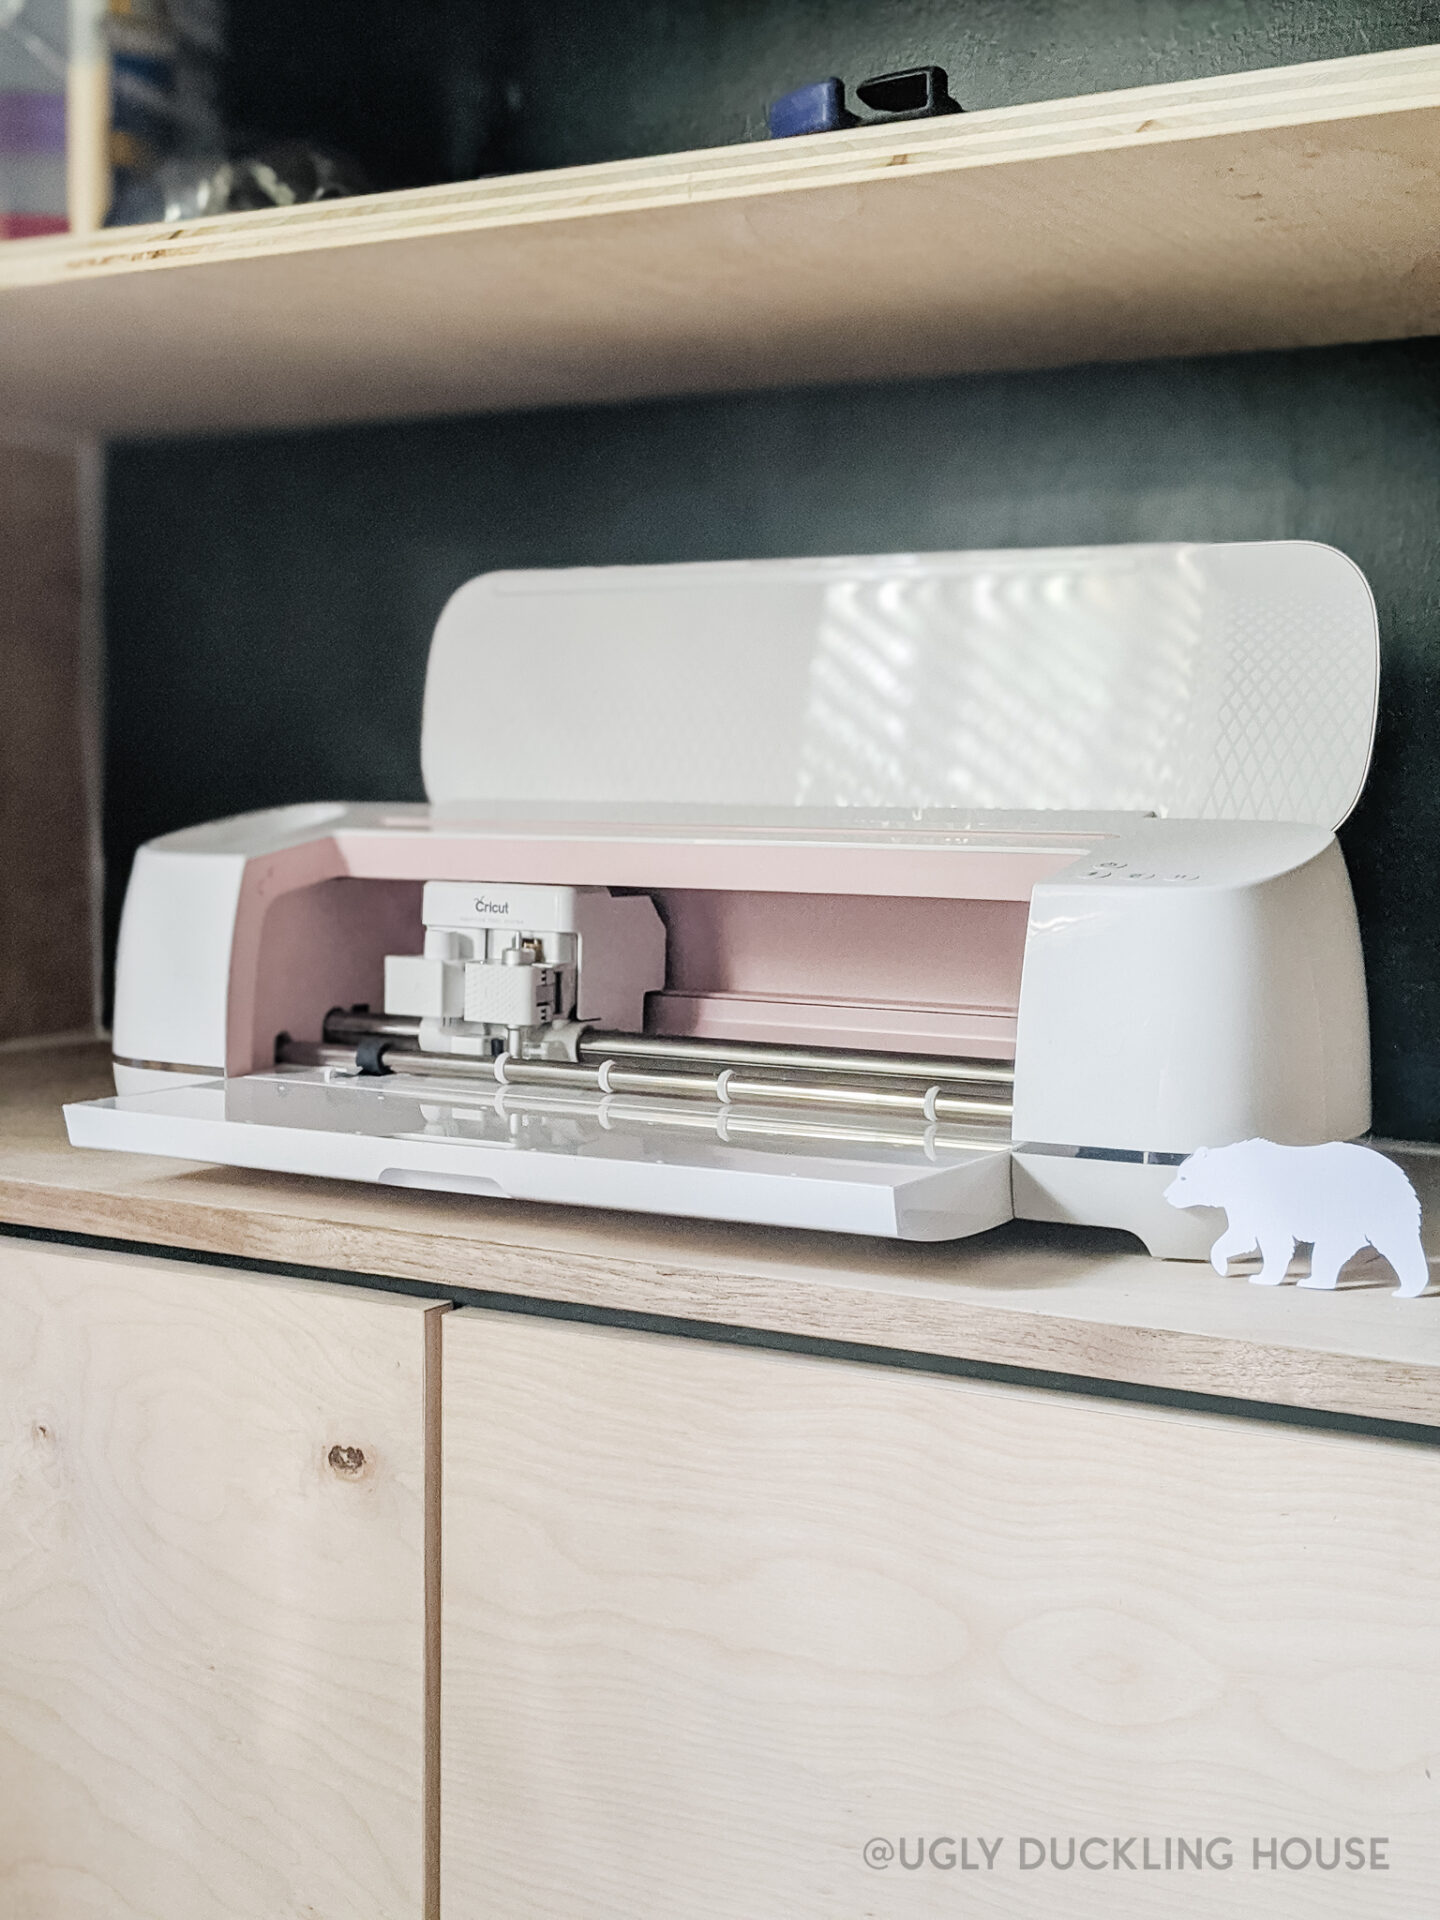
What I didn’t expect from trying this machine out is how easy and intuitive this product is designed. In “BB” (before blog) life, I used to write technical documentation for software. The more complex the software, the more screenshots, write-ups, and examples were necessary to make sure a customer knew how to use the product. But this machine is so plug-and-play, it’s truly impressive. The setup was a breeze and I was able to go from box to fully-functional machine in no time.
How to Make this “Thank You, But Please Don’t Ring the Doorbell!” Front Door Sign
Materials & Tools
- Cricut Maker
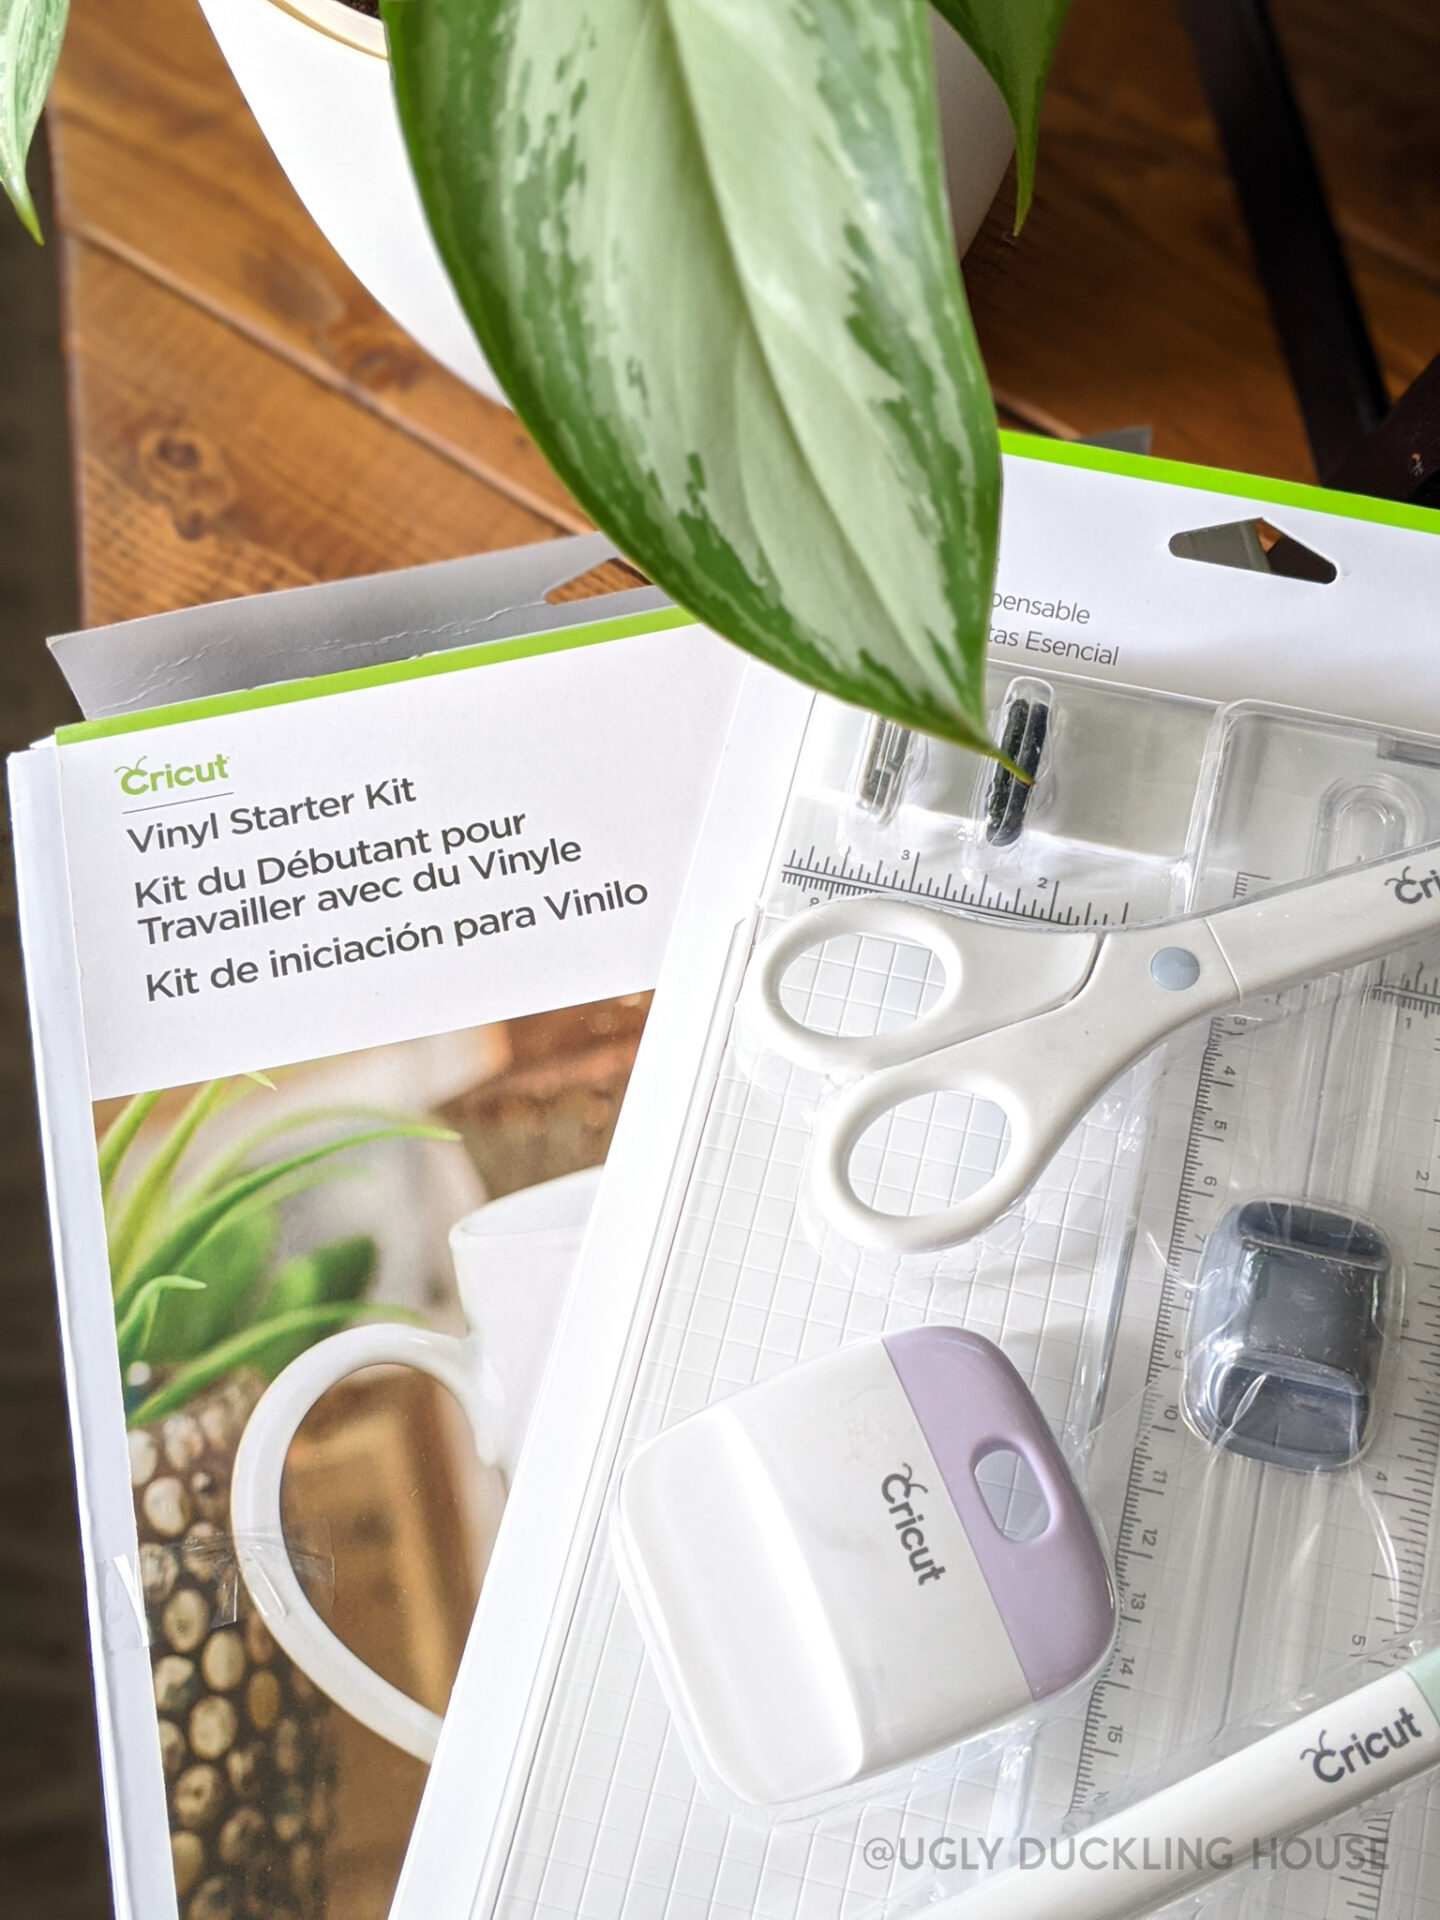
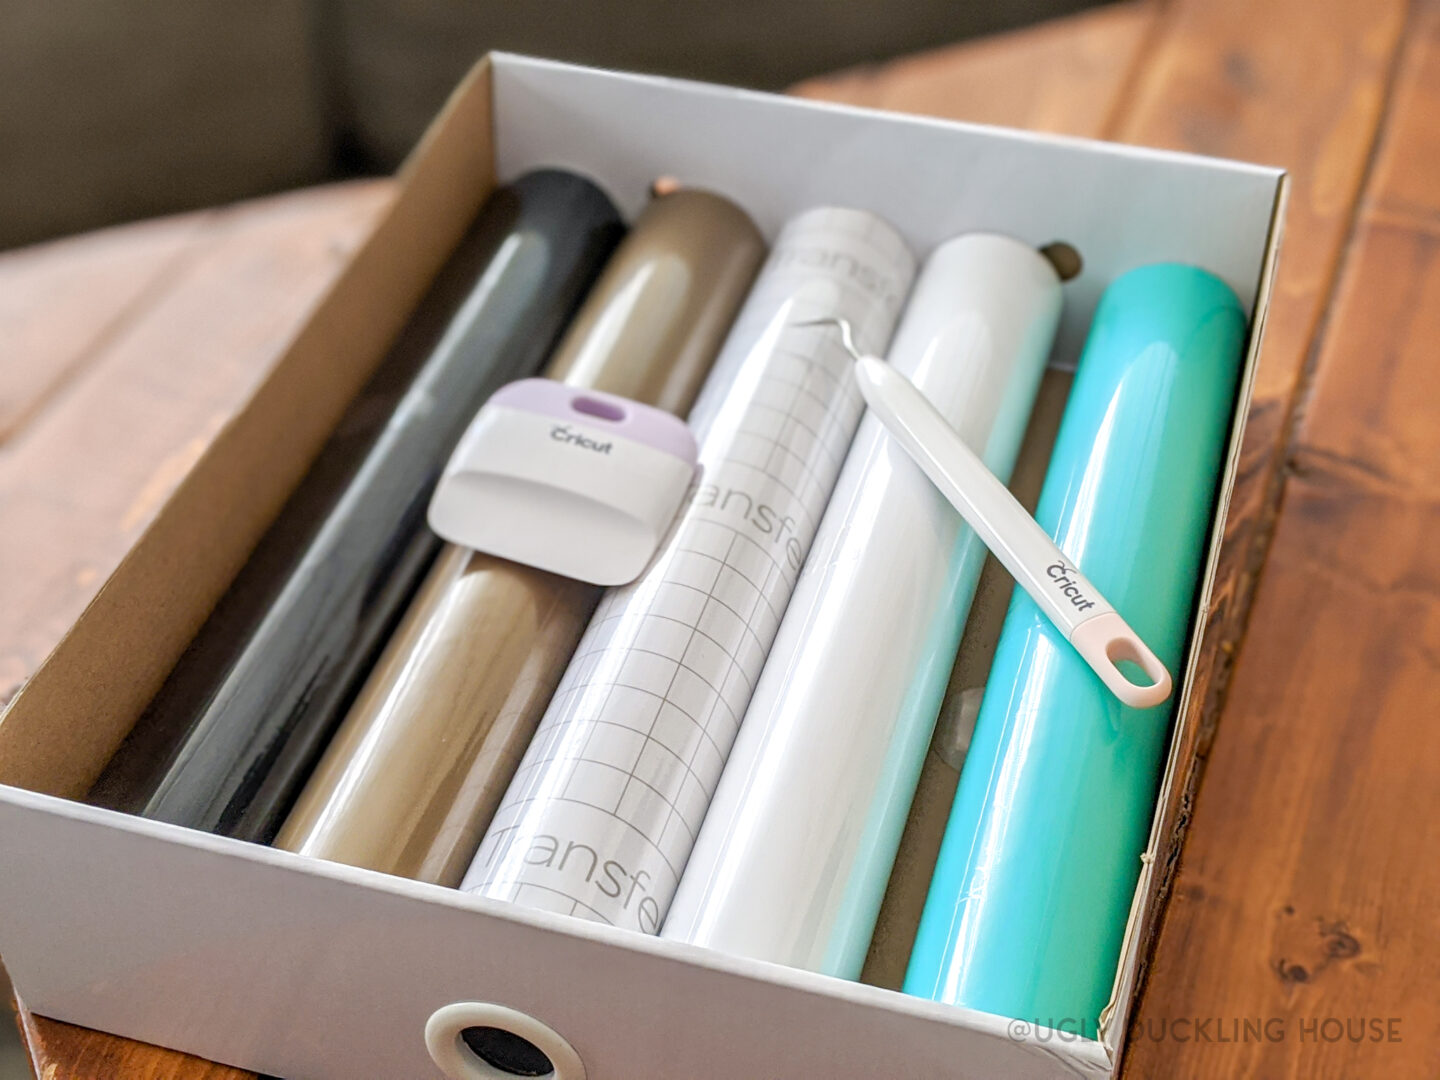
- Cricut Vinyl Starter Kit
- Cricut Basic Tools Set
- pencil
- miter saw
- measuring tape
- safety gear (glasses, hearing protection, breathing mask)
- angle grinder
- sanding disc
- wooden dowels (for frame)
- scrap wood/plywood (for the back)
- stain or paint
- wood glue
- pin nailer
- polycrylic

Time needed: 2 hours
Make a simple sign to thank delivery service folks for their hard work while also requesting that they not ring the doorbell.
- Set up your Cricut machine
The Cricut Maker came with everything I needed to set up and test out my first cuts. There is a little envelope included with the machine that provides all you need to install the software and make your first test sample. Ready to roll!

- Draft your text
I had a general idea of how large I wanted the text on my sign to be, but the Cricut design software made it easy to play around with the look and fonts (I was able to use all of my own fonts in addition to Cricut ones).

- Prepare the vinyl sheet and cut
Do you ever take a deep breath before making your first cut on something? I mean, sure, I had extra vinyl just in case, and I deliberately designed the project to use less than half of a sheet if I needed to cut again, but still. I always get nervous. It turned out perfectly!
- Cut and stain the sign board; let it all dry.
I’ve been playing around a lot with solid color stain, so I decided on a whim to go for dark green with the backing on this sign. You can, of course, choose stain or paint. Since this might have some exposure (the front door and porch is covered, but there can still be exposure to moisture/sunlight over time), I gave the wood a few coats of poly too. I recommend a matte/flat finish so that the sheen doesn’t make the lettering harder to read.

- Cut a frame to fit around the sign
I had a few pieces of square dowels in the garage and completely forgot what I bought them for (everything I buy has an intended purpose, but if I see something I need for the current project, everything is fair game!). So, I cut them to fit around the new sign. But, it needed something extra…

- Optional: Carve the frame
It’s no secret: I love wood carving! The way it adds texture and visual interest to ANY project is one of my favorite tricks to use if a project needs something a little extra. Using an angle grinder and a sanding disk, I made quick marks on the entire frame (see video) and then added stain.

- Attach the backer to the frame
I didn’t really think this part out completely, if I’m totally honest. Ideally (hindsight and such, I would have created a small groove in the back of the frame so the backer could have nested inside of the frame to glue/nail into place (and is what I’d recommend you do instead). But since I didn’t do that, I used a few small scrap pieces of thin wood glued across the back to essentially fuse the two pieces together (kind of like taping a seam).
- Peel off excess vinyl
At this point, the frame is ready and the vinyl has been cut out, but the excess around all the lettering needed to be removed. I used a tool that came in my Basics Tool Kit (it reminds me of a dental pick) to remove all the parts I didn’t need.

- Transfer vinyl to the sign backer
I was a little intimidated at first with the small lettering on the sign to start transferring, but it was actually really easy! I cut a piece of transfer tape out around the same size as the lettering and applied it all over, smoothing it out. Then, I peeled off a top section of the back paper, lined it up with the sign where I wanted the lettering to start (careful to center it as much as I could), and pressed down. After smoothing it out, I then continued with the next section, checking that my lettering fully adhered. When the vinyl was all in place, I peeled the transfer tape off. Watch the video for clarification if you need it!

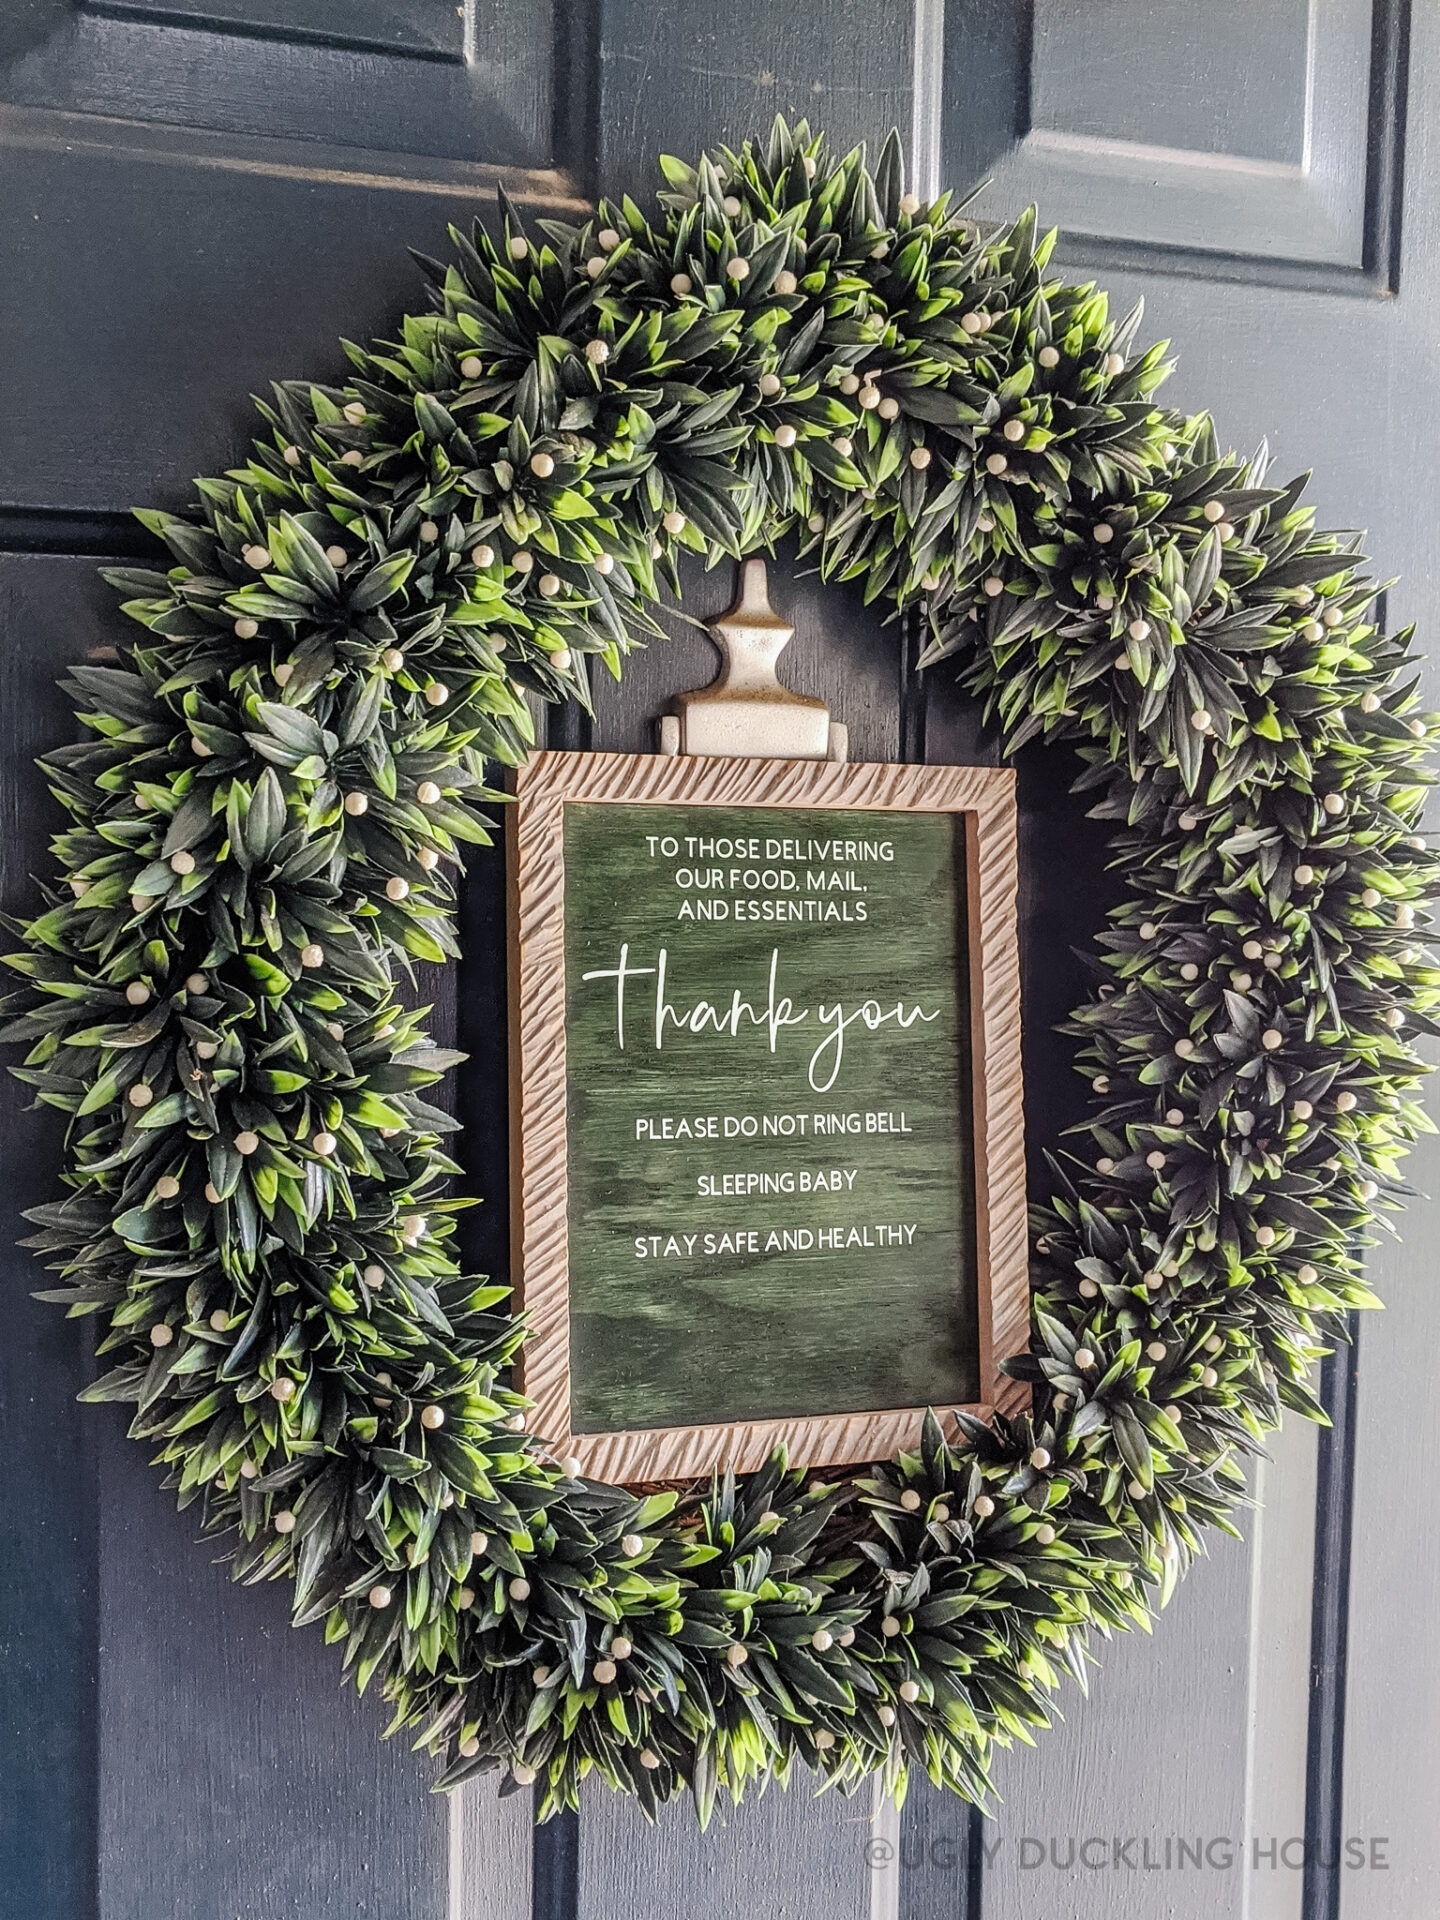
- Hang
And we’re done!


I’m realy liking the green stain, but I chose this color because (spoiler alert!) I’m planning on changing the door color soon! I think paint would look nice for the backer too.
I haven’t yet learned how to convert this design into a downloadable file that works for Cricut (so that you can recreate it for your own use), but I’ll try to get a file available for you for free download soon! It will go into my printables library when available, just FYI. Until then, pin the image below for later!
Don’t forget to pin it!


This looks so nice. I was never really interested in this product before now but…
I am really looking forward to making more with my Cricut! I’m already thinking of another (hilarious) gift idea inspired by the 2020 chaos. I will be posting about it next week on Instagram (in my stories) if you’re interested in seeing what else it can do! Right now with the new baby, it’s easier to post over there until I can get the full tutorials written and edited for the blog, so you’ll see them there first and then more detailed info here on the blog!
I LOVE the green stain! The whole thing looks so polished & having two littles myself it’s SO practical. Such a great idea. Thanks for the inspiration!
Thank you Jessie! I really second-guessed myself after seeing it on the door because the door is navy and the green didn’t really pop, but knowing that I’m going to change the door color soon anyway, I am glad I went with something I thought would be pretty when all is said and done! Much appreciated that you like it!
It looks so good! I have been loving green lately! I’m actually looking for a good lighter shade of green to paint the bead board backing of our new living room built-ins right now. Thanks for sharing all your great projects with us readers ?