
Disclosure: this post may contain affiliate links, which means I may make a commission if you decide to make a purchase through one of my links, at no cost to you.
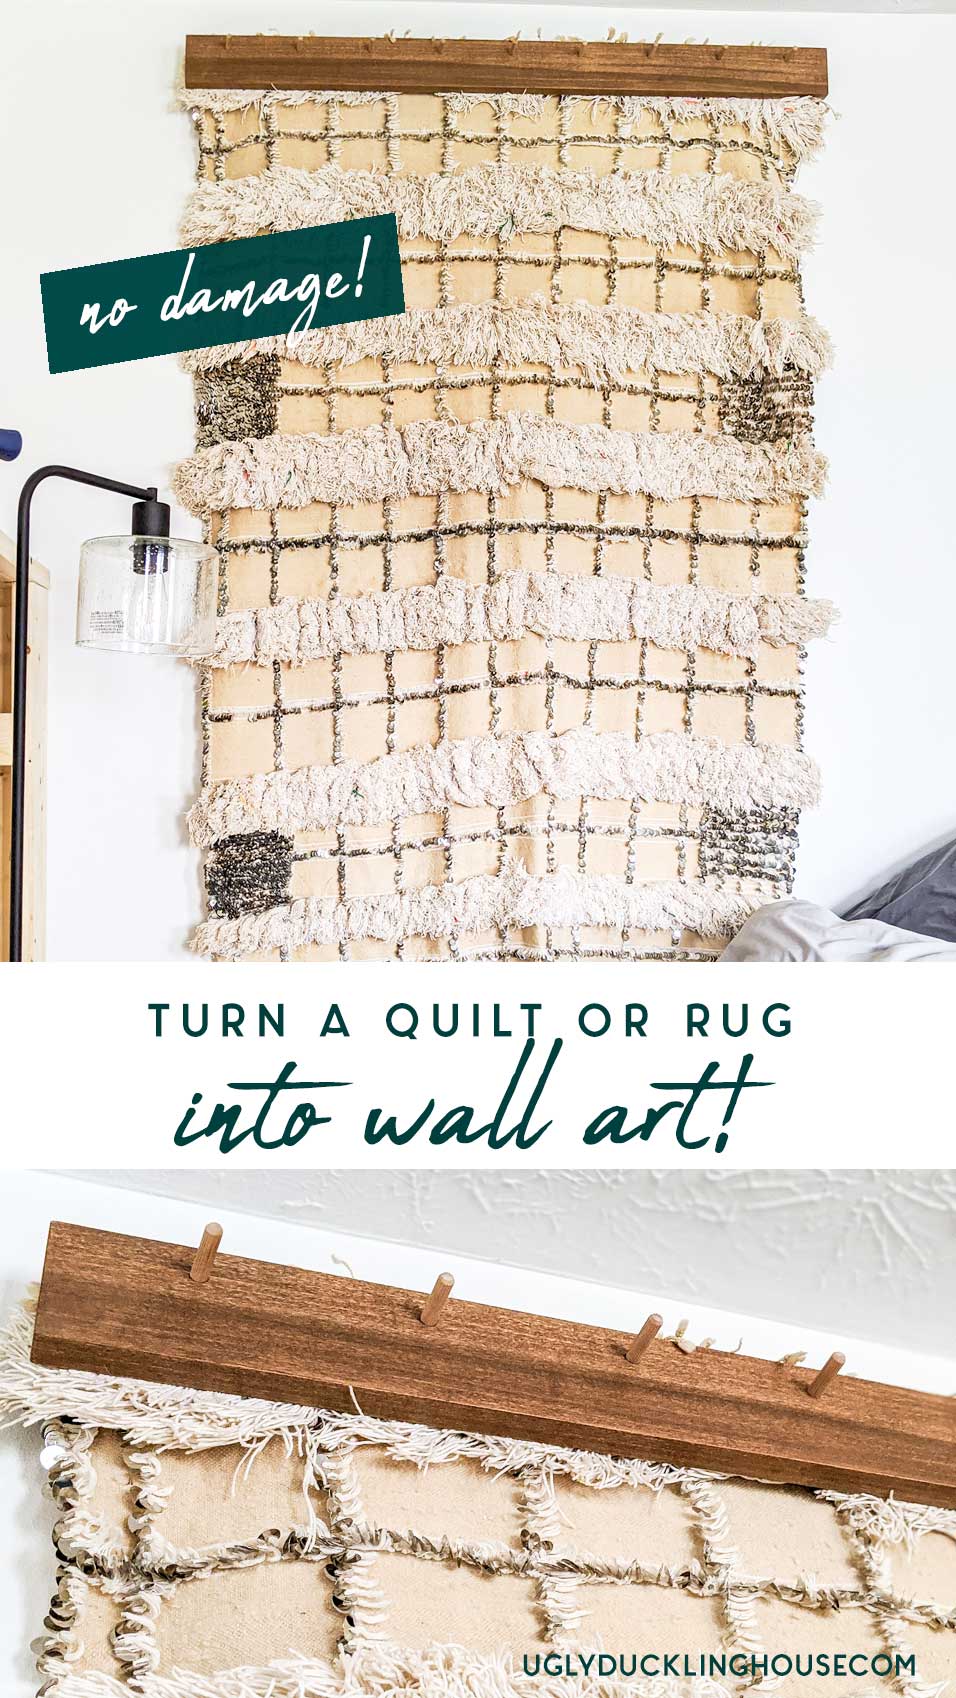
This solid wood hanging “quilt rack” can hold a large quilt, tapestry, or decorative blanket securely in place. Build yours with these step-by-step instructions.
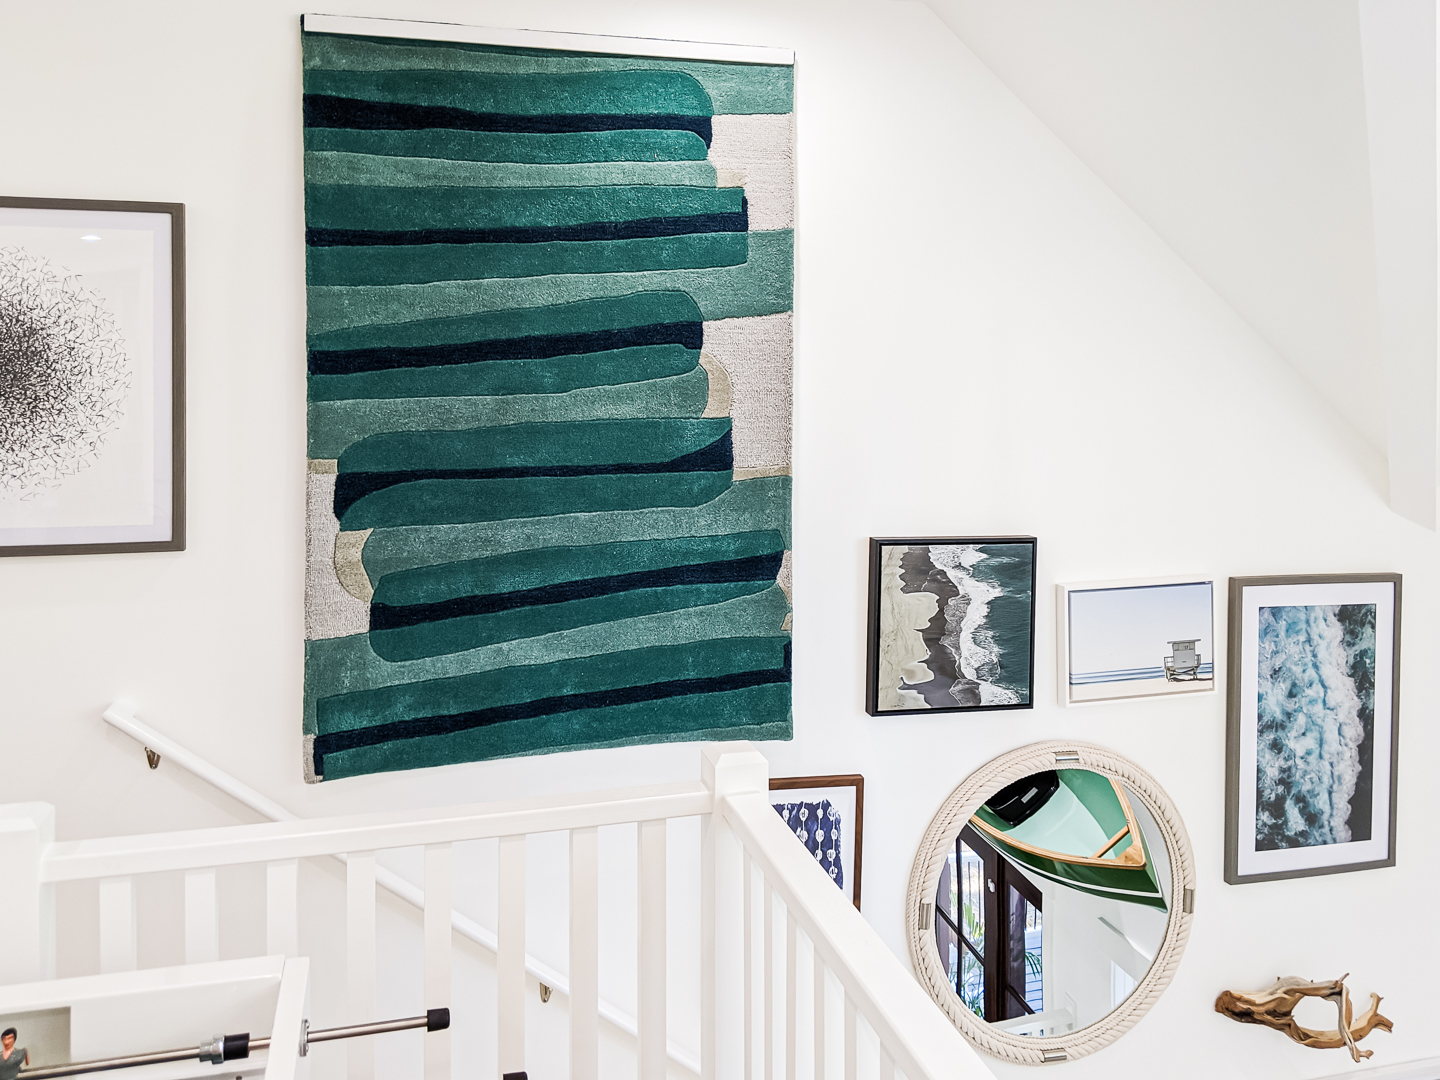
When I got the chance to tour the 2020 HGTV Dream Home last month, one of my favorite takeaways was what decorated the walls. From bowls to rugs to driftwood and even a canoe, it seemed like nothing was off-limits to use as wall hangings. It’s the #1 idea I took home with me that day as something I could immediately do.
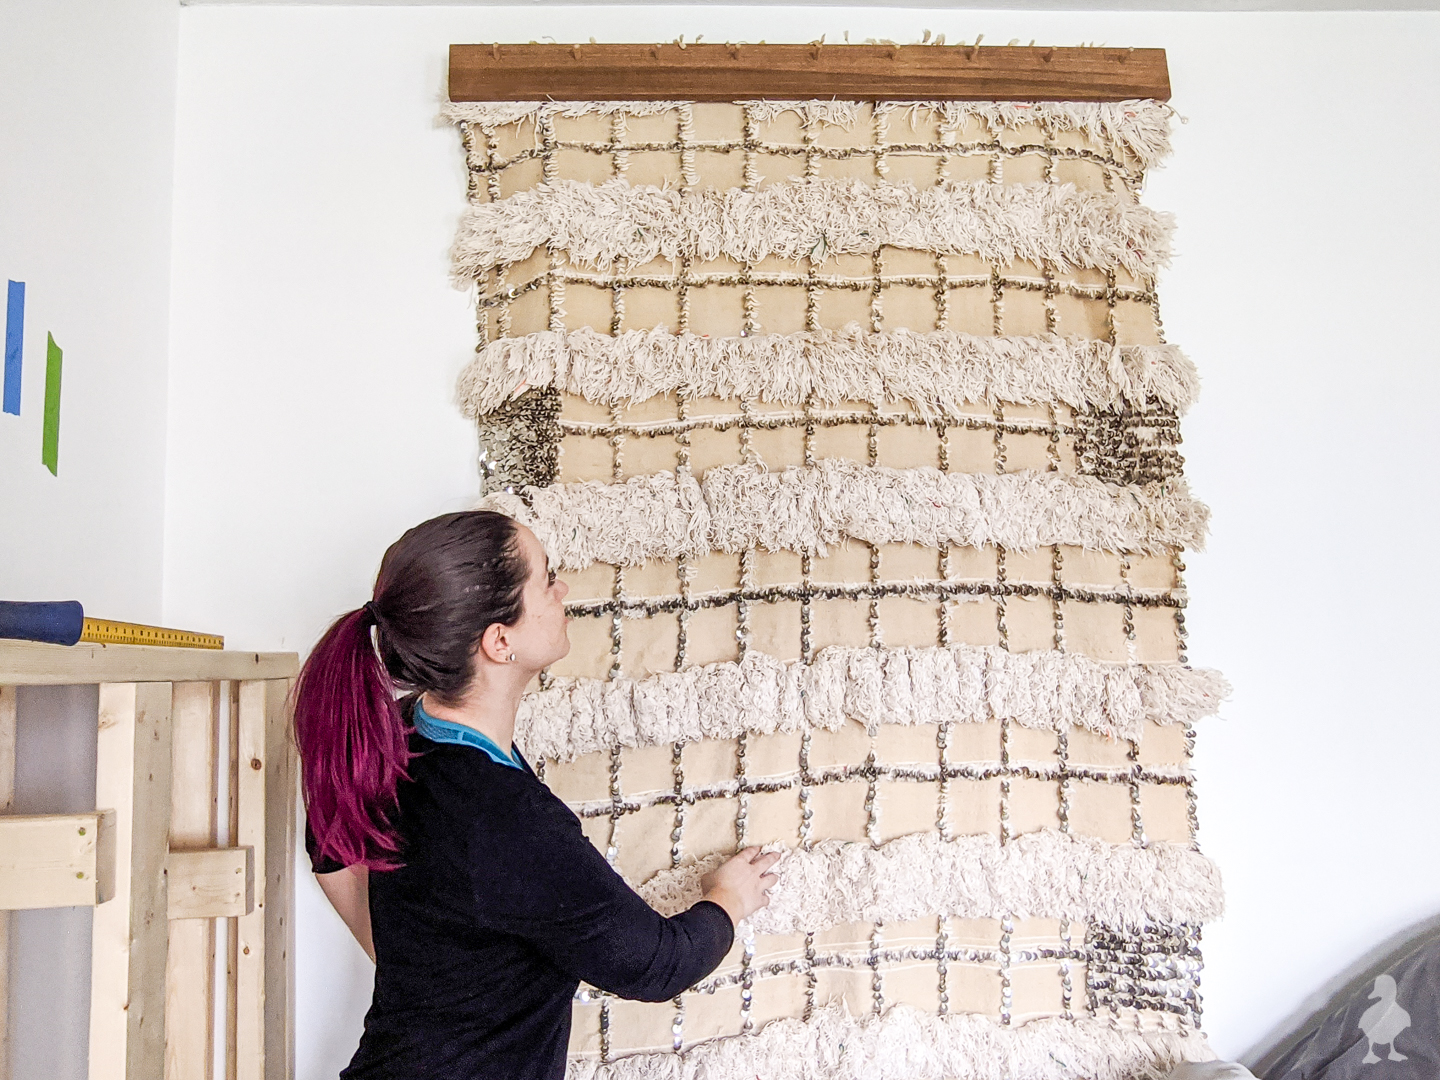
The hanging rug, in particular, reminded me of a Moroccan wedding blanket I’ve always wanted to display. I bought it back in 2011 when they were really popular to see in decor. I marveled at their beauty and saved up hundreds of dollars (basically every dime I’d earned from my early days of blogging and then some) and purchased the real deal. I patiently waited to get it in the mail, and once it was in my possession… I kept it in its box and tucked away for fear of ruining it before I figured out a permanent placement.
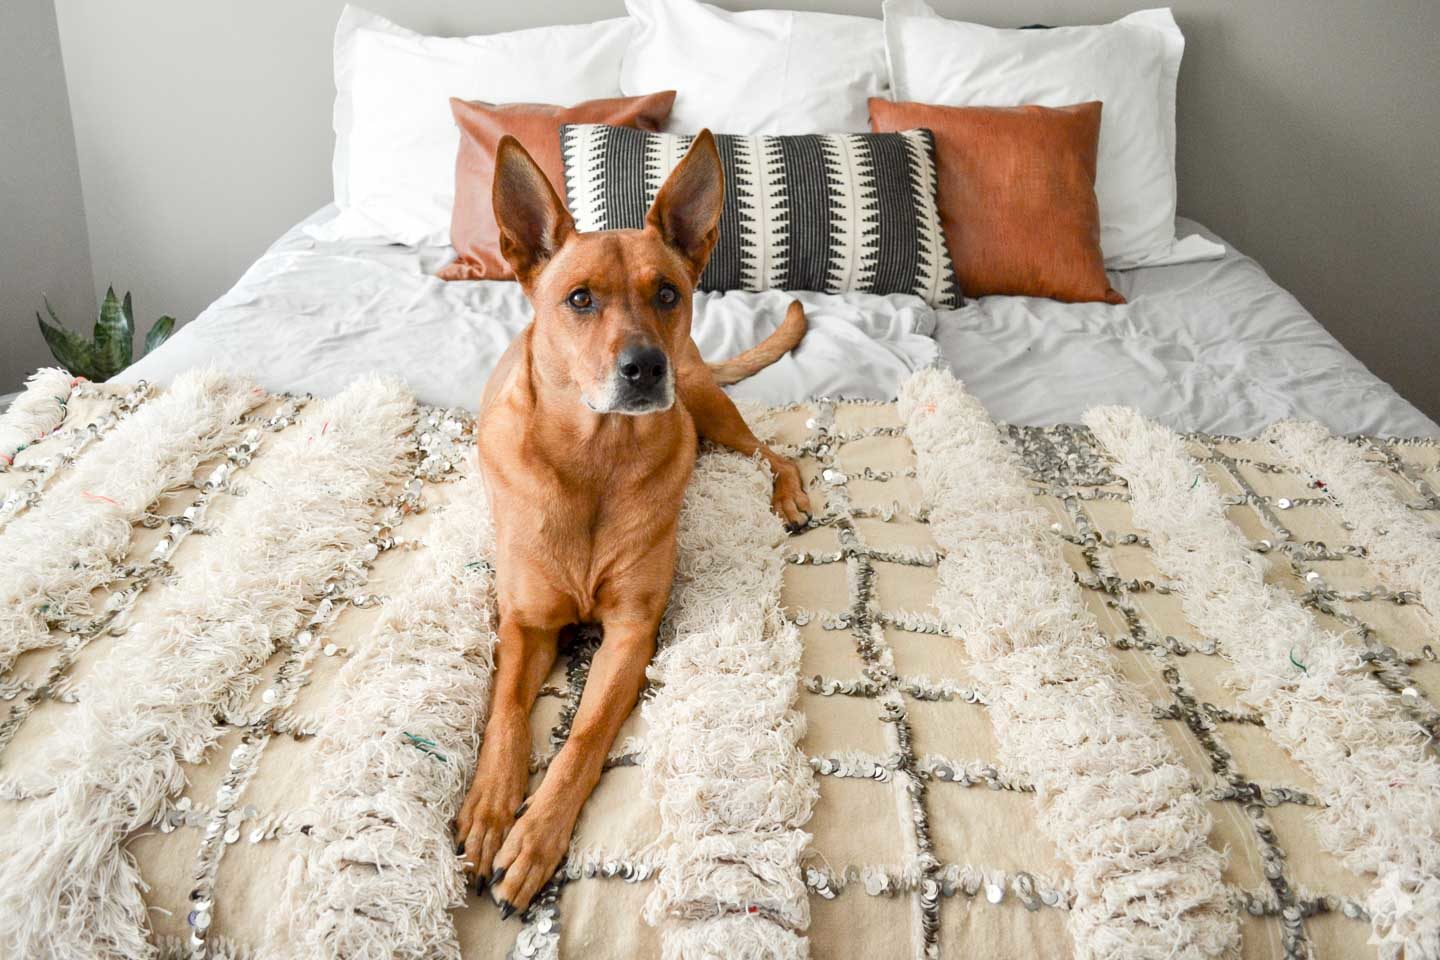
Have you ever done something like that? It was simply so precious to me that I couldn’t figure out a place to (literally) let it shine. I eventually pulled it out of hiding and used it to decorate my bed, but its use was intermittent because it wasn’t practical as a cozy blanket. But, thanks to this quick and easy project, I now have a place where I can admire it all the time!
I’ve created a handy video for this project (directly below), and the step by step instructions are also listed (I know some of you read this at work, so grab some coffee and take your pick!).
How do you hang a rug, quilt, blanket, tapestry, weavings, etc. on a wall without putting holes in it or damaging the textile?
It wasn’t until I started googling this myself that I realized that a solution has pretty much always existed for something like this called a compression quilt hanger.
Other methods include velcro, carpet tack strips, rug hangers, etc. But this compression combo I made was the most appealing to me because:
- no sewing required (with velcro, you need to sew one side to the textile) and
- no potential damage to the fibers in the blanket (such as with nails, tack strips, etc.)
- I felt that two pieces of wood tightly clamped together could also handle the weight (this blanket is VERY heavy)
- I could customize the color with different stains, control the complexity of installation, and use some creativity to build a hanger that is super budget friendly.
Quilt hangers have been around for a long time, it seems, but most of the examples I found online are definitely more traditional in style. So, I set out to make a DIY version! (A group of these types of hangers built in smaller sizes would be insanely adorable for mini quilts hung in a set!)
How to Hang a Heavy Blanket (or Quilt, Rug, etc.) on the Wall with Ease
Materials & Tools

Cost (I pretty much had everything but the wood!): $14
Time needed: 1 hour
Difficulty: SO easy!
- Measure the blanket/quilt/tapestry you want to hang
I chose to make the hanger exactly the same length as my blanket, but adding an inch to each end can also work if you want to make it a little longer.

- Cut all pieces to length
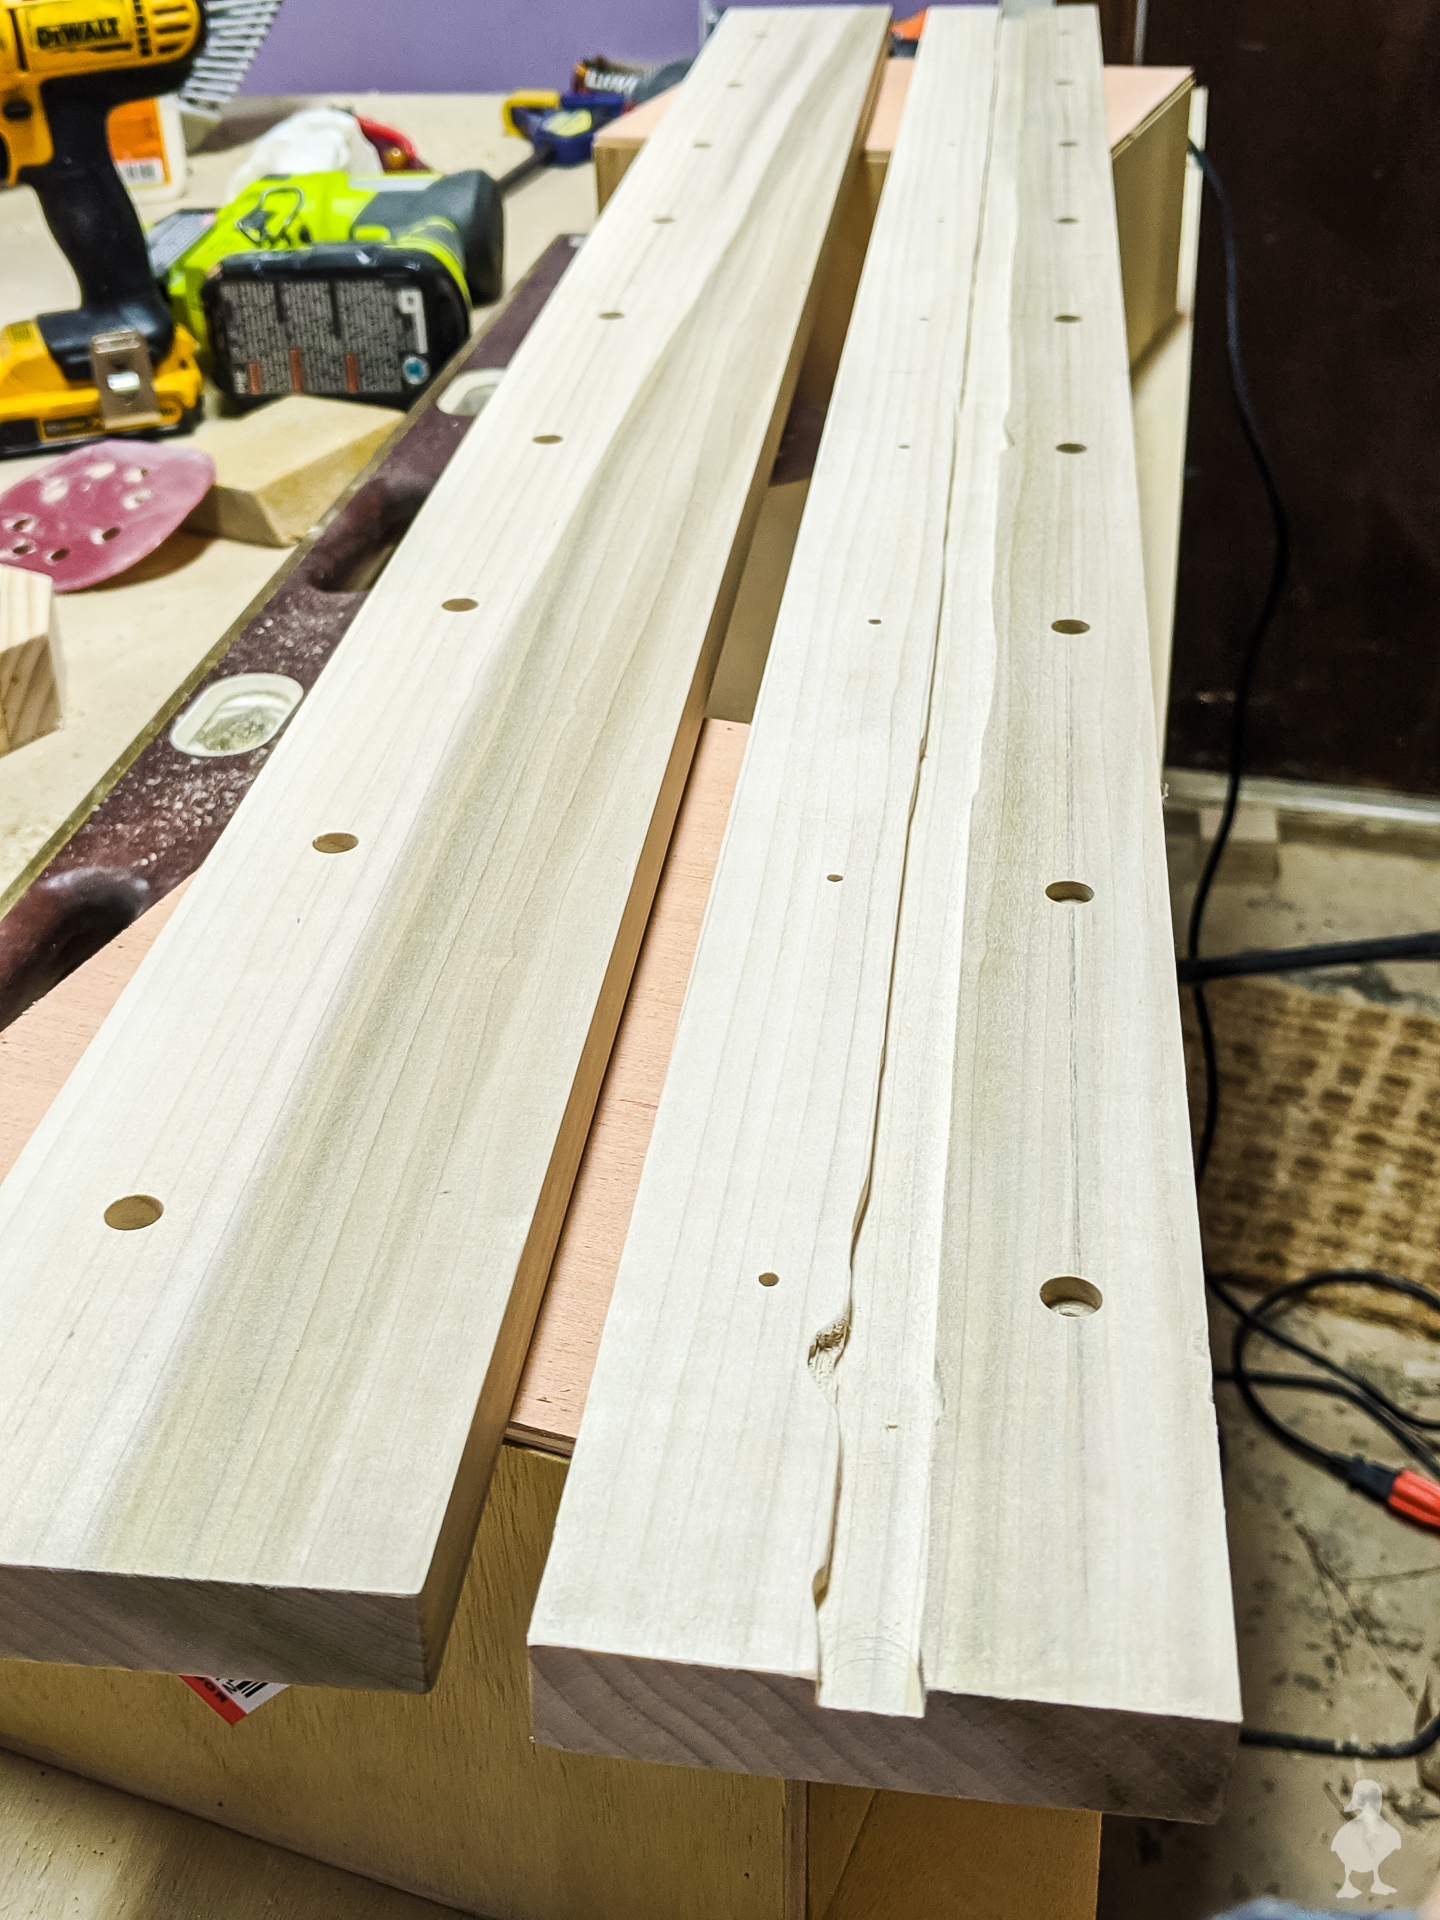
I cut an 8-ft 1×4 poplar board into two 46″ pieces (front & back pieces).
- Drill dowel holes & screw placement
I measured a 1/2 inch down and marked 9 places for screws to go on the front board. I wanted the compression to be at the top so that the screws wouldn’t accidentally go through the blanket. After pre-drilling the screw holes, I then used a Forstner bit to essentially countersink the screw heads. Dowels will later go over these spots to hide the screws.
- Route a groove in the back piece
I should have used SO MANY MORE CLAMPS for this part! But I clamped down a straight edge (my grandfather’s old level) and held the back piece against it. I then ran my palm router down the middle of the back piece, but it didn’t work the best because the board still wanted to move away from the edge. Clamps would have prevented that! It wasn’t a big deal though since I merely wanted a place that excess fabric could sort of gather into the wood, and none of this would really be seen once assembled.

- Add dowels to the back piece
With the same 3/8″ Forstner bit, I drilled 9 more holes into the back piece about 3/4″ from the bottom. I cut some 3/8″ wide dowels into small pieces and inserted them into these holes. The purpose of these is merely to add extra texture for the blanket to grip when the two pieces are screwed together. I also considered running a few beads of silicone caulk because it acts as a rubbery surface when dry (adding more grip), but it’s another option I didn’t wind up needing.
- Stain and finish
I sanded the pieces down with fine grit sandpaper, stained (one coat of Flagstone and one coat of American Walnut seems to be my latest favorite combo), then added two coats of wipe-on poly.
- Add heavy duty hangers
I really like these 6-in hangers because they’re heavy-duty and come with little levels to help make hanging easy. The other half of the hangers are screwed into the wall on studs or using wall anchors.
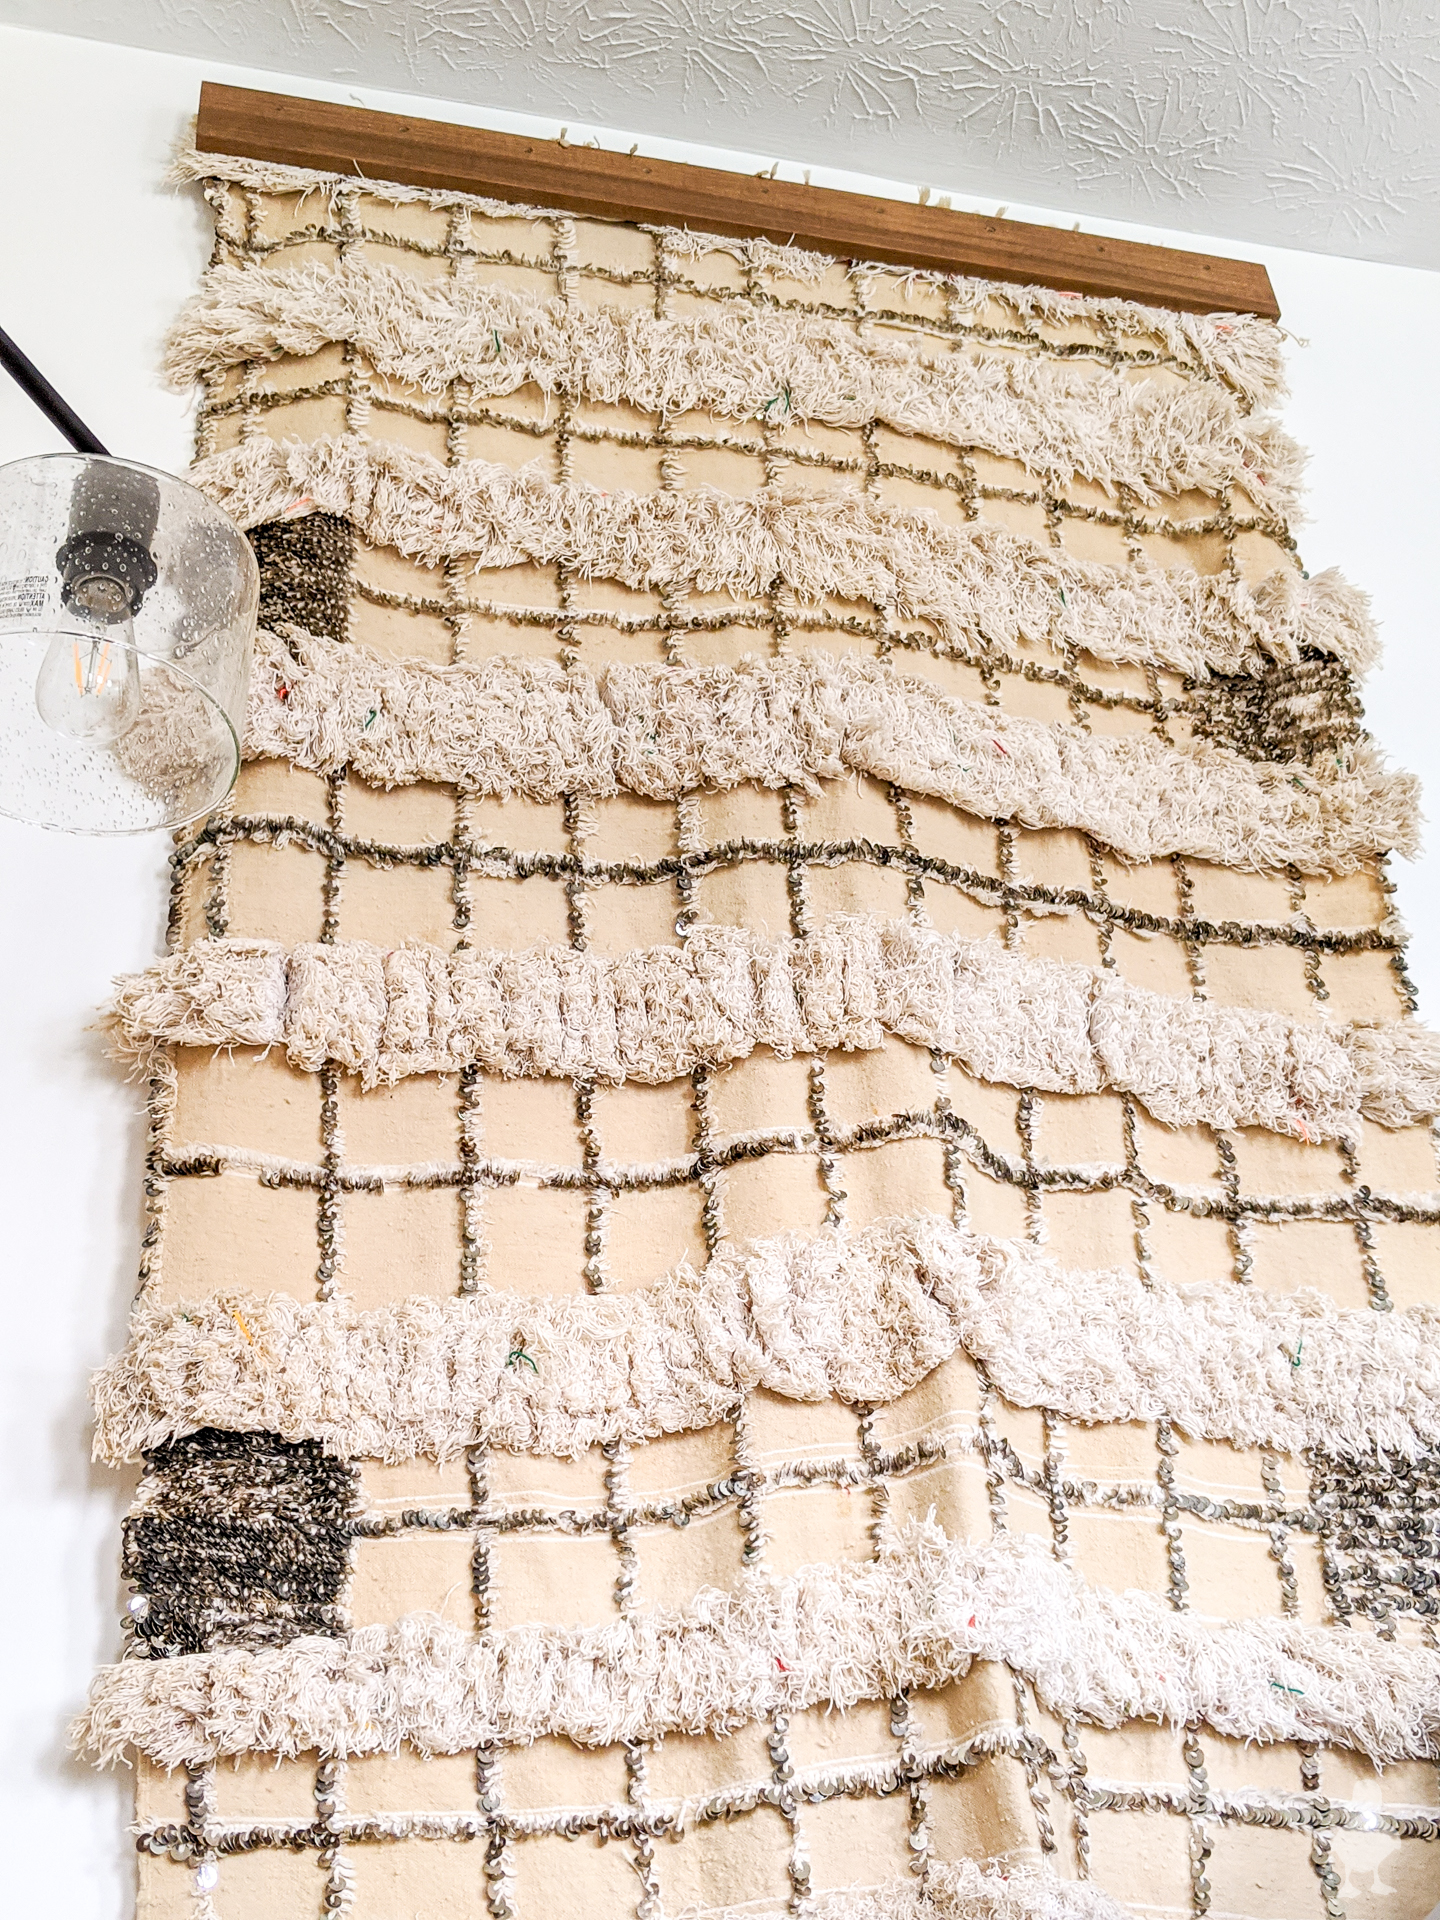
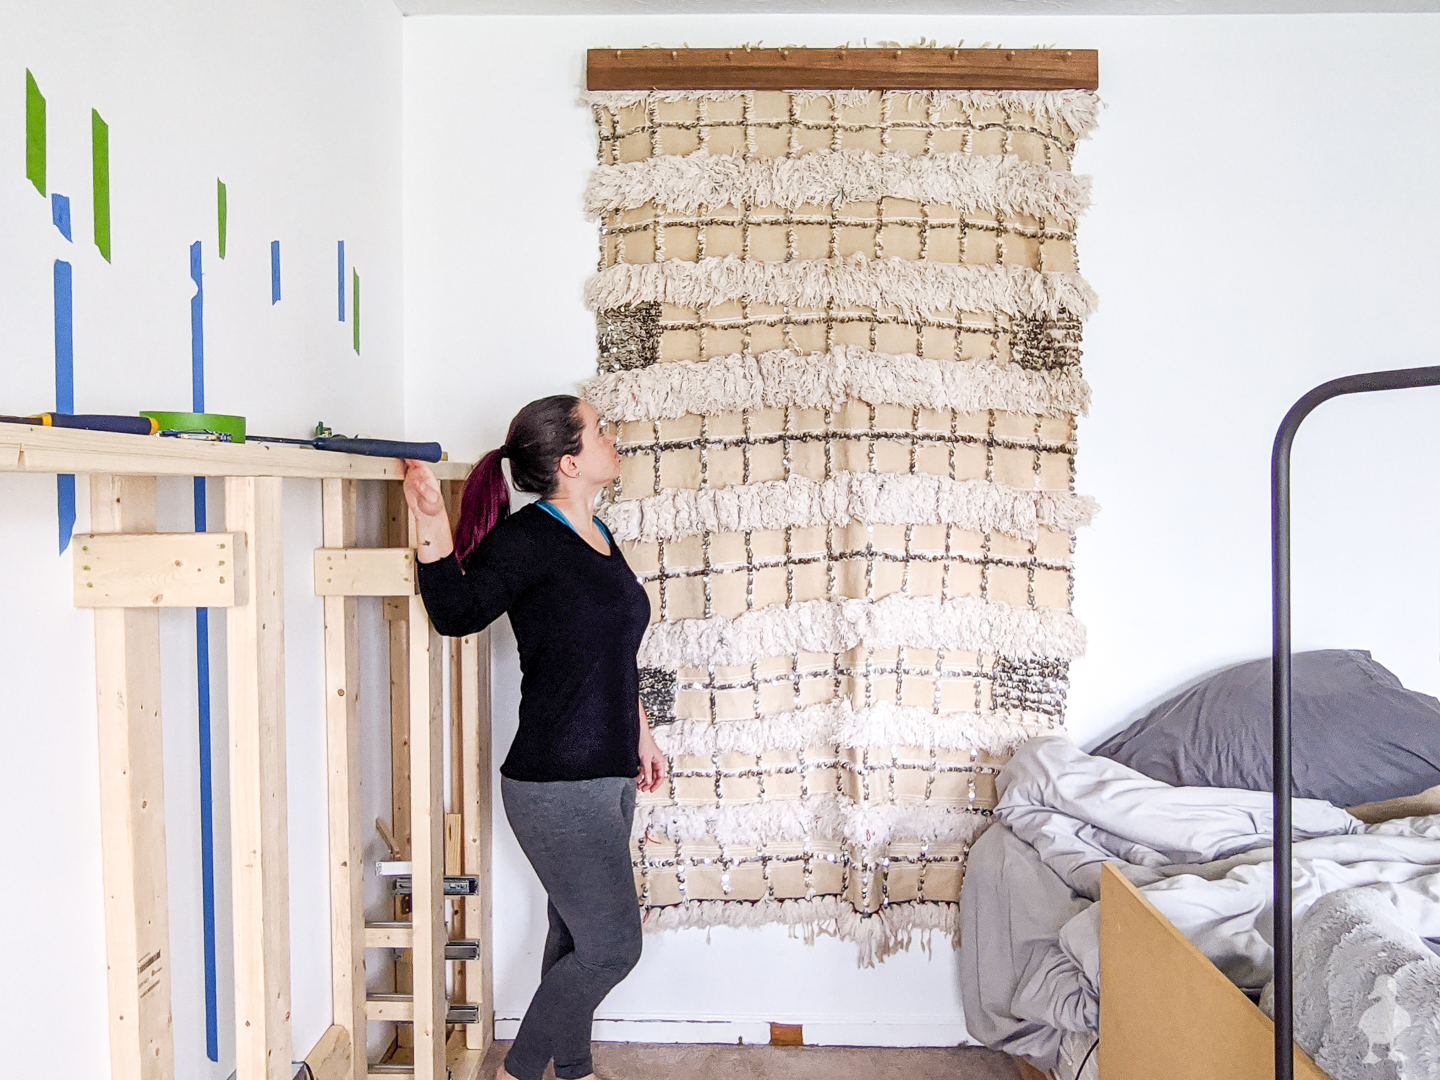
- Hang!
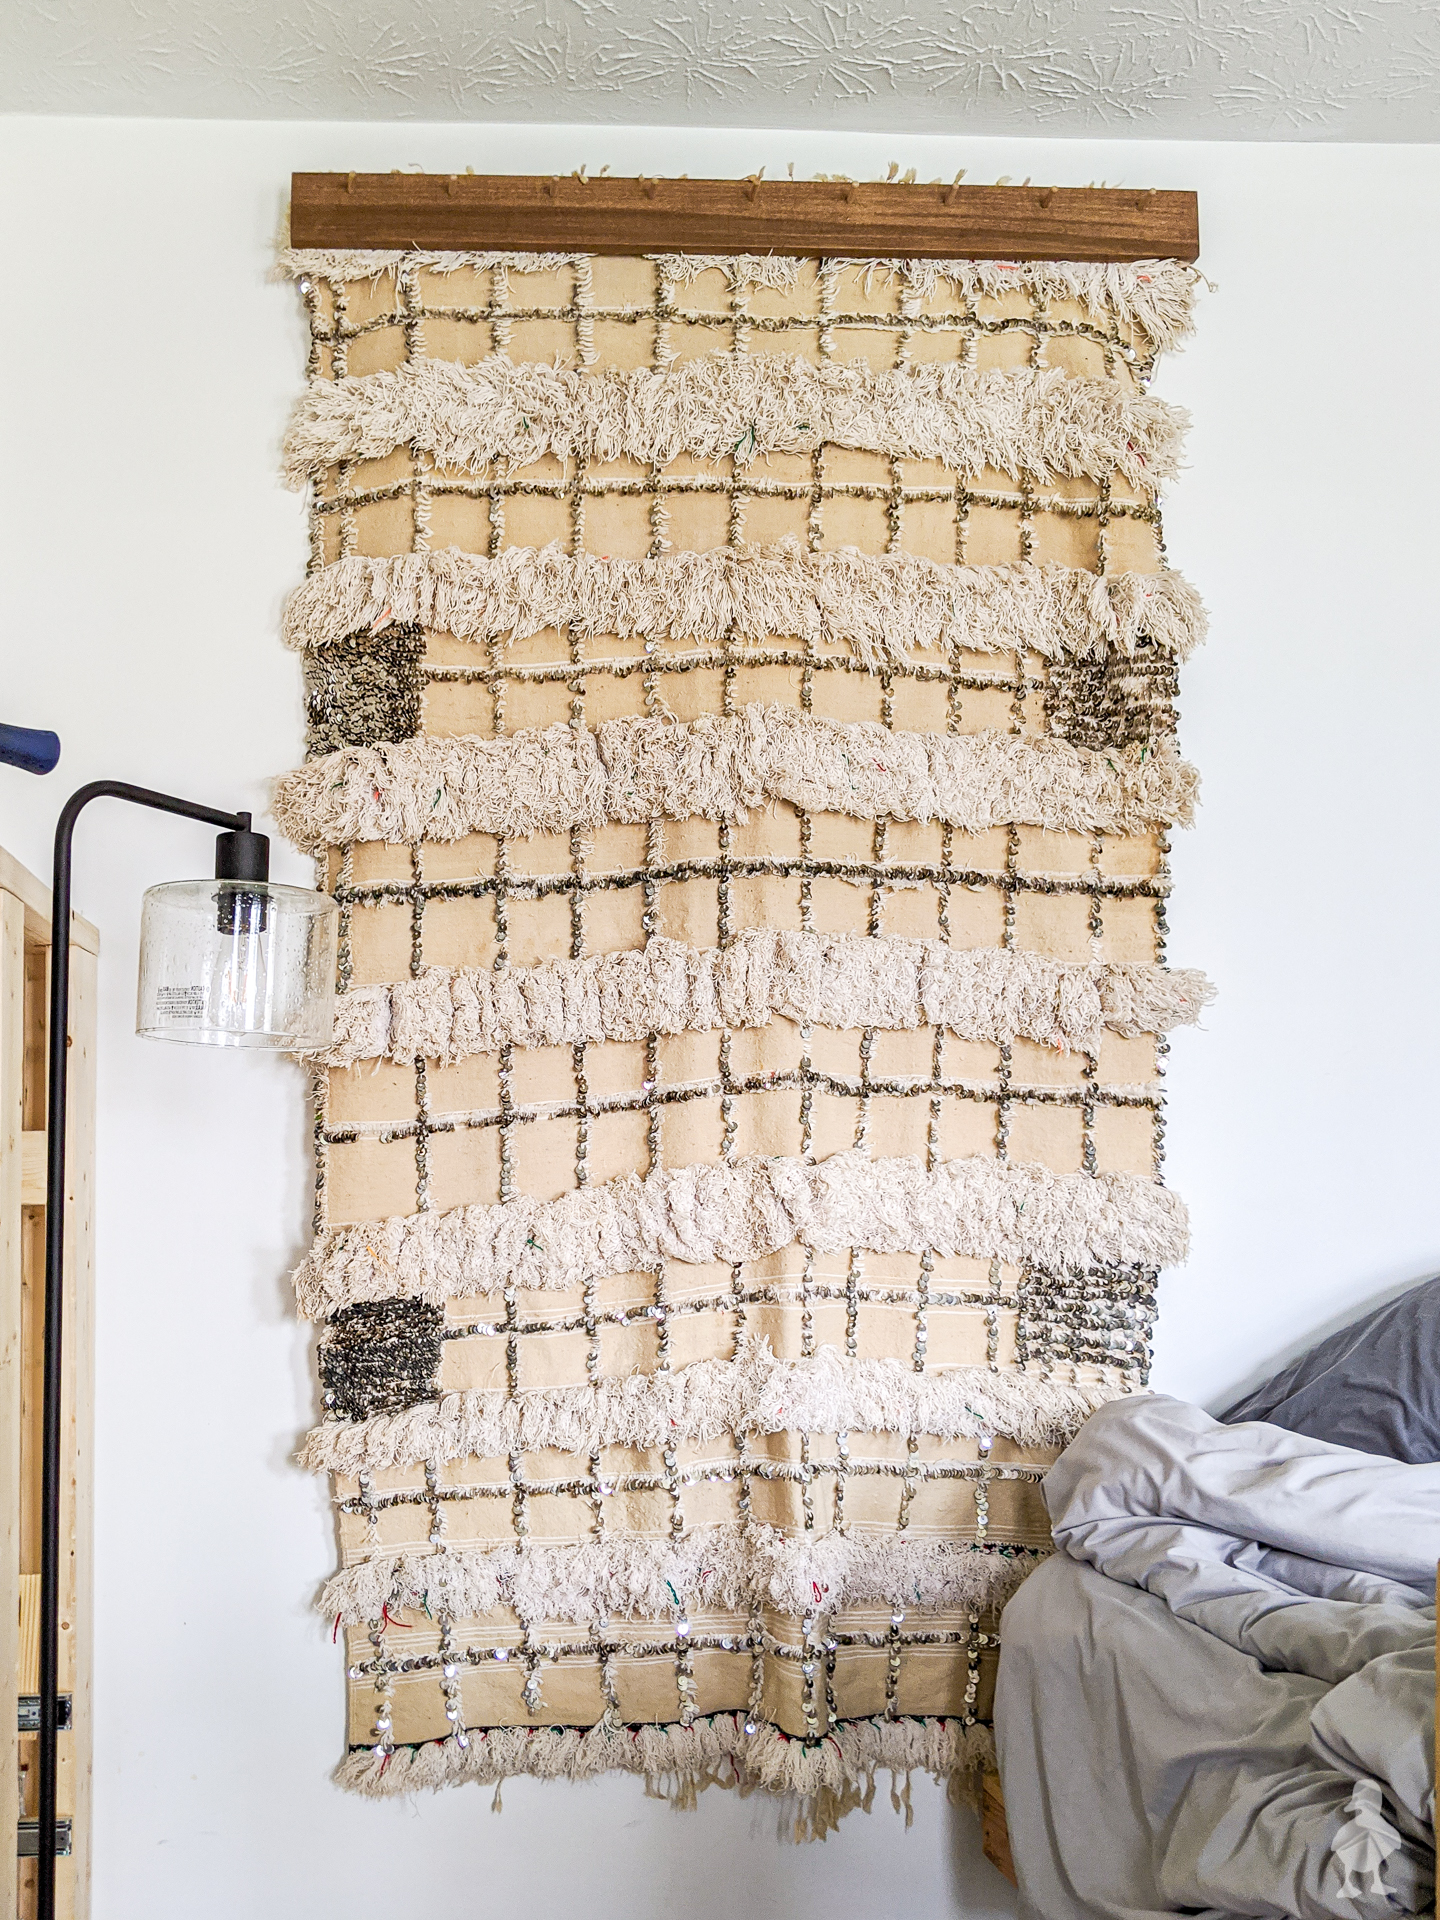
I then screwed both pieces together over the edge of the blanket, held my breath, and it successfully mounted to the wall! I was pretty happy with it, though I think I’ll have to get some velcro or something to help the bottom lay flatter against the wall and stretch it out.
- Cover screw holes with dowels
I filled each of the remaining exposed holes with 3/8″ dowels. I simply thought it looked more finished that way.


I was VERY worried during the making of this wooden quilt hanger that my gamble wouldn’t pay off due to the heavy weight of the blanket. Luckily, it all wound up working out and the compression of the pieces of wood, groove, and dowels all created enough pressure to grab the blanket and hold it. If it hadn’t worked, I would have then tried to add a strip of velcro into the groove to give it more grip. So, if you’re finding that to be a problem for you, that’s what I would suggest next!
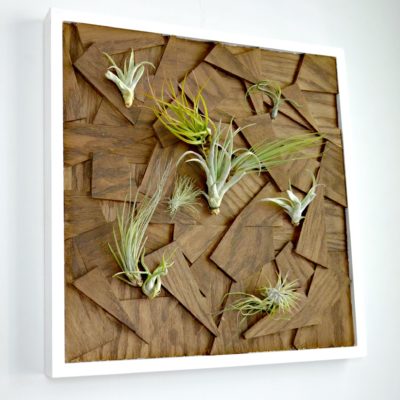
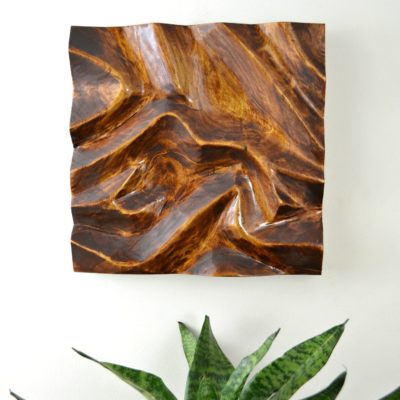
I’m linking this project up today with a few other creators who have made some incredible wall art projects! Please go visit them (linked below) and let them know I sent ya:
- Wall Art — Addicted to DIY
- Modern Quilt, Blanket, & Textile Hanger — Ugly Duckling House (that’s HERE!)
- Wood Letter Board — My Repurposed Life
- Wood & Wire Wall Art — Anika’s DIY Life
- Tiki Wall Art — The Awesome Orange
- How-to Painting — At Charlotte’s House
- Hand-Routed Sign — Ellison Made
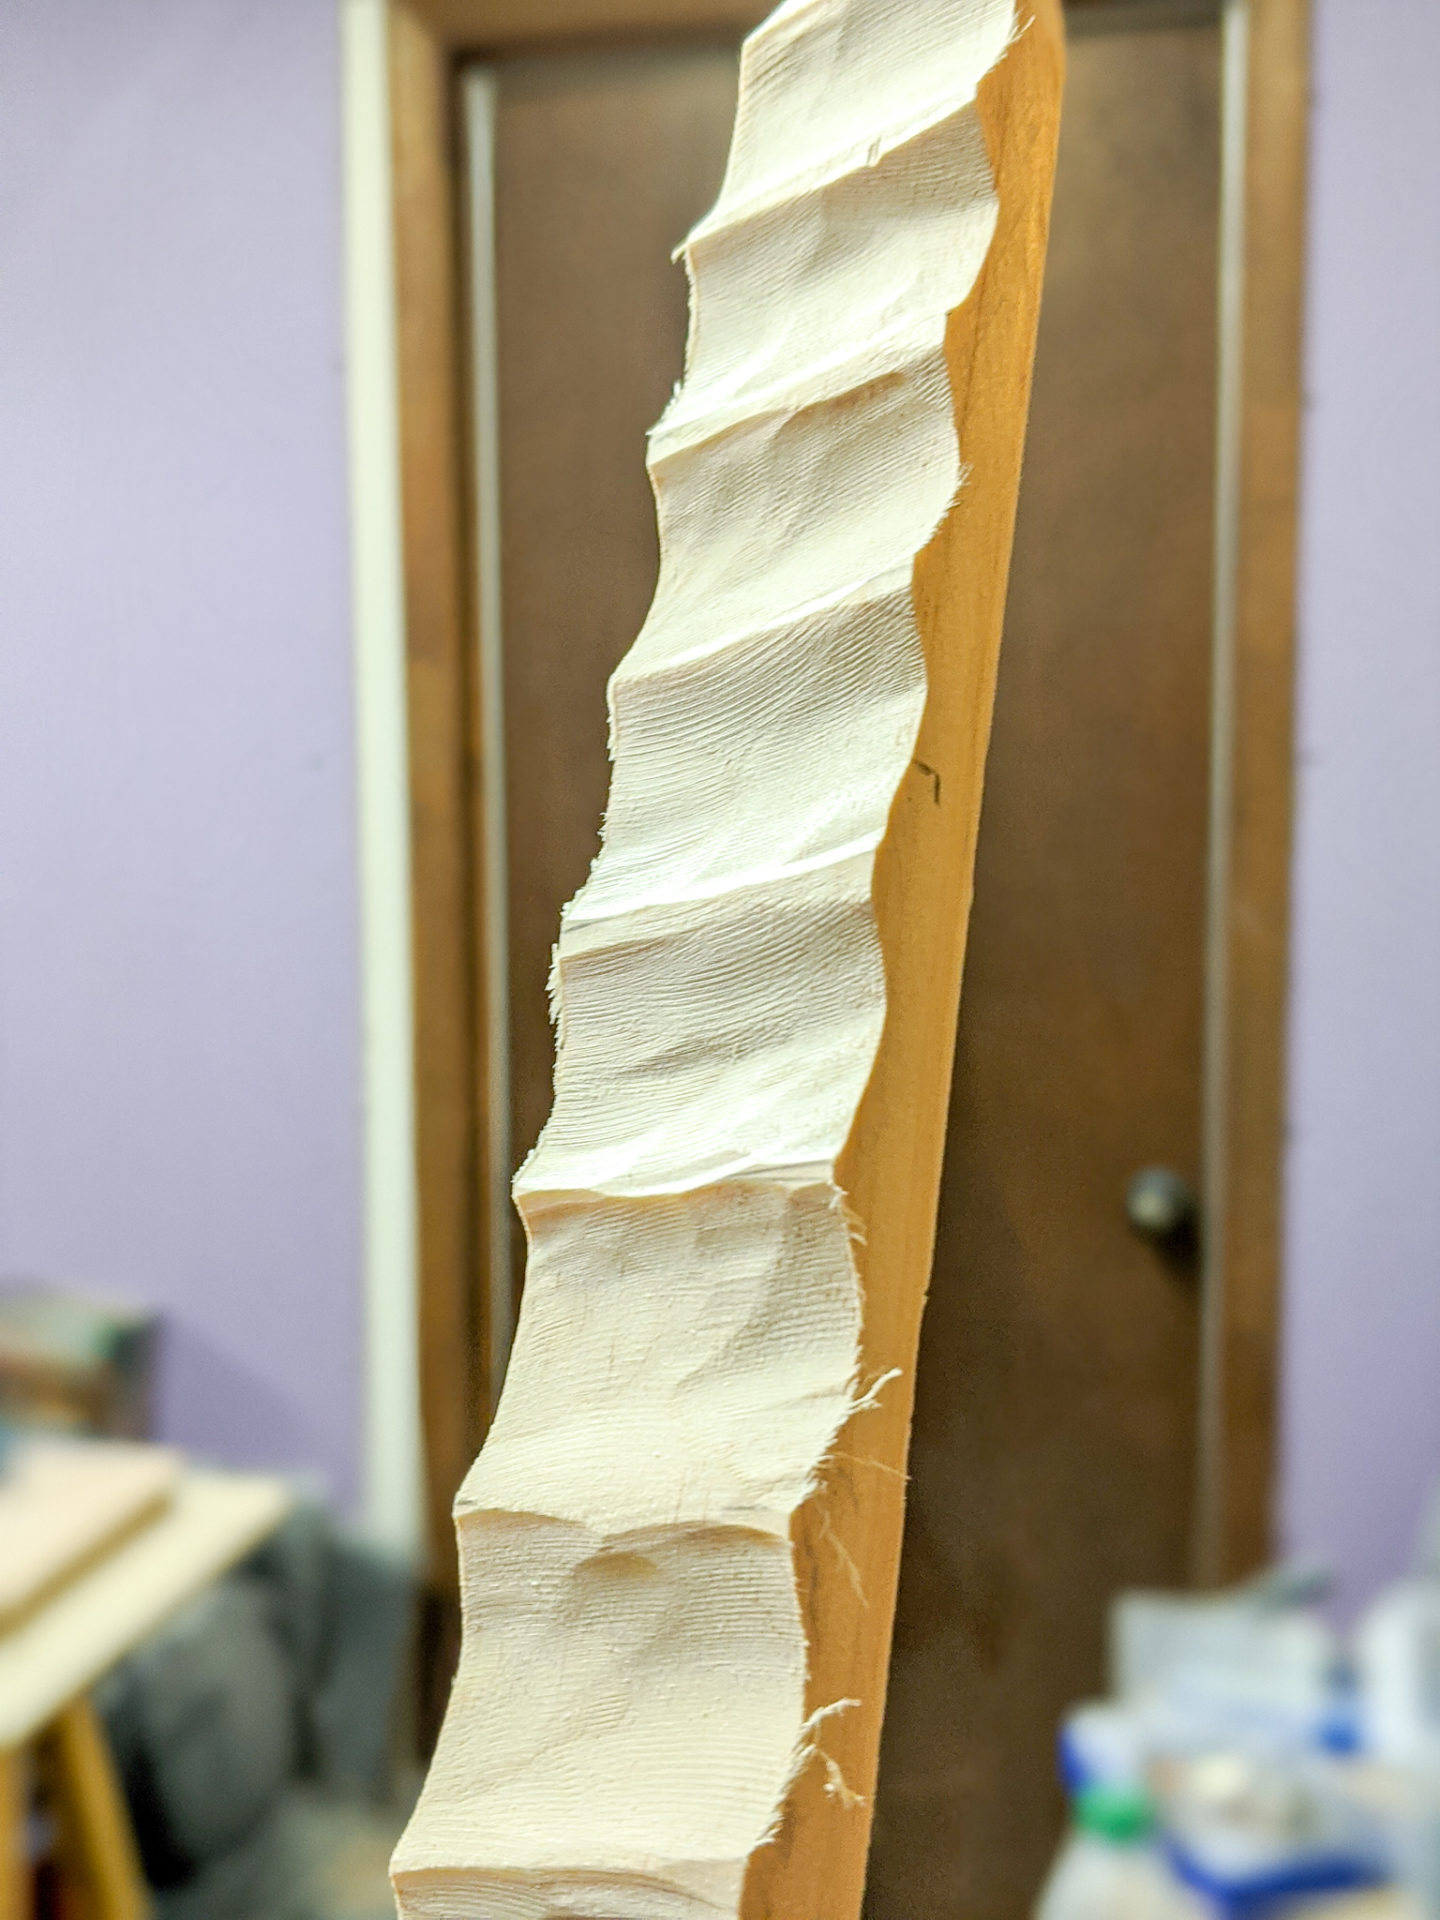
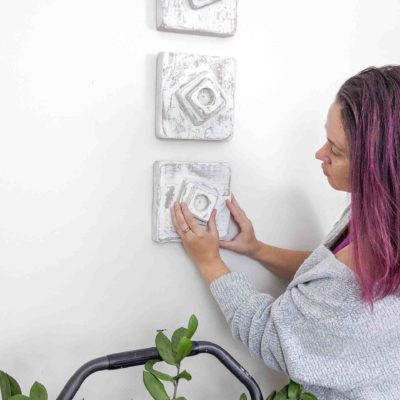
Truth be told, I have another wall art project for this same wall that I’m simultaneously working on; I wasn’t sure if I would finish it in time for this roundup because it involves an obnoxious amount of sanding 😂. Even though I had to postpone revealing both in the same week, you won’t want to miss the other piece! It’s inspired by a midcentury wall sculpture that I know I can’t buy anywhere, so I’m (of course) making it instead. Here’s a sneak peek:
There’s a much bigger feature wall K and I are finishing up in the bedroom as well taking most of our free time (you can see a little of it on the left of some of these pictures). Because of it, we had to move the bed against this same wall where I’m trying to hang things. Not exactly ideal for now, but I hope to have things back to normal soon!
As for this project, don’t forget to pin it! And be sure to check out some other DIY wall art ideas below.


Sarah,
awesome job!! That is a beautiful Moroccan wedding blanket. It looks so heavy. I think your hanger is best suited for your blanket. It truly is wall art!
pinning!
gail
Thanks Gail! Yes, it is VERY heavy!
Wow! That Moroccan blanket looks amazing in your hanger! Great DIY!
Thanks Rachel! Loved your planter BTW!
That blanket is absolutely gorgeous! What a great idea to hang it on the wall to display!
Love how this turned out and I also took notice of how Bryan was not afraid to slap everything and everything on the walls. It made me want to add a little more dimension to mine at home. I have a beautiful rug I could do this with. Thanks for the inspo!!
Right? Yeah I thought it was genius how the walls were used for all sorts of 3D art instead of the usual hanging frames and mirrors. Definitely inspiring!
I totally loved all of these DIY. thankyou soo much