Disclosure: this post may contain affiliate links, which means I may make a commission if you decide to make a purchase through one of my links, at no cost to you.
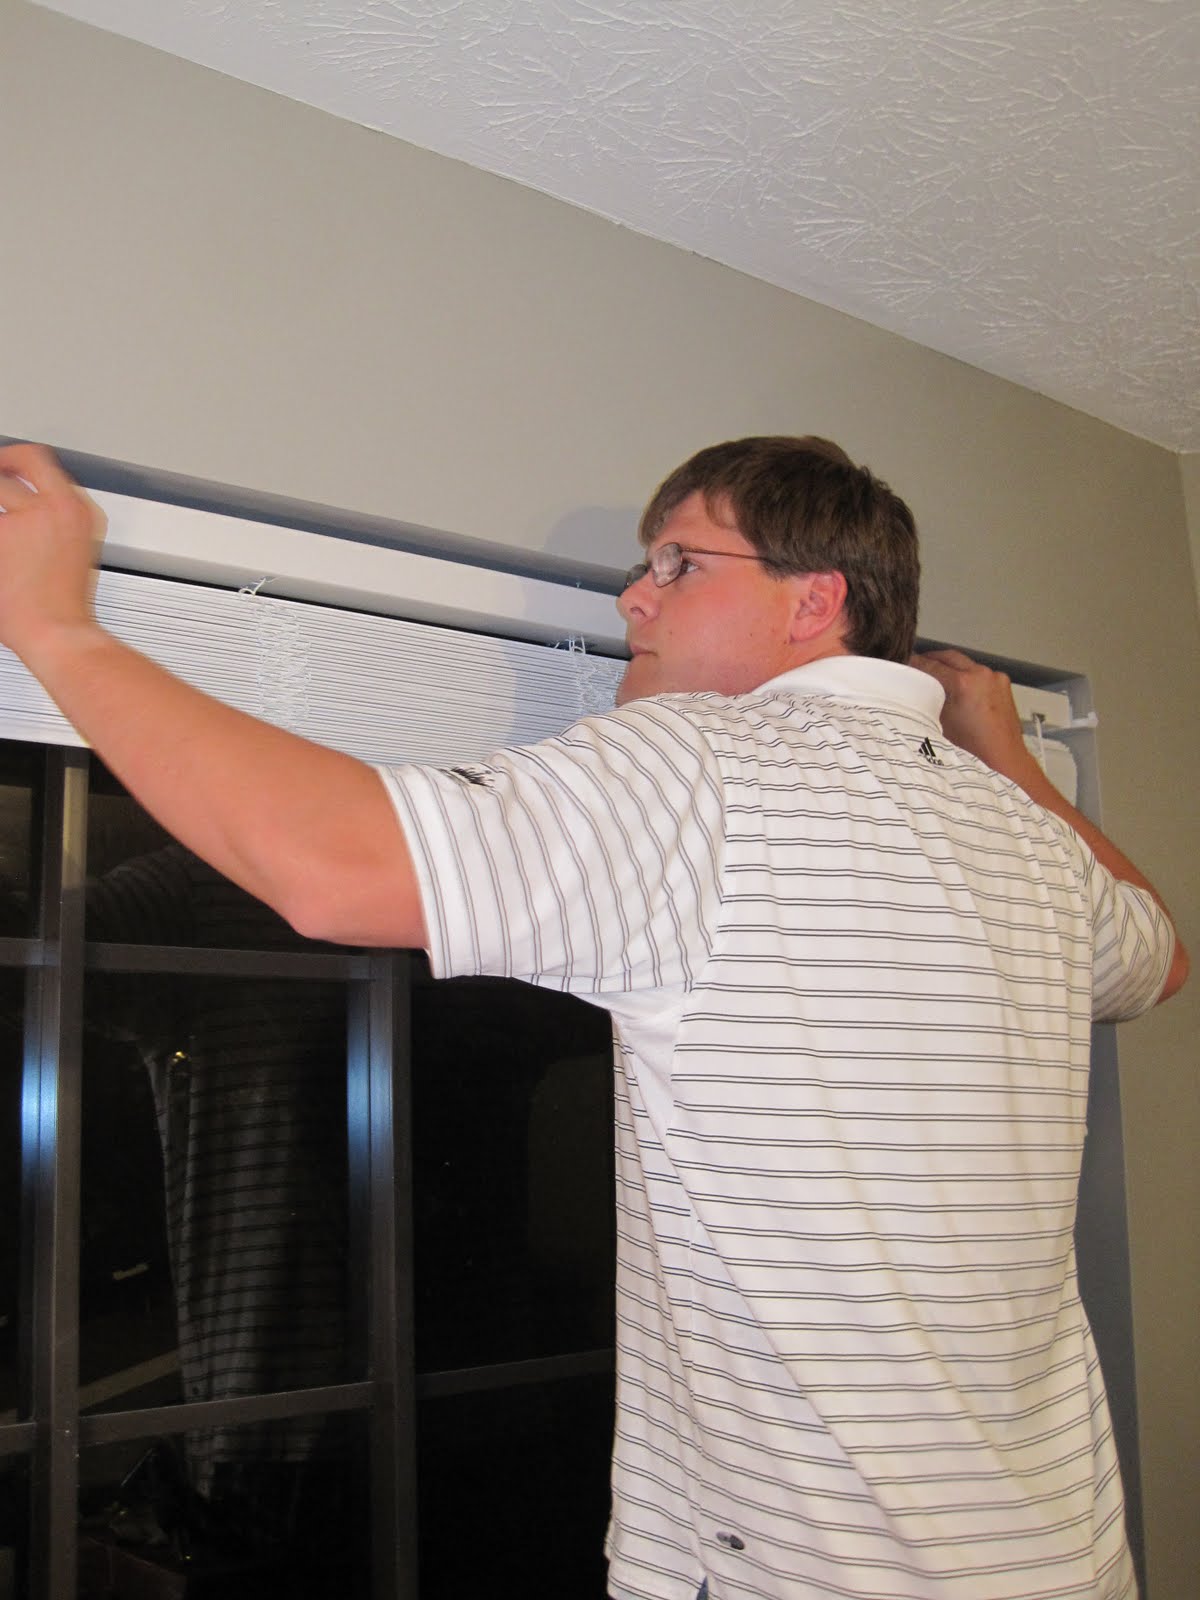
Last night, Scott installed our new blinds while I began painting the trim and finishing the remaining window with the large gap (which you may remember from my previous post).
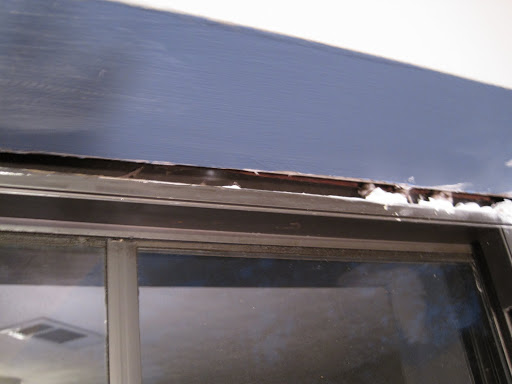
While caulk works for most small gaps, one pitiful window in our primary bedroom had a gap far too large to take care of despite my newfound caulk talents. To fix this, my Dad (knower of all things fixable-on-the-cheap) suggested I try expanding foam. A few clicks of a mouse later, I found that both Home Depot and Lowe’s carry it, and for a lot cheaper than I expected – less than $10 per can. Just to be on the safe side, I got the flexible, water-resistant type for weatherproofing (and Sarah-proofing since the flexible kind is more forgiving).

To use the foam, all you have to do is attach the plastic tube that comes with the can to the nozzle, shake up the can for 60 seconds, and point the tube at the gap. Push the trigger to dispense the foam, keeping in mind to only fill the gap about 80 – 90% full so that the foam can expand. If you fill it too much, the pressure from the foam could force the gap even wider or bow the window.
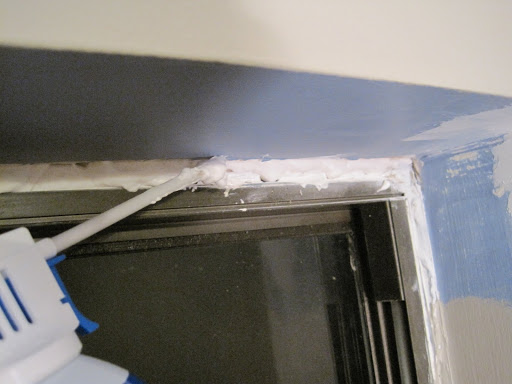
The foam is going to continue to expand, so smooth the foam out with whatever you have lying around (in my case, I used a paper towel). The foam is washable with water (until it is dry) in case you need to remove any overflow or drips. Let dry.

And just like that, your once too-wide-to-caulk and energy-hog window is now much more efficient and ready for painting.

I was surprised it was so easy — pretty much the same as using a can of mousse for my hair (not that I ever do that). At any rate, I am keeping my volumizer faaaarr away from the garage so as to not confuse the two in the future. :)


Nice tutorial. Easy to follow and the pictures really help you to understand each step as you move forward. Awesome stuff, Scott!