
Disclosure: this post may contain affiliate links, which means I may make a commission if you decide to make a purchase through one of my links, at no cost to you.
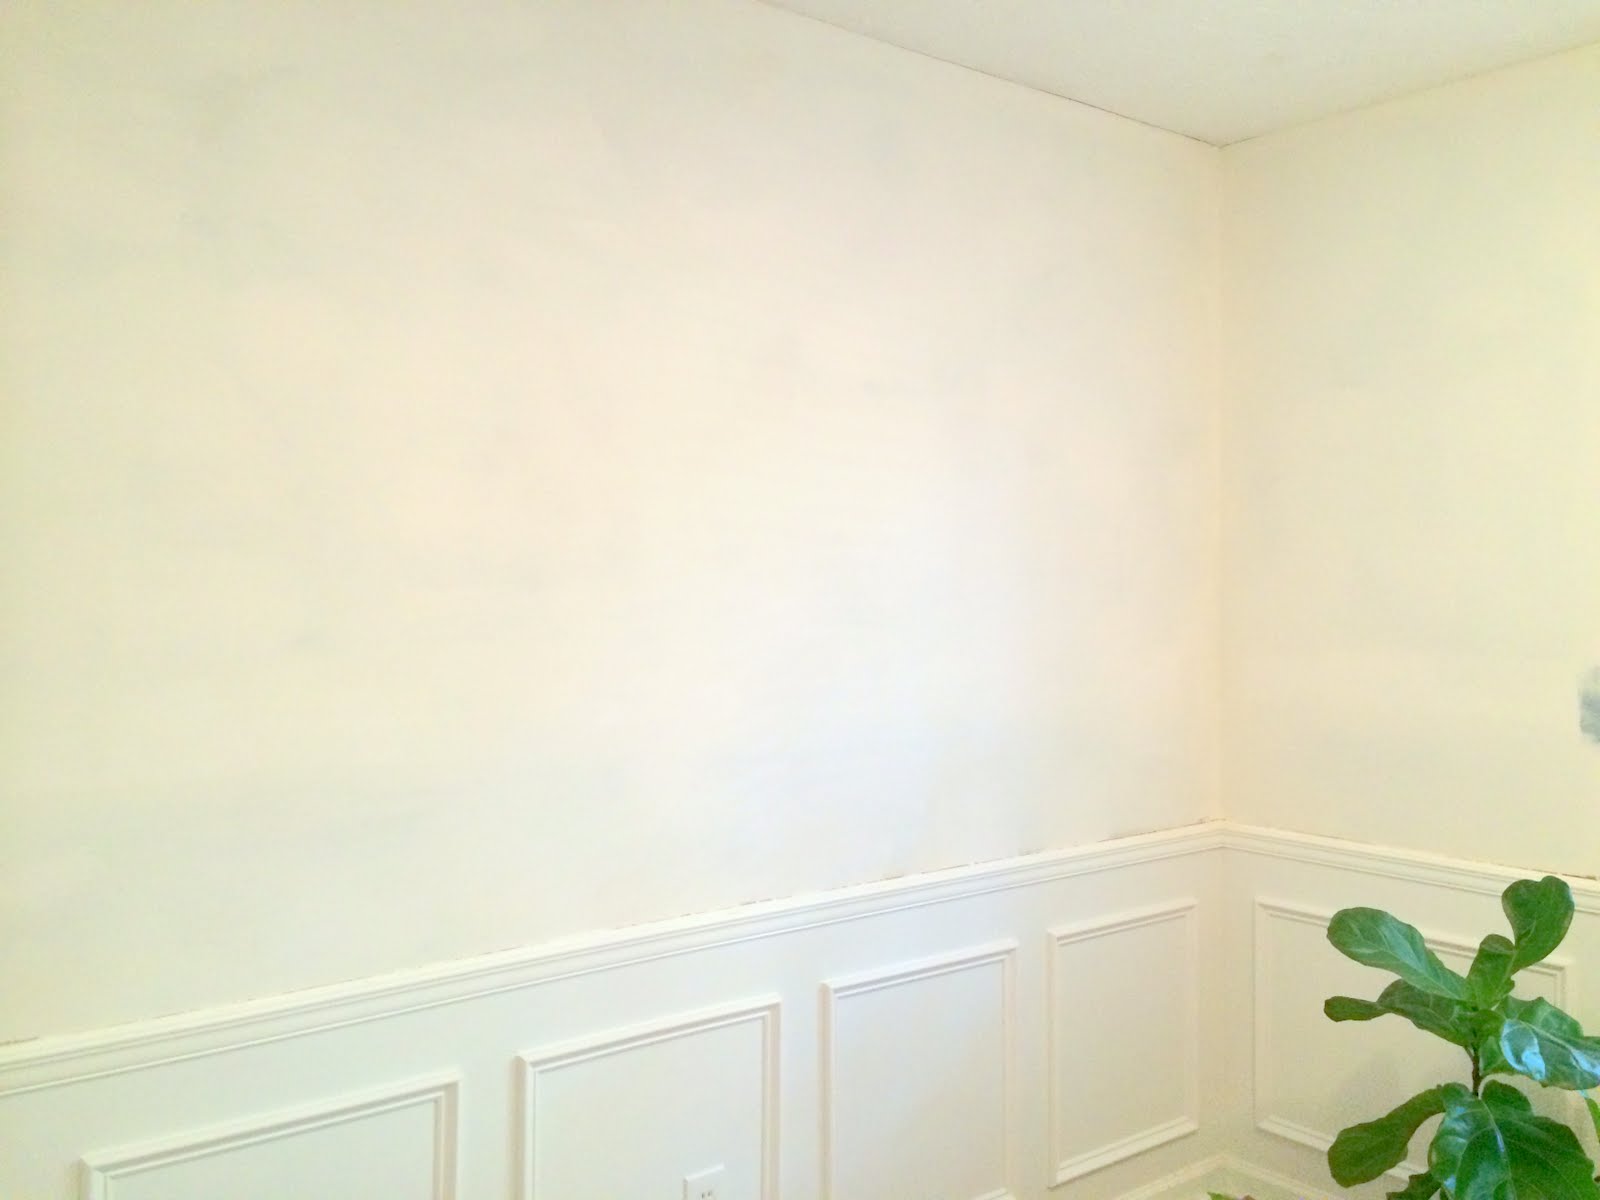
As of this evening, I will officially be done with staring at white walls in my dining room. And it’s about damn time, because it feels like I’ve been staring and sanding the same wall for a month now.
Oh wait – that’s completely accurate.
The hardest part about skim coating is staying patient. When you hit a certain point, you start negotiating with your own self on just how much smoother can you really get with an additional skim coat. Are those little imperfections really going to be noticed by anyone but me? It already looks perfectly fine when I photograph the room. Can’t we just start painting already? Why do I have to take another trip to the store?

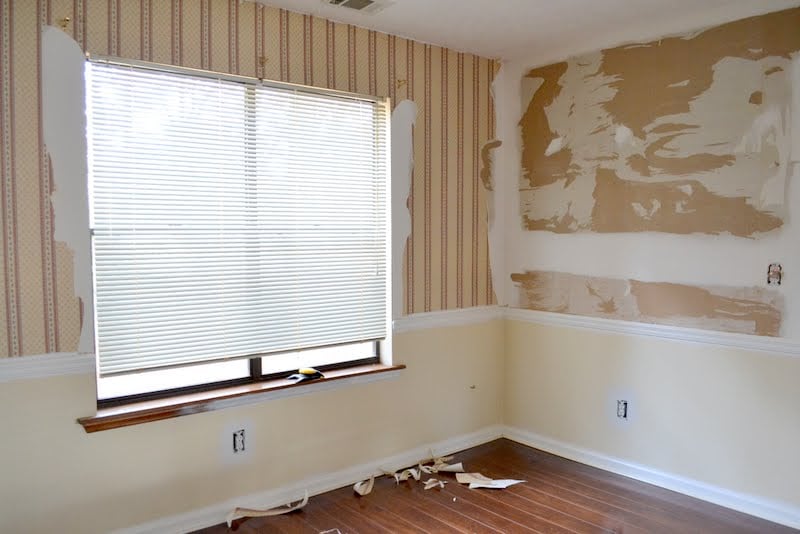
If only. The walls in the dining room have been more damaged than the upstairs guest and primary baths that first taught me how to skim coat and repair damaged drywall. I underestimated how easy it would be to overcome this. More damage means more time double- and triple-checking my work to make sure I am truly ready for paint. I’ve been going over my work at night with a large standing lamp to check for bumps or scrapes in the wall (which when painted over, only become more noticeable… so it’s best to do something about it now instead of rushing into a poor end result).

And speaking of this standing lamp: it’s an old, busted one from my apartment days and used to have a glass bowl at the top (that broke somewhere in a series of moving). I would have gotten rid of it already, but I love using it for helping me see random imperfections along my skim coat (you could also look less ridiculous and buy an actual work light, but I will instead whimsically call myself resourceful and continue to use a broken lamp). What I especially like is that I can put two different kinds of bulbs into the top of it – one warm-hued “soft white” bulb, one cooler “daylight” bulb. It may honestly make no difference to most people, but it seems to help satisfy me that no matter what kind of light I stick in the room or what time of day it will be, the walls look smooth.
I guess I could consider that a blessing not to have tackled this room first… the learning curve may have been too much to handle all at once, and I learned good techniques with the first two rooms. I know that the kitchen drywall will be hardest of all, so I have been using the dining room to test out new theories for how to ensure the best skim coat possible and zero paper bubbling. So far, the oil primer suggestion I received from a contractor a few months ago was mostly a fail. Worst of all was the smell, but after all of the additional effort, I still experienced a few spots of bubbling on one of the walls. I have a new plan to solve that, but it won’t be before I paint the other three walls in here for the sake of visible progress.
Once I have tested out my new theory, I’ll be sure to give you an update post (I’m combining a few tutorials I’ve found online with a couple of suggestions I’ve read from online “pro” contractor forums – which if you’ve ever tried reading yourself, you would understand my frustration of reading 15 different expert opinions and not finding one solution that they can all agree on).

But? VISIBLE PROGRESS IMMINENT. Be on the lookout on Instagram for signs of a successful end result later tonight!
You guessed beer, right? It’s totally going to be beer.


Pics or it never happened :) Just something it seemed appropriate to say. I must get in on a beer/dinner date again soon. I miss you.
Haha. Yes, we’ll have to do that soon. Maybe you’ll be the first person I can share a beer with in the new dining room! Miss you!
Looks good in white too. But I can hardly wait until the painting is shown and revealed although you say “tonight” I will probably have to wait until tomorrow.
Yes, you’re probably right. I’m painting the primer/sealer on as we speak (it’s actually tinted, so there’s a noticeable color change, though the tint is NOT the same color as the paint). I’ll do a full reveal in a couple of days and just a sneak peek of what things are starting to look like on Instagram. Woo hoo, I’m ridiculously excited.
I guess maybe skim-coated walls is common in your part of the country. Here in Southern California we spray a thinned mixture of drywall mud onto the walls, creating either an orange-peel, or a knock-down texture. ‘Texture covers a multitude of sins’ lol.
100% right. We don’t have a lot of textured walls in the Southeast, but I’ve seen it in homes in the Southwest for sure.
It does look perfect in the photos :) Am appreciating your experience on this as I am sure when I decide to take off the board and batten in the back hall my choices will be skim coating or just replace the damn sheetrock!
I’ve been following your blog for a little while now and I truly enjoy your honesty:). As well as your love for beer! It’s nice hearing about a fellow gal who likes beer. The wall looks great to me but we all have our different standards. Looking forward to the end and I can tell you are too;).
Even though some home renos are a pain in the butt, its so worth it! Skim coating can make all the difference in your paint job. If your going to do something, you got to take the time and do it right! Saves time and $$$$$ :)
Gosh I wish I’d found your blog earlier! I’ve just been muddling through my bathroom and today was going over the (already painted) walls and sanding then skim coating them (didn’t even know the term yet!). It’s pretty cool to read about another single homeowner’s adventures and I agree that the honesty is sooo helpful. Good luck finishing up!
I hope you post your tutorial/update for this soon. I have a similar project in my kitchen/dining room, and I really would like your opinion on what works before I get started.
Of course, if you don’t, then I have an awesome excuse for why I haven’t started my project! :)
I’ll put that up on the calendar for next week. If I’m going to be stuck inside for the polar vortex anyway, it’ll be a perfect time to catch up on some decent tutorials :)