Disclosure: this post may contain affiliate links, which means I may make a commission if you decide to make a purchase through one of my links, at no cost to you.
This post may contain affiliate links. This won’t change your price, but may share some commission. Read my full disclosure here.
My friend Charlotte and I are in a DIY battle to renovate our guest bedrooms. Catch the entire series here.
Back today for a new update on the guest bedroom! By now, most of you already know what this is all about, and that we’re getting very close to the final reveal.

But for those just now tuning discovering my Dueling DIY challenge, welcome! I created the Dueling DIY series because it’s a great way to keep me focused on a much-needed project that has been hanging out on my to-do list for too long. By challenging another blogger who is doing the same project and committing to bi-weekly updates (along with a vlog recap each month), it makes for a lot of fun — especially the smack talk.

My pal Charlotte from At Charlotte’s House, aka my chosen co-host for the guest bedroom series, almost makes that last part too easy. Her house is so hideously designed that it was recently photographed for Better Homes and Gardens. So, zero pressure for me, obviously.
Anyway, enough about that chump, let’s talk about what you came for: the guest bedroom. With the Murphy bed now complete, it’s time to enclose this bad boy inside a great-looking built-in wall of cabinetry and shelving.
Lots of decisions
For the sake of “I know, it ain’t much yet,” I don’t really have that much photographically to show for progress made. But it’s there. It’s mostly been a shitload of math and mental preparation. Making sure things start level and stay that way. Making sure I have the correct hardware to create my cabinets. Analyzing and obsessing. And learning how to use my dad’s old table saw for the first time!

I’ve never built cabinets before. I’ve also never installed a sliding shelf. So, before I start to make any large cuts, I’m checking and double-checking my measurements. A height of 36 inches is considered “standard” for a kitchen counter, but I don’t need cabinets that tall. And while a standard dining table is around 30 inches, that seems too low. So, much like this house’s nickname (Goldilocks), I’m picking another number that seems juuuuuuust right. Somewhere in the middle. The rest will serve as shelving space, except for the upper light area that will also hold storage. For reference, here’s the 3D sketch I started with:

I also grabbed some of the scrap plywood from the Murphy bed build and used it to help confirm that the shelves above will balance things out. I think this height will be perfect!
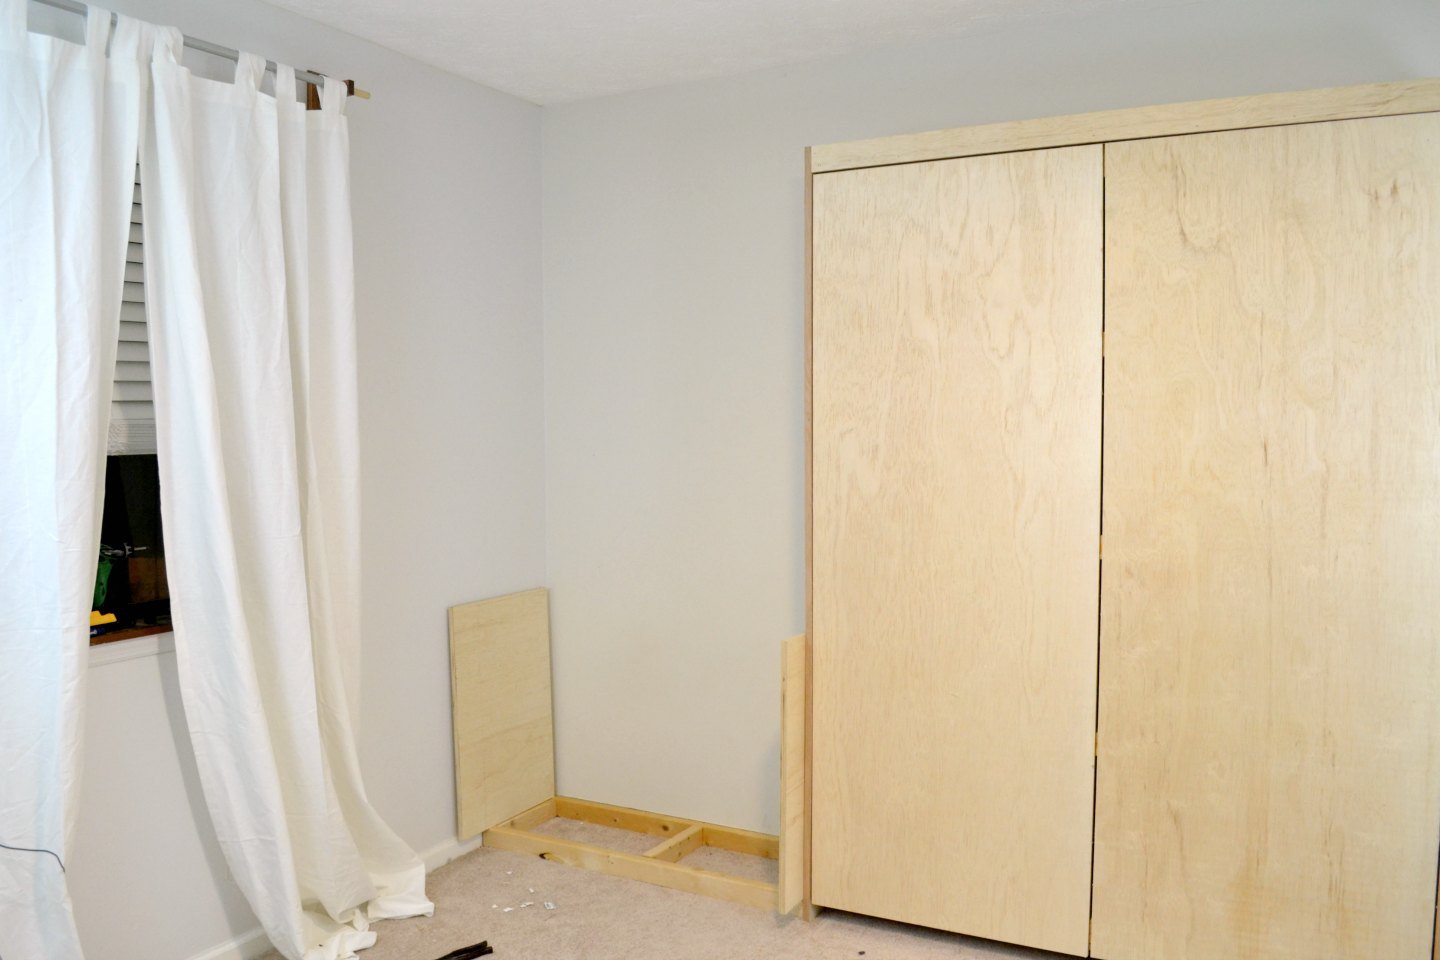
Cabinet platform for baseboard
These built-ins require installation from the bottom up. That means first dealing with the whole baseboard situation. I replaced carpeted areas within the first year of moving into the house; while that was the right decision (the old carpet, ew), the new carpet was thicker than the old, and that hid the baseboards a little. It’s not really something I notice or care much about day to day, but it was something I needed to work with. It’s pretty common to create a small platform on the floor so you have a level place for the cabinets to be installed on top. This is the “toe kick” and easily accomplished with 2x4s, since the baseboards are often the same height.
And as it happens, I built the darn 2×4 platforms this week, at first, without thinking about any of this.

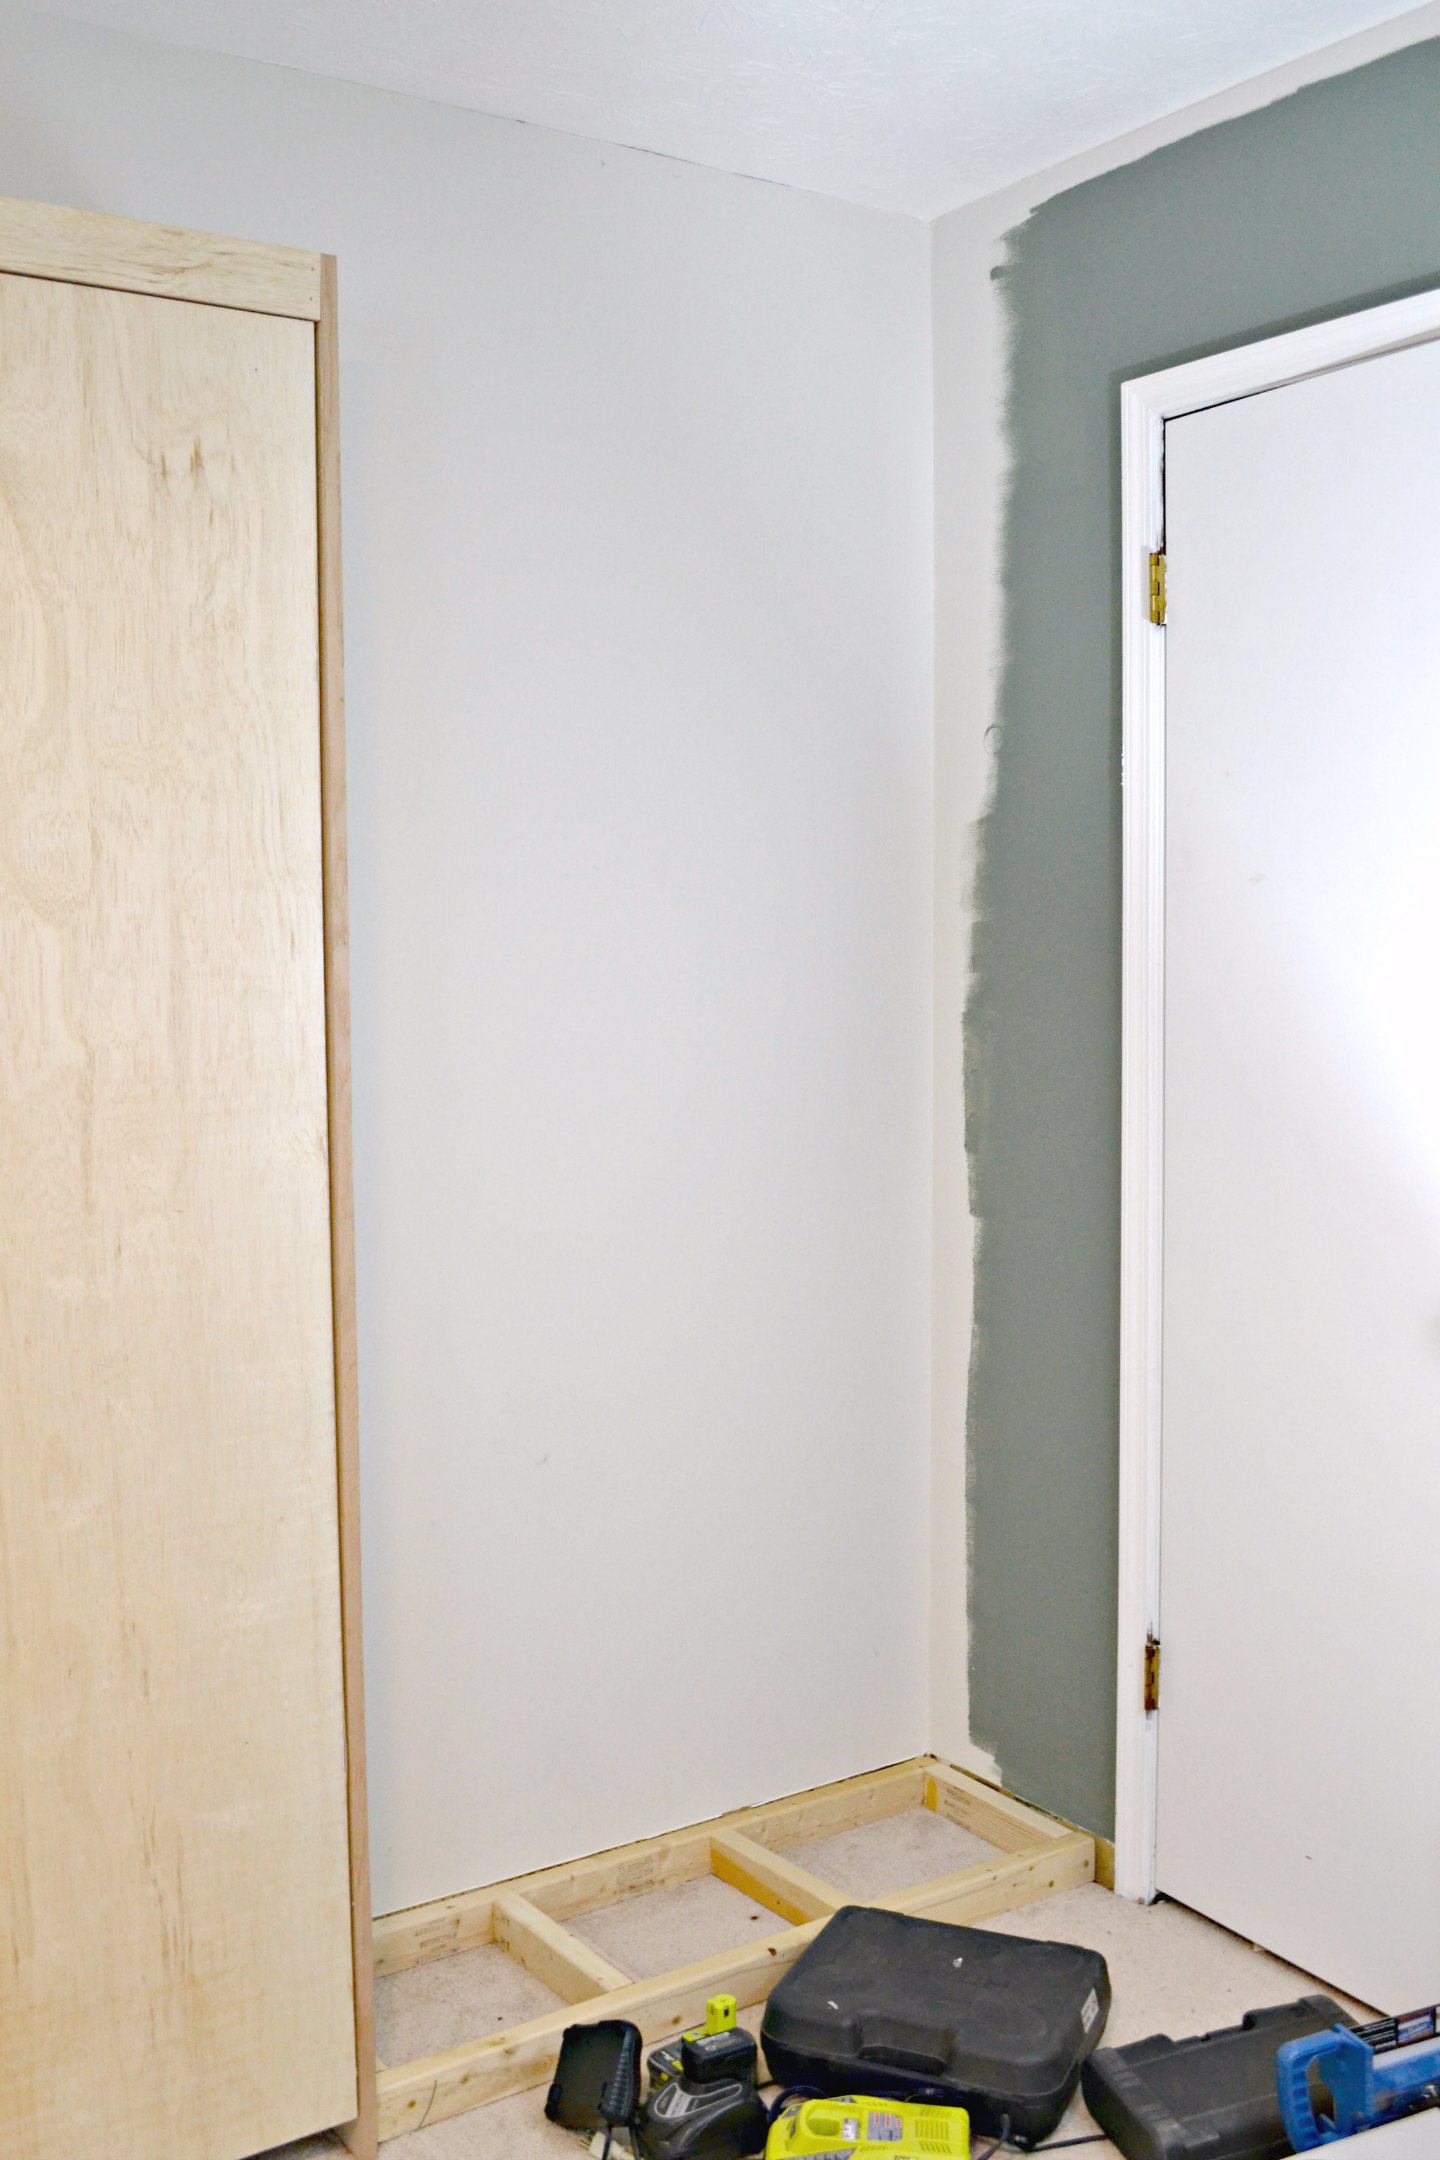
Surprise! It wound up being an incorrect height thanks to the carpet. I want the cabinets to sit over the baseboards and flush with the Murphy bed. That meant either:
- Option A: taking out a section of carpet on both sides to install the 2×4 platform (and possibly easier to level without carpet) OR
- Option B: take apart my 2×4 platforms, rip them down to match the existing height of the baseboards, and re-install
Ultimately, I went with option B. I was convinced that removing the carpet was the right move at first, until I put it out on my Instagram stories and had about a dozen conversations with people debating the pros and cons. I changed my mind, and ripped down the 2x4s instead. It worked perfectly; they are exactly level, too! That never happens!
Cabinet doors
The cabinet doors were another complexity I made some assumptions on when ordering my hardware (by the way, both the Murphy bed and the cabinet hardware have been generously provided to me by Rockler, so you’ll see me mentioning them again as a sponsor when I do the more elaborate DIY post that includes the install video). For these decisions, I went straight to the internet for info. Ultimately, I decided on an inset style of door, which you will notice doesn’t 100% match my initial 3D mock-up. However, I think because the Murphy bed has a visible frame on either side, this will look more intentional and match well.

By the way, my pal Sandra from Sawdust Girl happens to have a lot of info on cabinetry (such as the pic above), if you ever need tips!
Possible lighting options
I think it’s going to take me a while to track down the *perfect* set of lights to install, but I should be able to make some headway on the electrical before the next update. Here are some of the general looks I have been eyeing, but doing something DIY that uses a wood feature like my kitchen light is ideal:

Art
I’m anxious to get started on the art that will go on the Murphy bed, but I am trying to be patient with myself and work on it only after getting the shelves installed (my reward to myself, in a way).
So, there you have it: a lot on my mind! I’m thisclose to pulling the trigger on my first cut (always the hardest). I hope I can show off a ton of change in the next update!
Charlotte has mentioned to me that she’s probably going to be done with her room in two weeks. Then again, she’s said that before, too. Her room is smaller than mine though, so the possibility of her finishing first was always a possibility. Still, I have every intention of finishing these series strong, even if there’s more to do to this room. And we all know that finishing fast isn’t necessarily a virtue ??. Be sure to check out Charlotte’s latest Dueling DIY update over on her blog and be ready for another video update in two weeks. Don’t forget to give her crap on her design choices on my behalf; try to make her cry, if you can.

More updates comin’ right up!


I can’t wait to see the final reveal!!! Looking great!!!
I love that subtle yet textural ‘pop’ of 2×4 you’ve added to the space. Inspirational, really!
Love that you’re calling yourself “the winner” — just like a loser would do. #fakeittilyoumakeit