
Disclosure: this post may contain affiliate links, which means I may make a commission if you decide to make a purchase through one of my links, at no cost to you.
This is just a fun, quick update… but you should watch the video to see a sneak peek of what I’m posting about tomorrow! 😉
As we continue to do some polishing and demo on the vintage camper project (new posts coming soon!), we’ve noticed that occasionally, someone else in the storage lot where Ruby is parked will drive by. As they do, they often slow down and take a hard look at what we’re working on and wave. It’s exciting because we have one of the oldest campers there and people are clearly interested in our restoration project!
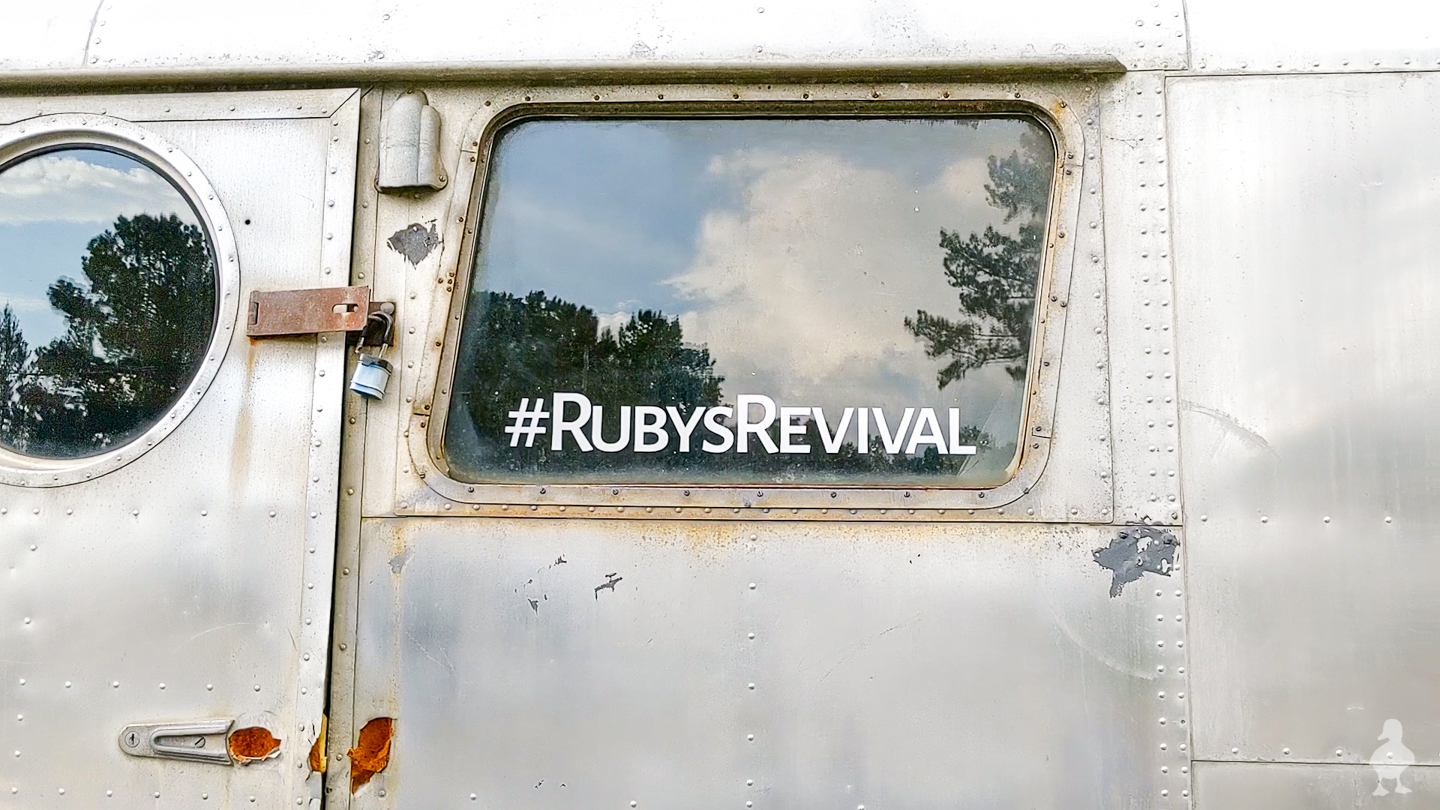
K and I got to brainstorming one night, and I asked a friend of mine, Jacque (you may remember her from The DIY Village) to create some decals for us for Ruby. She has a business called KTownCreative for custom items, and I figured that a few window decals where we could share the “Ruby’s Revival” hashtag would be perfect to show passersby how folks can follow along with the project and help them discover us.
Now, I of course don’t expect that there will be a flood of interest, nor is this forever. Most of the windows will eventually need replacement or additional repair. But I figured it can’t hurt! This is actually the first time I’ve ever even applied decals like this to anything, so I’ve got a few tips for ya:
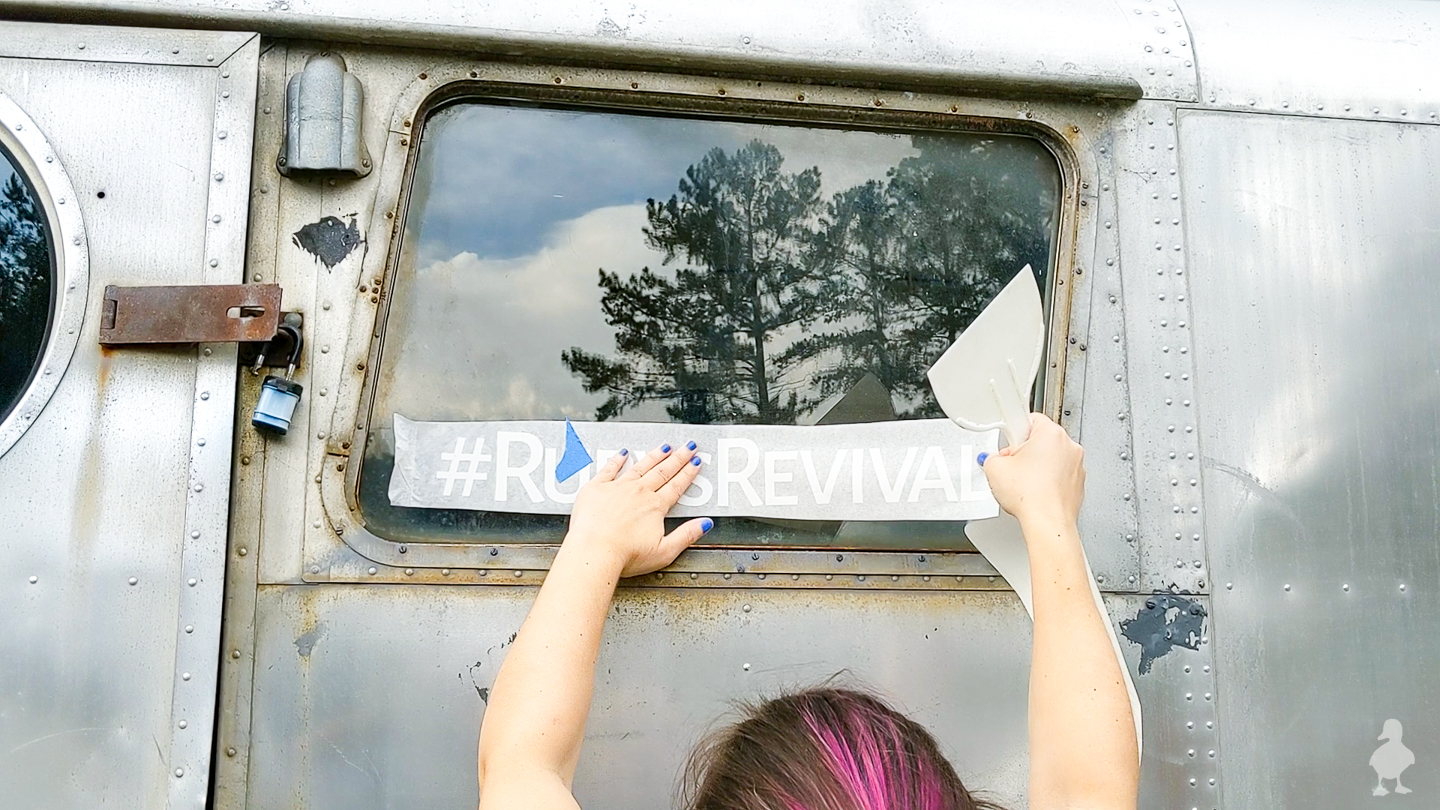
- Take your time to get placement lined up. It may even be a good idea to try to find a way to mark a level line if you can (I didn’t and things are a smidge crooked if you stare long enough, but NBD since this is not forever).
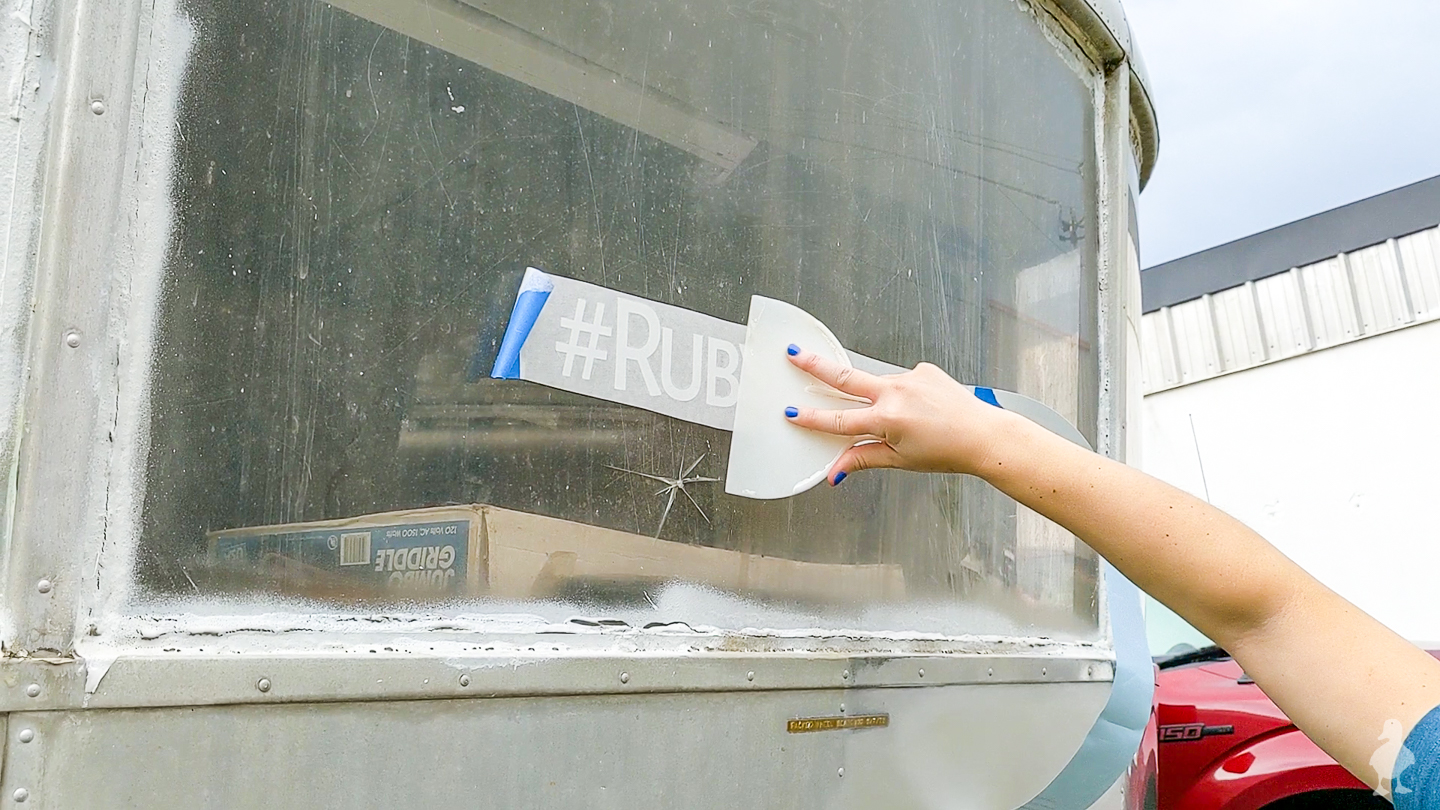
- Use a flat scraping tool (I would suggest plastic like the joint knife I brought, a putty spreader, or even a used gift card).
- Attach one end and force the air bubbles out as you go.
- Apply in one direction only.
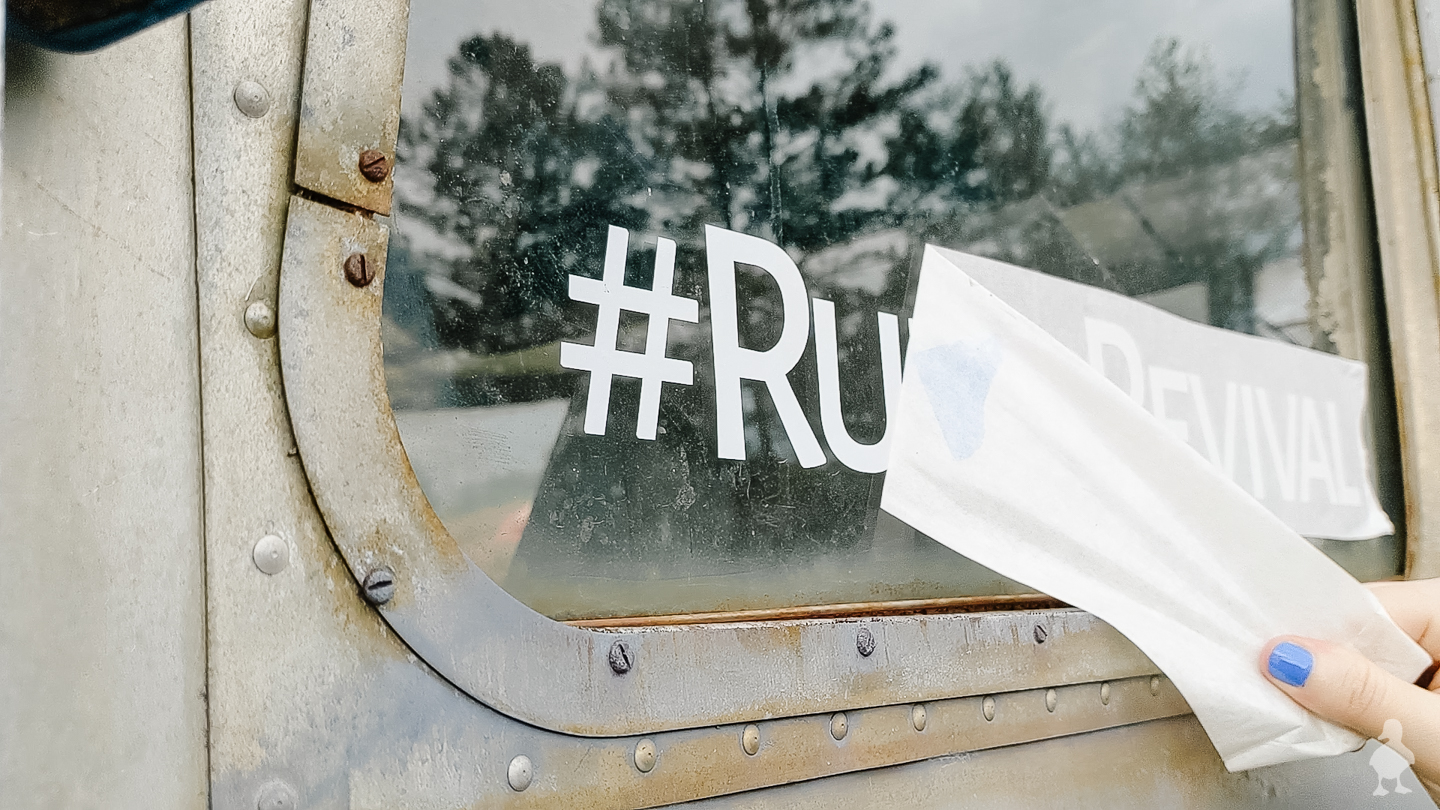
- Peel off the tape on top at an angle so as to not peel the decal back off the surface.
Video: How to Apply Window Decals
I made a quick video so you could see the end result (we were trying to hurry because of the rain!). It’s definitely not rocket science, but I especially like the clip at the end. More on that in a BIG announcement post going live tomorrow! ♥︎
We’re planning on taking Ruby home in the next month or so to do some more work (trying to do everything via battery tools and trips out to the lot is slower, and we figure we can get the rest of the demo done faster by bringing it to the house like we did when we pressure washed it). So, it will be fun to see if looky-loos check in with our project when they see us pass by. 😊


WOW! WOW! and WOW! You better not be kidding meaning vs a miniature human it’s a mini camper! CONGRATS if human – MEAN if camper! If human can we get a real intro to K?
Haha yes, real HUMAN mini! New post all about it is now posted. And I’m talking to K about doing his own post at some point from his POV about becoming a dad, so that may give him a good chance to introduce himself! Since he has a regular job & he’s more of an introvert, I want to give him space/privacy so I’ve never really pressured him to get too involved blog-wise (during the builds, certainly!). I also think he’d be great at starting his own gardening account since that’s a big passion for him, especially on IG. :)
No way! My caravan is called Ruby too! Look up the Rock’n’Roller Parlour and you’ll see her in all her glory. Your Ruby is stunning!
Thank you Natalie! On my way to check it out…
Would love to see more Ruby updates. I have a 1955 Spartan Royal Mansion double ender.
Cheers
Sue
You bet, working on the next installment now!
Hi Guys
I am at the very beginning, considering restoring my 1952 star travel trailer, 30 feet. My father purchased it and parked it there in 1967. It’s been parked on the land for 55 years with tires dry rotting in a shed. Four years ago I had to put a rubber liner over the roof to stop the leaks. And given its location its impossible to make it mouse proof. There’s never been running water and no electricity for the past 15 years. Just propane for heat, stove and light. It’s time to make it livable again and give it new life, and maybe a little bit of New life for me as well in the process.
My first issue is to find new tires and someone to to do the majority of the work. It rests in Bowler, NE Wisconsin.
Thanks for your videos. Very helpful especially in providing an inspiration to begin.
All my best
Mac
Hi Mac! I’m so glad you have found us and have your very own fun project to work on! We definitely can relate to the dry rot tires! I hope you wind up with an amazing finished restoration that you will enjoy for years to come (that’s our goal too!). We’re getting back to work on it in the spring so I hope to have new videos up soon. Much appreciated that you will be following along!