
Disclosure: this post may contain affiliate links, which means I may make a commission if you decide to make a purchase through one of my links, at no cost to you.
Just a few weeks ago, I painted my primary bathroom cabinet with the Rustoleum Cabinet Transformations kit. I went into the project knowing I would eventually remodel the bathroom (replacing the floor, ripping out the cabinet, the whole nine), so I wasn’t expecting a permanent solution. If I hated it, the bathroom would only be months away from a fresher space.
While that plan is still on (I’ve already picked out the replacement cabinets and am holding out for a sale), I was impressed enough with the results that I decided to paint the matching guest bathroom. And since I didn’t provide a full photo tutorial last time, I decided my second trip around would give me the opportunity to provide a few more details along the way.
The Rustoleum Cabinet Transformations kit comes with both a DVD and a full programming-your-VCR-style manual, so my intentions here are not to remake the wheel. But let’s face it; when I want to start a project, I normally pour the paint into the tray and then flip the manual open. I want to get it going already. Which inevitably leads to me expressing a few expletives once I realize I’m a couple of hours away from dipping the brush into the paint. This tutorial is meant for folks who, like me, kept CliffsNotes in business during high school.
For this project, there is waiting time between each step. Not counting the 24-hour cure time after you finish the top coat, you should expect this to take about 12 hours from start to finish. I say this because I had to use four bond coats to get full coverage instead of the two that the kit instructions indicate. The good news here is that there is a significant enough break between each step that you can complete tons of other projects during your wait.

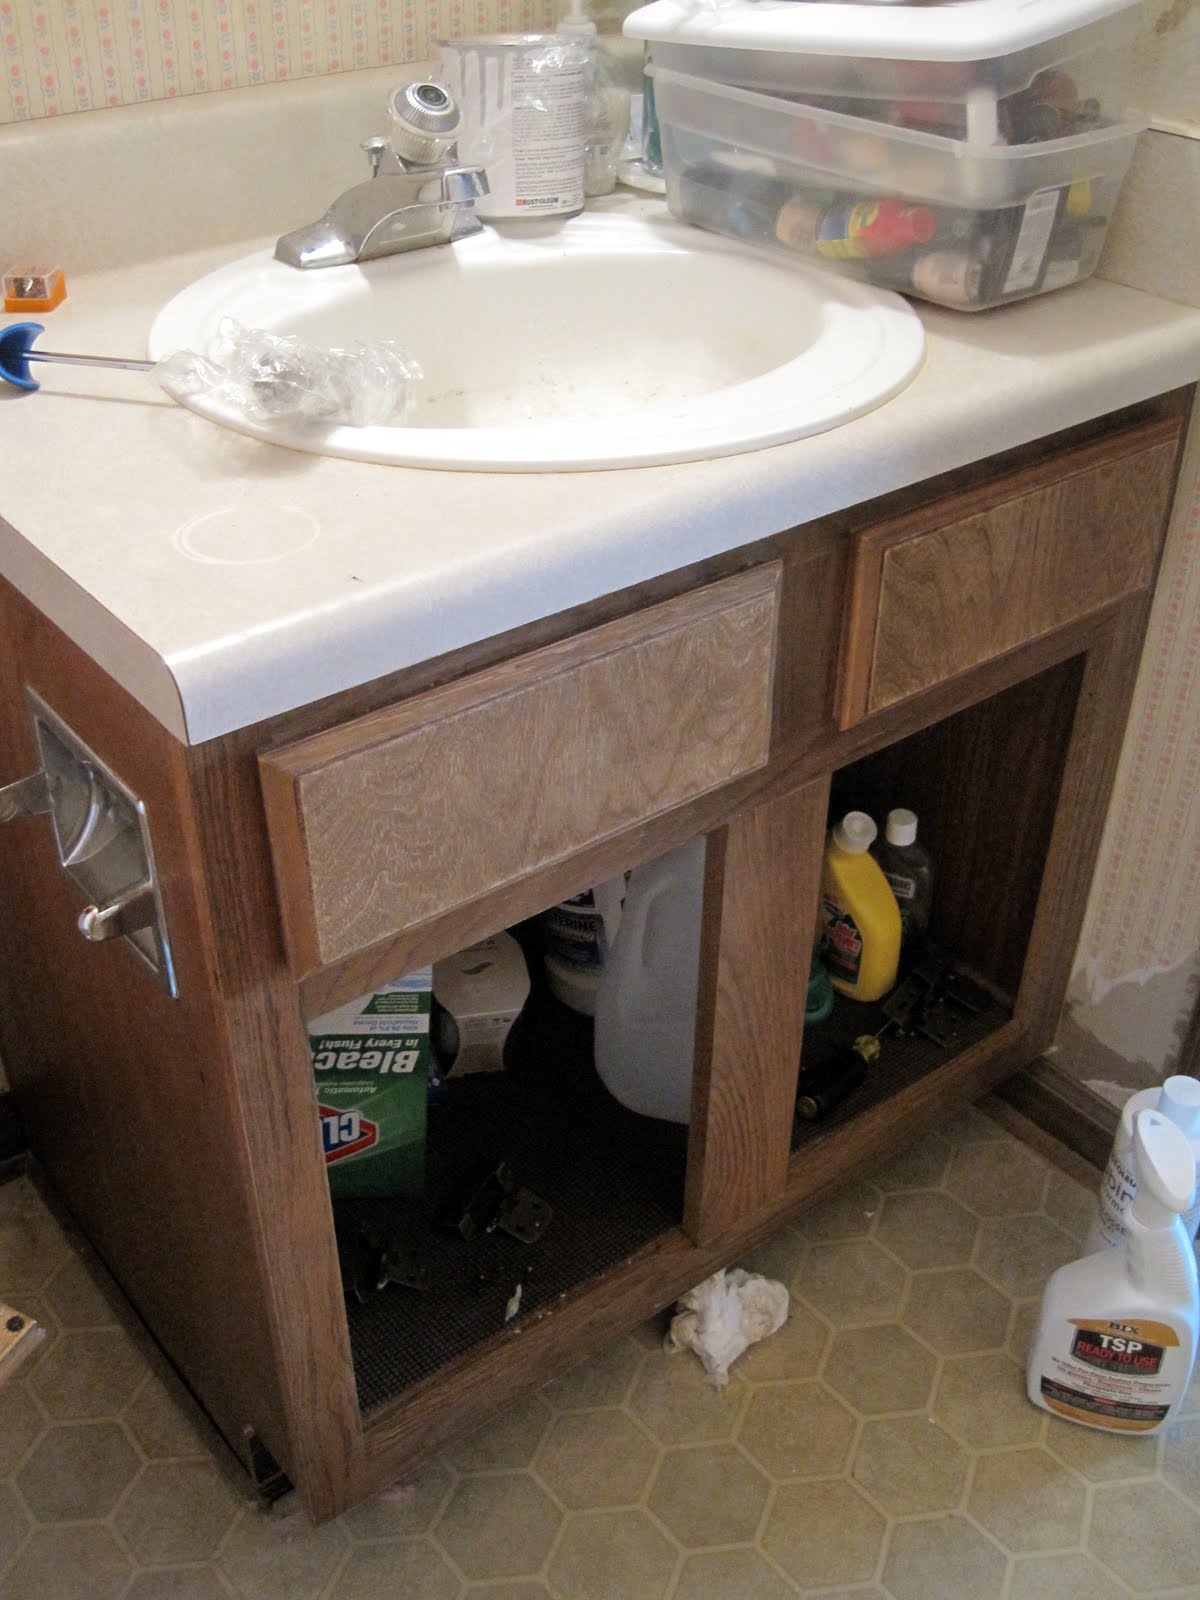
(Pre-Step) Clean: As with most painting projects, it’s important to thoroughly clean your surfaces. I used a no-rinse TSP substitute to clean the cabinet and prep the surface for painting.

1. Degloss: The first step in the kit is to treat the cabinet surface with a deglosser. This, by far, is probably the most important step in the process since it can make or break how well the bond coat sticks to your cabinets. The kit comes equipped with scrubbing pads which also help to work the deglosser over the surface. Make sure you get every single inch. According to the written instructions, it only prepares the surface for adhesion to the bond coat (which you’ll see later), but I found that it took off a smidge of the cabinet stain as well.

Before moving to the next step in the kit, you must wipe off the deglosser residue with a wet cloth. I used paper towels (in “kit” situations like this, I usually use disposable products in case there is any remaining residue). Depending on how thick you applied the deglosser. you may see some white streaks or bubbling. Keep wiping the cabinet with water until you don’t see this anymore.

… Wait 1 hour before beginning the first coat of paint…
I found the toilet lid served well as the area to allow the doors to dry. In a tiny bathroom, you’ll take all the space you can get! And I have no idea what that red splotch is on the linoleum. It was there hanging out with the fingernails and orange ceilings long before I showed up.

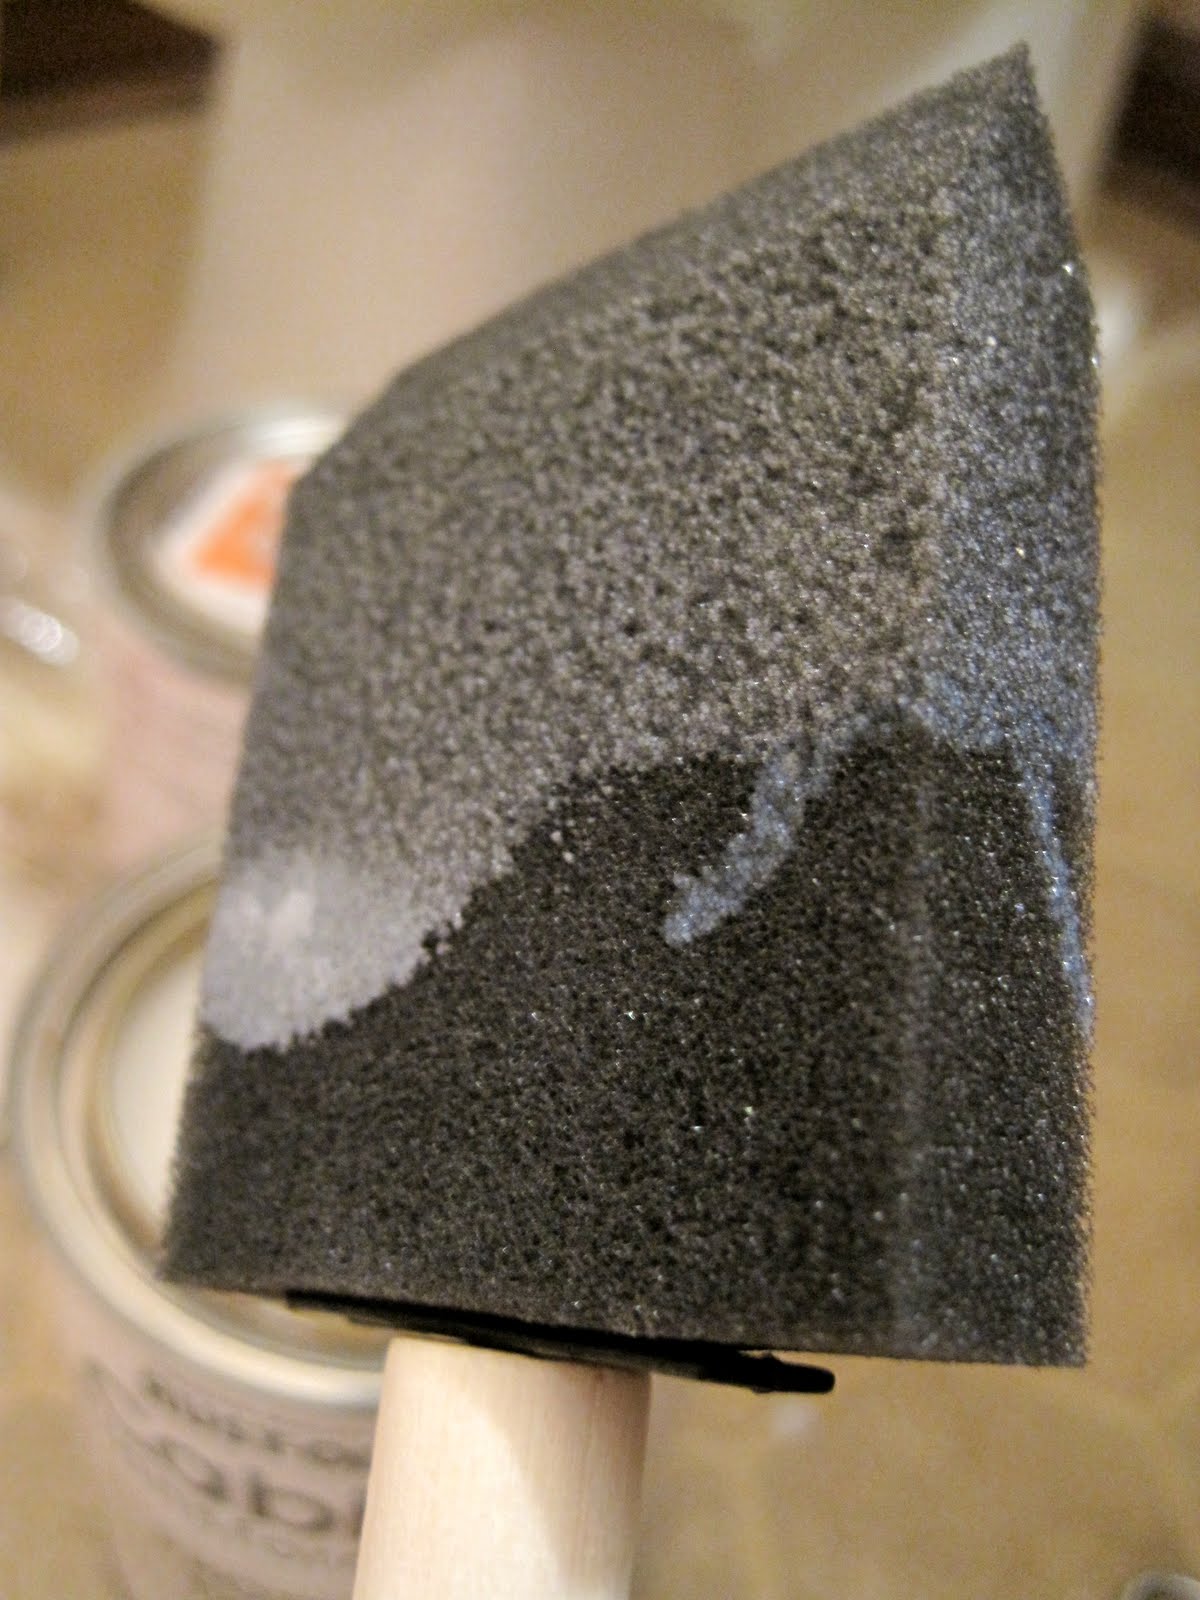
2. Bond Coat Application: The bond coat is the step that is matched to the various color options in your kit (there is a dark kit and a light kit, with 35 colors to choose from. Glaze doubles your finish options, giving you a total of 70 color choices). I recommend a foam brush or a foam roller to get the smoothest finish possible and to reach all of the little nooks and crannies. Because my bathroom is so small, some areas were hard to reach, so I found it was easiest to start on the side of the cabinet and paint it with a foam roller before trying to tackle the front. With the toilet so close to the side of the cabinet I was painting, it helped to get all of the arm twisting and contortion out of the way so I could comfortably sit ont he floor and paint the front without having to go back and twist around the side as I avoid the wet paint in the front.

Another tip is to begin on the cabinet face before beginning on the drawer fronts. In doing so, you don’t risk screwing up the cabinet front as it starts to dry.
…The manufacturer’s instructions will tell you to wait 2 – 3 hours between each bond coat. Since the coats dry flat and it was a warm, breezy day, I wound up shaving that down to about an hour…
3. Glaze (Optional): I really have no tips on this since I’m not really a glazing fan, but I’m glad that I have the option. I chose to skip this and proceed directly to the top coat.
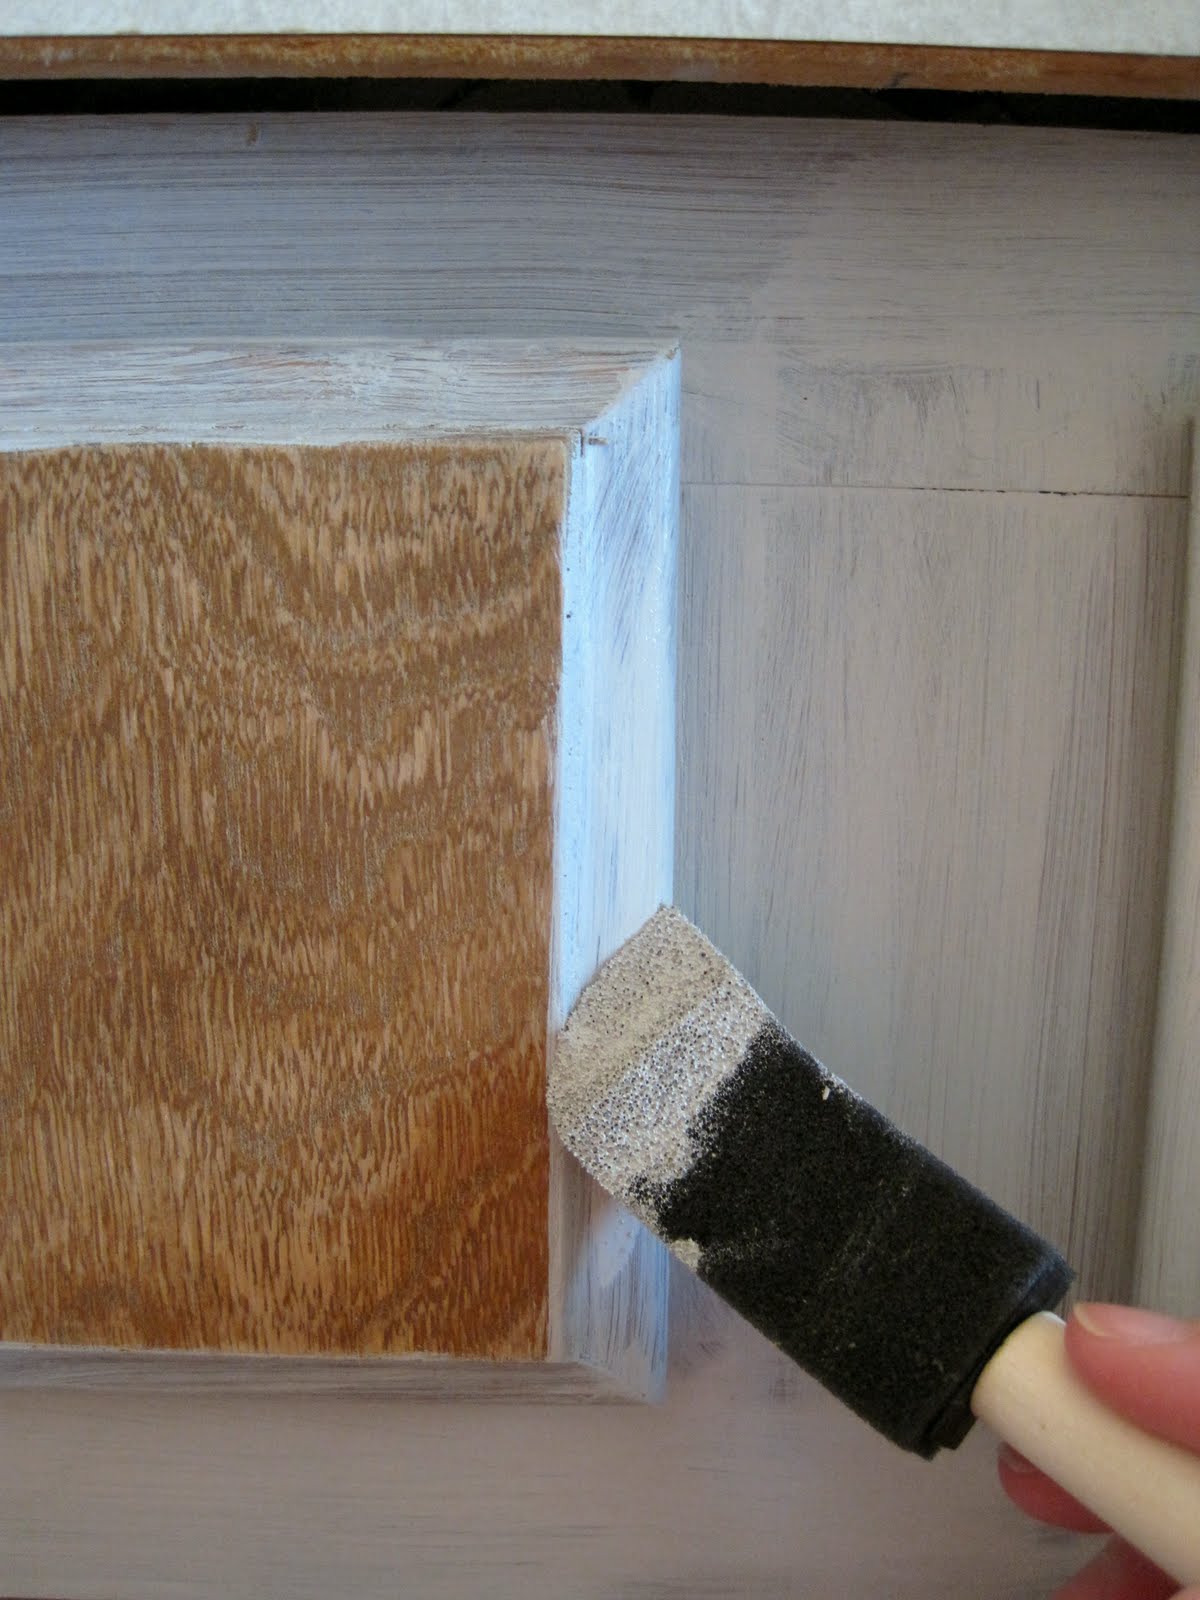
4. Top Coat: Only one coat here is needed for the protective coat, and the finish will dry with a satin sheen. You will notice that the top coat looks pretty milky in the can, and tends to lighten the paint finish slightly during application.

I found this was helpful since it allowed me to see where I had already applied the top coat. It is important during this step to sweep the glaze over each part of the cabinet only once. The finish starts to dry pretty quickly, so going back over it will only gunk up the sheen.
…Allow a full 24 hours for the paint to cure, and you’re done.
When I first painted the primary bath with this kit, I wasn’t 100% sold. Now that it’s been in the house for a couple of weeks, it’s really grown on me and I’m happy with the results. My plan to test out this kit before taking on the kitchen seems to have been the right way to go, but I still have a few reservations. For one, I wasn’t in love with the grain still showing after four coats of paint, so I may still have to do some sanding after all. Also, I don’t think a satin finish is the right way to go on an area like the kitchen, so I may use a different poly for the top coat. At any rate, the time I could save over the primer and oil-based paint option is significant, and the idea that it could be this easy to accomplish is making me even more excited about tackling the kitchen.
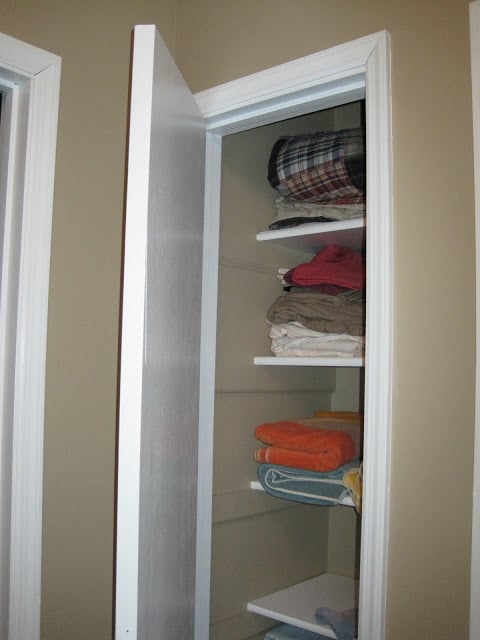
But, until then, I’ll just end this post with an old-fashioned (albeit underwhelming now that you’ve seen the primary bath already) B & A. For more details on protection to use with the kit, the final finish on the doors, and my choices for possible new cabinet hardware, see my posts here and here.


Thank you for the wonderful tutorial and most of all for you insights. A friend of mine just picked up the info on this kit and was wanting to try it out.
Come check out my blog post on the chair that I am working on :)
http://honeydewproductions.blogspot.com/2011/03/oh-so-ugly-getting-better.html
Lookin' gorgeous!!
I am just about to start a kitchen and three bathroom vanities redo and a bedroom set, and I am hoping to get it all done in one weekend!! is that possible? I bought four kits to accomodate and I gather from your post that you don't end up using a lot of it, so I should have left overs? Your newest follower
http://www.ourcrazybeautifulife.com
Liked the ideas and can be used while decorating your new kitchen with sophistication.
Painting House Boca Raton
super blog…I needed this! I am just getting ready to update a few areas in my house, but trying hard to do this on a budget and spend the money on light fixtures and taps!
Sarah,
Where did you get the extra bond coat cans? I bought a kit, had the color mixed, and now I've changed my mind about the color.
thanks,
Keith
What a result! Thank you so much for this detailed article! I want to renovate my kitchen cabinets and I hope that your article will help me to do that without professionals!
Hey Sarah
Thanks for the useful notes! I am using the same product and I am on the protective coat part but afraid because of complaints i have seen online of seeing the strokes when it dries. Did you use the foam brush to apply it?? Did it end up streak free?! Thank you!
I used a foam brush, yes. I wouldn’t say it wound up PERFECT, but it did wind up sticking extremely well. In fact, I wound up keeping the doors for ages as a scrap piece when I gutted the bathrooms (I used the door as a place to put craft supplies, etc) and it never had a scratch! So, even though it takes some extra work upfront to try to get it really smooth (definitely recommend a foam roller for doors/cabinets… those smaller ones you find at the store), I think it’s an excellent product!
What is the difference between your process and just a primer coat and several coats of paint
I found that it was less overall work and the finish was tougher. This is an epoxy-type paint finish vs. the typical water-based primer and latex that most people use. After having painted my bathroom cabinets with this and then the kitchen cabinets with normal primer and paint, I found no need for touch-ups here but saw a little more wear and tear in the kitchen.