Disclosure: this post may contain affiliate links, which means I may make a commission if you decide to make a purchase through one of my links, at no cost to you.
This post may contain affiliate links. This won’t change your price, but may share some commission. Read my full disclosure here.
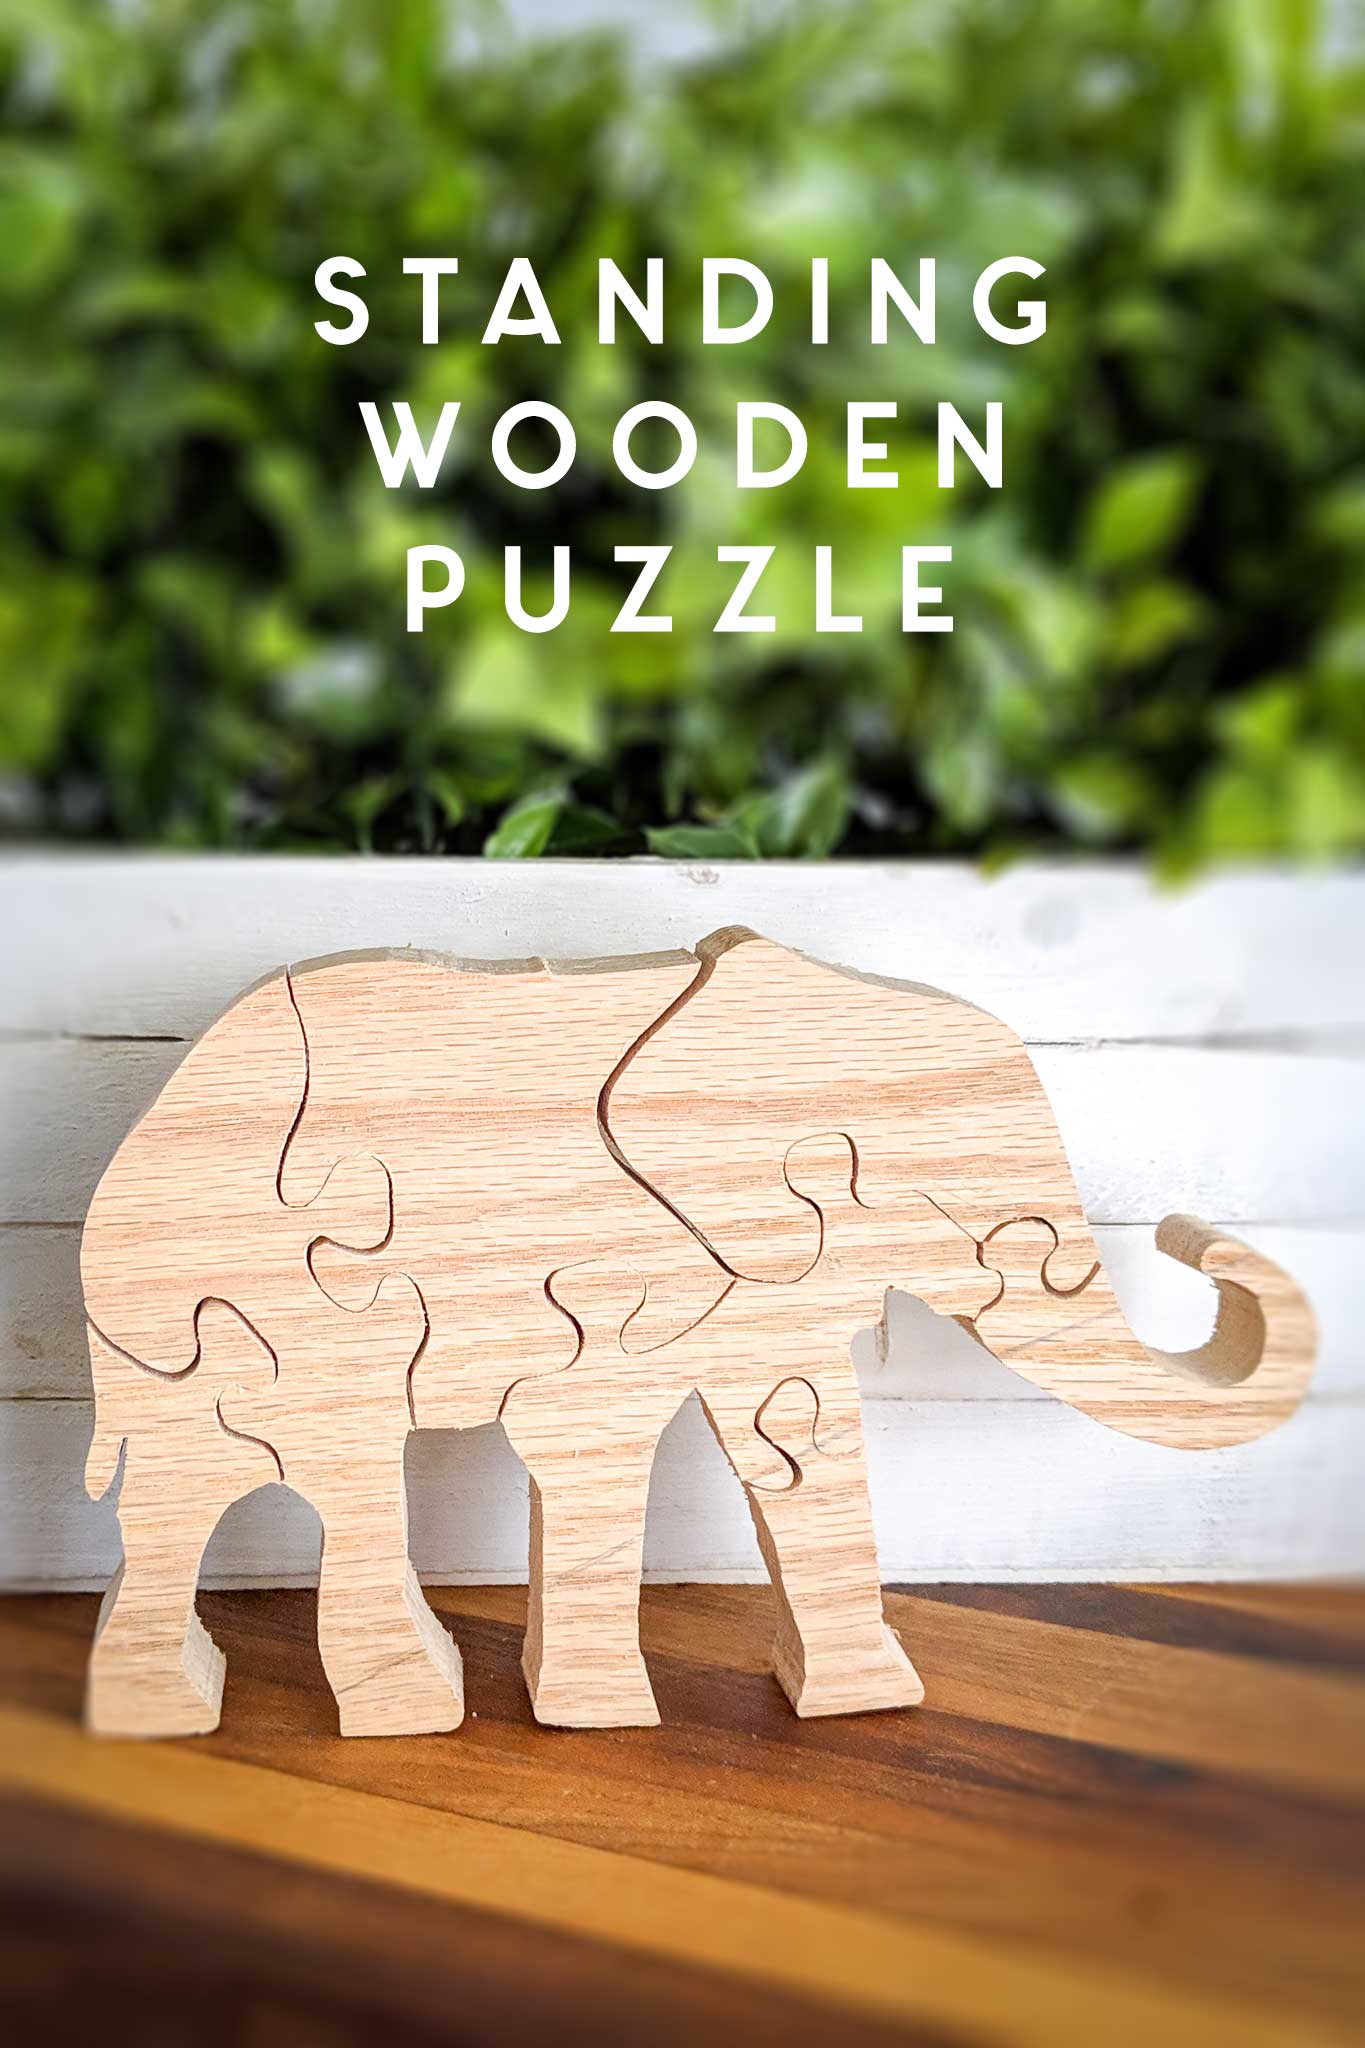
Make your own stand-up puzzles from scrap wood! These also make great gifts and are perfect as an entry-level project for older kids/teens to get them interested in woodworking.
When I was little, I used to spend my visits to my great-grandmother’s house taking apart and putting back
So, how about we try and recreate one, eh? I was challenged today to come up with a DIY game by Addicted2DIY. And since that puzzle wound up in my cousin’s home (it had MANY fans), there’s no excuse not to try to make one to have on a table of my own!
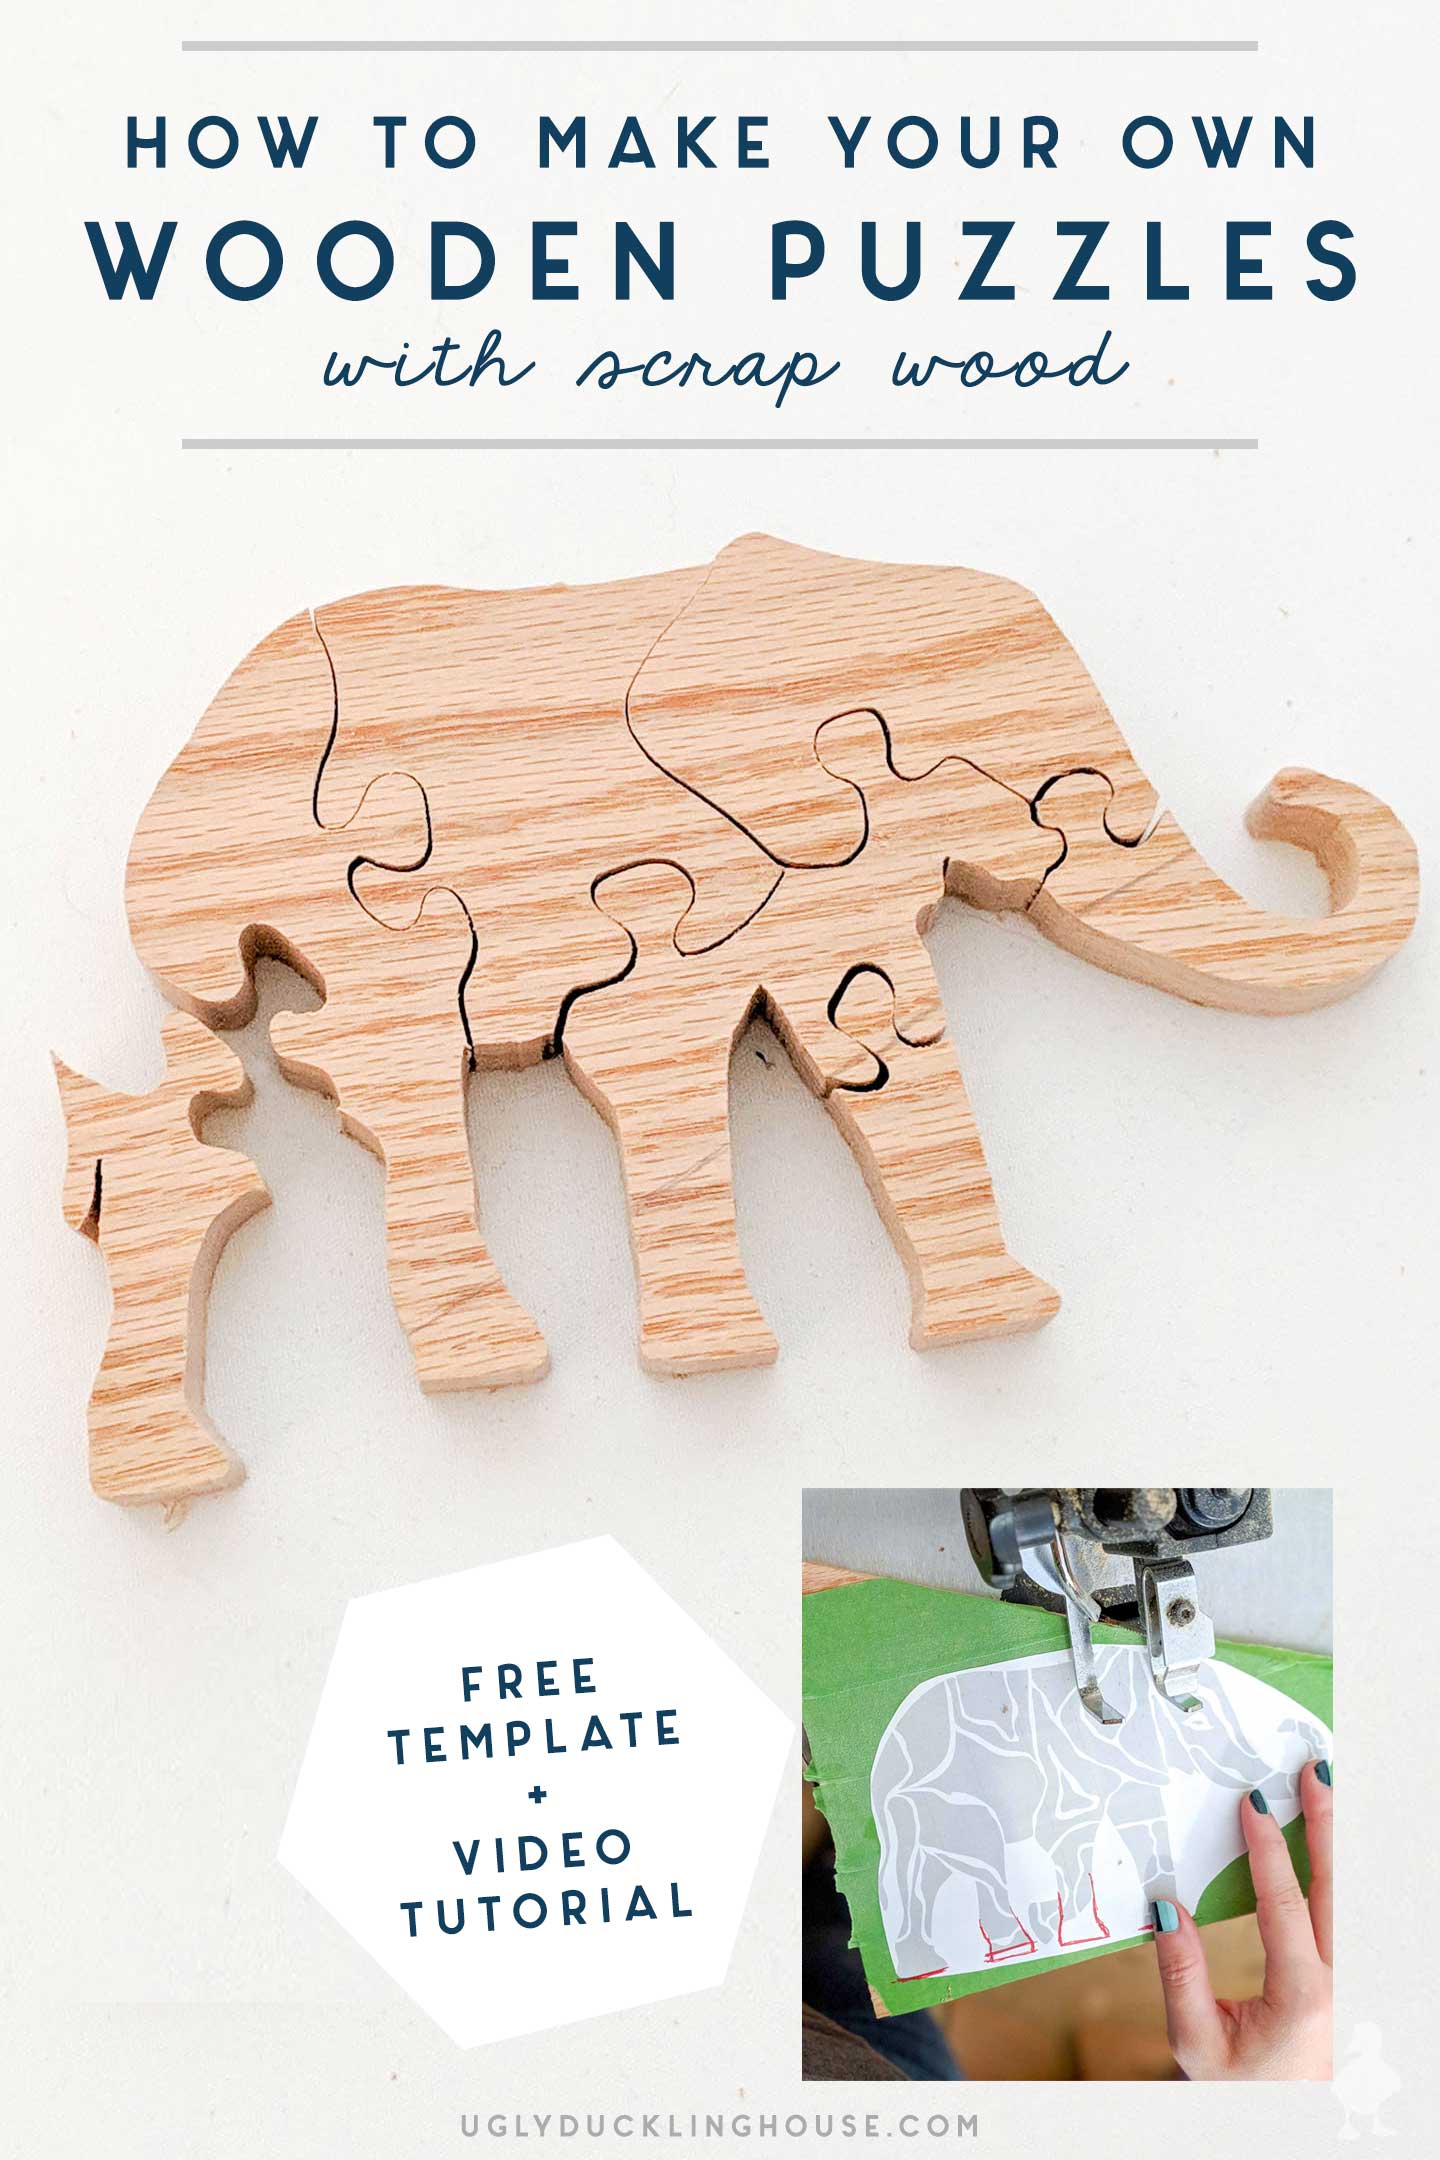
How to Make This DIY Wooden Elephant Puzzle
Materials List
- scroll saw
- printer paper
- painter’s tape
- spray adhesive
- pencil/pen
- palm sander
- sandpaper
- finish/sealer
** Disclaimer note: If you make this for or with kids, check your materials to be sure they are safe and age-appropriate as a child’s toy. Not all finishes are non-toxic, and toddlers love to put things in their mouths (sometimes, older kids too!). Always supervise children and teens around power tools and provide proper safety gear (hearing/eye protection, breathing mask, etc.). It’s on you to keep them safe; act accordingly!**
1. Size and print the template
I picked out a random piece of oak from my scrap wood pile from this project (it was actually a leftover 1×10 piece from this awesome collaboration I did with Rust-Oleum last year, so check that out if you haven’t yet!), so I don’t really have strict measurements for you. This particular puzzle’s dimensions stand about 4-3/4″ tall and is approximately 7 3/8″ wide. Actual thickness is 3/4″. Pine, walnut, maple, MDF, and even plywood are other common materials for what I’ve seen with wooden jigsaw puzzles, so feel free to choose your favorite or what’s most available.
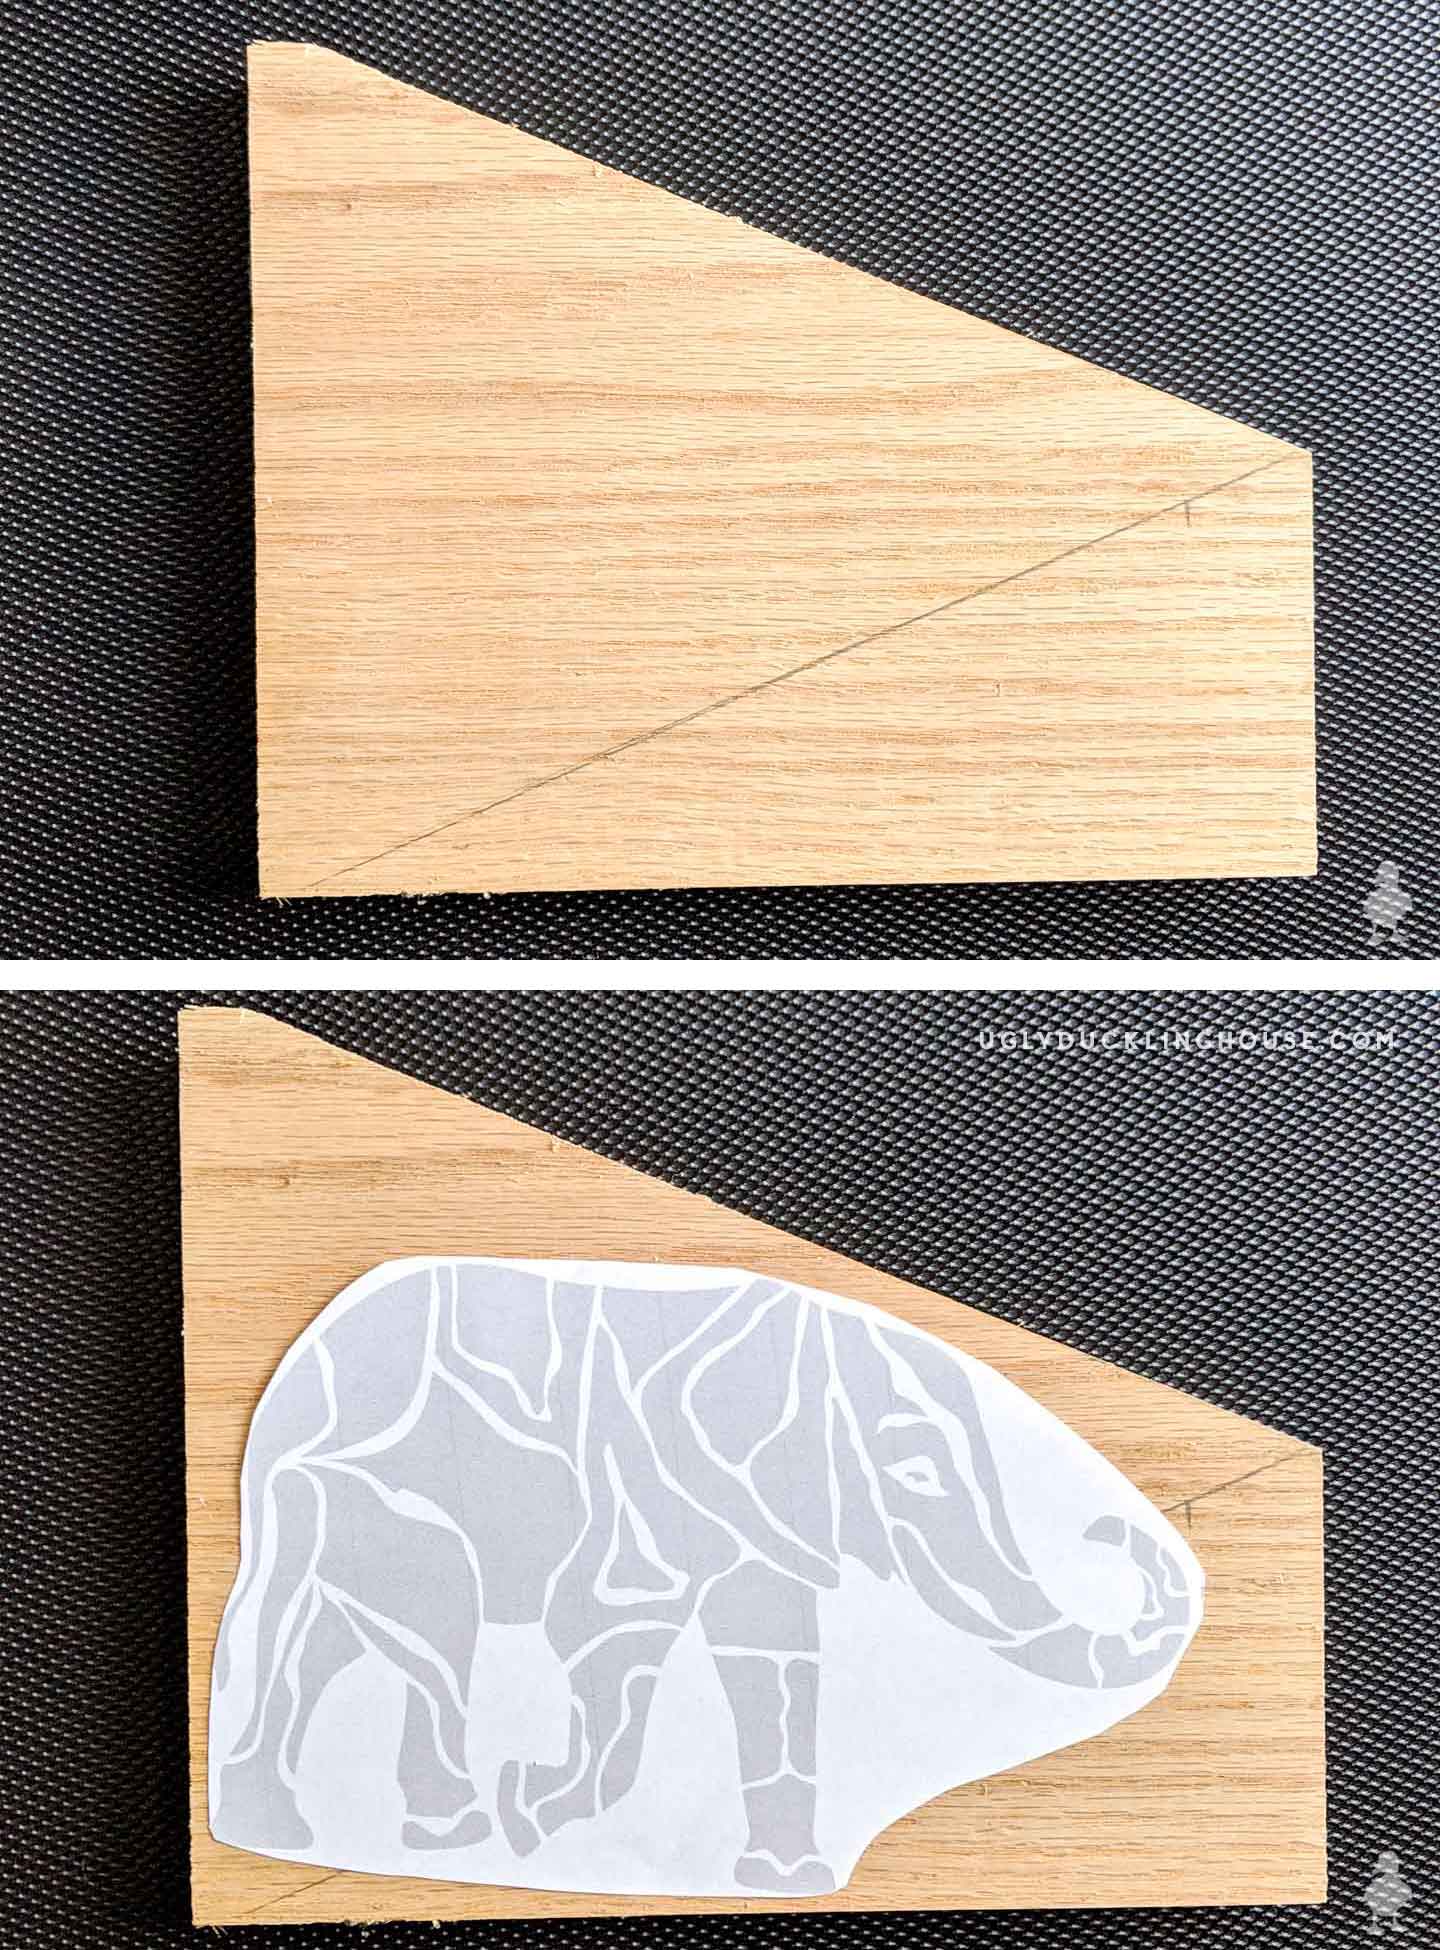
I have a template available for download if you want to make this exact size, but you can re-size similar to how I did. I originally based it off of a royalty-free stock image and changed the design slightly so that all 4 legs would be flat (so it could possibly stand up vertically, just like my
2. Tape and Spray
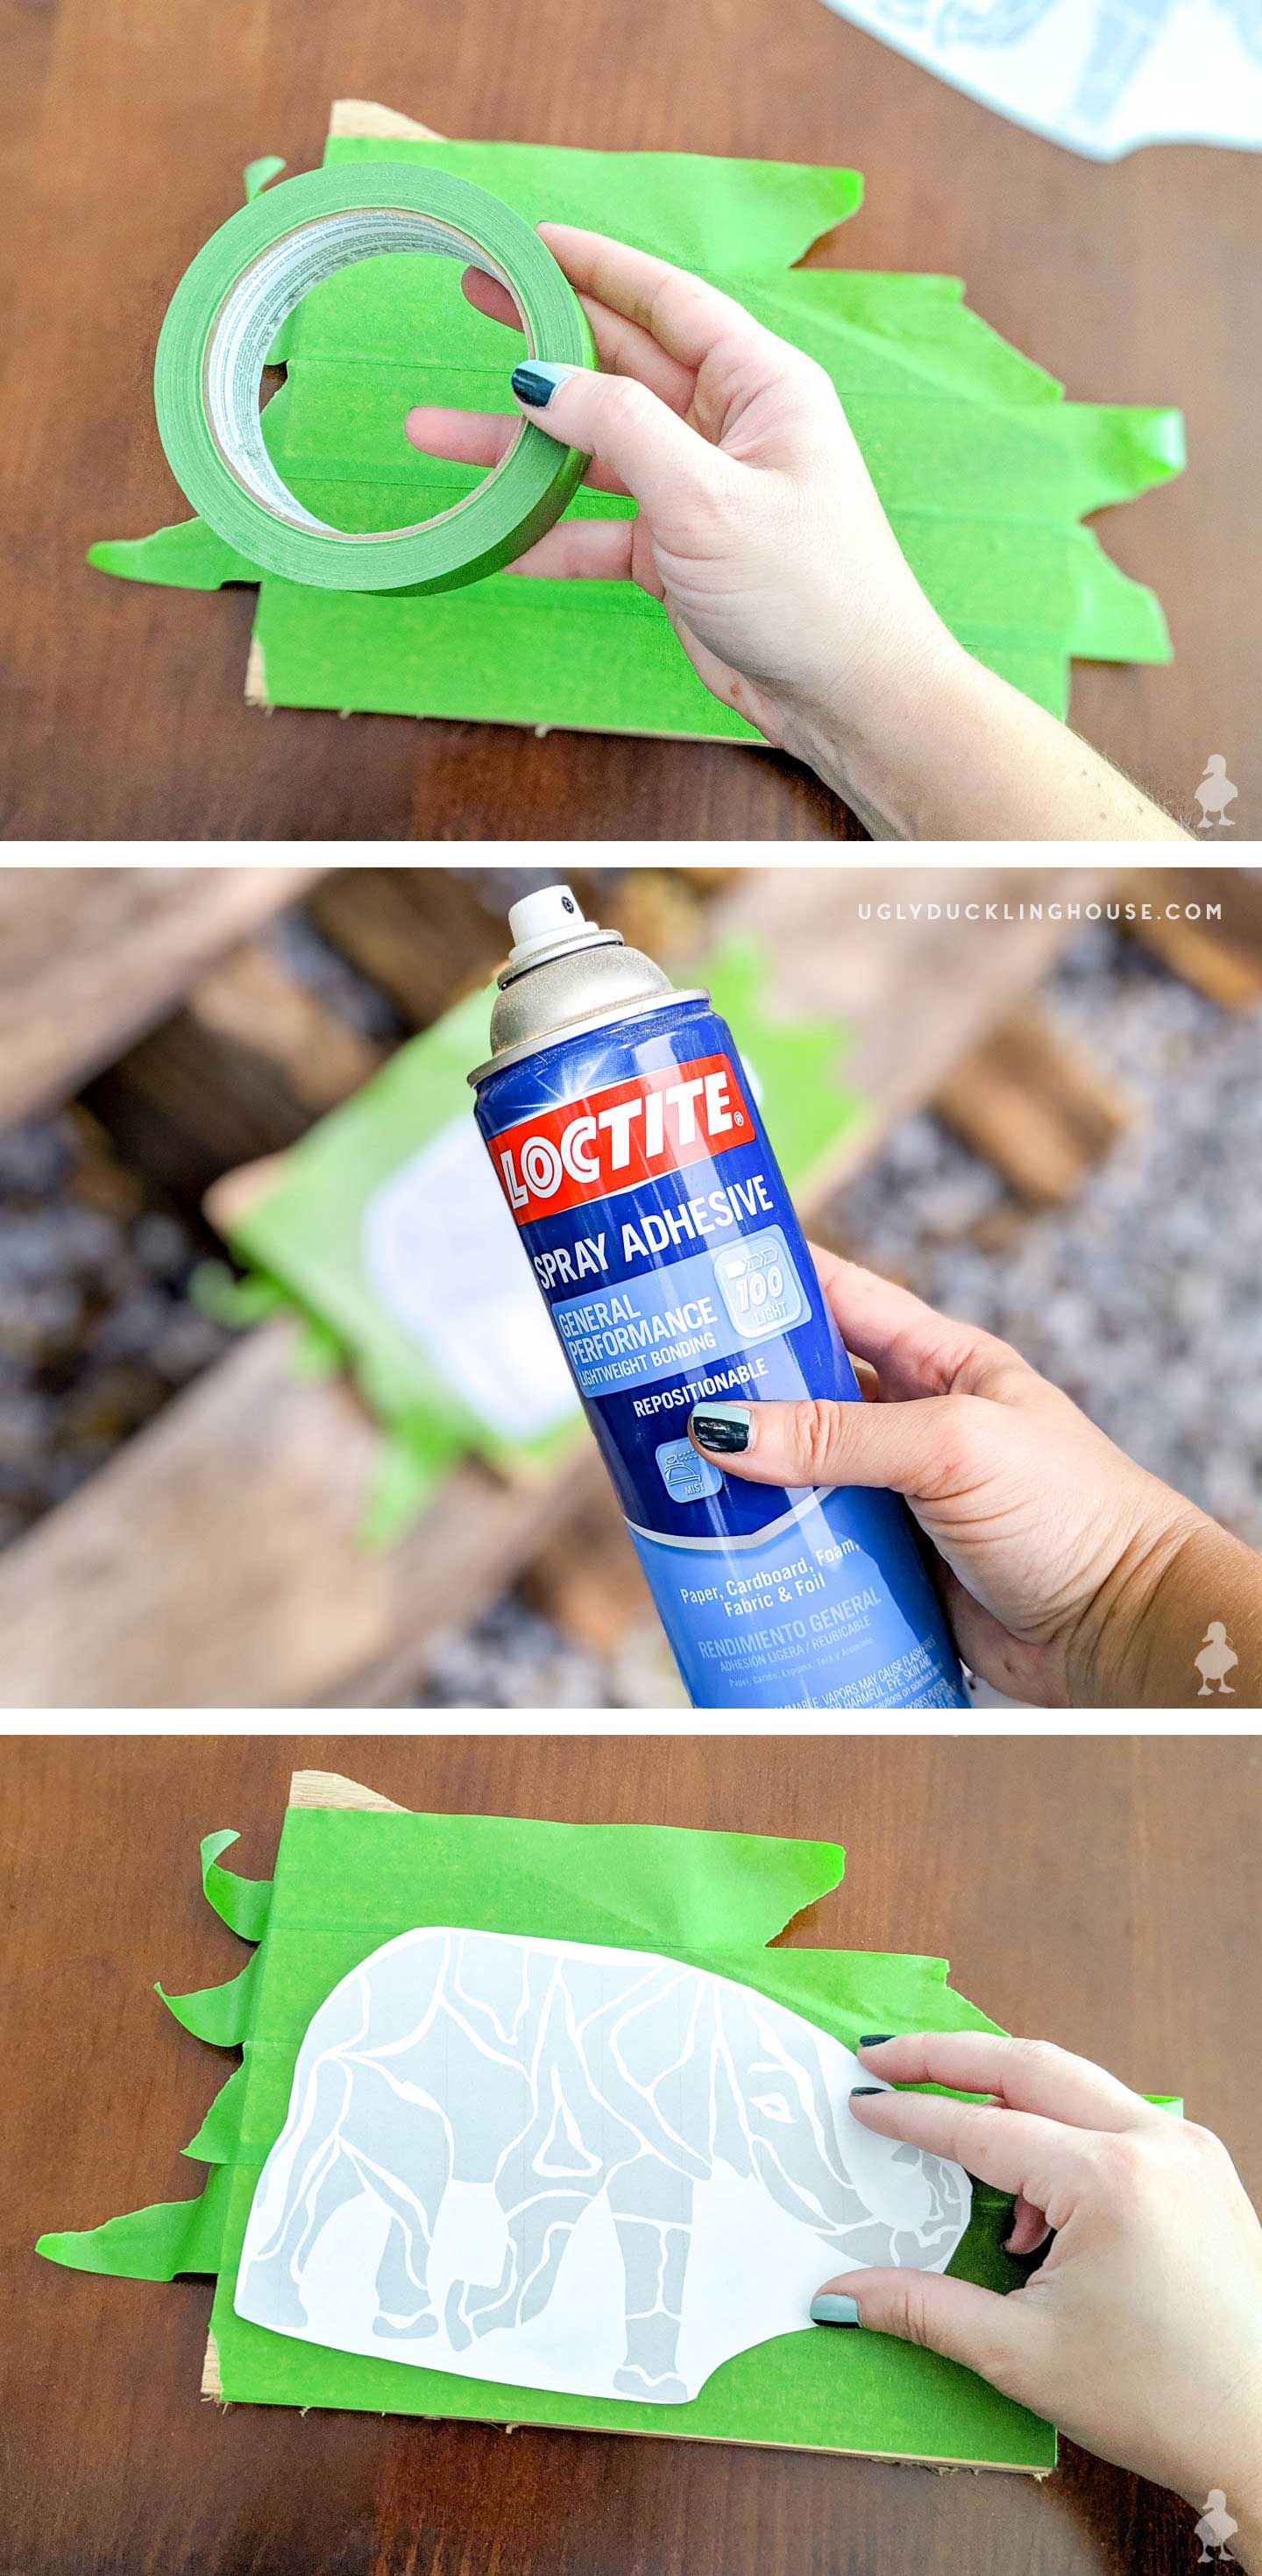
I read in an online forum that adding painter’s tape or contact paper on top of the wood before using spray adhesive was a decent technique. The main point is so that you can get the
3. Scroll the Outline
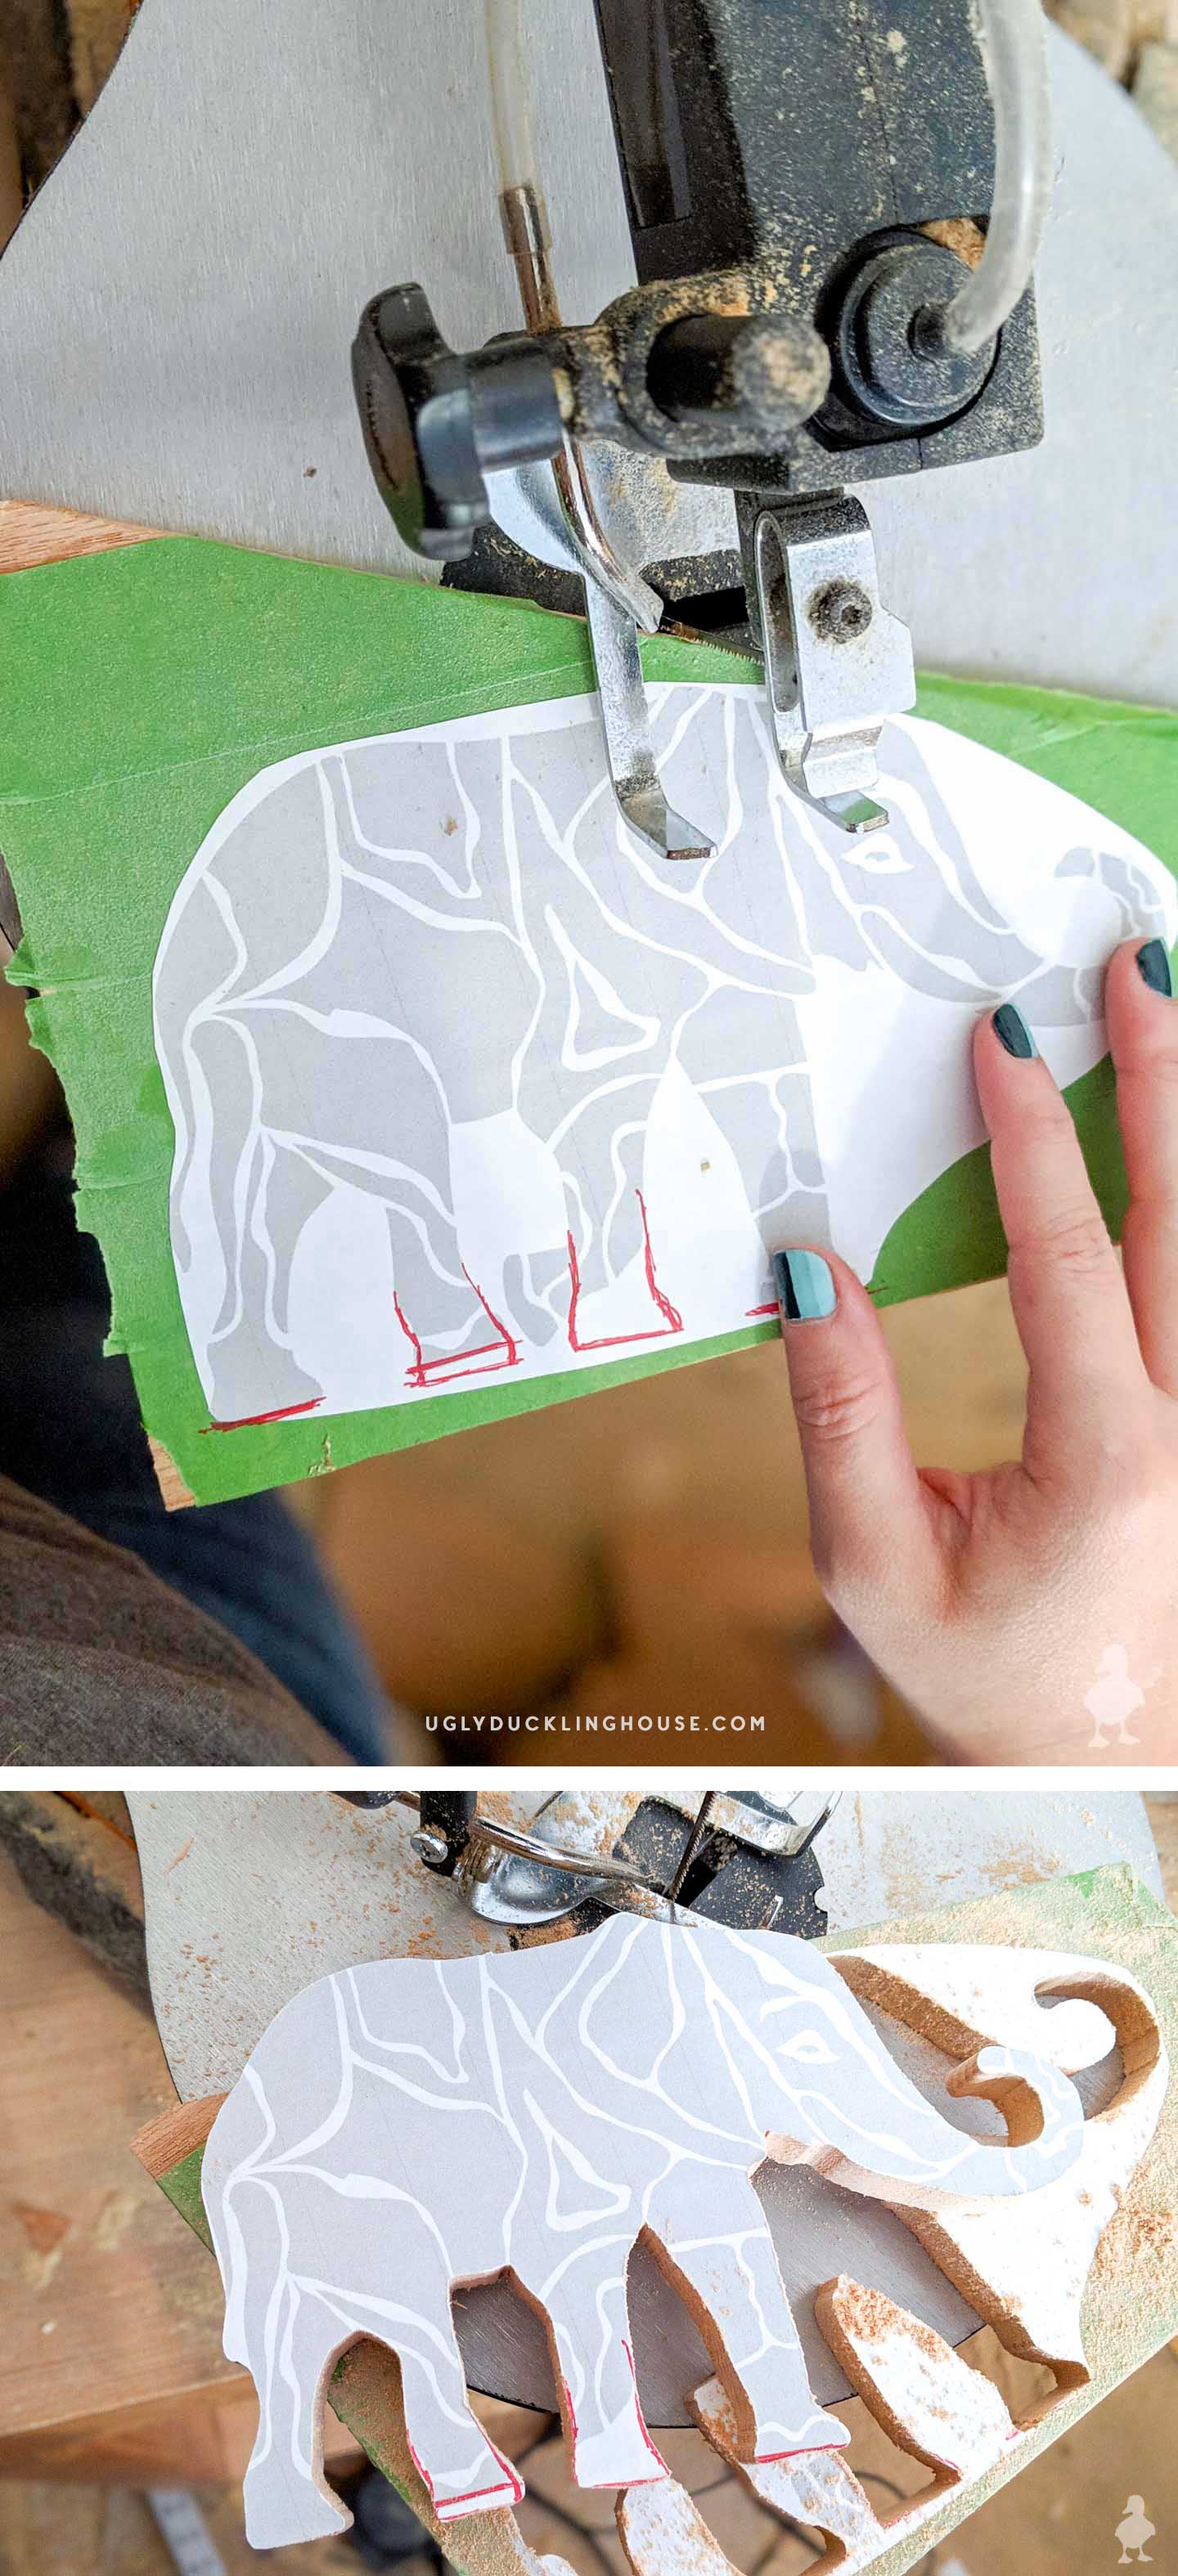
This project is perfect for a scroll saw! The fine blade is capable of making beautiful clean cuts. I debated at this point if I wanted to start by scrolling the smaller parts (individual pieces) versus the outside edge first. Usually, you want to cut out things like the little interior pieces first so that the project is less fragile/likely to snap when scrolling the smaller bits (putting pressure on the trunk, for example). Since I didn’t actually have the puzzle pieces drawn out yet and the wood was nice and thick (less likely to snap), it made the decision easier.
4. Draw the Pieces and Scroll Again
I used a flat edge to re-draw the feet with a marker so they all reached the ground (better balance) and sketched out my pieces. I love puzzles, so this was actually pretty easy. Just remember to create bulbous-y curves so that each piece can sort of grab the other upon assembly; if you stand it up and the parts aren’t interlocking enough, it will fall apart from gravity. Use your creativity to make unique pieces (the smaller you make each piece, the greater the number of pieces and the more advanced the puzzle).
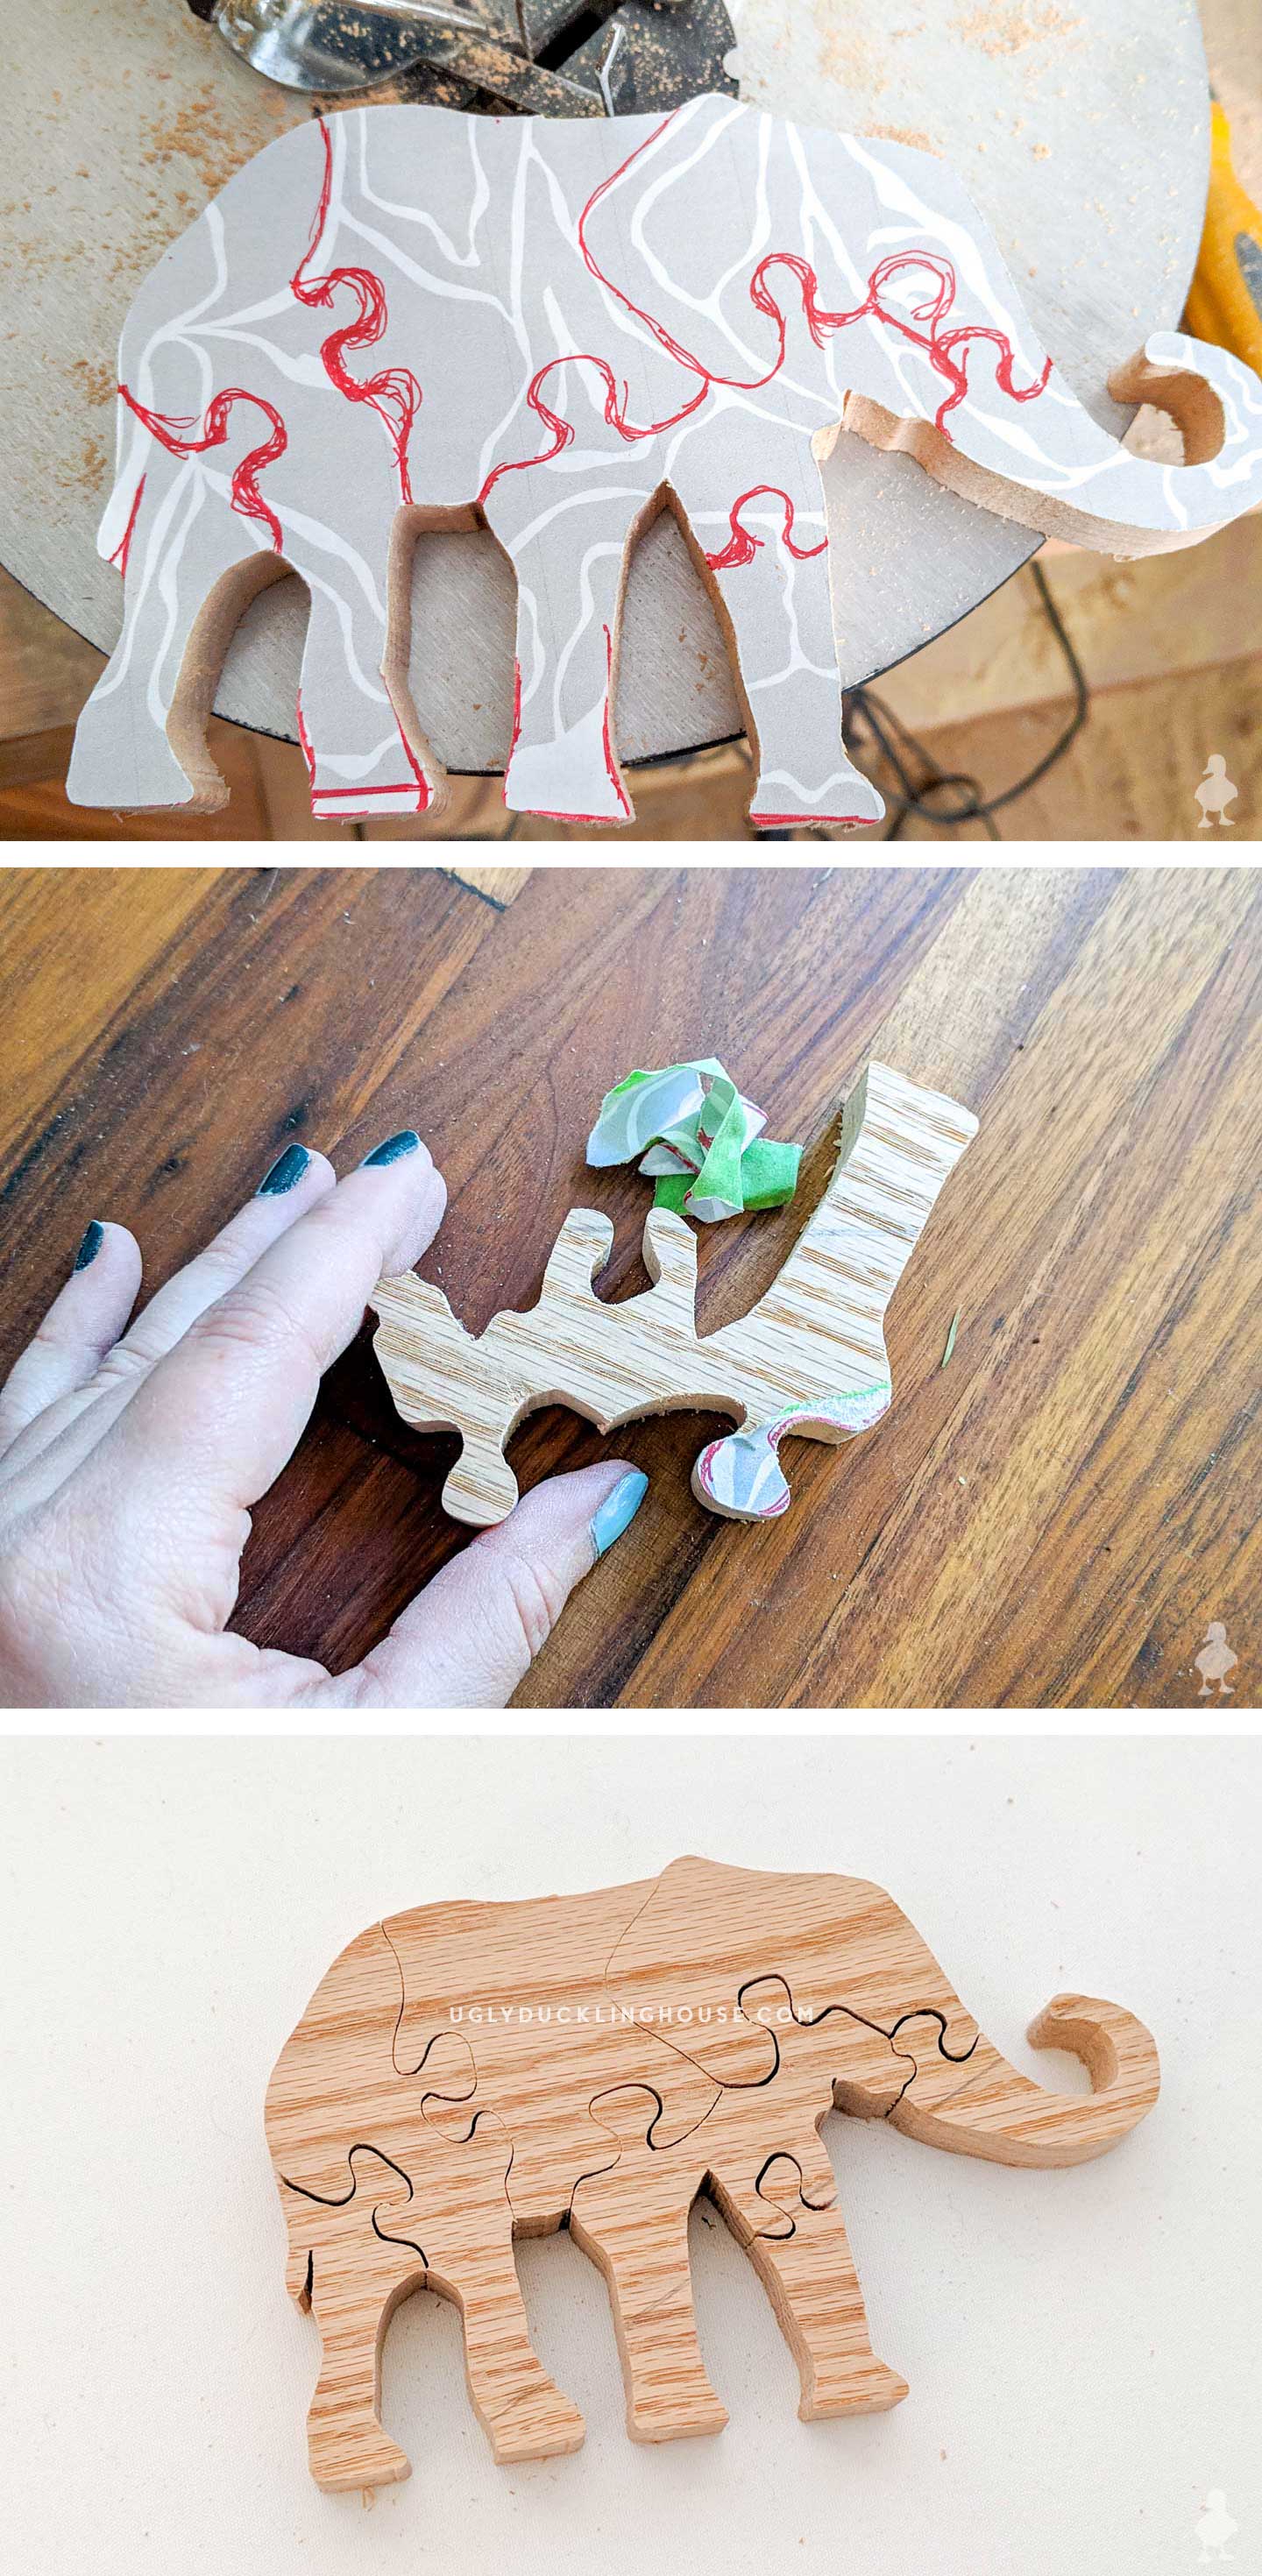
Sure enough, the tape worked like a charm! I was able to peel the template right back off without a single trace of the paper.
5. Finish and Enjoy
I sanded the feet on my belt sander to make sure they were all flat enough to stand up on its own (it worked!). But, I still need to finish hand sanding the rest of the entire surface before I add some color and spray lacquer. I may even try to add some India Ink to make it feel a little more modern and chic (plus I’ve seen others use it lately on wood projects and just want to try it for funsies). But if you’re doing this with kids, I would recommend non-toxic paints or dyes to allow them to get creative and make each puzzle unique! Depending on the age group, you might want to do the cutting while they do the painting (I think an older kid could handle a scroll saw well with supervision; I trust you’ll know when they’re ready!).
I love it so much that I think I may try to make a Charlie and a Stella version next! What other animals should I make templates for?
Other DIY Game Ideas:
I made this project as part of the #DIYGameChallenge! There are lots of other ideas available online today thanks to these hardworking bloggers, so be sure to hit them up and give them a look!
- Ugly Duckling House (YOU’RE HERE)
- Addicted 2 DIY
- RemodelaCasa
- The Created Home
- Anika’s DIY Life
- The Inspired Workshop
- The Awesome Orange
- Stacy Risenmay
- My Repurposed Life
- 100 Things 2 Do
- Joyful Derivatives
More Scrap Wood Ideas
Don’t let those cutoffs from bigger woodworking projects and home DIYs go to waste! Here are tons of ideas on how to reuse the scrap — you can make gifts, décor, and more!


Super cute, Sarah! It’s a great boredom buster and a great gift idea as well! I need to work on my scroll saw skills to be able to make something like this!
Thanks Katie! It’s funny you say that, but this is only my 3rd or 4th scroll saw project. I think it’s perfect for beginners since the thicker wood allows for a little more control (just go a little slower so that you don’t bend the blade). I’m looking forward to making a few more this year since there has been response to make other animals (I have a good one in mind now for Christmas, too!).
Thanks for sharing this! I’ve been hunting down some fun but different sturdy wooden puzzles as gifts this year, with no luck. Your post was the first I found and I’m glad! I want to try my hand at making some custom designs (sunflowers, dragonflies, and cats, specifically) maybe with a pretty artwork adhesive overlay. So excited to get going on this project! Thanks, again!
If you do, please tag me on Instagram (@uglyducklingDIY) because I would love to see those designs! The sunflower and dragonfly sound so pretty, especially if you work a design over the top! Good luck!