
Disclosure: this post may contain affiliate links, which means I may make a commission if you decide to make a purchase through one of my links, at no cost to you.
This post may contain affiliate links. This won’t change your price, but may share some commission. Read my full disclosure here.
If you have some leftover pieces of thick plywood, this dip-dye plywood planter is a great way to get rid of them while creating beautiful decor for the home, too. Also makes for a great gift or beginner woodworking project!
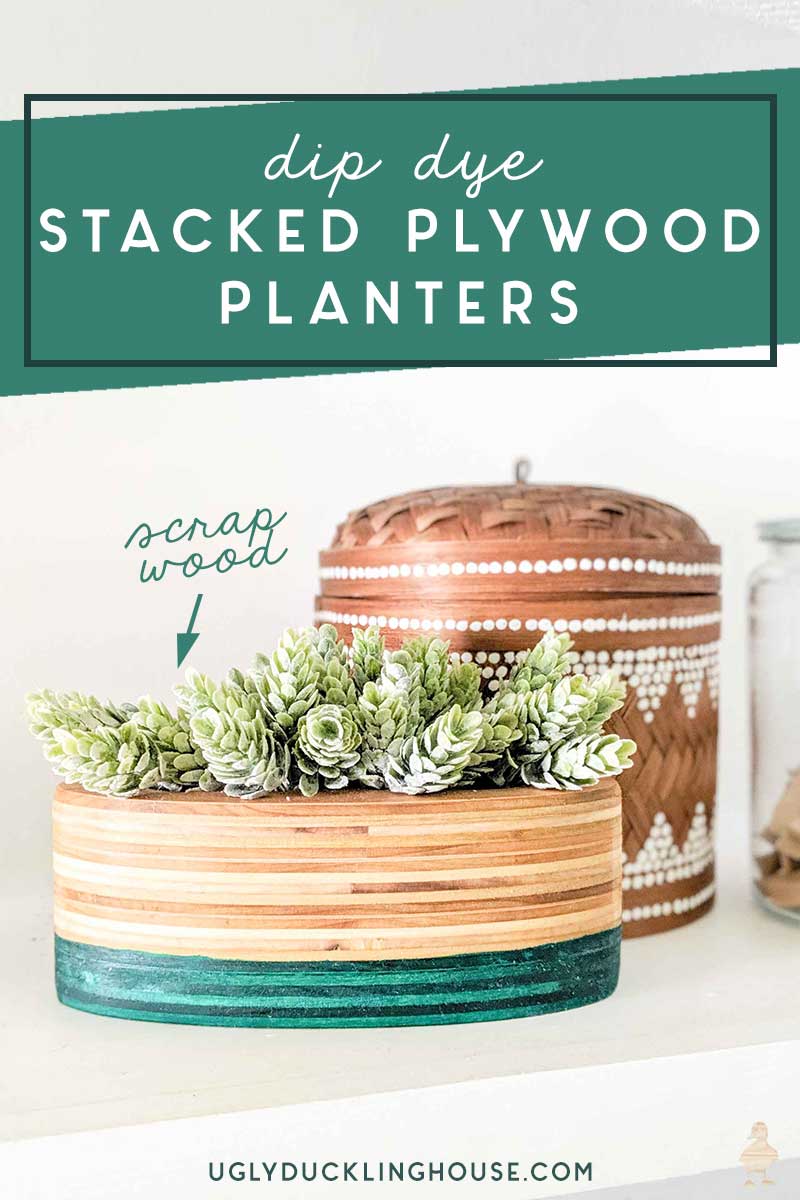
I’ve been busy making some outdoor chairs this summer, which means I’ve been adding to my scrap wood pile BIG-TIME. So, I figured now was as good of a time as any to make use of my overgrowing pile of scrap and came up with these oval-shaped stacked plywood planters. Just for fun, I also added some color to the bottom, and I think it really makes them pop! I made both a quick DIY video and tutorial for you below, so you can pick your poison and see how I made them step by step.
How I made this “dip dyed” stacked plywood planter
Materials Used:
- 3/4″ stacked plywood (thinner plywood is ok too, it just requires more pieces)
- silicone glue brush
- wood glue
- pencil
- clamps
- miter saw
- belt sander
- sanding sponge
- painter’s tape
- Folk Art Ultra Dye in Tantalizing Teal
- Garden Seal
- drill press
- 1-5/8″ Forstner drill bit
- Maker Brand Simple Finish with Wax Sealer
- assorted faux succulents (or plant as you choose)

Watch the video:
help me reach 25k!
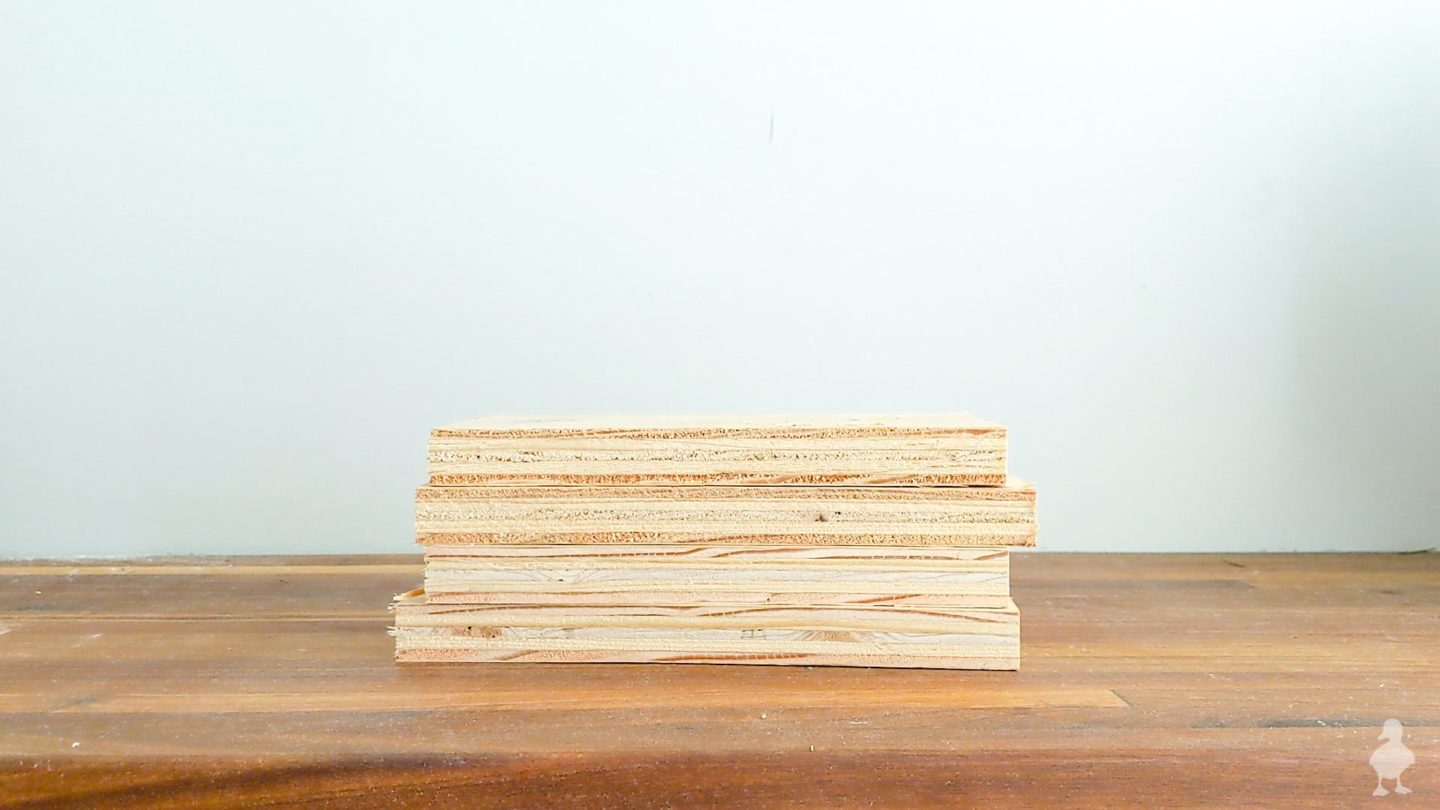
1. Cut multiple pieces of scrap to (almost) the same size
I didn’t try to be perfect about this part. I just created a nice little stack of 3/4″ plywood of relatively the same size.
2. Glue and clamp all 4 pieces together
I’ve started using a small silicone glue brush (kind of like a pastry brush) to help spread out the glue during glue-ups (you’ll spot it in the video). It’s incredibly useful!
I spread out glue between each layer and clamped them all together to dry for 24 hours.
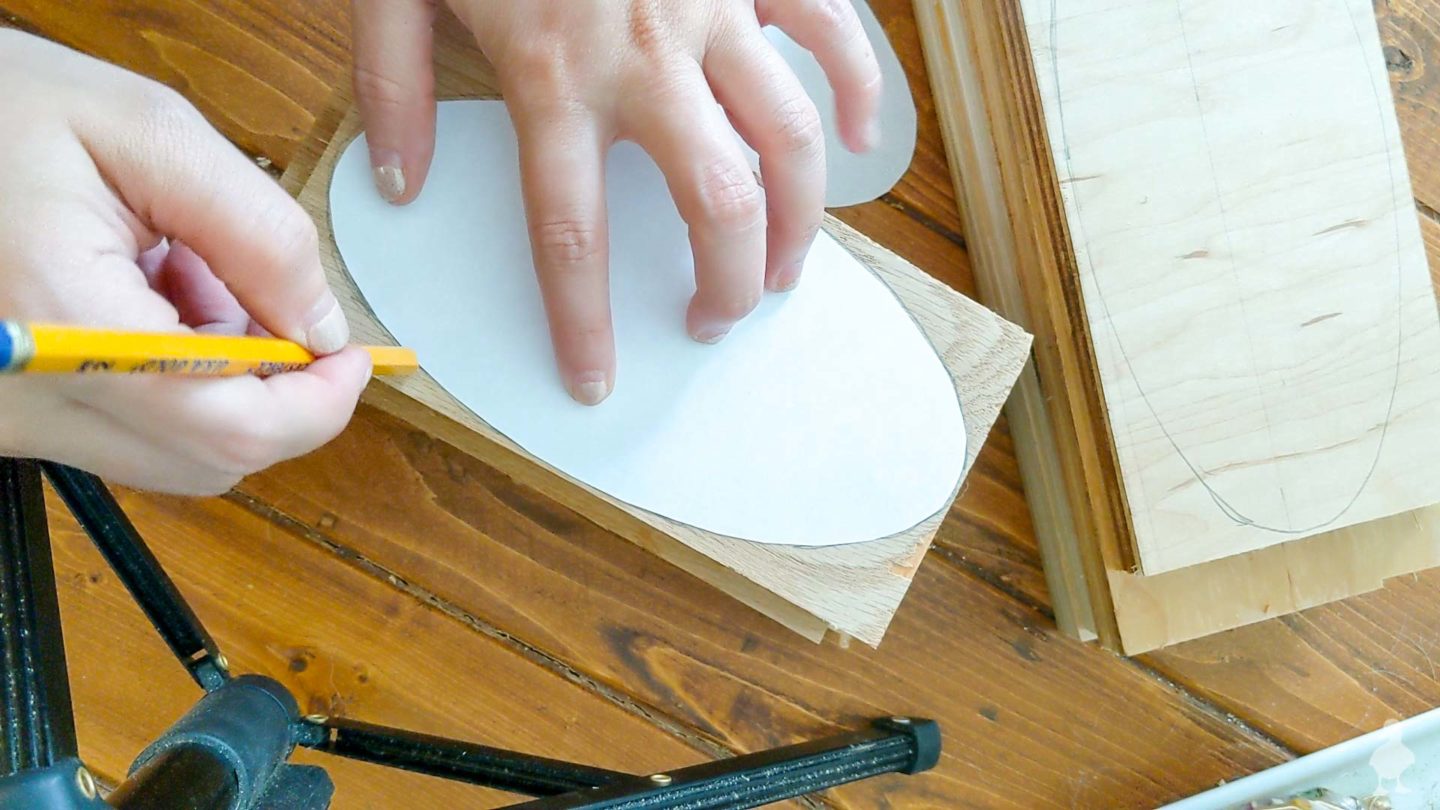
3. Trace the template and cut off excess
For this part, it would have been nice to have a band saw to cut out the full stack of my planter at once. A jigsaw would have been too shallow, and my scroll saw is for something more petite (if I’d cut each layer out with either and THEN did the glue up, that could have worked potentially, but I didn’t want to do it that way). But, I’m no stranger to working within tool or skill limitations!
First, I measured the length and width of the glue up to estimate how large I could make my planter. Then, I created an ellipse shape to those dimensions in Photoshop and printed it out (you can download this from my Woodworking Plans Library if you want). After cutting out the shape, I traced it on the top of the plywood stack (you could also freehand, but I wanted to see if I could get a balanced shape).
Using my miter saw, I cut off as much excess as I could with my miter saw to eliminate the corners.
4. Sand and shape the sides
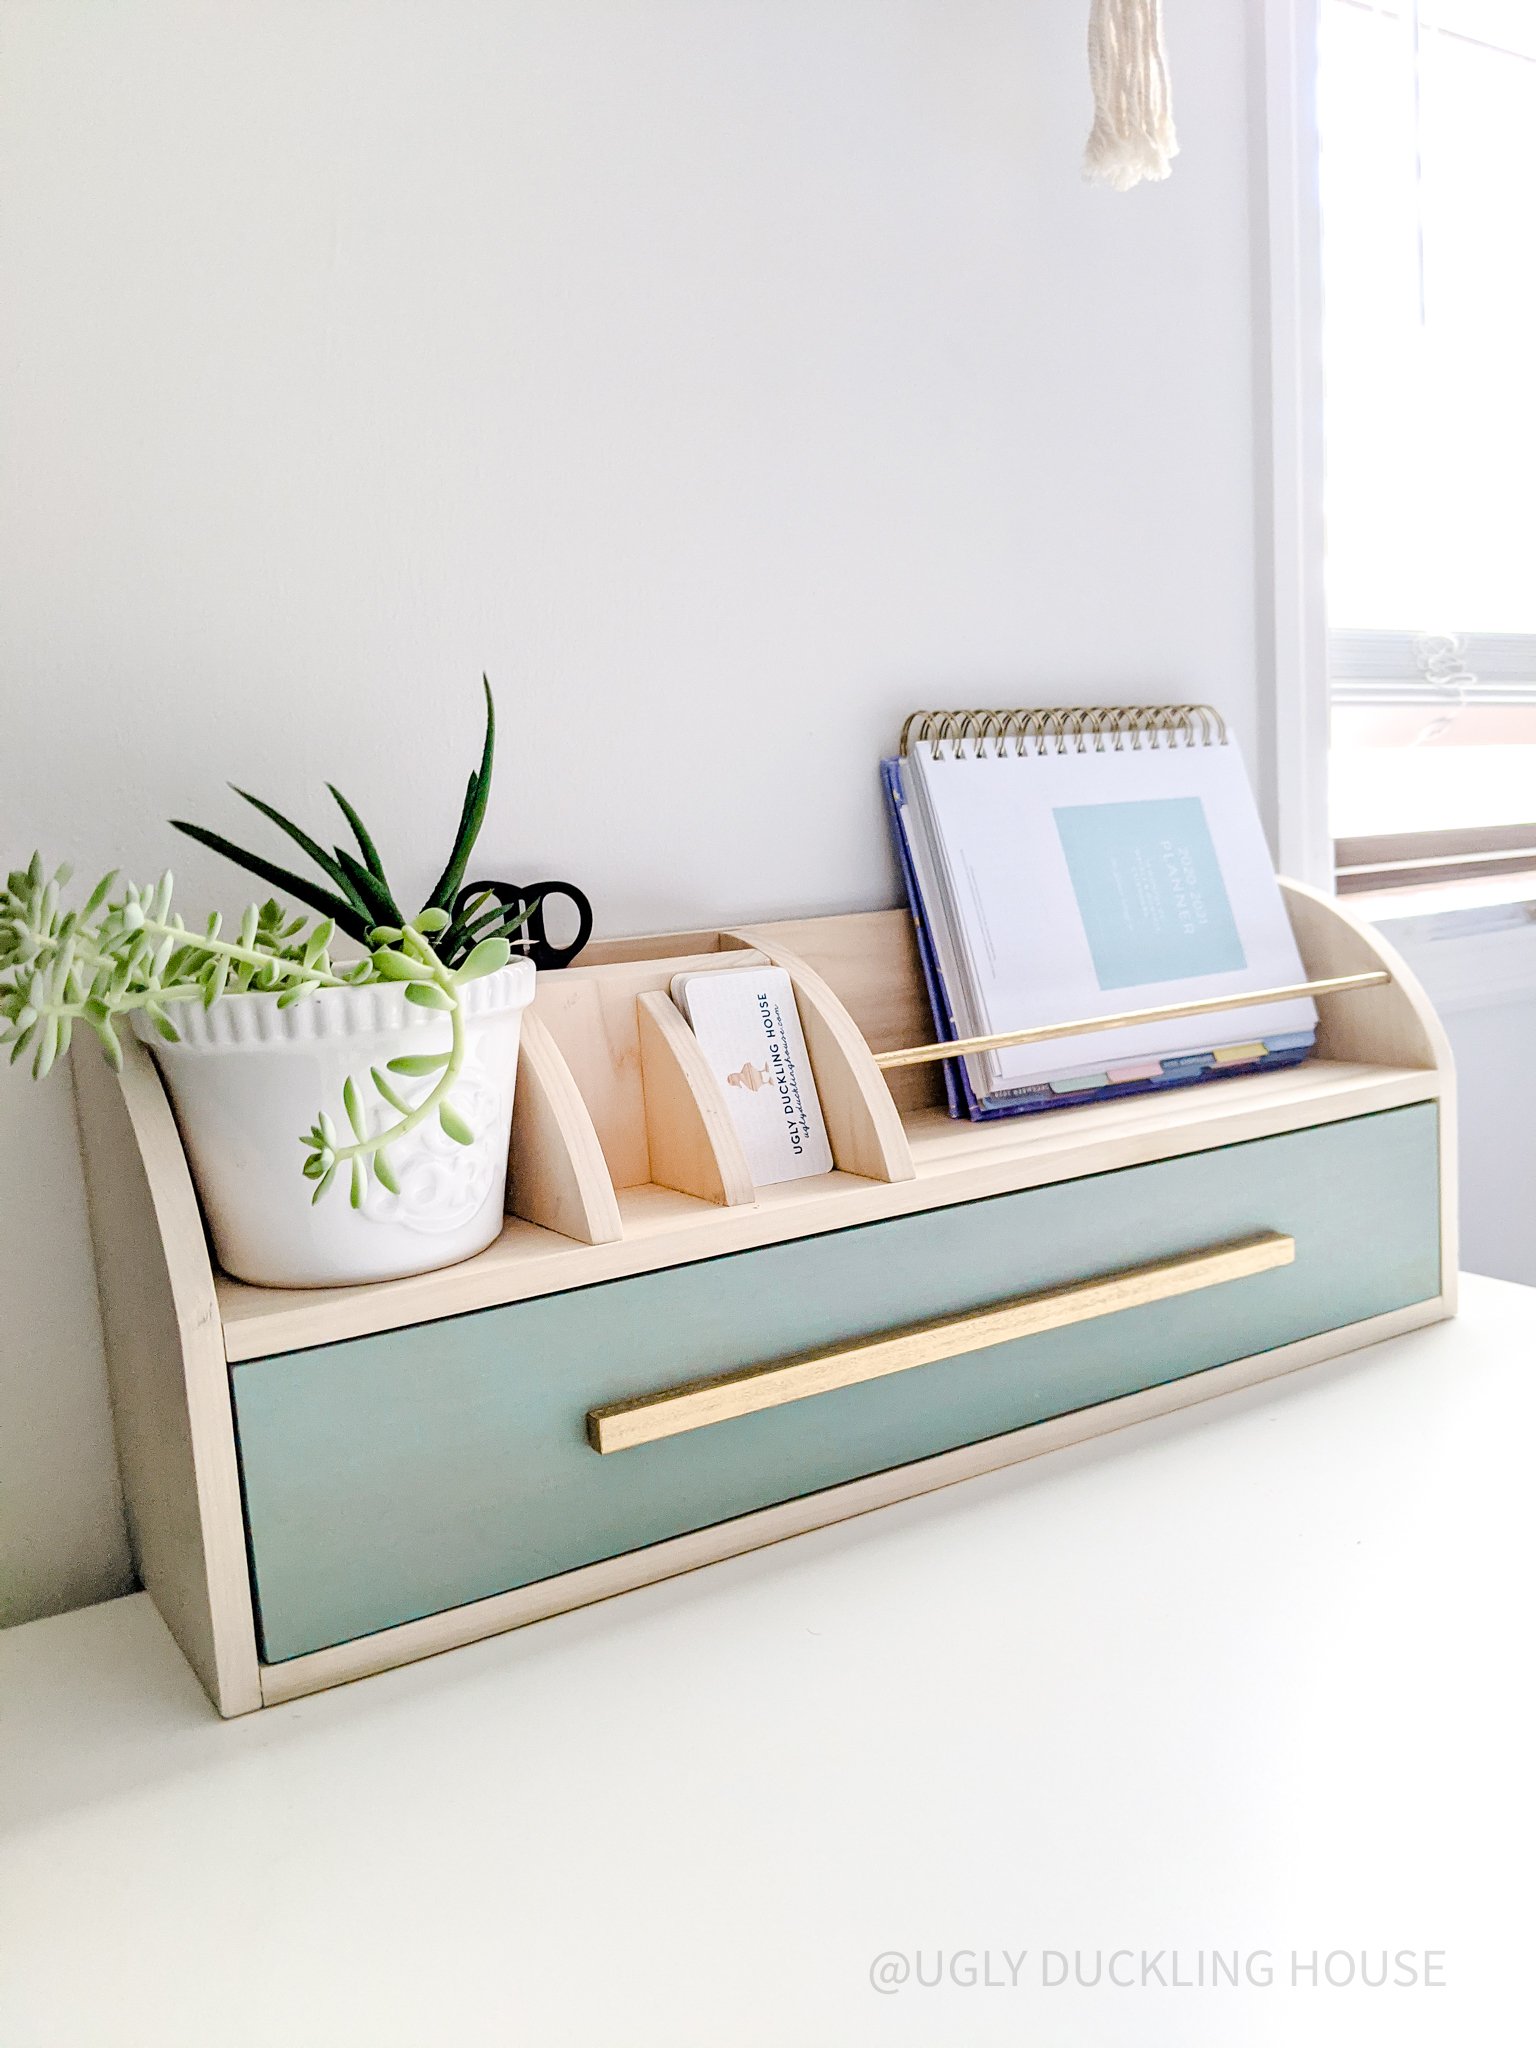
My next step in my band saw alternative was my belt sander. This one is relatively new to my tool arsenal; I got it over Christmas. With a coarse grit belt, it can make really quick work of turning a square edge into a curved one (similar to how I did with my DIY jewelry organizer).
Every few passes, I checked to make sure I was keeping in line with the template I’d traced out until it was ground into an ellipse.
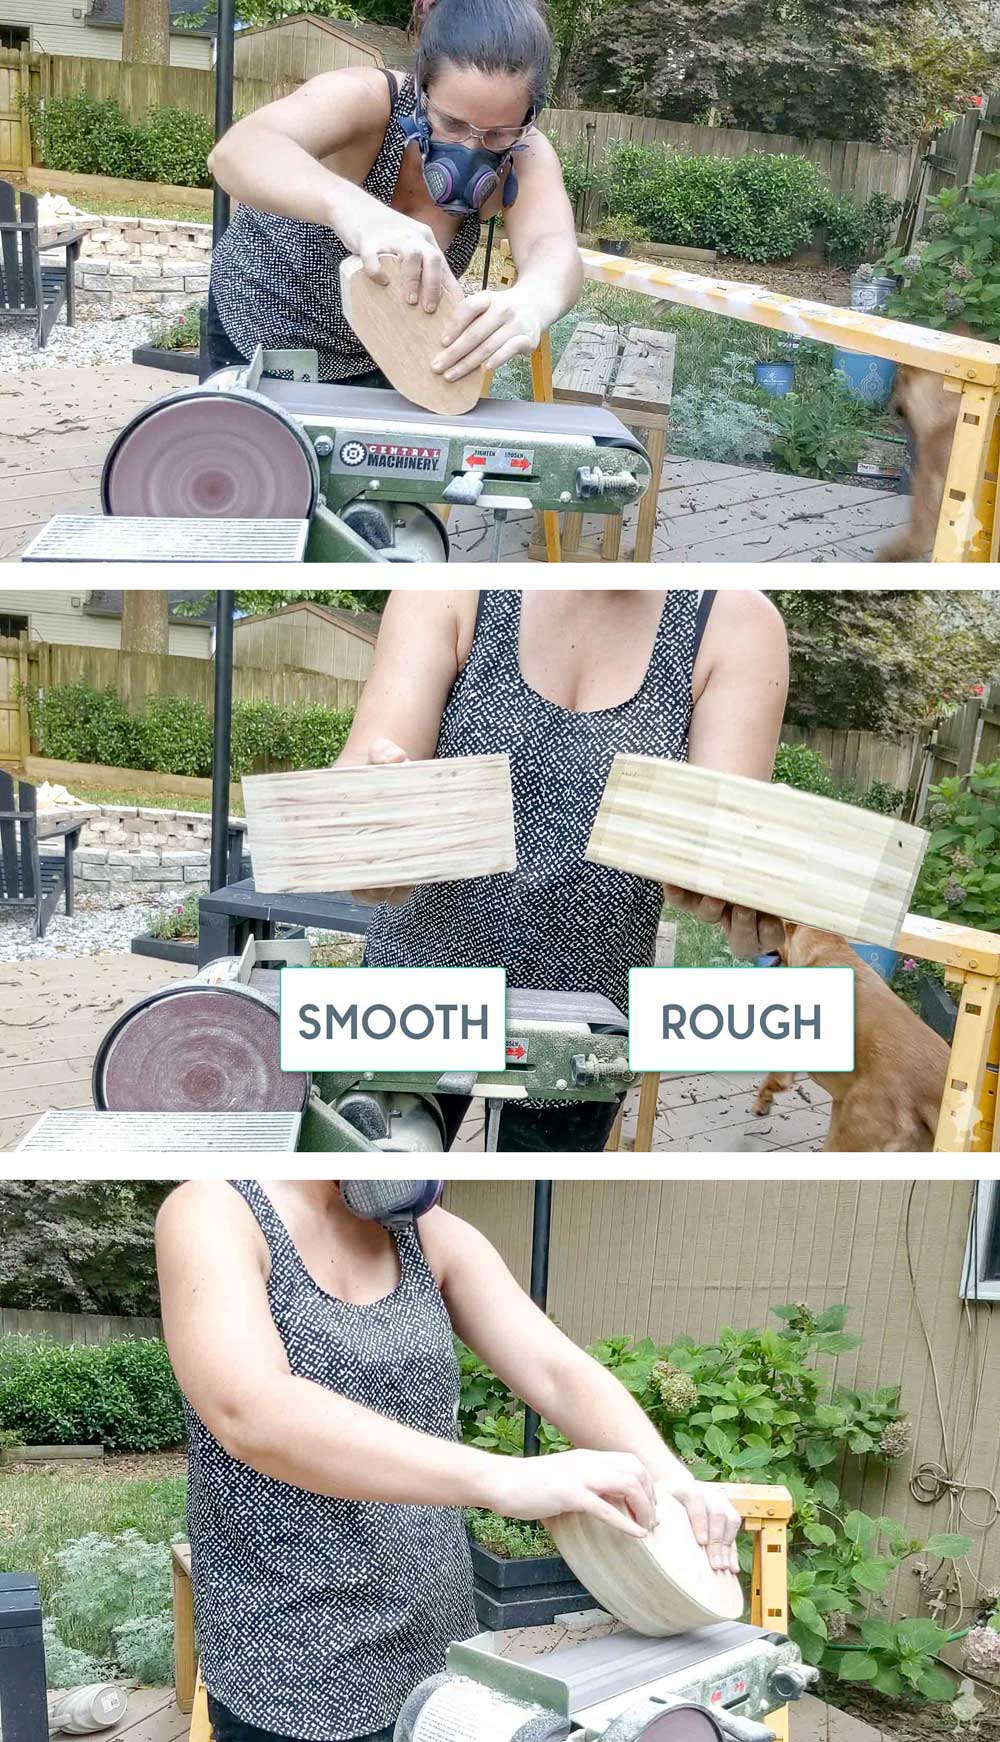
5. Round the corners and finish sanding
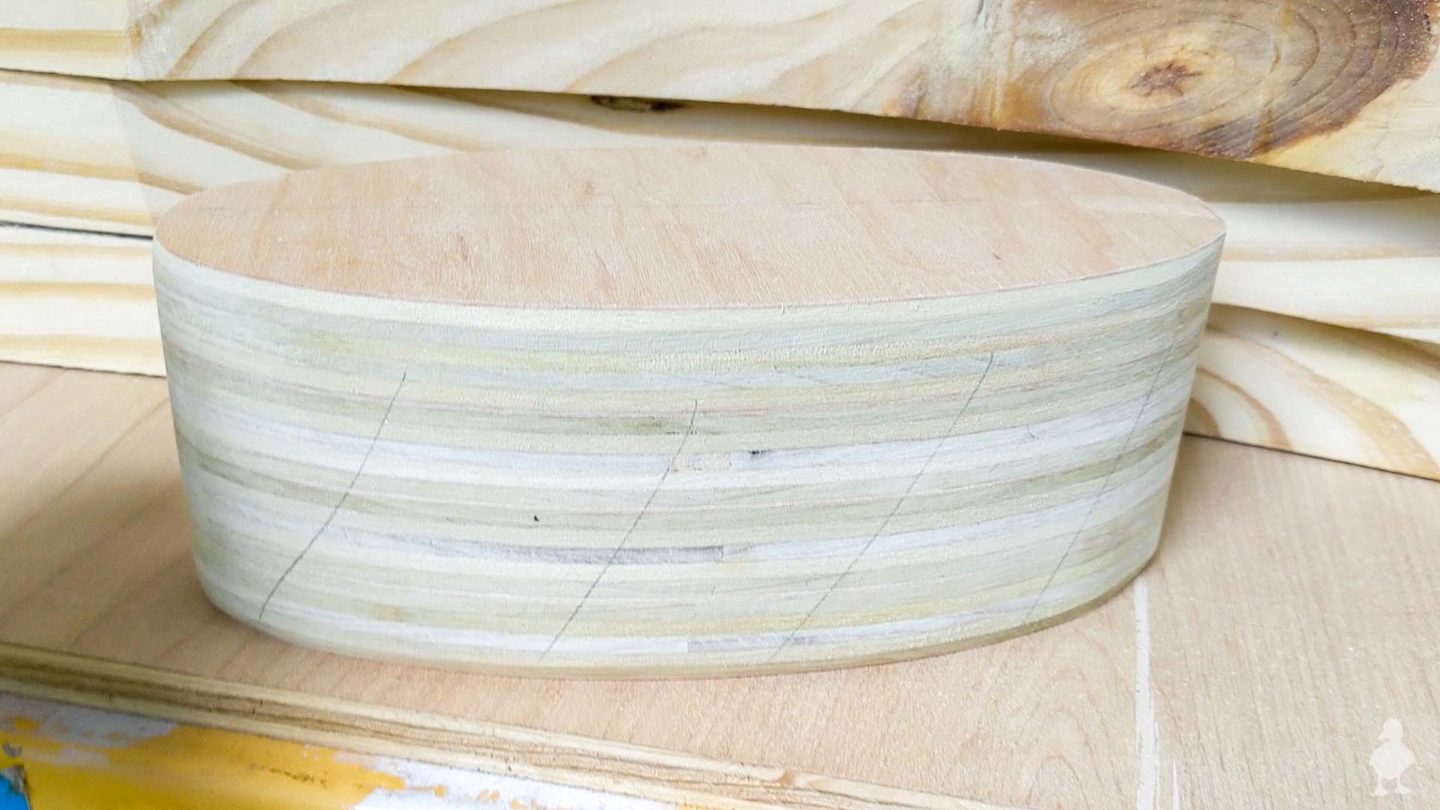
Once the oval shape was created, I wanted to polish off the edge just a bit by rolling the corners on the bottom and top in one smooth motion. It gave it just a little bit more of a professional look.
Next, I took sanding sponges and hand sanded with medium and then fine grits to get the outside smooth. Tip: to keep track of where I’ve sanded, I marked the outside with some light pencil marks; as I sanded, the pencil marks disappeared and I knew I’d gotten it all!
6. Drill out an area for plants
With the outside done, I could then focus on turning the middle into a planter. I used a birthday card to eyeball the middle and drew a line so I would know where to put the drill bit.
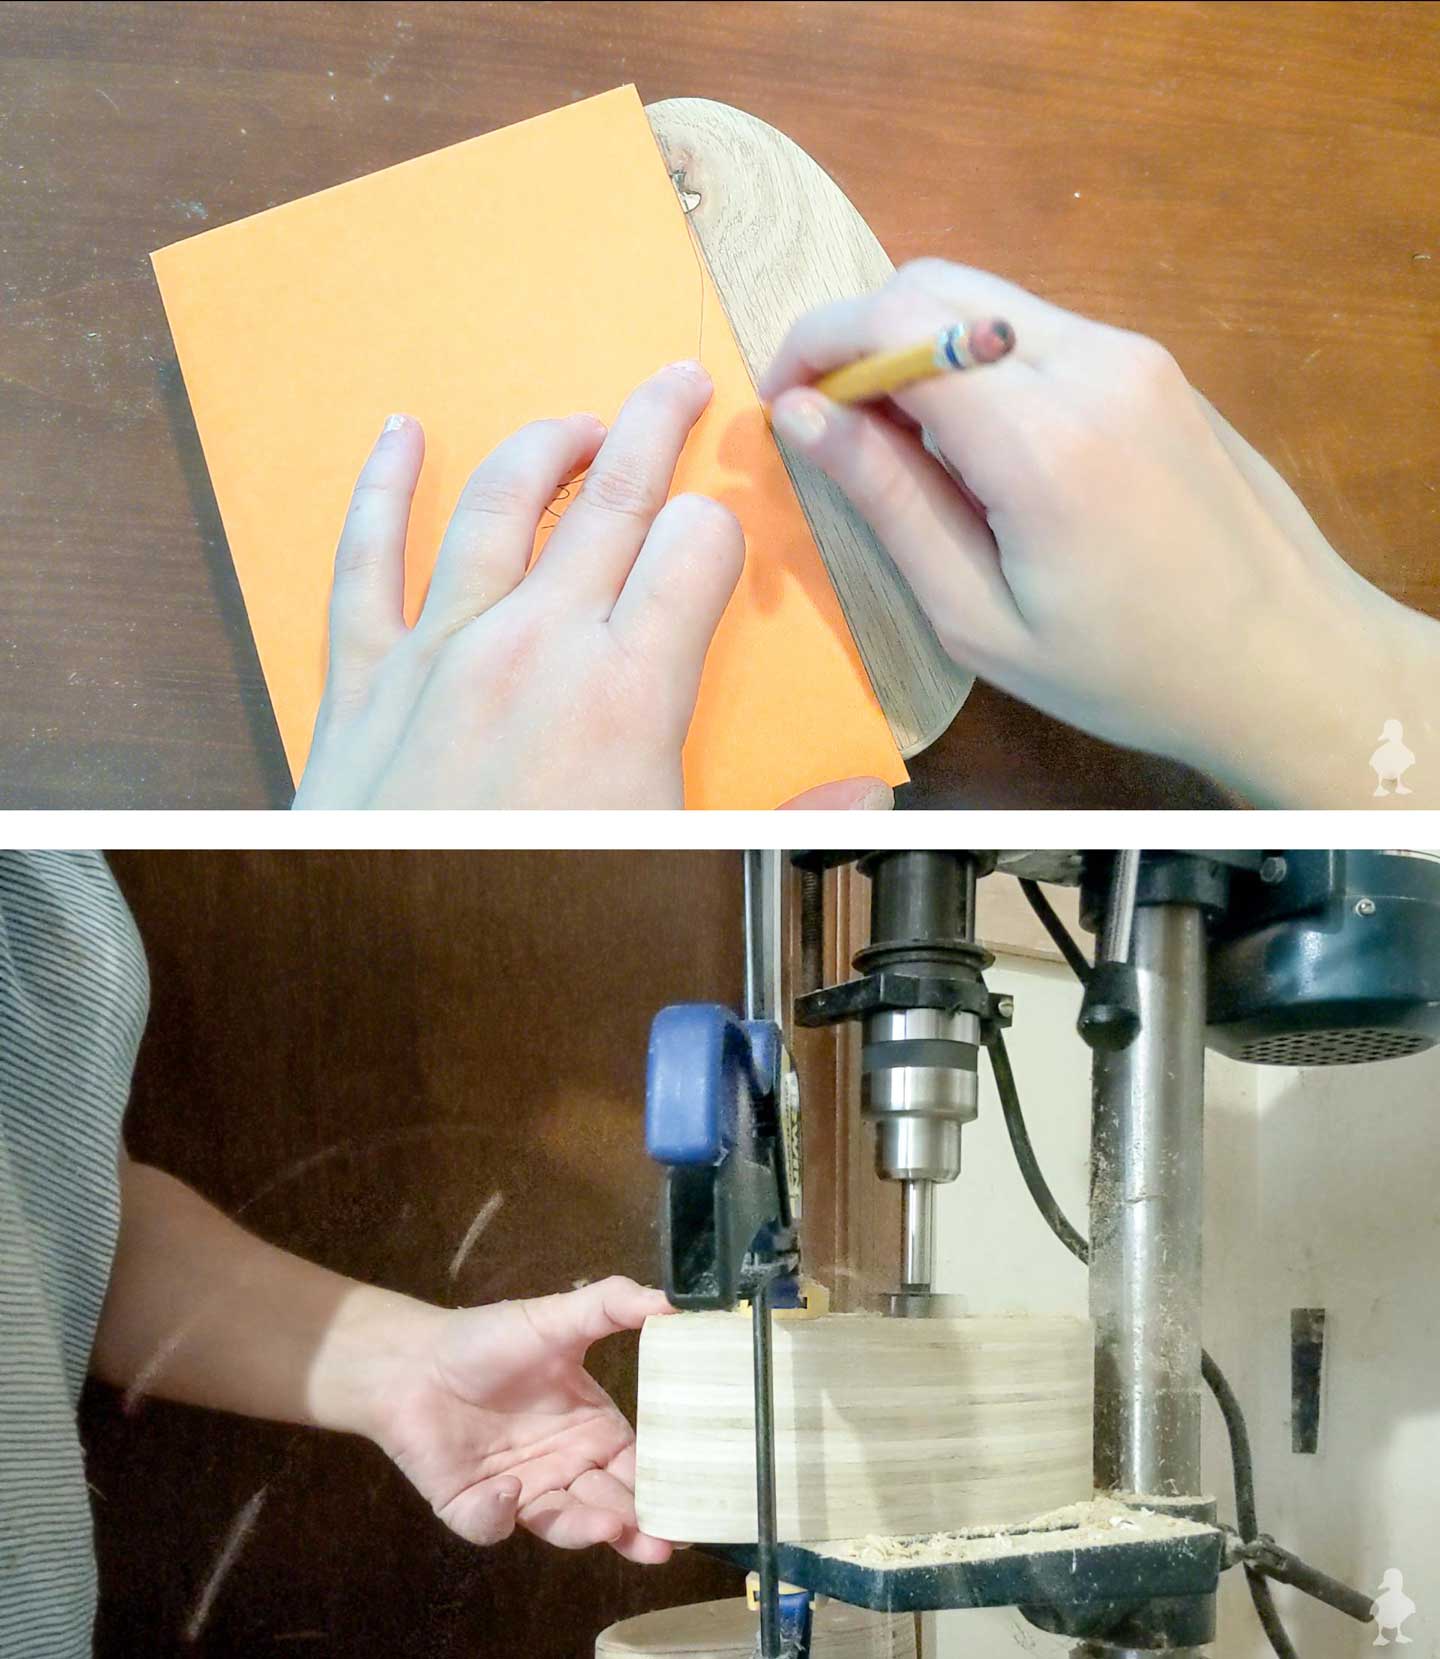
Using a Forstner bit on my drill press, I drilled multiple holes into the base, being careful not to drill too far down (so the planter has a bottom). I also wasn’t concerned about trying to make it look pretty; the plants will hide any flaws on the inside!
If I’d wanted to make the top look more perfect, I would have drilled through each of the top 3 pieces and cut out holes with my scroll saw before the glue up (or just drilled 3 individual holes for 3 individual plants instead of trying to connect them with more holes drilled). That way, the pieces would have holes in the middle and the bottom would be one solid piece to support soil/plants.
This was a scrap wood project though, so I can’t emphasize enough how most of these DIYs are done on whim and to challenge myself creatively, which sometimes means working around those moments where I think, “hmm, I probably could have done X before Y, and that would have solved this, but there’s nothing I can do about that now!”
7. Tape and paint dye
Next, I added some painter’s tape to the bottom of the new planter. My drill press actually broke down during the previous step so I figured I might as well try to finish the first! I carefully applied the painter’s tape along a single line on the planter (they’re pretty clear to see since plywood is made in layers). I figured that unlike a solid wood glue-up, these layers would allow for me to apply
I used a small paintbrush to apply two layers of acrylic dye. I’ve had this in my craft stash for some time, and I’ve been wanting to experiment with colorful stains like this on wood! This was the perfect opportunity to try it.
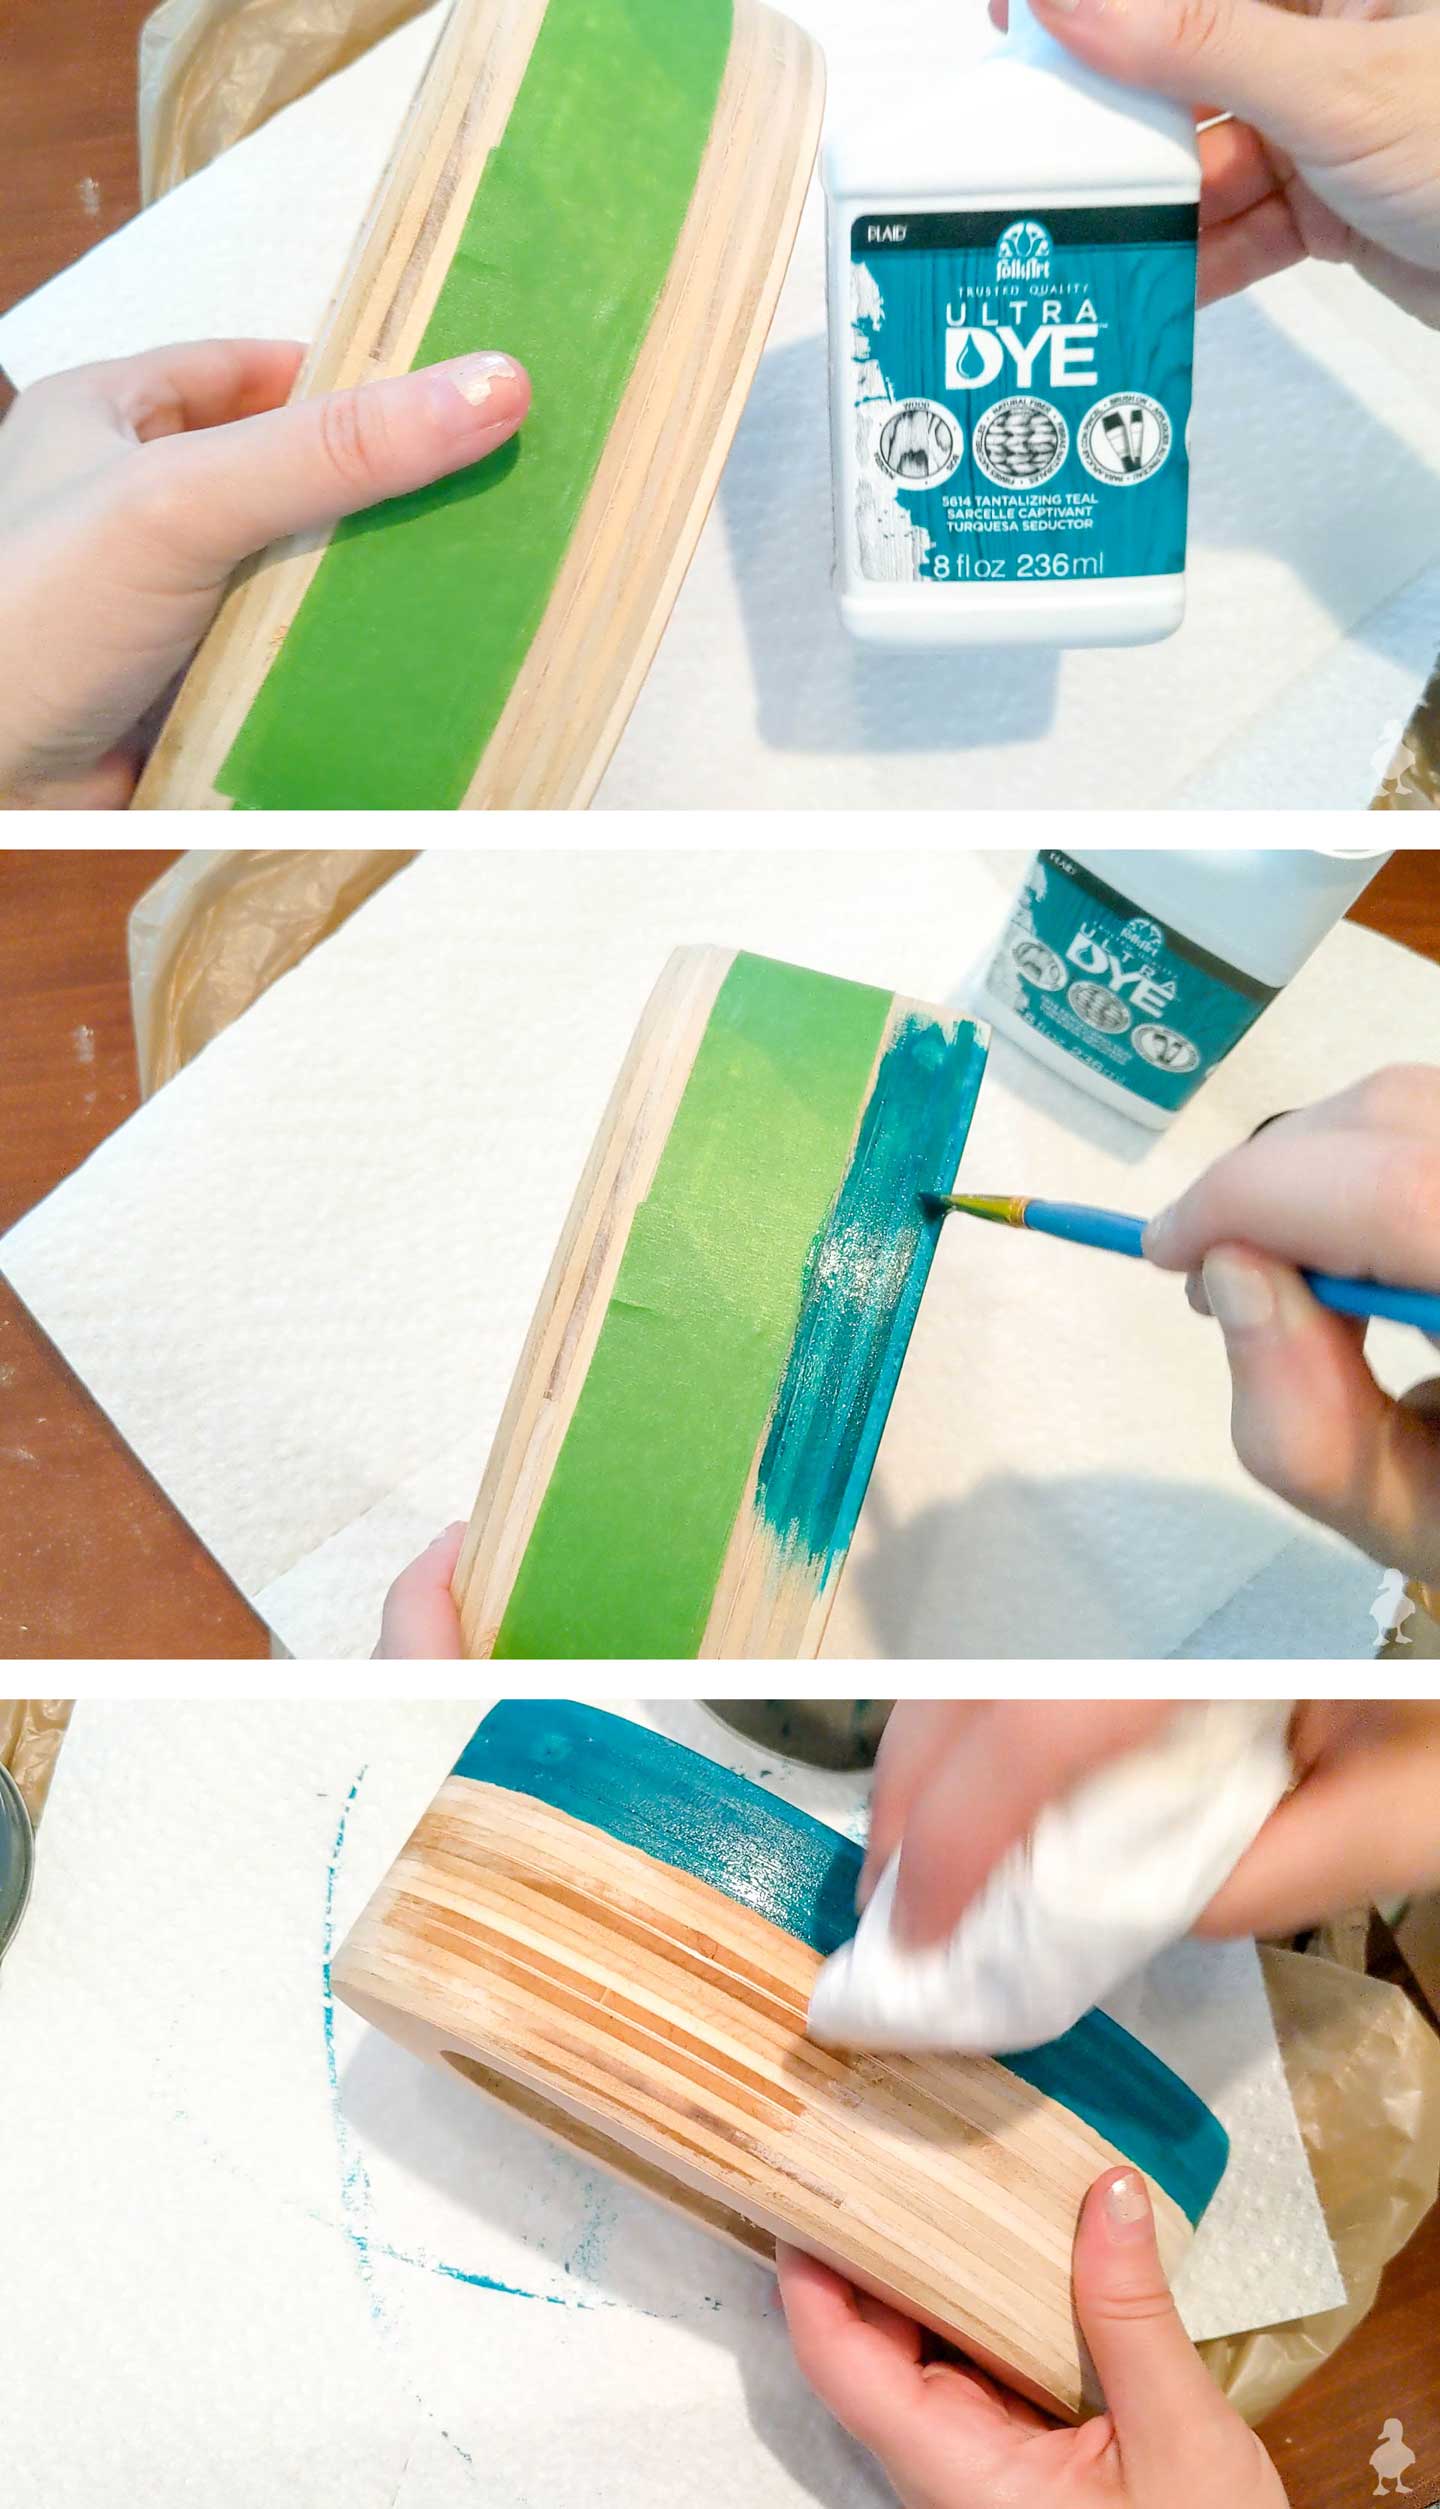
While the last layer was still wet, I peeled the tape back off to reveal a (somewhat) clean line. I wanted it to look hand-painted, so I took the same brush and perfected anywhere that I thought the line wasn’t crisp looking enough.
8. Add finish
After the dye was fully dry, I added a hardening oil to the entire planter. For enriching the color across the entire planter (and keeping it that way long-term), I coated it with Maker Brand Simple Finish (the same stuff I used on my magnetic walnut jewelry organizer).
To seal the inside (the part that potentially touches soil if you’re not going faux), I ordered a product called Garden Seal — according to the packaging, it seals and waterproofs wood, yet it’s VOC free and non-toxic to plants! That’s a HUGE claim so I’m excited to try it out. It’s not the cheapest product for the full gallon, but I plan on using it a lot, so I’ll get my money’s worth for sure if it works!
9. Add plants
I made this planter as part of a “group build” on Instagram — basically, just a few of us woodworking/DIY ladies agreed to make something and all post it on the same day for fun. That meant a deadline, which is awesome for me (because I thrive with deadlines even though I procrastinate!). But it also meant that I didn’t have time to zip off to the store to get some new plants to pop into place before we all posted. So, I stole these faux ones from another planter and made do for the sake of a final photo. I think it turned out great, despite not taking the time to dust the planter. ?
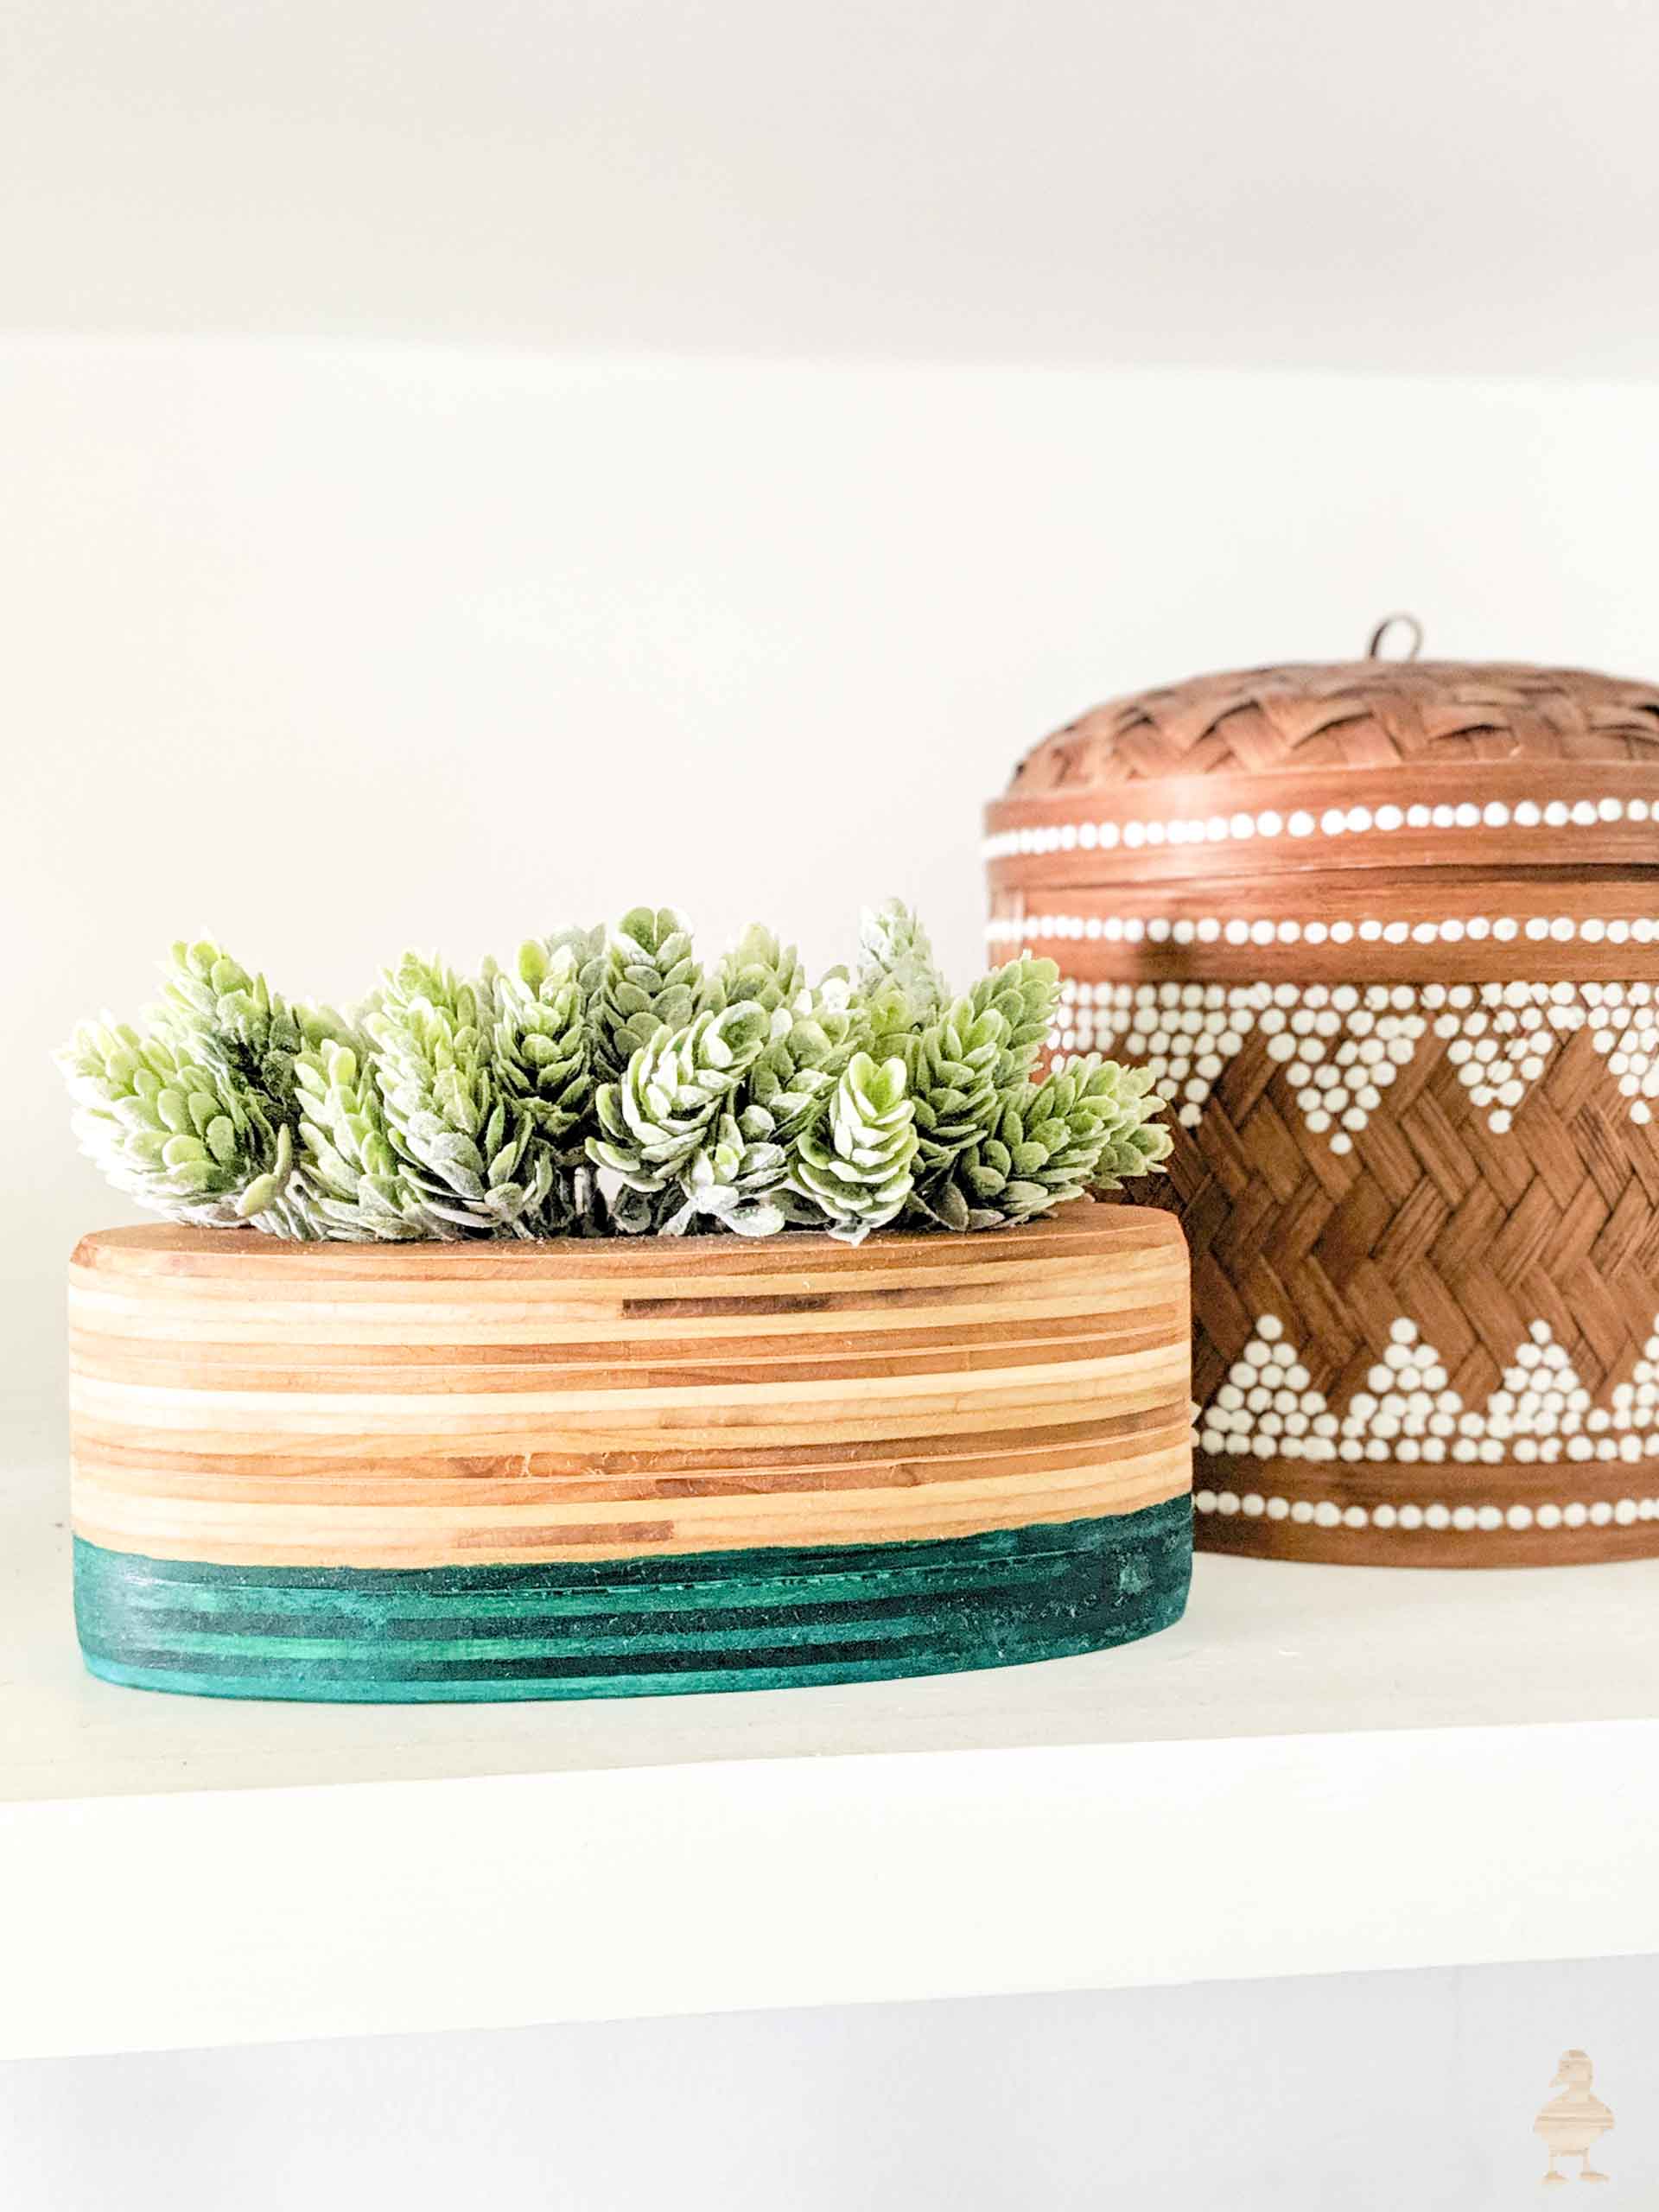
I love the perfectly-imperfect edge of the dip-dye effect. It would look awesome with a thinned-out black acrylic or white paint, too! I might make a few more for the holidays to coordinate my color palette for the mantel (which, I might add, I have some serious plans for this year! I’ll be sharing those ideas with you soon).
Hope you guys liked this easy scrap plywood project! If you want more, I’ve rounded up a few more scrap ideas from my archives (as many of you know, I am trying to clean up a LOT of my archives to be better organized). Check out these posts below or click on this scrap wood link to go back to the entire list of things I’ve added! I’m a little obsessed with scrap projects. ?
P.S. Maker/small business shout-out: just as I finished making these, I thought of an account I follow on Instagram called Little Bare Furniture; Ellen makes perfectly round stacked plywood planters made from a combination of plywood and hardwoods. They’re gorgeous and it supports a fellow female maker (I don’t get a commission off of this or anything, I just thought there might be some of you who like to buy something similar instead of DIY, and this is a good option that also supports the “maker” community if you like handmade goods!).
More Scrap Wood Ideas
Don’t let those cutoffs from bigger woodworking projects and home DIYs go to waste! Here are tons of ideas on how to reuse the scrap — you can make gifts, décor, and more!


I love these Sarah! Very creative.
Thanks Ellen!