
Disclosure: this post may contain affiliate links, which means I may make a commission if you decide to make a purchase through one of my links, at no cost to you.
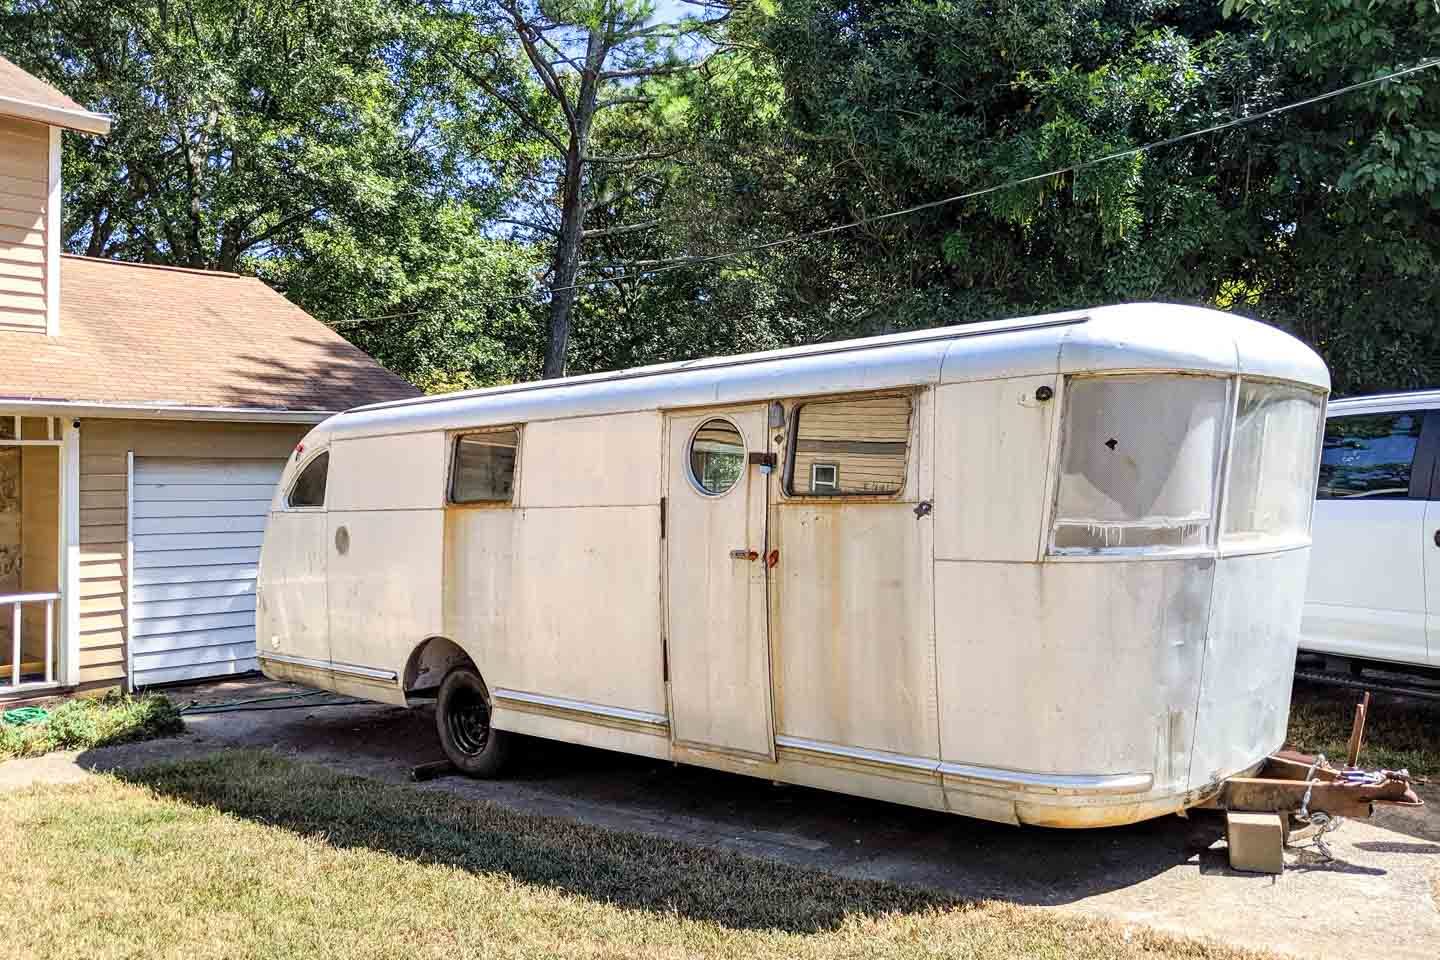
In case you missed it: my boyfriend and I are tackling the remodel of a 1946 Spartan Manor vintage travel trailer! In today’s post, we’re tackling the pressure wash of the exterior and testing out some aluminum polish!
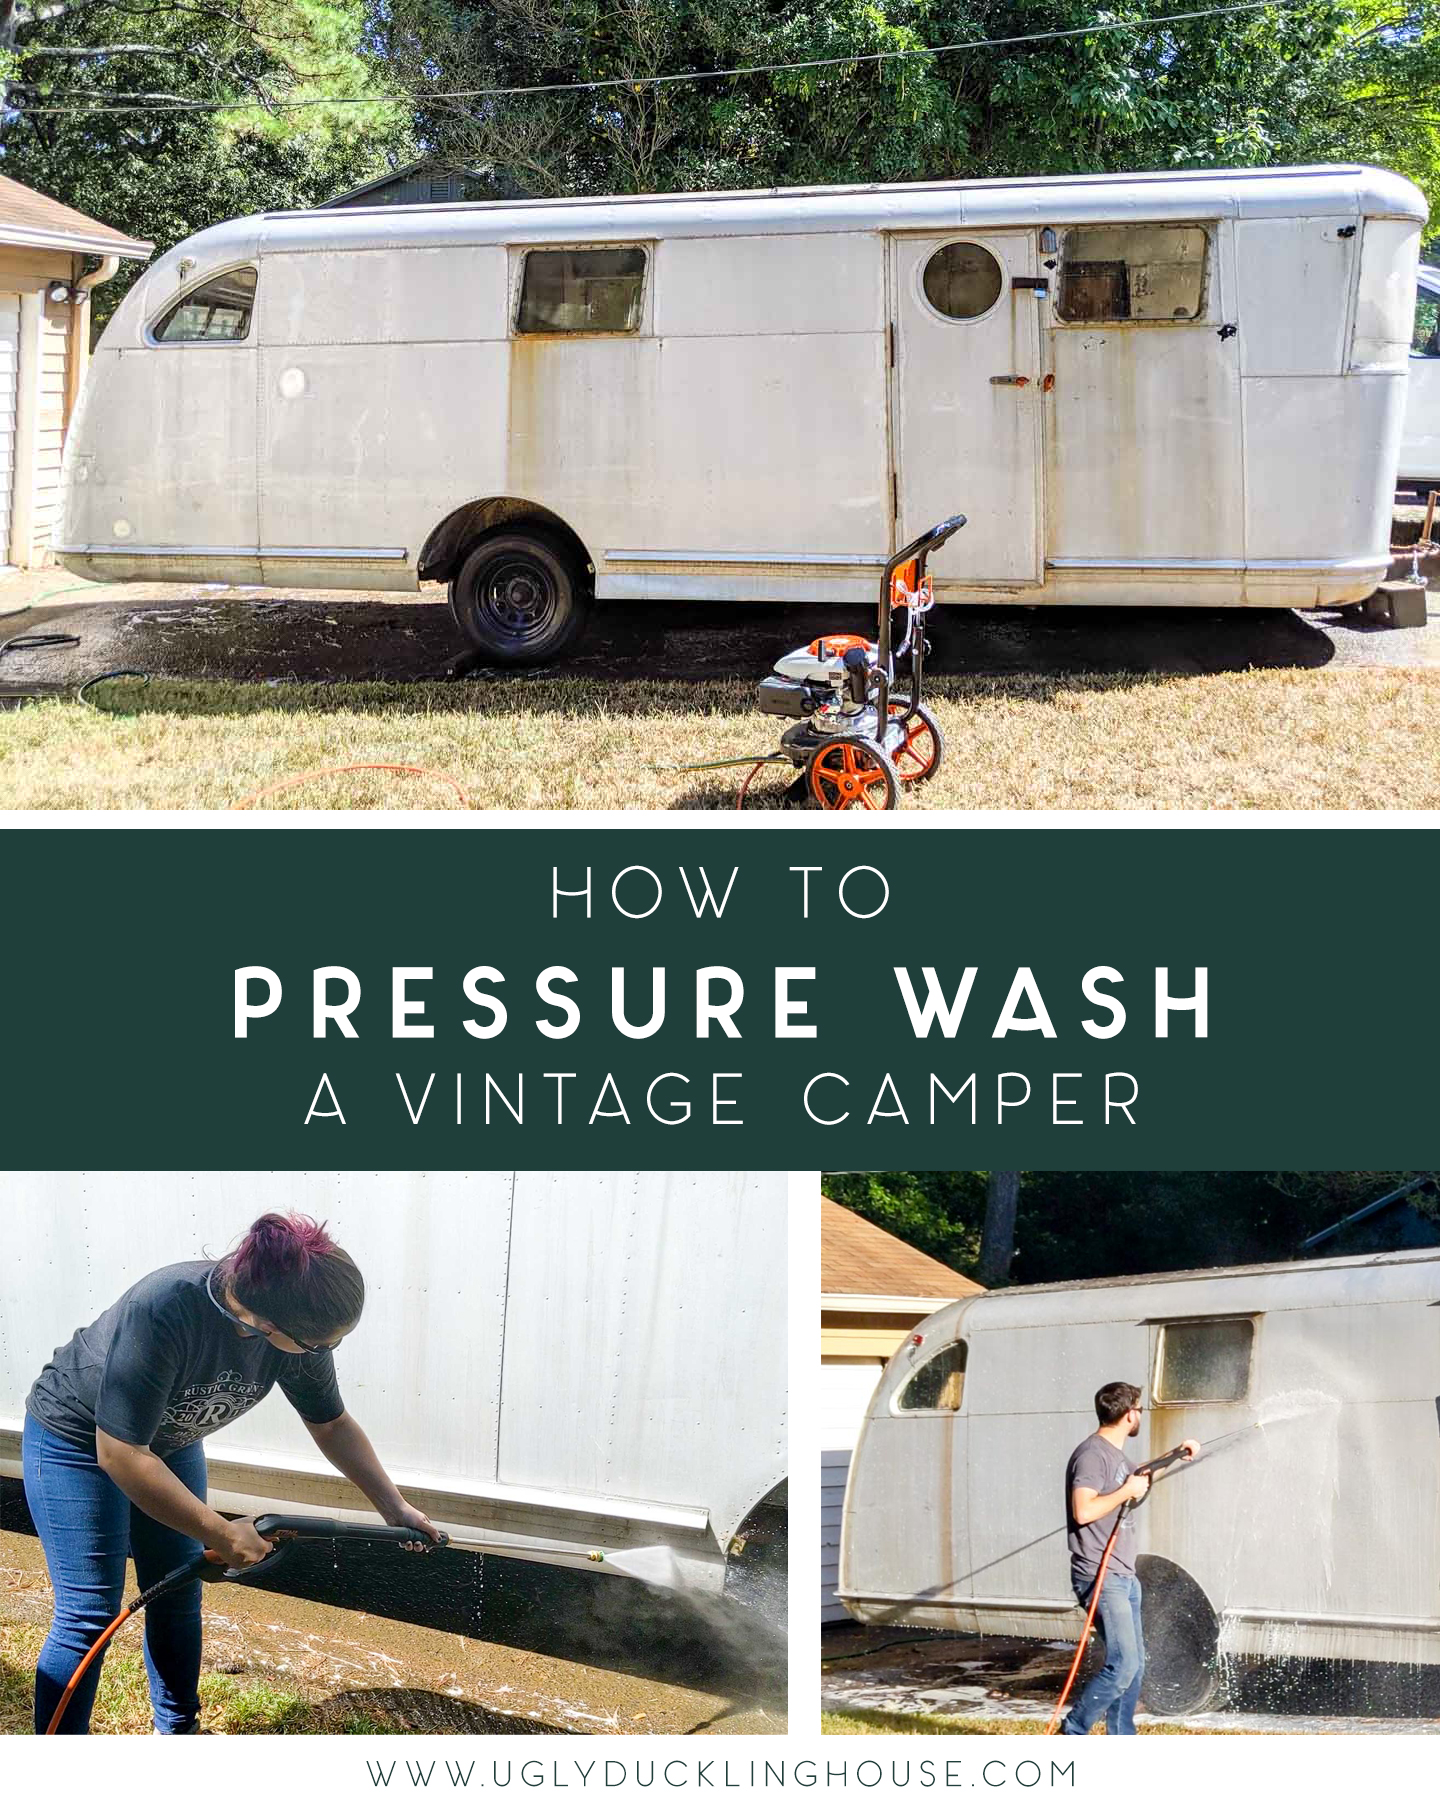
Allllrighty friends. I said that I would be able to give you more updates in a shorter timeframe after making you wait so long for Episode 3, and I meant it! This is episode 4 of Ruby’s Revival, and this time, we brought the vintage trailer to my house for the first time. The thing actually sat in my driveway for 36 hours, and we got so much done! Namely, pressure washing and testing out some aluminum polishes to see if any would work (they did!).
You will NOT want to miss this sneak peek in today’s video. The pics are great and all (and I know I say that every time), but there’s a super-satisfying moment at the end of the vid that I want to show off and I need everyone to drool over it as much as I do.
This post is sponsored by STIHL. As always, all words are 100% my own.
In the last update, we’d driven the trailer up from the woods in Americus, GA to a rental lot that was closer to my house. Since that road trip, our drive out to visit Ruby has been whittled down to 20 minutes north vs. 4+ hours south. The new location has solved the distance issue, but it still has a few downsides (aside from the obvious added lot cost per month):
- We don’t have a truck (yet — I’ll have an update on this in a future post) that can tow Ruby. That means that until we do, we either have to work on it where it sits in the lot (without power or water hookup) or rent/borrow a truck and tow it to somewhere that does.
- Anything that involves an outlet or a hose means towing it to the house (or another place that does) or working on it using battery-operated tools.
- Renting/borrowing a truck is time-consuming and costly, so it takes more significant planning than if we could zip it around whenever we want. Meaning, anything we do when we move Ruby has to be fully dedicated time to get our money’s worth.
- We’re also still dealing with DMV/tag issues so we don’t really want to tow it anywhere until we have that resolved (the police officer filled out the wrong paperwork, so we have at least one more trip back to the DMV to resolve it).
- I’ve received a few suggestions on social media to buy a power inverter (which would use our car battery for power), but it’s one of those purchases we are still researching and it will cost a little $$ — certain expentures we only wan to make once, so we don’t want to go cheap on this.
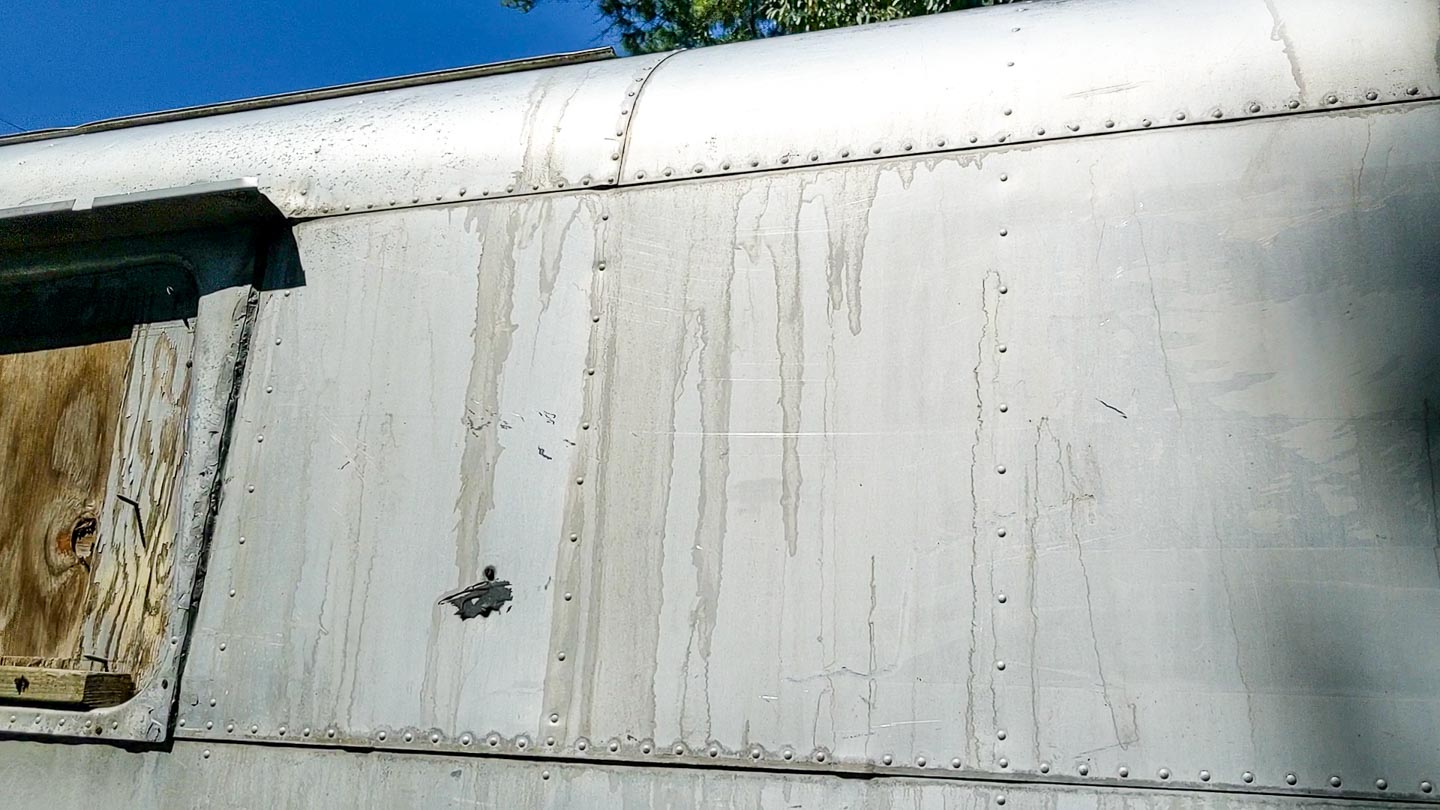
We’d had a lot of success with handwashing the aluminum exterior earlier this year, but the obvious wasn’t lost on us either (or any of the folks who told us to jUsT use a PrESSuRe WASheR). It could have gone a lot faster and more efficiently if we’d been able to use one. Even though we didn’t have one back then (and it honestly wouldn’t have mattered since we also didn’t have a place to hook up a hose or plug it in down in Americus), we knew eventually, we would want to take this final step of properly cleaning the camper with a pressure washer before trying to do anything further with the exterior. To polish the aluminum, the remaining grime has to be GONE!
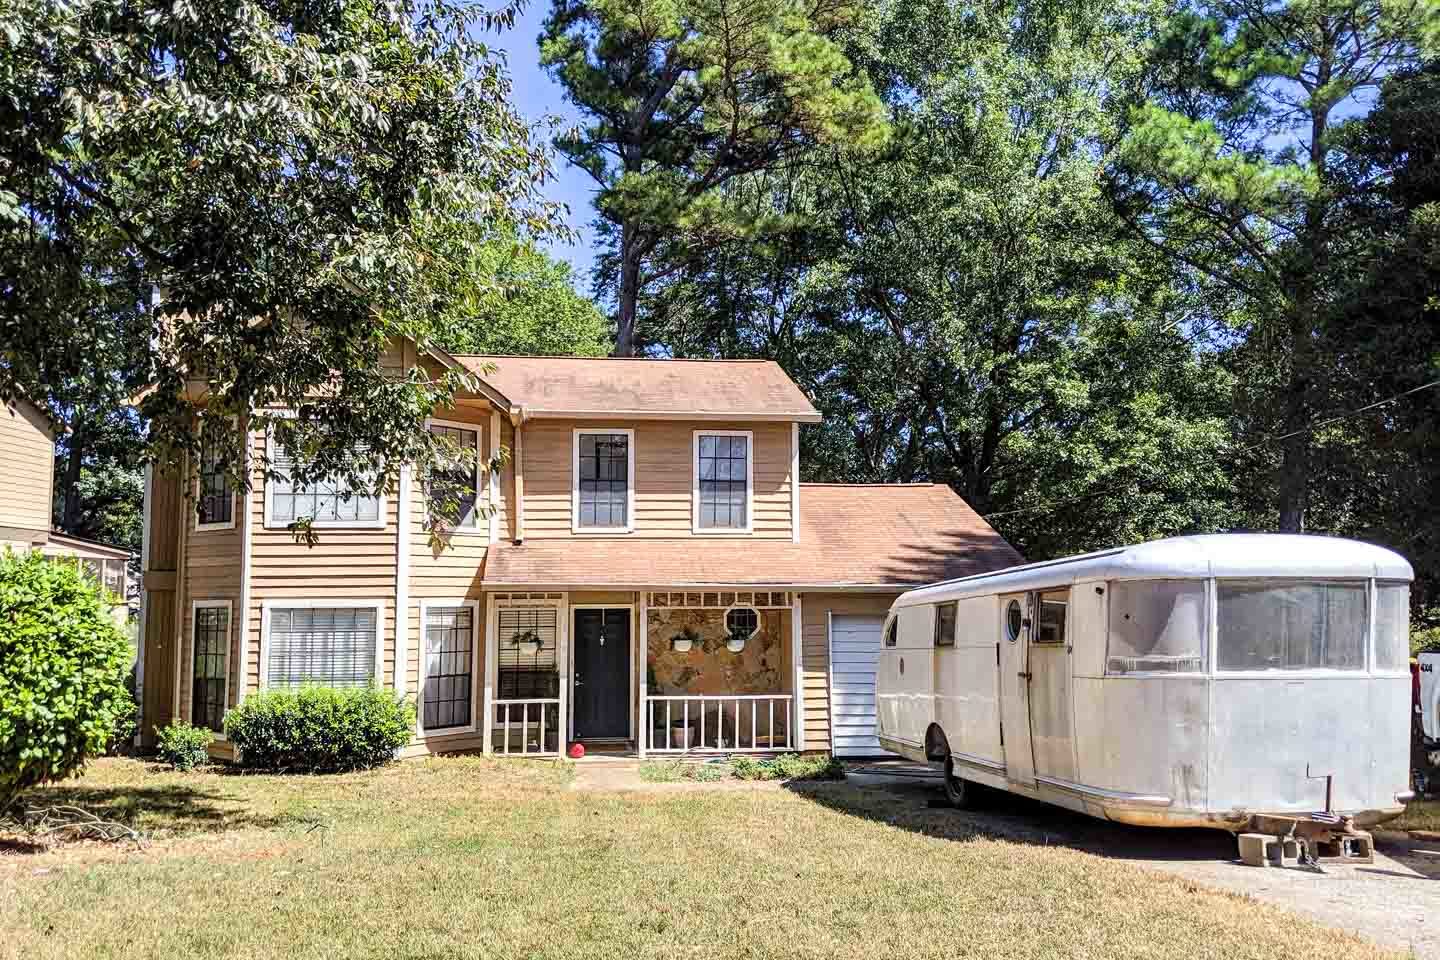
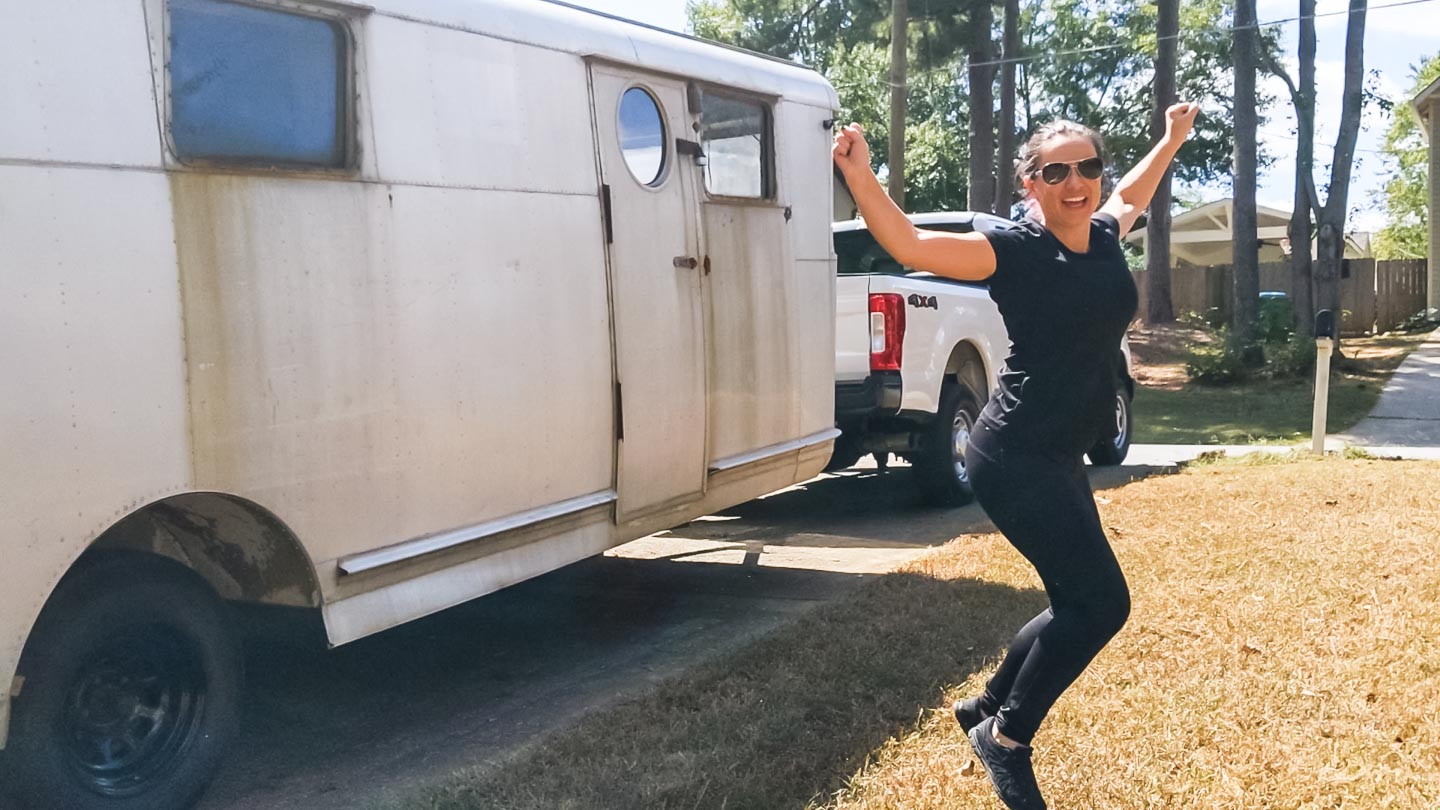
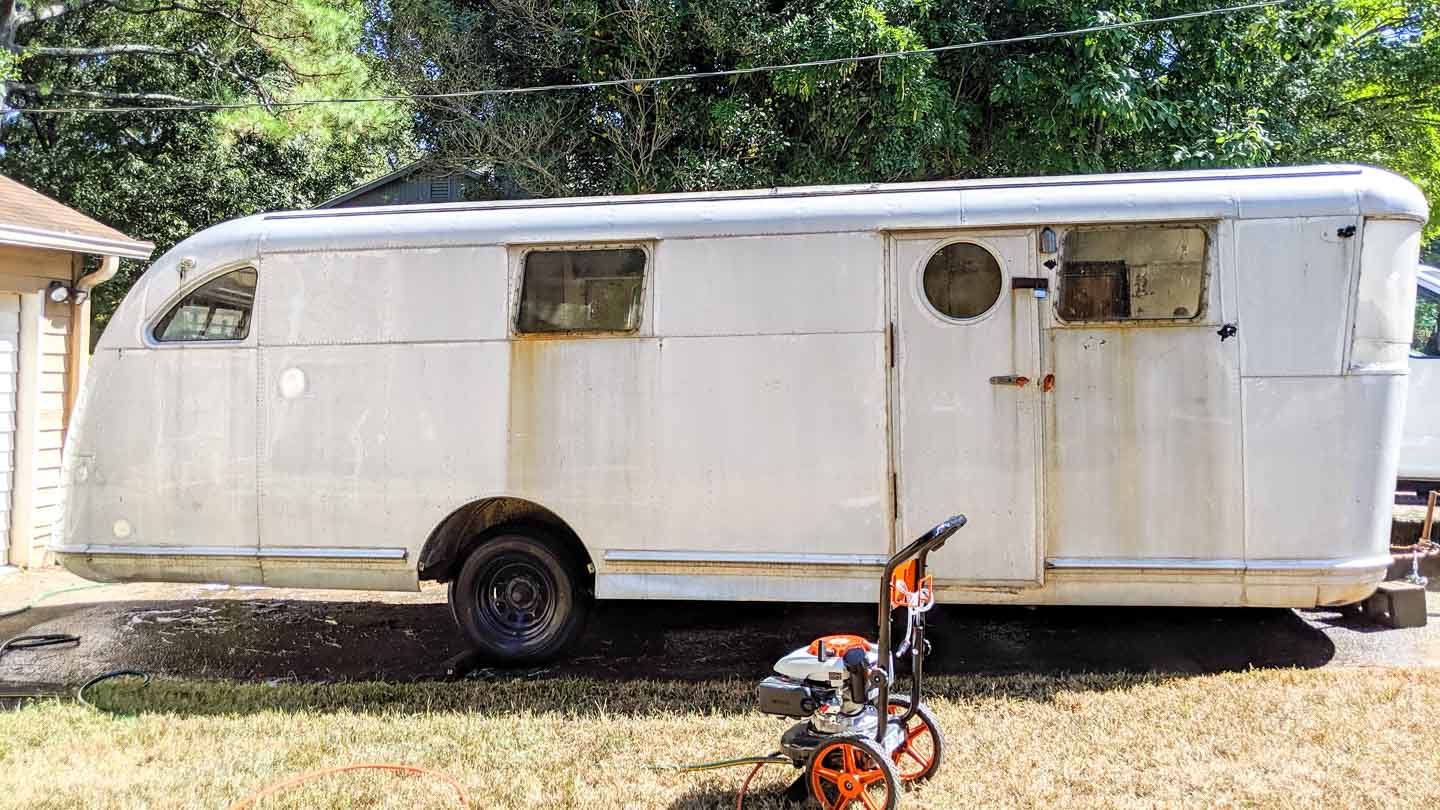
We set aside a weekend not too long ago for this task, and we decided to bring it to the UDH to make working on it as easy as possible. We rented a truck, hooked up the camper (still getting the hang of that as you’ll see in the video, TBH), and brought it home to hang out in the driveway. I was pretty damn excited, as you can see below!
I know I’ll probably get this question too, so I’ll answer it as well. Why can’t we just park the trailer in the driveway permanently, instead of paying to park it elsewhere? The short answer is: our county would fine us. Even though I don’t have an HOA and can get away with quite a lot of DIY improvements as I please (which I have taken full advantage of), there are strict county rules about where a camper like this could be parked on my property. It would have to be in the back yard, on a gravel/paved spot, and making something like that with a gate for access would mean ripping out a few things I’ve already built to make room. The monthly cost to rent a space is less than ideal, but it’s the better alternative.
We’ve been proudly working with Stihl as a sponsor on our outdoor equipment for a while now, and this year, I added their RB 200 Easy Start Pressure Washer to our arsenal. I don’t have much experience with pressure washers prior to this other than one my dad and I successfully broke several years ago (I don’t recall the brand, sorry!), so I was determined to know how to use this thing and get some mileage out of it.
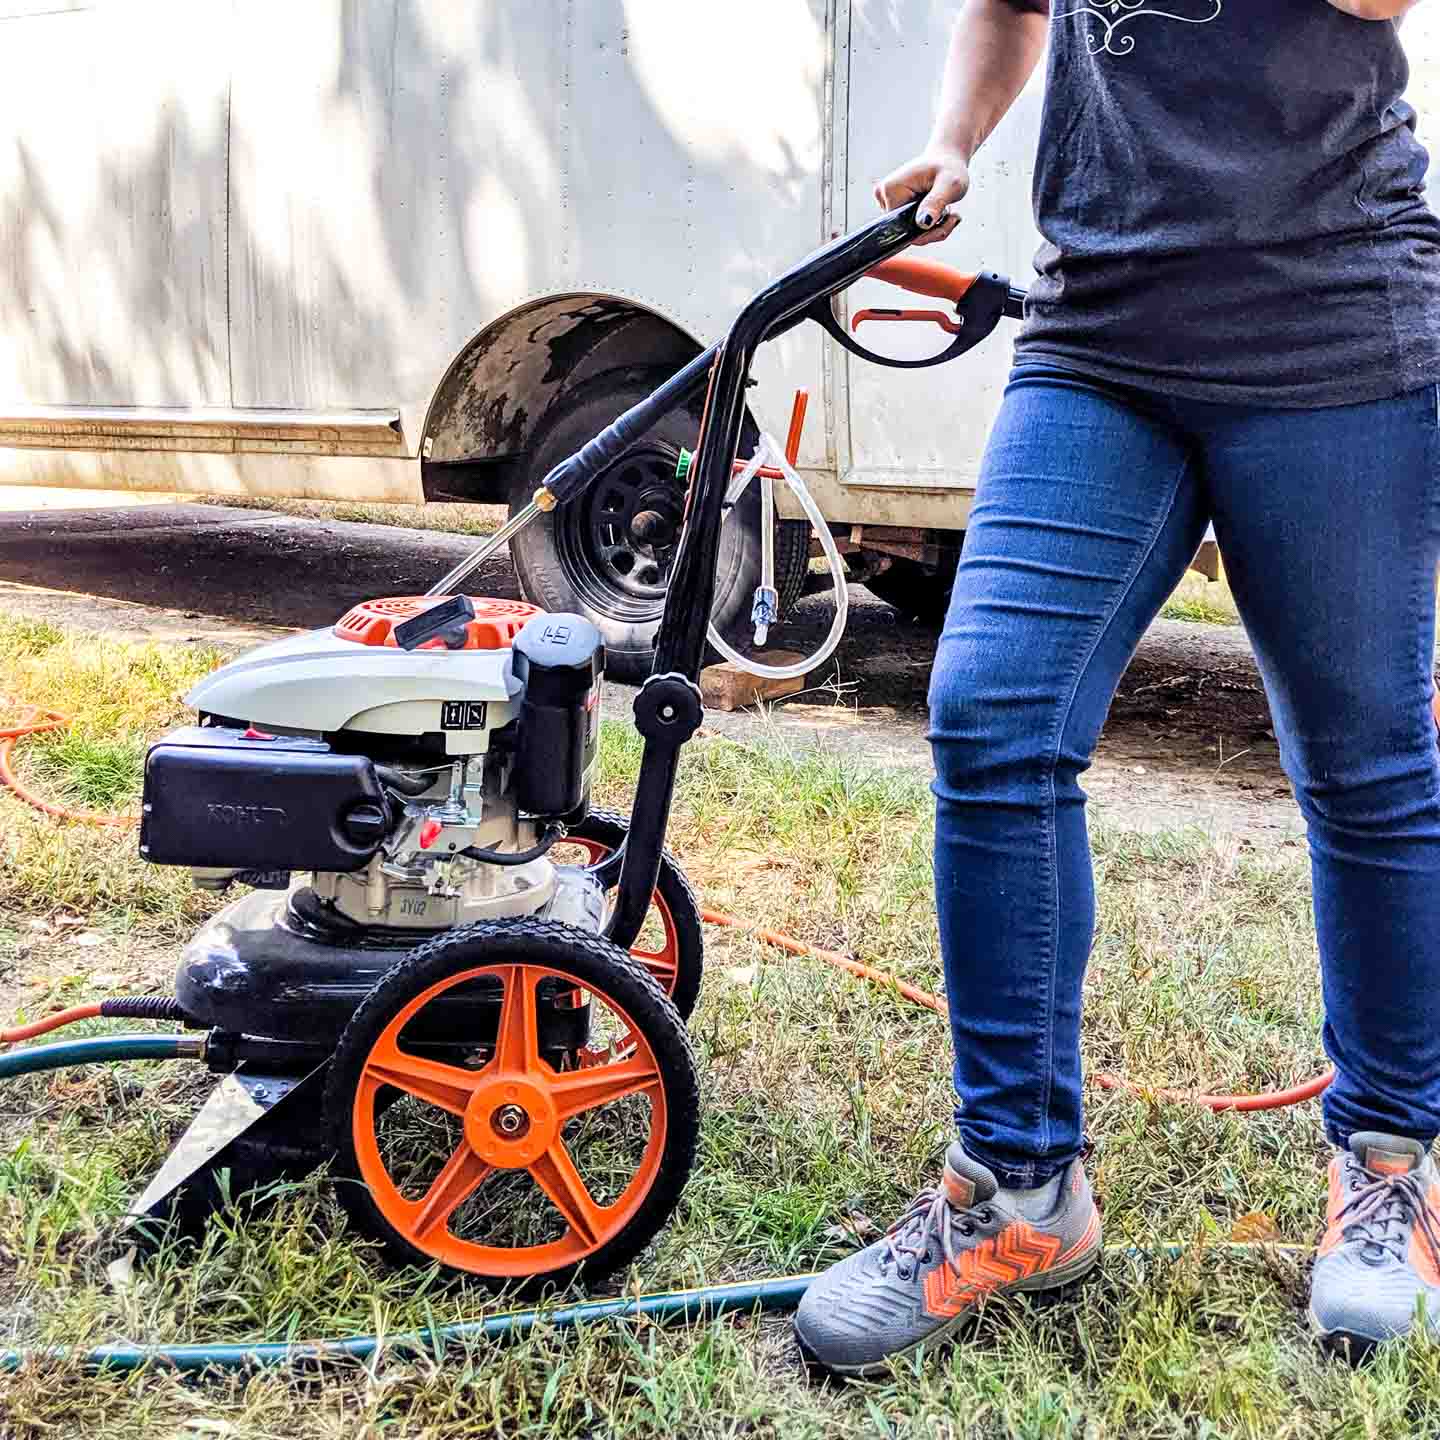
We took Day 1 of Ruby’s visit (which was mostly figuring out how to get Ruby home through back roads… it took a while) to understand how to use the power washer and then got to work on Day 2. Once we knew what we were doing, it went SO fast!
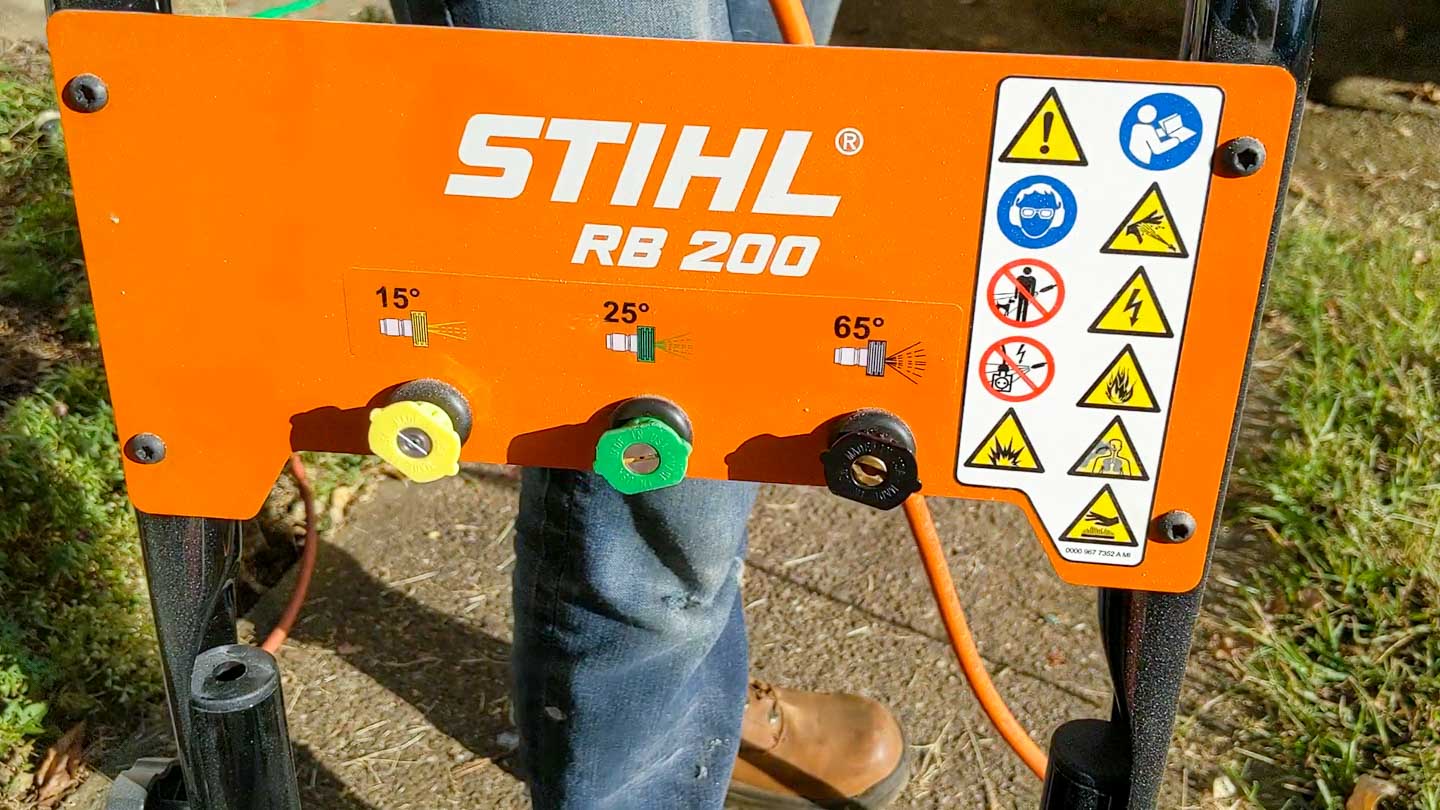
A little info about the STIHL RB 200 Easy Start Pressure Washer
- The machine comes with 3 separate nozzles: 65, 25, and 15 degrees. The narrower the width of the spray, the stronger the pressure is (the 65-degree nozzle is “low” pressure).
- It also has a tube that runs down the handle and attaches underneath the machine. This feeds soap directly through the machine and mixes it with water, so no diluting is required! Be sure to check the type of soap you’re using to know for sure if you can use it this way or not (it’s a lot easier and faster if you don’t have to premix!).
- Pressure washers can burn out the motor if water is not constantly running through it. We were careful not to exceed the recommended 1-2 minutes of sitting idle without spraying (we would turn it off if we felt we needed to stop for any reason).
How to Pressure Wash a Vintage Aluminum Trailer
Time needed: 2 hours
Pressure washing a vintage camper like this is best done in sections, starting at the roof and working your way down. Be sure to test the pressure prior to starting so that it doesn’t damage the aluminum panels!
- Set up the power washer
There are 2 hoses; one from the faucet to the pressure washer, and one from the pressure washer to the handle. Simple enough!

- Hook up the soap
Since we didn’t have any mixing to do, we just opened the soap bottle and stuck the end of the tube directly in. The tube may float though, so we attached a copper weight to the end to make it sink to the bottom of the bottle.
- Spray soap and let it sit
On low pressure, spray down the camper in sections. Our soap only needed 5 minutes to penetrate the dirt.

- Rinse
Switching to a higher pressure nozzle, spray off the soap and dirt from top to bottom. To make sure that there is no soap still in the tube when rinsing, stick the end into a clear container of water and rinse until clean. This basically made storing it faster too, since we knew all the soap was rinsed out already.


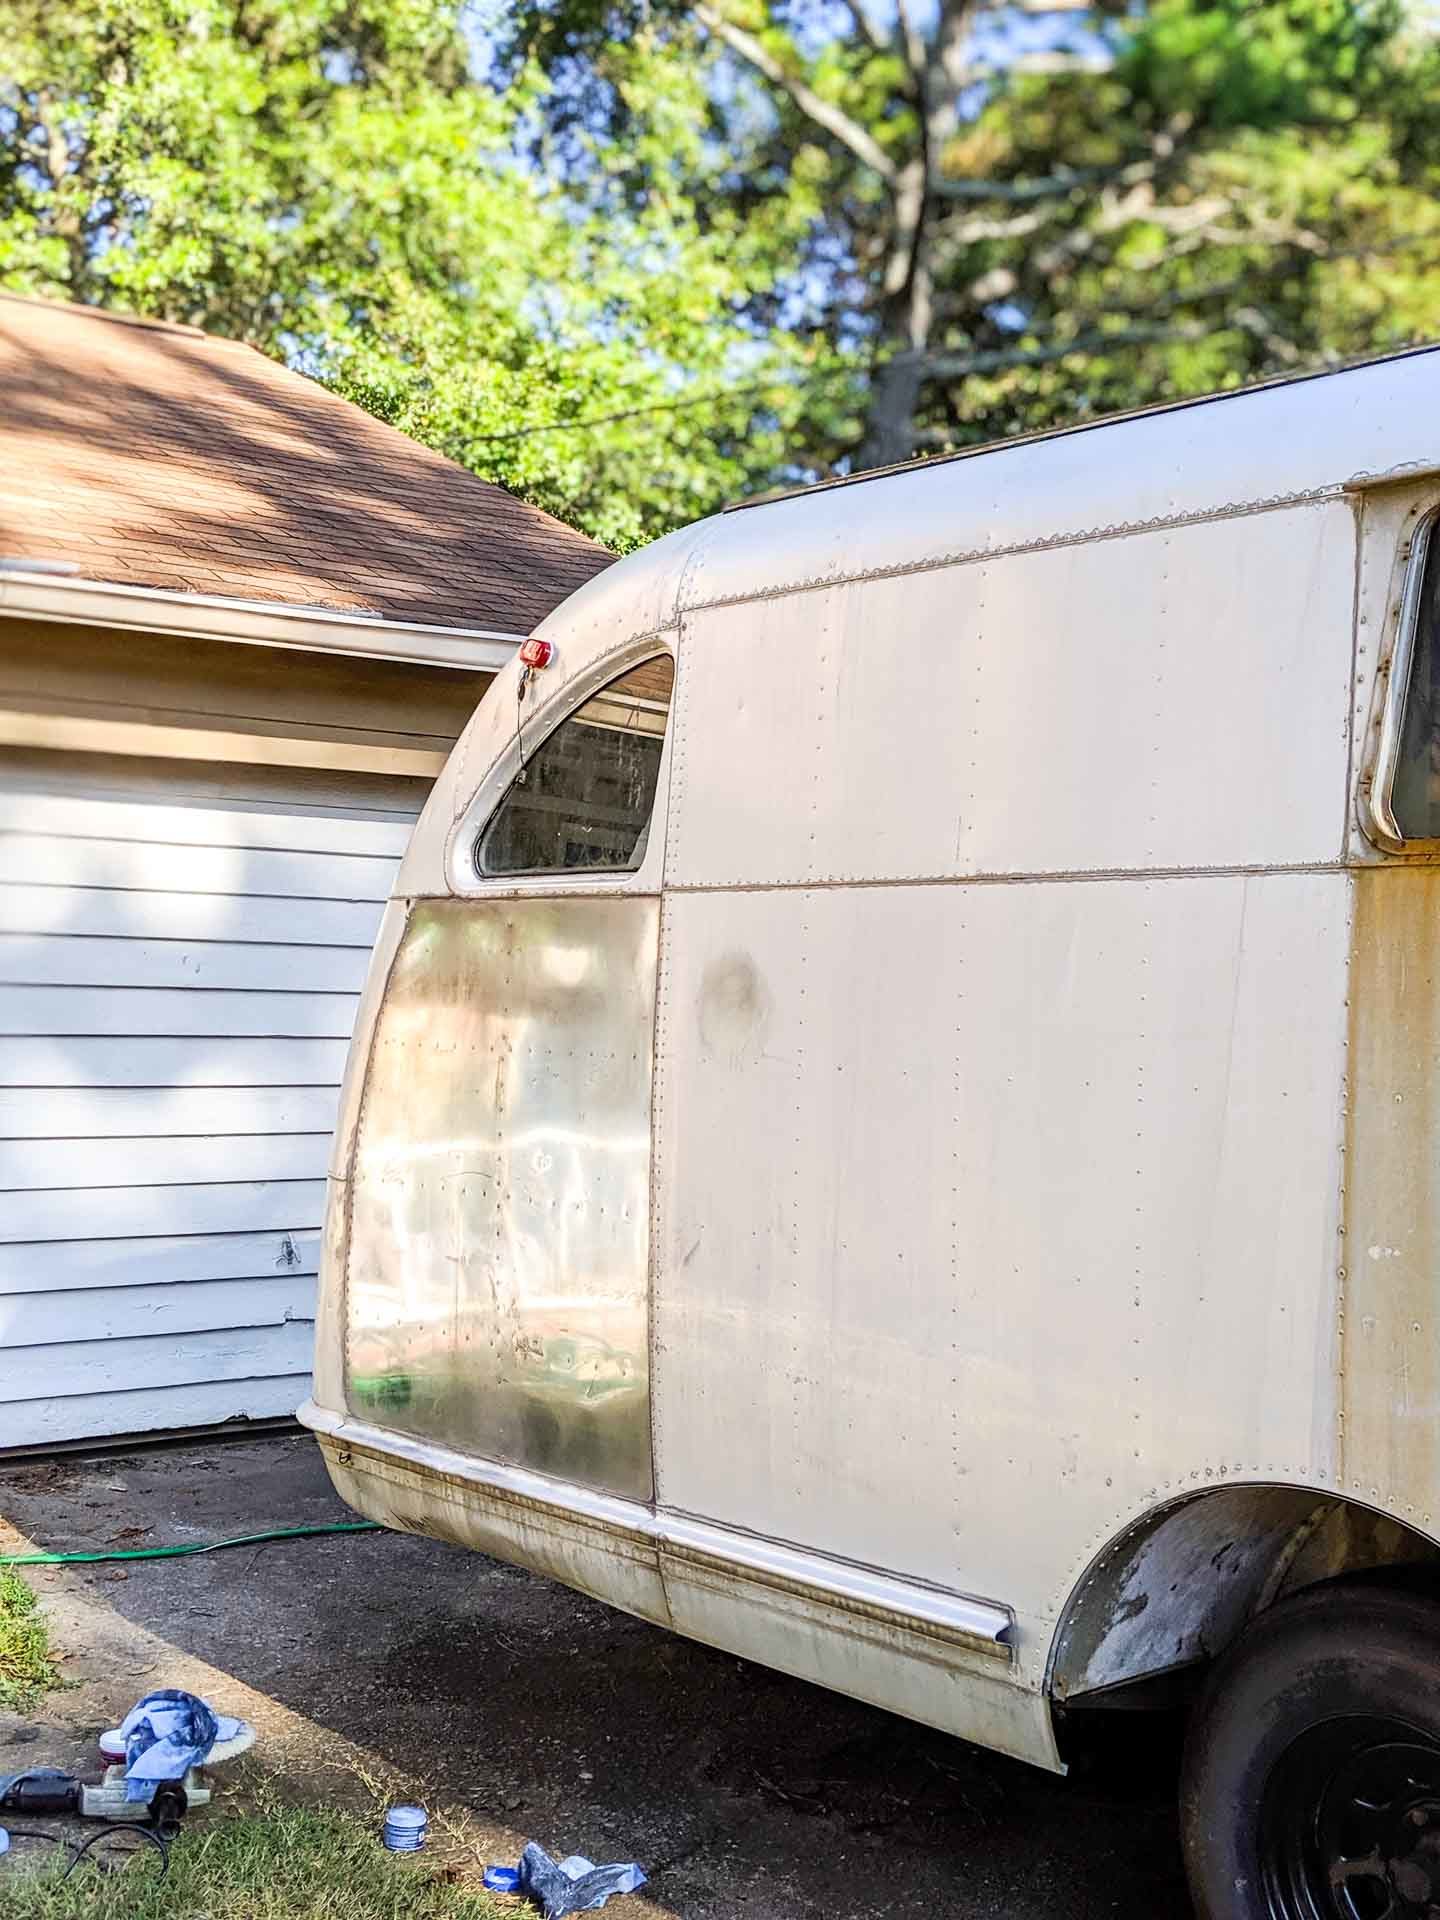
That’s really all there is to it! Having a pressure washer is satisfyingly fun. I love it when tools make me feel a little silly for waiting so long to use them (I can’t explain why or when a tool is intimidating to me, but I usually end up kicking myself for not doing the project sooner, and this was definitely one of those). It makes you feel like you have a magic wand and can instantly make anything around the house better. A magic wand that will soak everything around you, but still… magic. ✨ I’d like to use it for the deck and concrete areas around the house next (especially the driveway and front porch), but let me know your suggestions, too! I’ll update this post with a list of project ideas after reading your comments because there are so many uses for this thing!
Without that, the camper was left squeaky clean — including the roof!
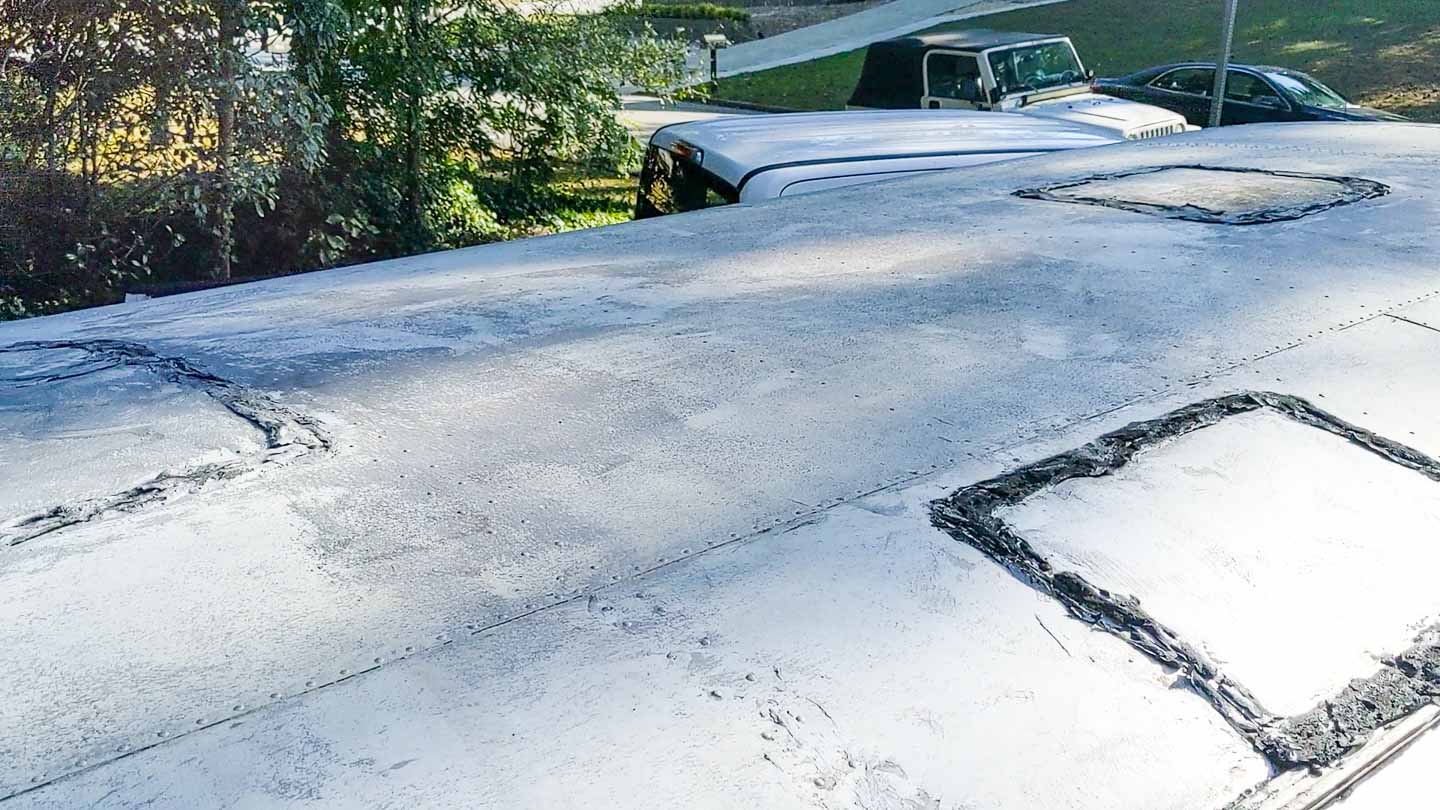
A word of caution — spraying the roof with a power washer on a ladder is ill-advised and can EASILY throw you off balance, so be careful with how you go about reaching it!
Can you hear that cartoony twinkly sound when looking at the below pic like I do?
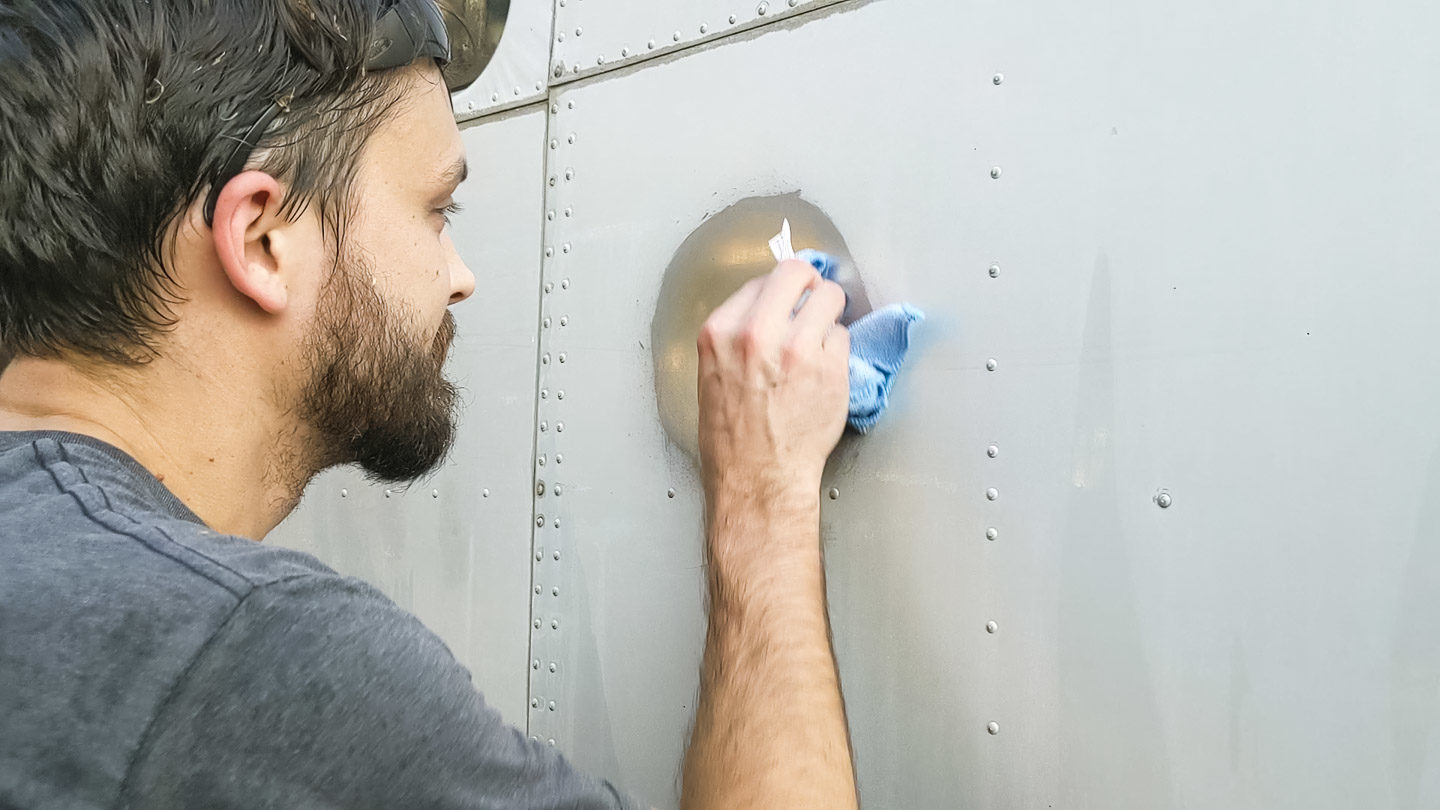
Since it was sooooo very clean and we finished earlier than we expected, before taking the camper back to the lot, we moved ahead with testing out a few aluminum polishes. We bought several creams and sprays at an auto parts store but quickly realized that the sprays designed to polish aluminum on tires are meant for coated aluminum only, so we had two basic options to try: Mother’s Mag & Aluminum Polish & Blue Magic Metal Polish Cream (both are <$10). There are others on the market, but we couldn’t find any others in the store, so we decided to test out these two for now.
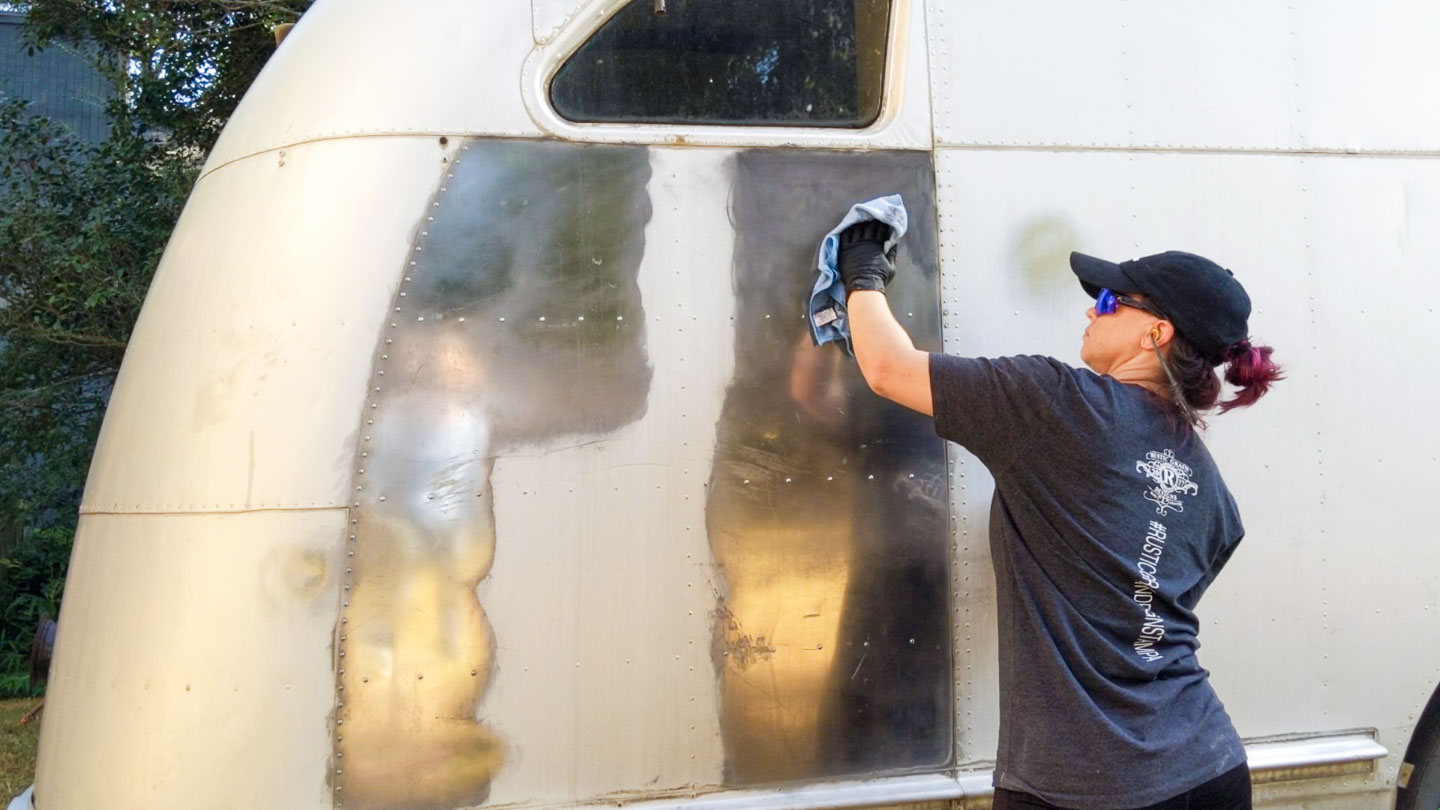
Both polishes work the same way: rub on, wait for the polish to turn black, wipe back off in a circular motion. In all honesty, we thought the best outcome would probably be a little less haze on the aluminum.

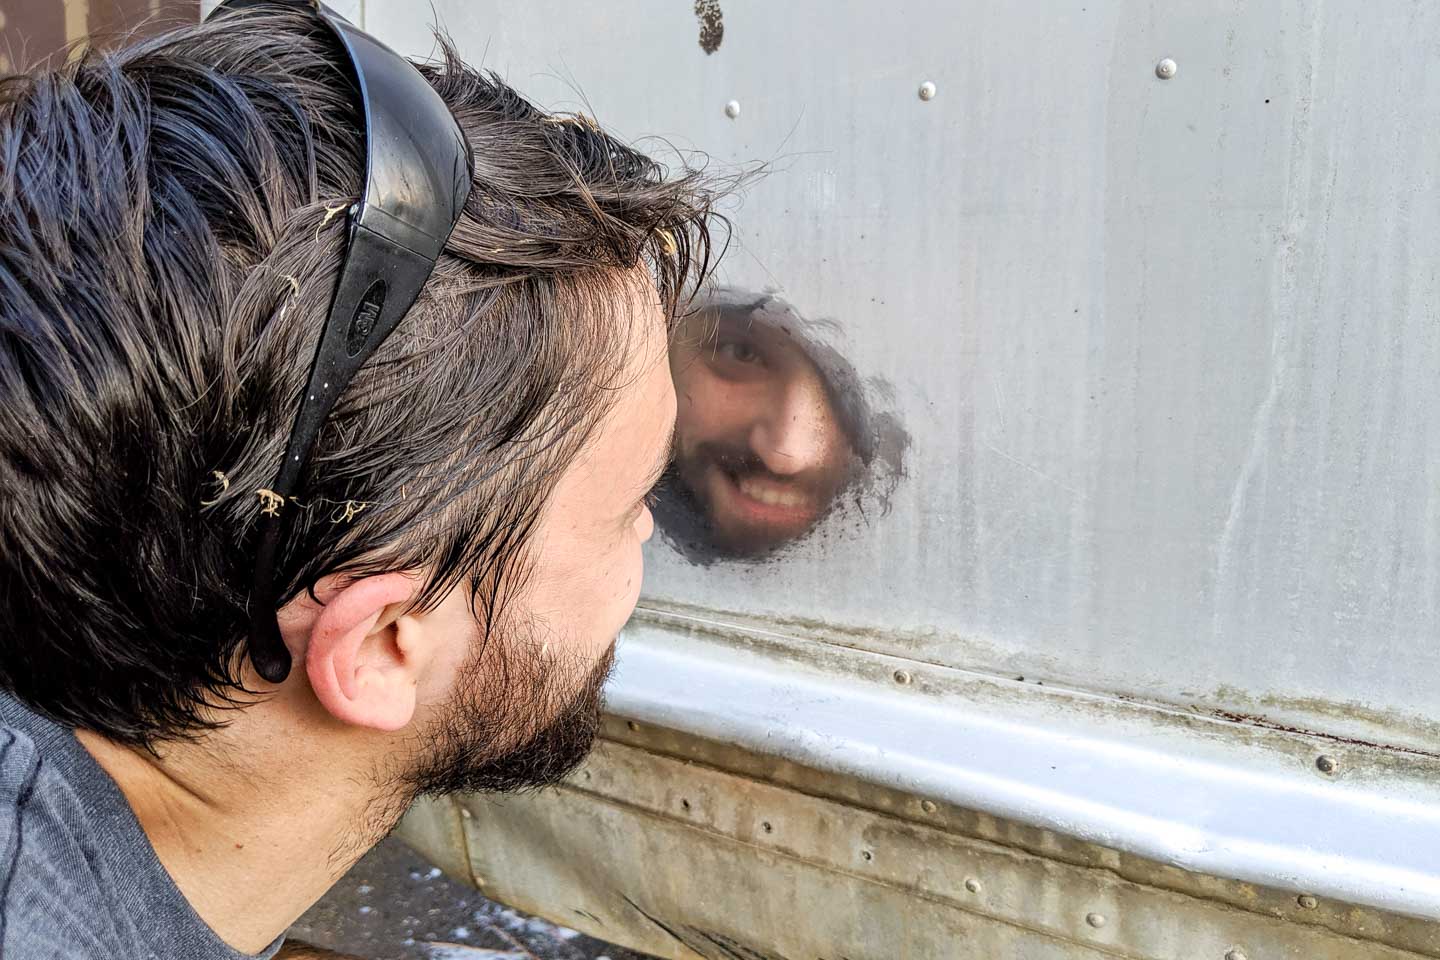
To our utter amazement, we got an actual reflection! It also removed rust streaks, so we were thrilled.
In case you’re wondering, our results between the two polishes were about the same. The blue is a little smellier (very metallic and it is a little much, even with being outside), so we have been leaning toward the Mother’s polish in subsequent applications. I’ll have a separate video for that reveal when we’ve finished (we’ve also been polishing the windows with a plastic renewal kit so I’ll have that to share, too). This isn’t going to be the final polished look either. It’s more of a “how nice can we get this looking for as little cost and effort as possible?” sort of experiment. We’ll still have to do a more elaborate, multi-step kit later on. I imagine there will be lots of learning as we go like this.
After testing a few spots by hand, we initially intended to try to polish an entire panel using Kyle’s dad’s old polisher (we found it in the camper among a box of older tools). However, we only had the one buffing bonnet (the fluffy white cover) and it was probably as old as the tool itself, so it didn’t work very well.
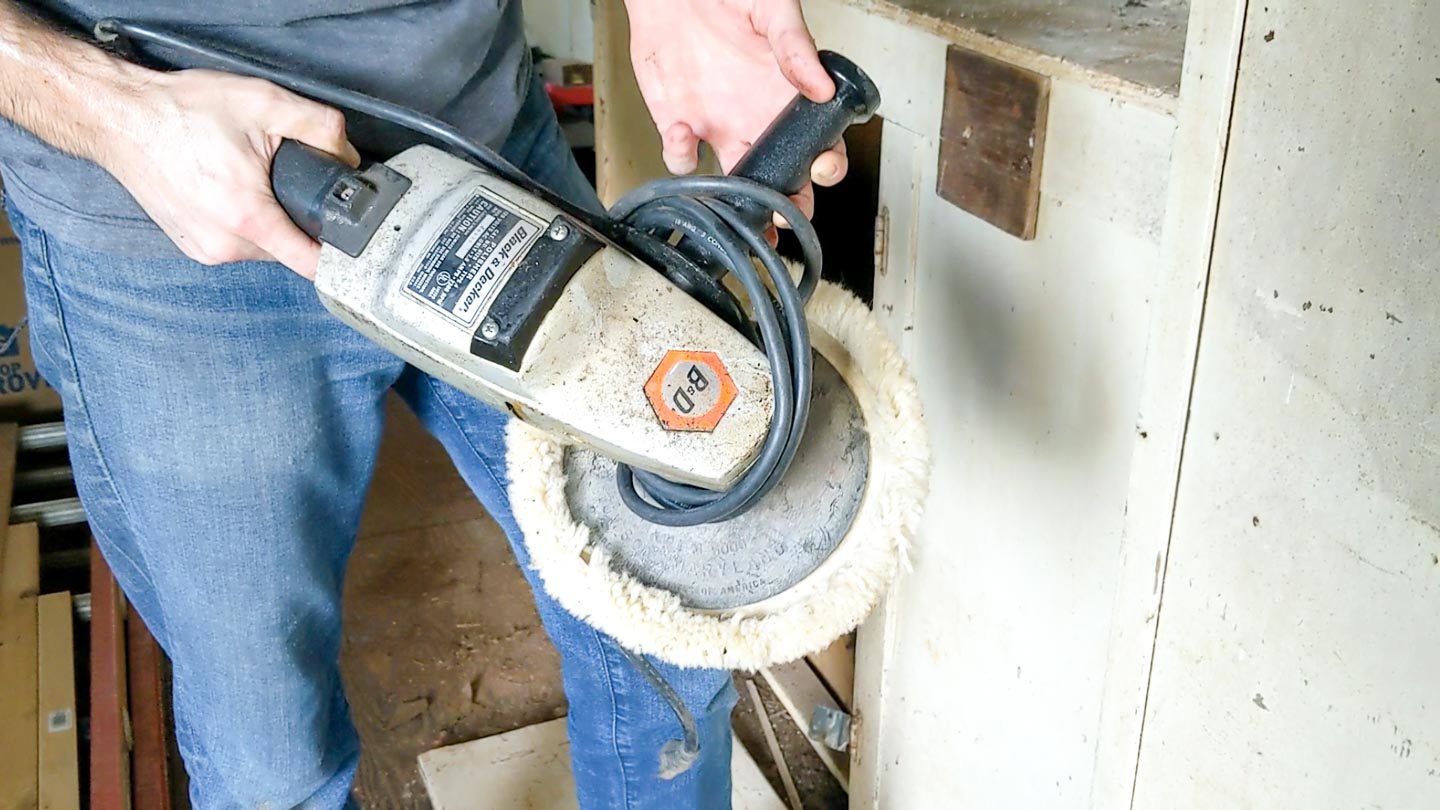
We reverted to polishing by hand, but made a mental note to get more; this is quite an arm workout, so we know we can’t do that for the entire camper! I immediately looked into battery-powered polishers, so I’ll have some updates on that in the next post about polishing.
Here is where I remind you to check out the video if you want to see all of this in action and some home-video-style footage of things we found in the camper, too. The videos for this series will probably be a little mix of instruction with some personal memories (so when we look back at them, we know we made an effort to document the more personally significant milestones too. Not unlike the blog, I guess.)
Ruby’s Revival, Episode 4: How to Pressure Wash an Airstream / Spartan Manor / Aluminum RV
Our weekend truck rental went by in a flash, so we had to pack up our progress and return the camper so that we could take the truck back the following morning. That shine though. I kept petting and staring at it. I mean, THE POTENTIAL.
It’s amazing what a little unexpected leap forward in progress can do, right? It’s rare when things go better than planned, but when they do, my best advice is to seize that energy it gives you. It can get you through a lot of tough slogs where you have to be more patient — such as polishing literally every other panel after that first one.

Our weekend may have been over, but it was incredibly motivating for us. It got me to buy a new polisher & bonnets, create a gameplan for visiting the camper during the week, and created a little mental space for the idea that we could make incremental progress — panel by panel — if we just go out to the camper once or twice each week until the polishing is done. I’m happy to report that we’ve been good on that commitment (you may have even seen those sneak peeks on Instagram), so I’ll have a lot more to update you on before the end of the year. Here is where I expect the next few episodes to lead:
- Episode 5: Replacing the “tongue jack” — (it’s the part on the front that raises/lowers the camper onto the truck hitch; the original was rusted beyond repair, so we decided to invest in one that can be both electric and manual if needed)
- Episode 6: Aluminum polishing results! *** spirit fingers ***
- Episode 7: Restoring/polishing the windows
- Bonus post: registering a new VIN, getting a new license plate, searching for insurance (not really a great subject for a video, but very helpful info for anyone who might be researching… we ran into a lot of things we’d love to pass along and save someone in the future some research time!)
- Bonus video: I made a custom cookie cutter to look exactly like the outline of the camper! I will have that DIY project as part of my #25DIYsofChristmas series coming up!
If you’ve missed any of the previous installments on this vintage trailer renovation series, you can check them out below or head over to the Ruby’s Revival category page. The video series is also on YouTube, so you can pick your poison and get caught up!
More Ruby’s Revival
We’re restoring a 1946 vintage camper called a Spartan Manor. It belonged to K’s grandfather and has been sitting in the woods untouched for more than 30 years. Can we bring her back to life? Check out the video series and see for yourself!


Coming along! It was amazing to see that shiny aluminum under that faded finish. I can’t wait to see future progress!
We have a huge backlog of some new videos I was hoping to cut down during quarantine, but with so much footage, it’s been tough to edit! I’m hoping to start tackling the voiceover this coming week so I can get episode 5 up with all the details on our first polishing attempt! It’s a DRAMATIC change! Thanks for following along with the project!
I use a palm sander/polisher with a piece of bath mat on it to work a small area with mother’s mag and aluminum polish. I do it until everything is black, then I wipe it off and buff it a little bit by hand to clean it and repeat the process a couple more times. To finish I put down a piece of towel with the sander/polisher over it, and buff it that way. When the towel comes away with out much oxides from the Mothers I know it is about as clean as I can get it. I also gauge it by how well it reflects too. The downside to having such clean aluminum, is that it sure seems to get dirty quicker. I typically use it on diamond plate, but it would work much better for your application as it appears Ruby has a lot of smooth surfaces.
We’ve had some good success with Mothers but we’re eventually going to do a more thorough polish. I think we’re going to use the more elaborate 3-step process since the Mother’s didn’t get the scratches out so we need something more extensive. I’ll have a post very soon on that!