Disclosure: this post may contain affiliate links, which means I may make a commission if you decide to make a purchase through one of my links, at no cost to you.
Those of you who have been following along with my vintage camper renovation project are in for a treat today… because I’m turning Ruby into a cookie for my 25 DIYs of Christmas series!
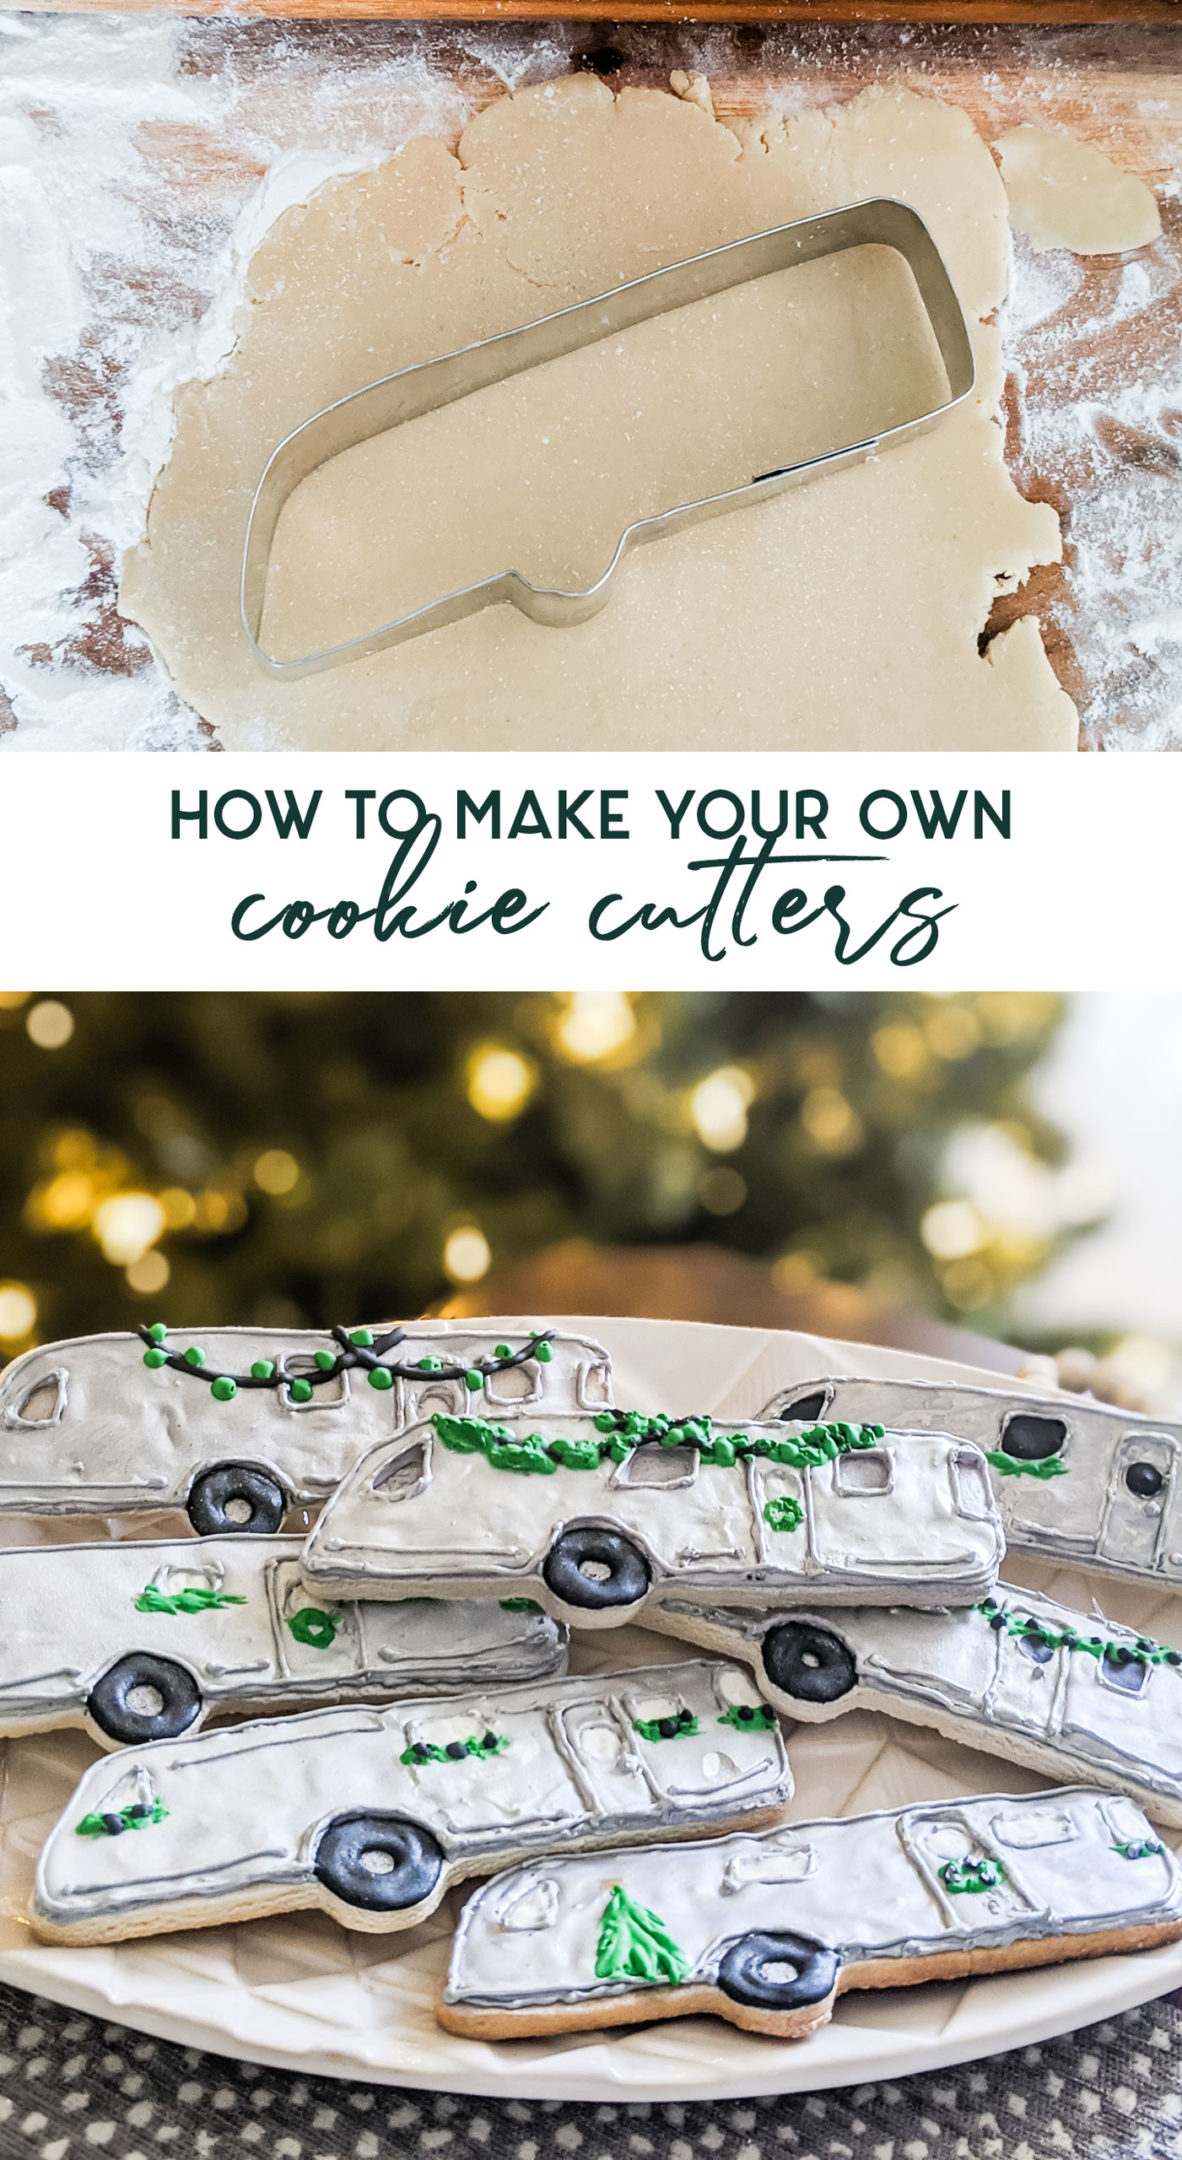
A lot of you guys might know this about me already: I’m not much of a cook. So much so, that I pretty much didn’t start adding recipes to this blog for a LONG time. They’re still almost ALL baking!
But baking, especially decorating baked goods, has been something I’ve always enjoyed. And now that Instagram exists, cookie decorating videos totally FASCINATE me. Whenever I’m tired and can’t sleep, I’ll type in #cookievideo or whatever on Instagram and just fall down the rabbit hole of cookie decorating techniques. I’ve tried a few, but I’m still really new at it. Can’t get better until you try, right?
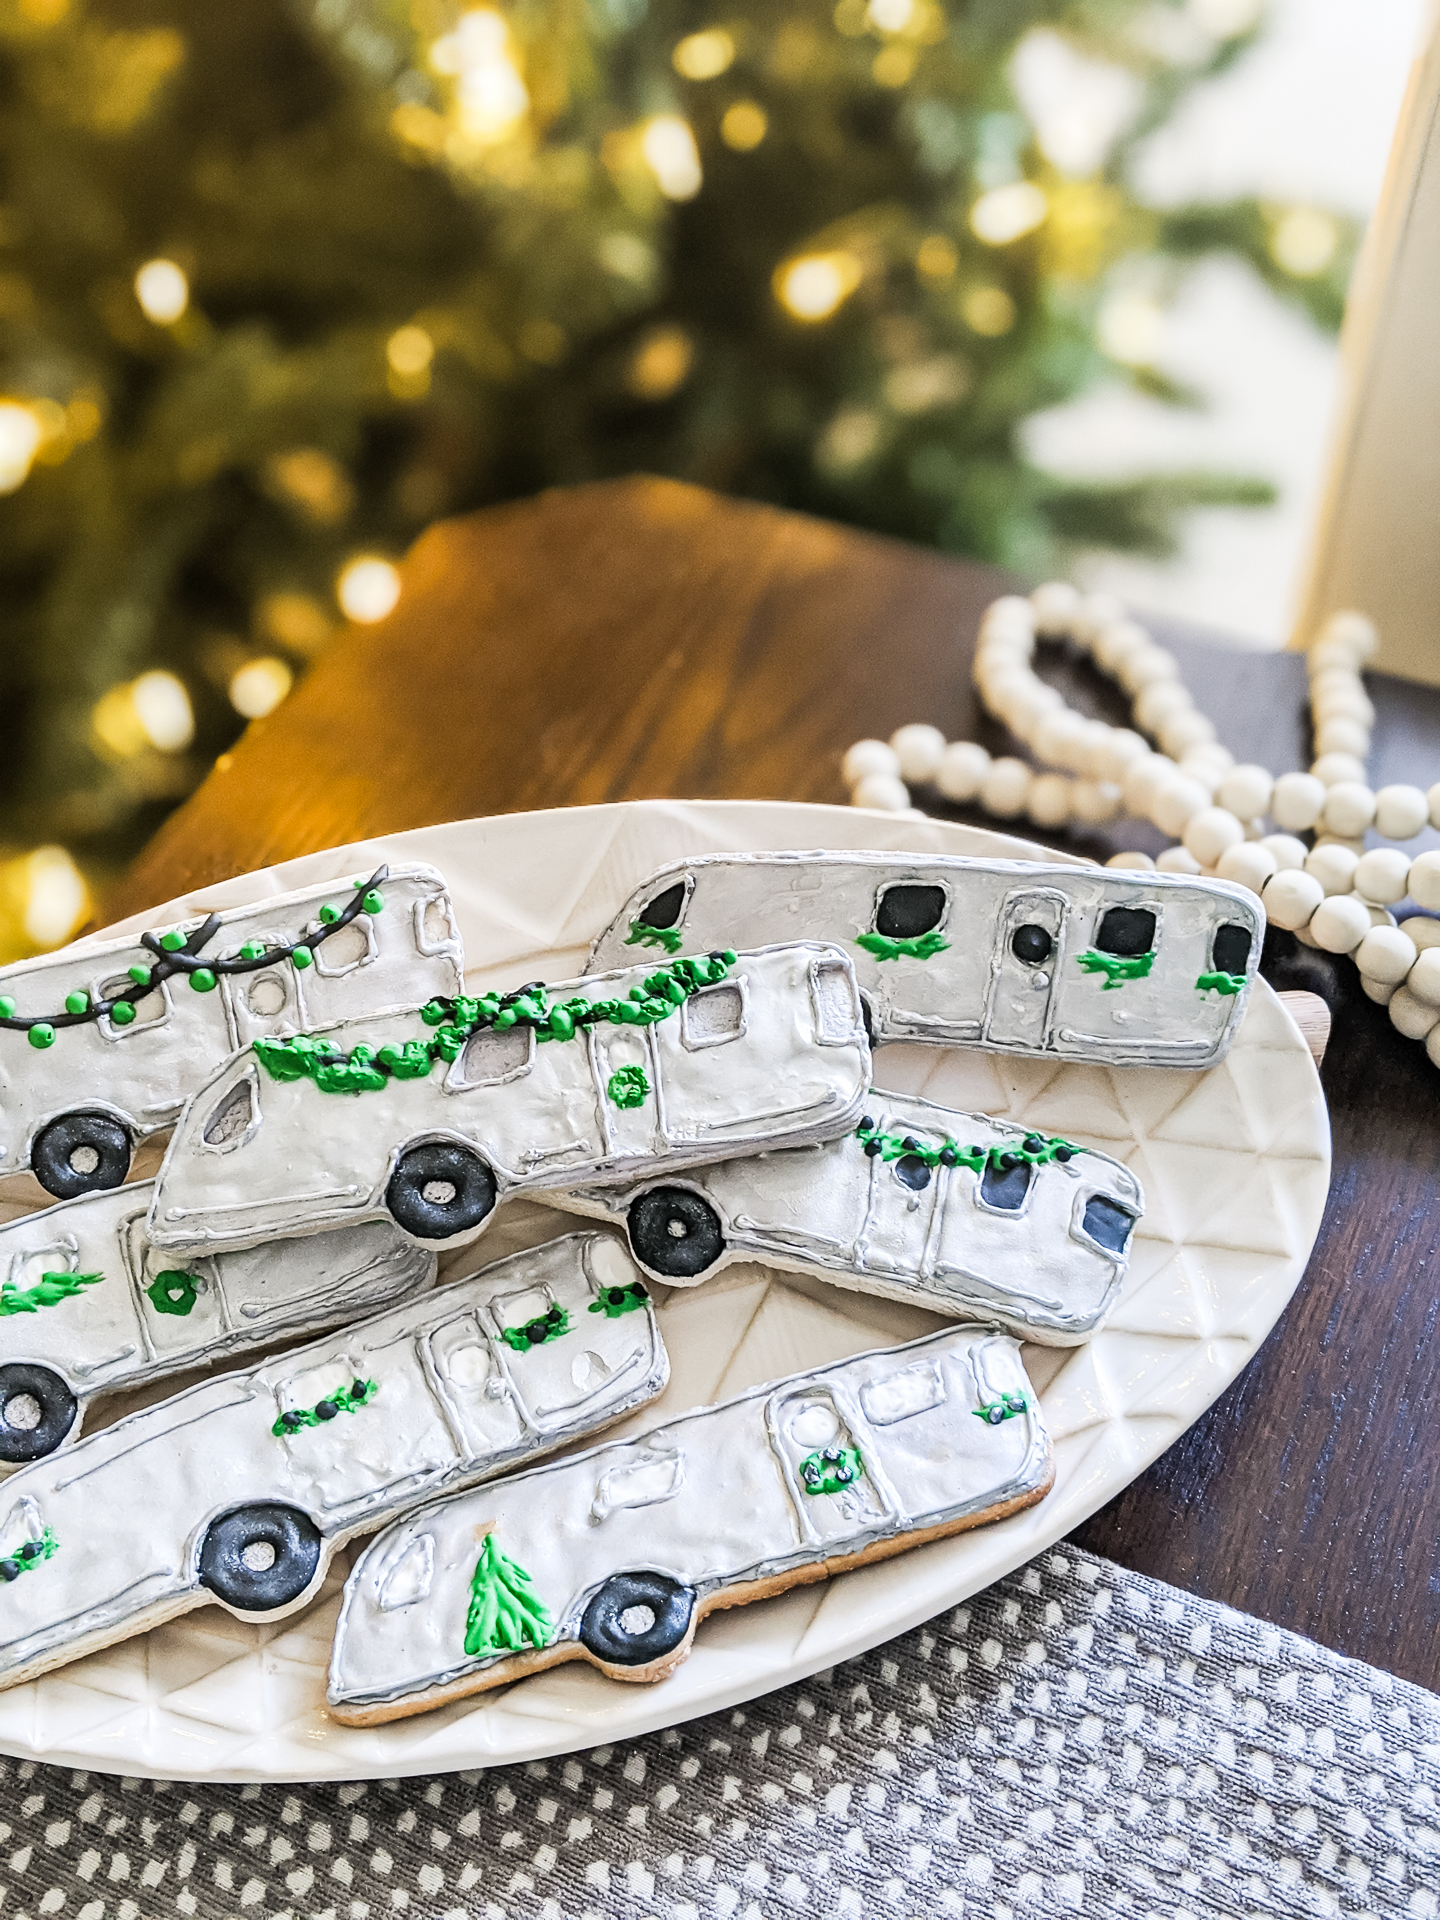
Anyway… it led me to wonder about making a fun little cookie in honor of our Ruby’s Revival project. I simply couldn’t get the idea of a camper cookie, covered in silver icing, out of my head. I soon found out that while there are LOTS of cute Airstream- and RV-inspired cookie cutters, none looked quite “right” for our Ruby. A Spartan Manor cookie cutter… there just really isn’t one!
So… I made my own custom cookie cutter shape! One Amazon order later, and I figured it out!
Check out the video:
I’ve got several pieces to this tutorial, so I’ve decided to split this into some specifics depending on the post (guess it works out that I’m sharing 25 posts in this Christmas series, right?). This first one is about how to make the cookie cutter any shape you want.
Come back tomorrow for the sugar cookie recipe (I’ve already shared this one, which is my personal favorite, but it’s soft and puffy and iced cookies need to keep their shape and stay rigid with the extra weight of all this icing on top). I will also have a tutorial for making some really cute wreath cookies since they caught on last year and a follower has asked that I share the technique. Let’s jump in!
How to Make Your Own Cookie Cutters
Time needed: 15 minutes
Making your own cookie cutter is a LOT easier than you might think! If you want to make a custom shape, it can be done just a few simple steps:
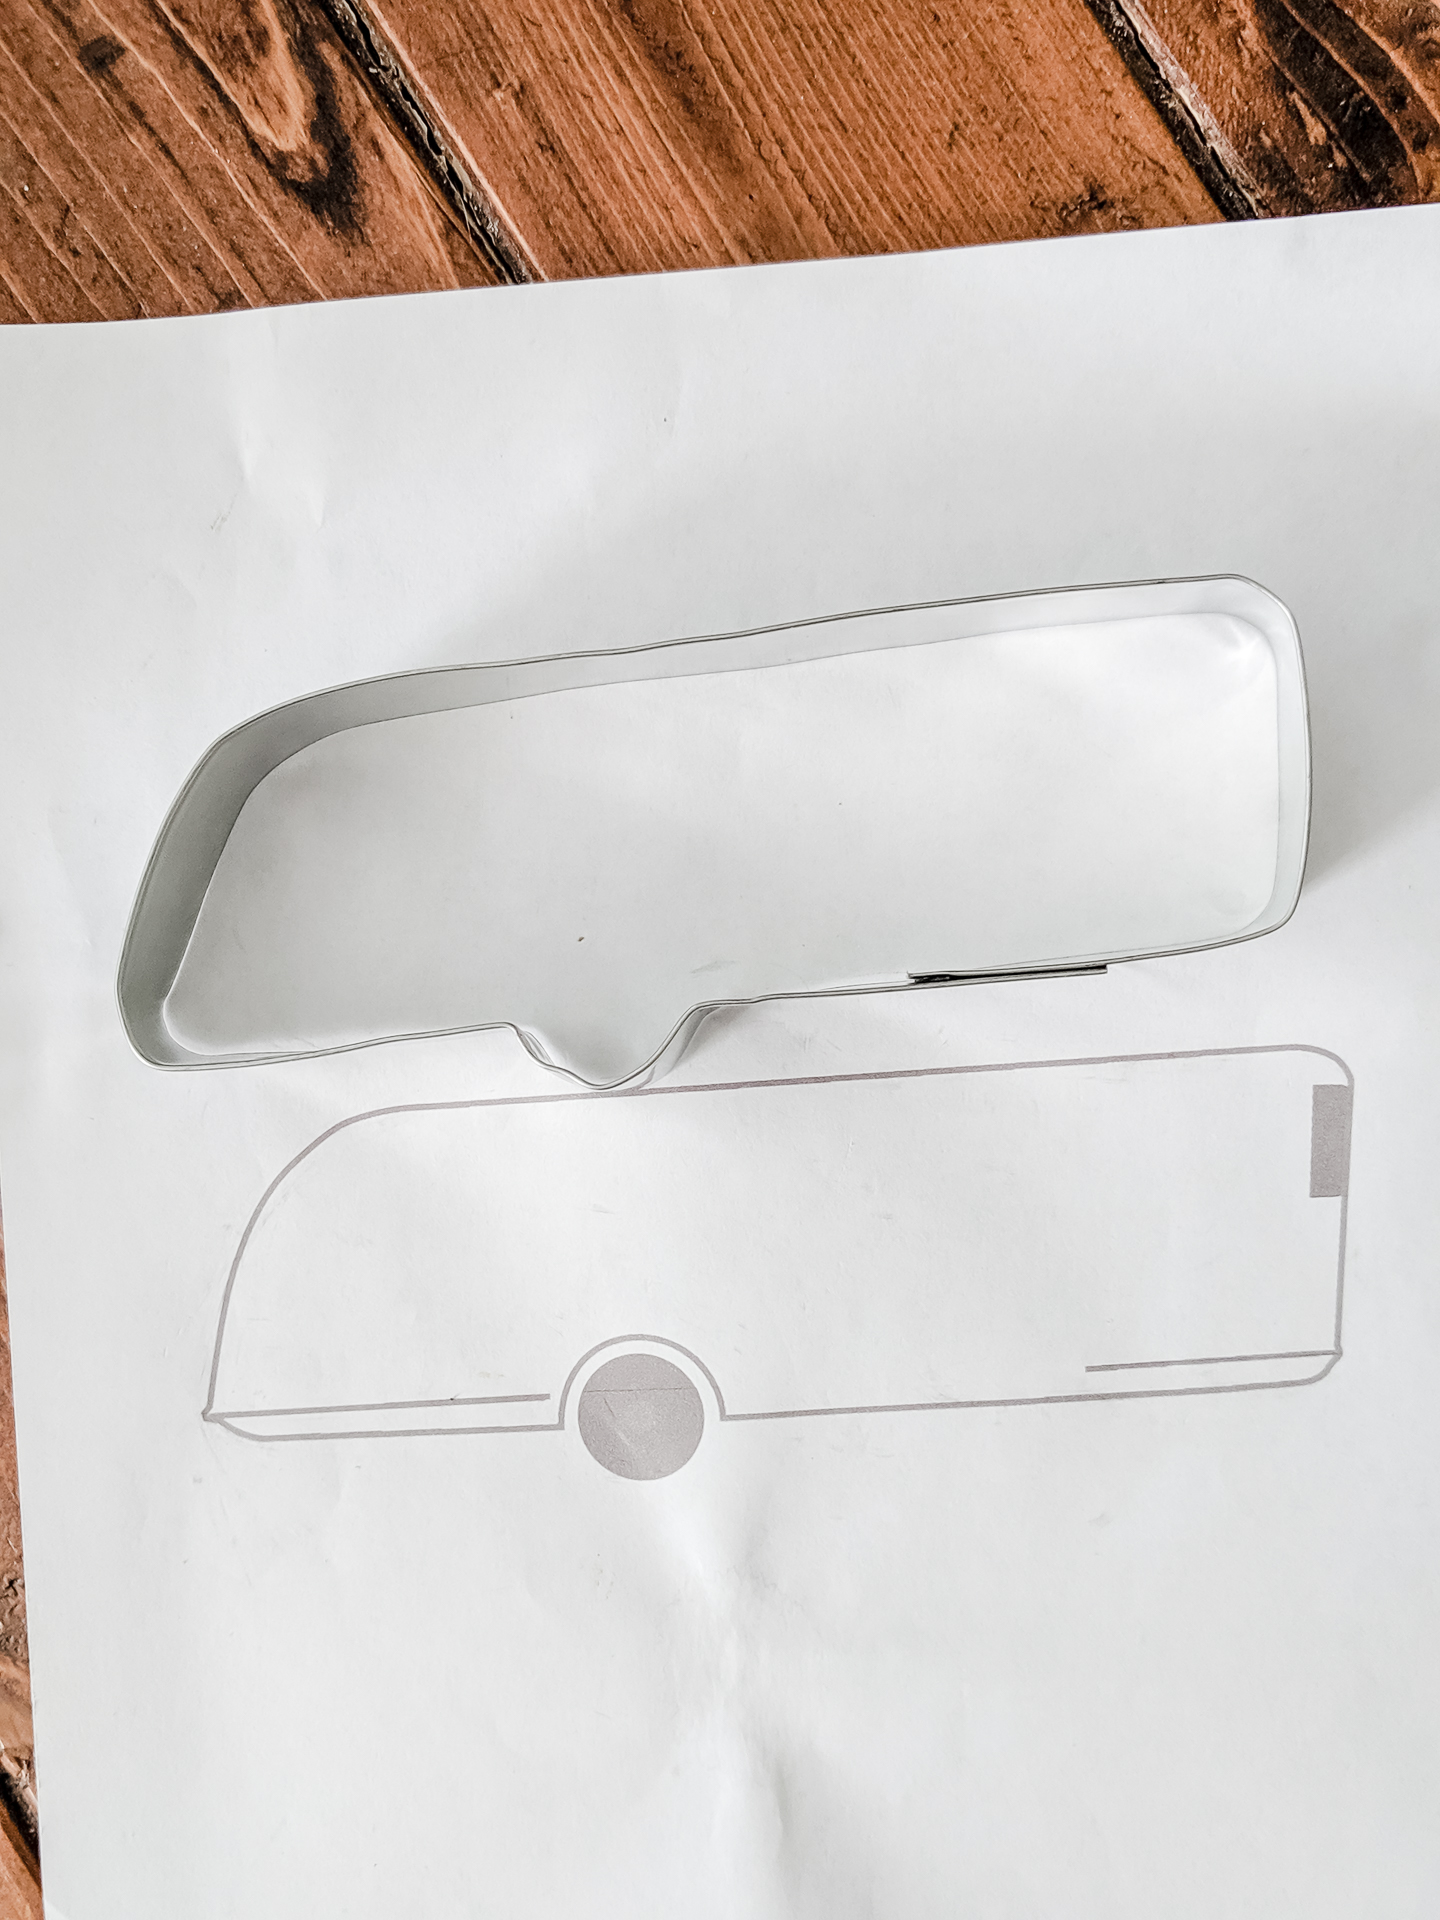
- Print out a true-to-size outline of the shape you want
I took a photo of Ruby from my MANY photos (ha!) and used it as a template in Photoshop to make a quick printout of the outline. Feel free to use a photo (lots of great free ones, even outlined stuff, on Pixabay!). Just make sure to size it to the EXACT size of the cookie cutter you want. It will make things much easier!
- Unroll and cut a length of tin strip coil
I ordered a Make Your Own Cookie Cutter roll of tin on Amazon. I considered looking for tin at my usual home improvement store, but I wanted to be certain it was food safe, sturdy enough to last through multiple cookies, and came with food-safe adhesive tape (this kit did all of the above). I cut a long strip that I knew would be long enough to make the cutter with a little extra in case I needed to start over.
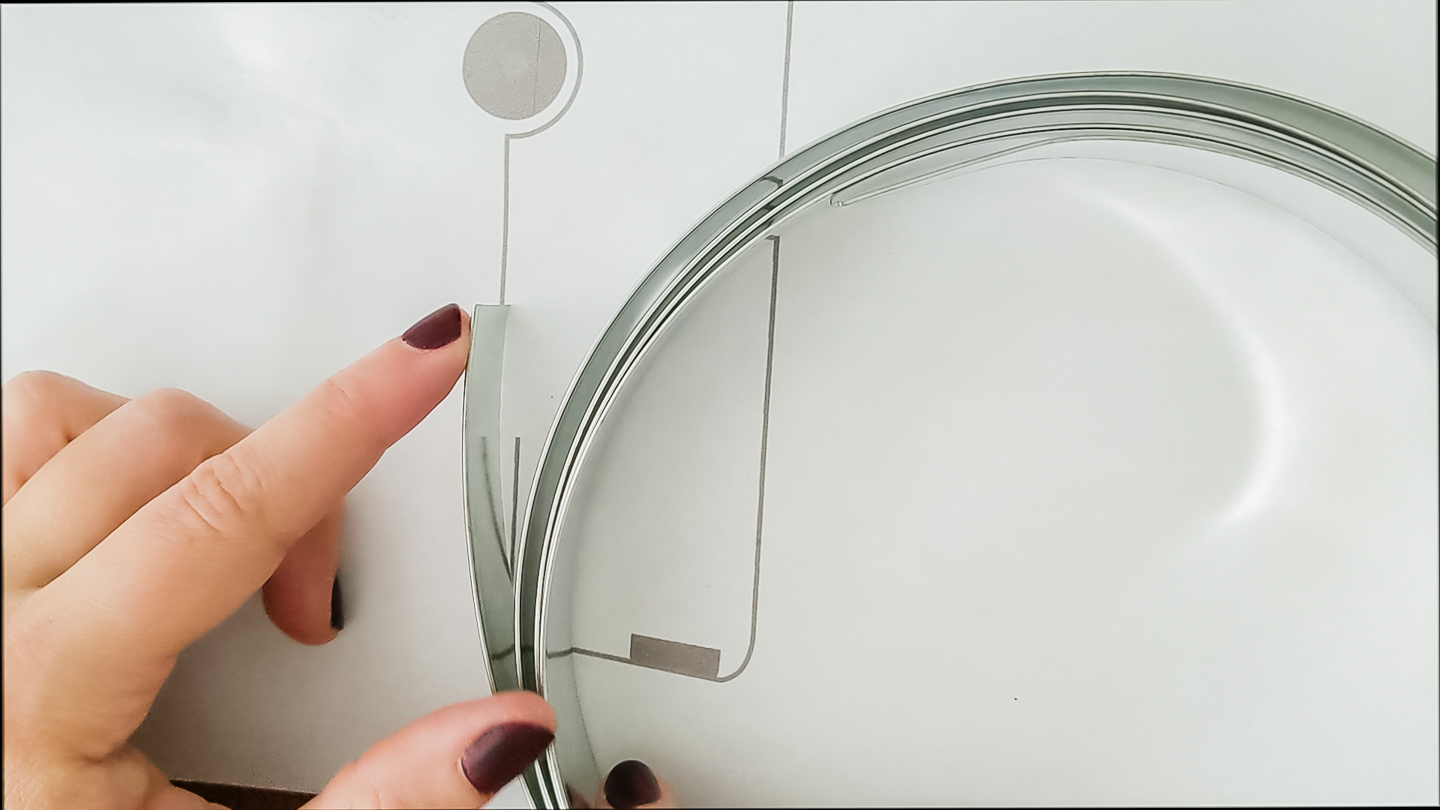
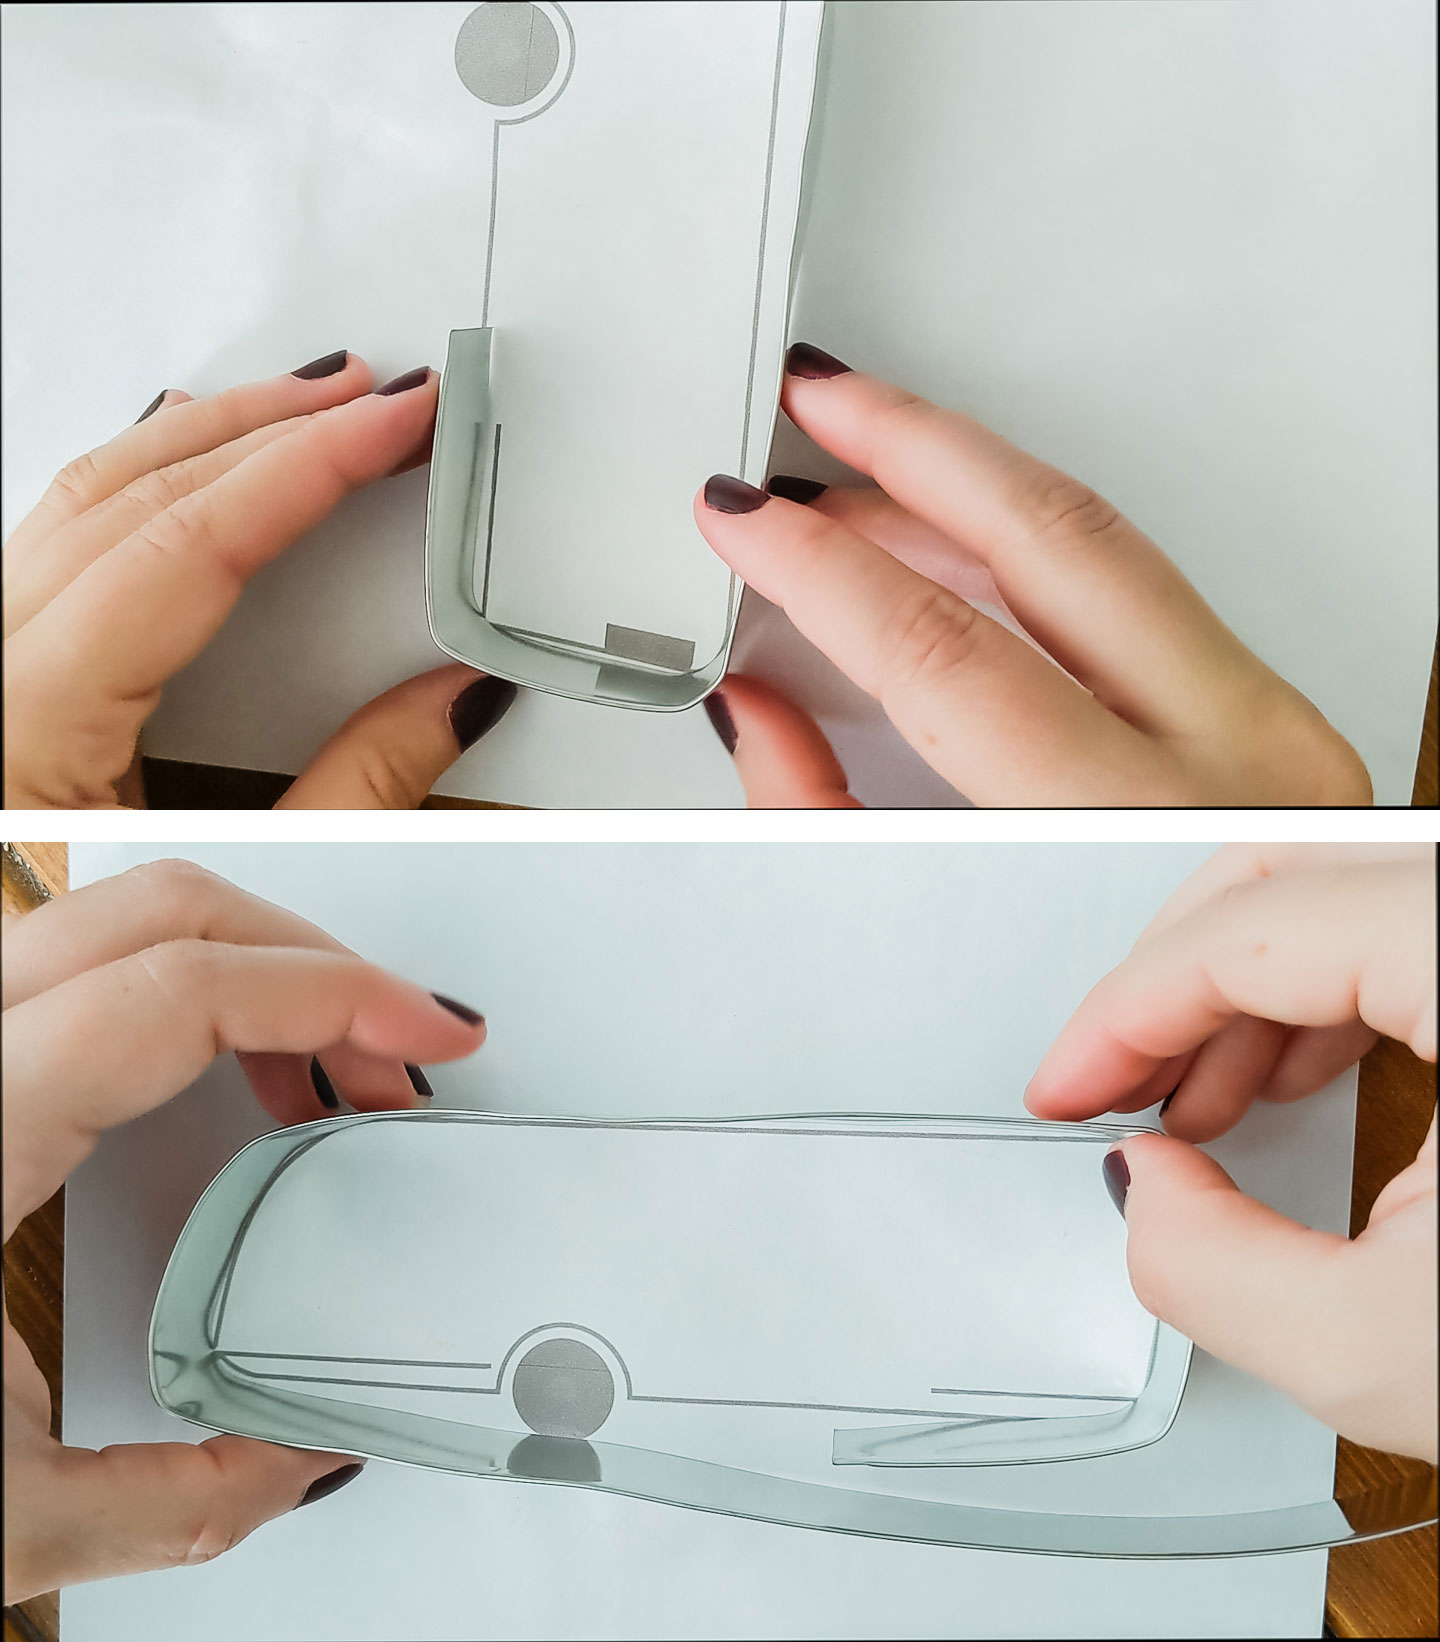
- Bend along the printed outline
This part is incredibly easy, but it takes a little patience! Place your paper on a flat surface that allows you to move around. It took just a few minutes of bending, checking, bending, wrapping, smoothing, etc. etc. to begin forming a shape. Little tip: when making bends, just go for it. When you hesitate, you have a better chance for screwing up (but it can still be corrected for the most part). I also saw that even if the top of the cookie cutter showed a slight bump, it didn’t mean that the crisp edge (the part that cuts the dough) has the same shape. Keep checking the shape on both sides. Note: the edges can be very sharp, so you may want to use protective gloves (I didn’t but just as a head’s up).
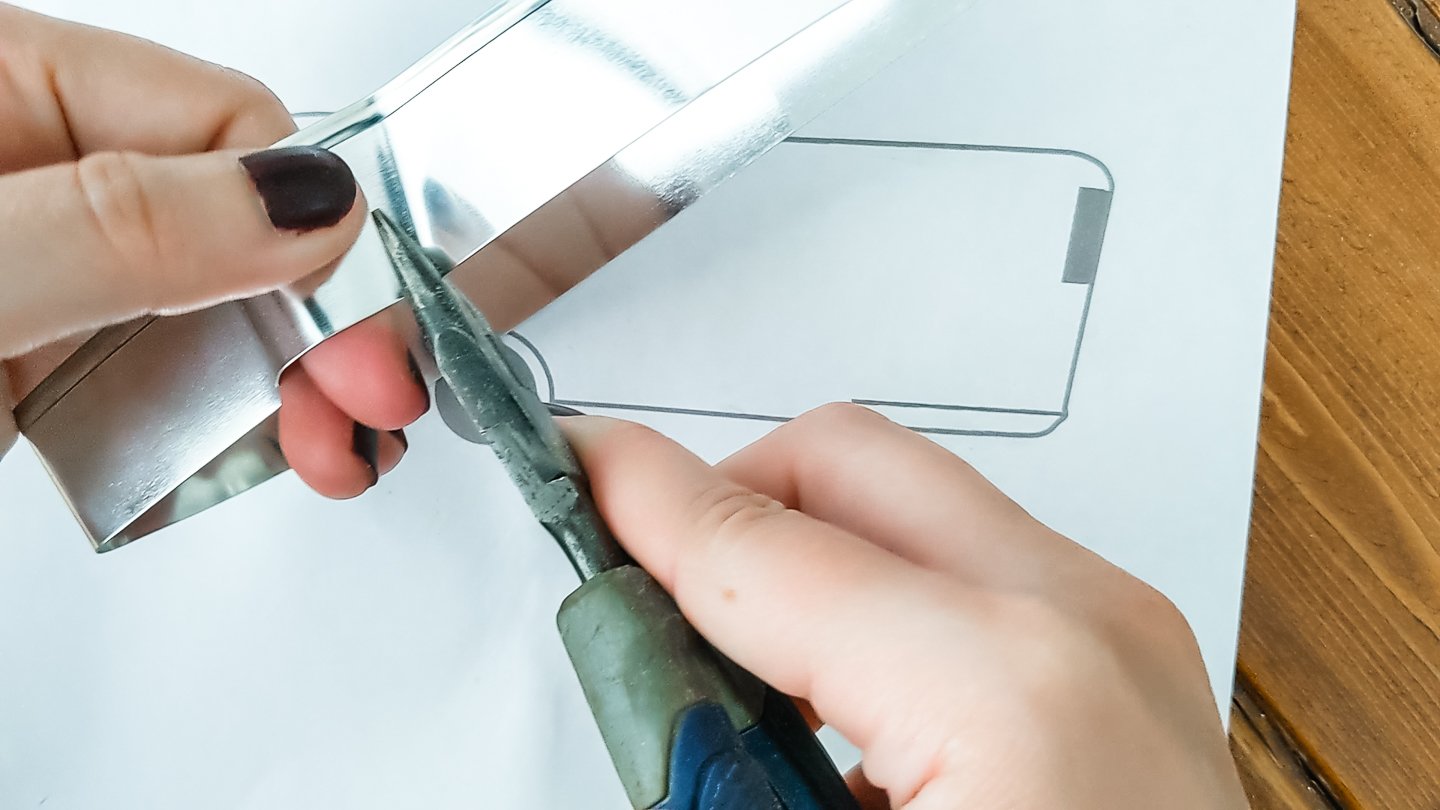
- Use pliers for sharp corners and to smooth curves
For areas where bending with your fingers isn’t sharp enough, I used pliers to make crisper bends (such as the tire). It helps to always keep a firm grip right at the bending part so the pressure is even and only one side is being shaped at a time. I also used the pliers to make smooth rounded shapes.
- Snip off excess and tape ends together
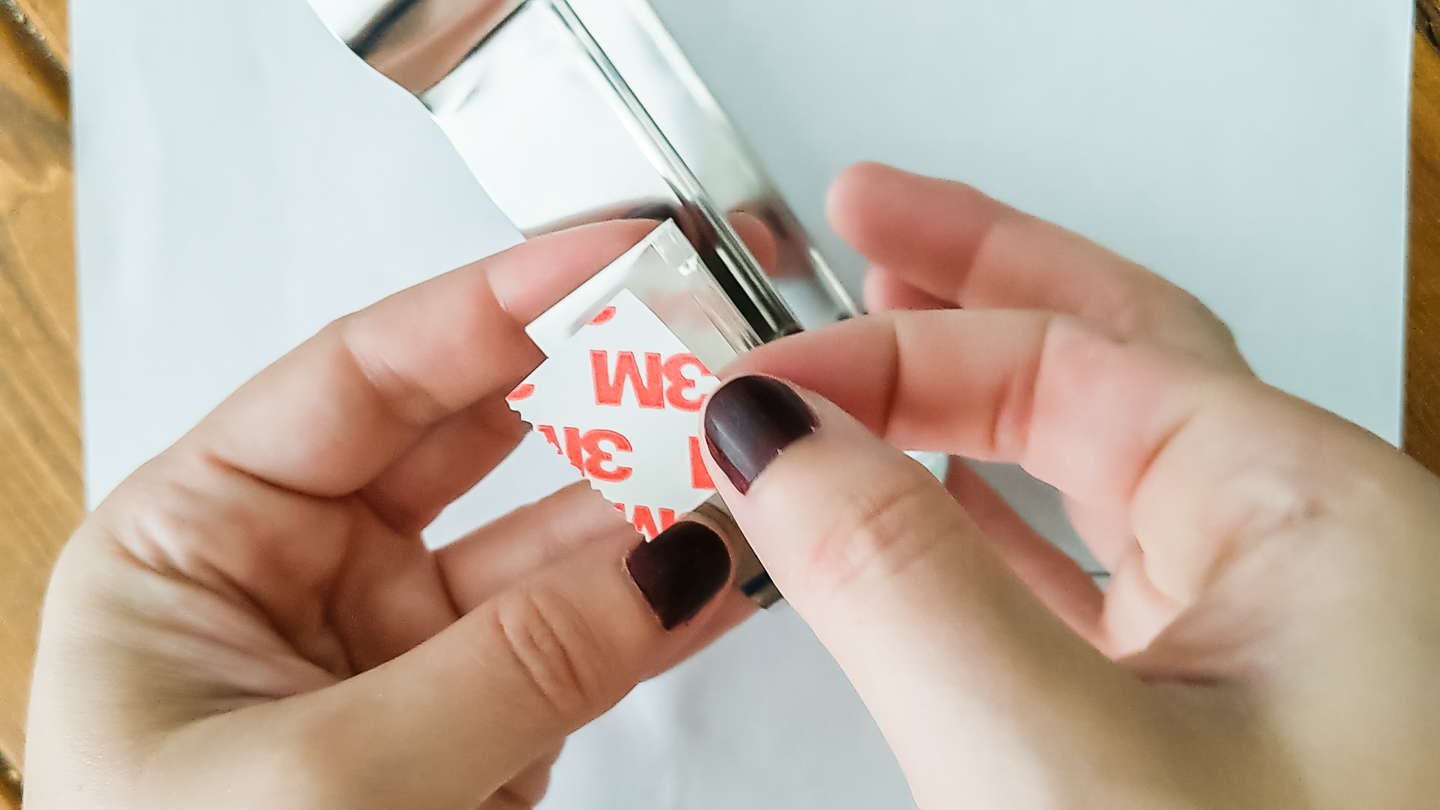
Simple double-sided tape holds the ends of the cookie cutter together, which comes with the kit.
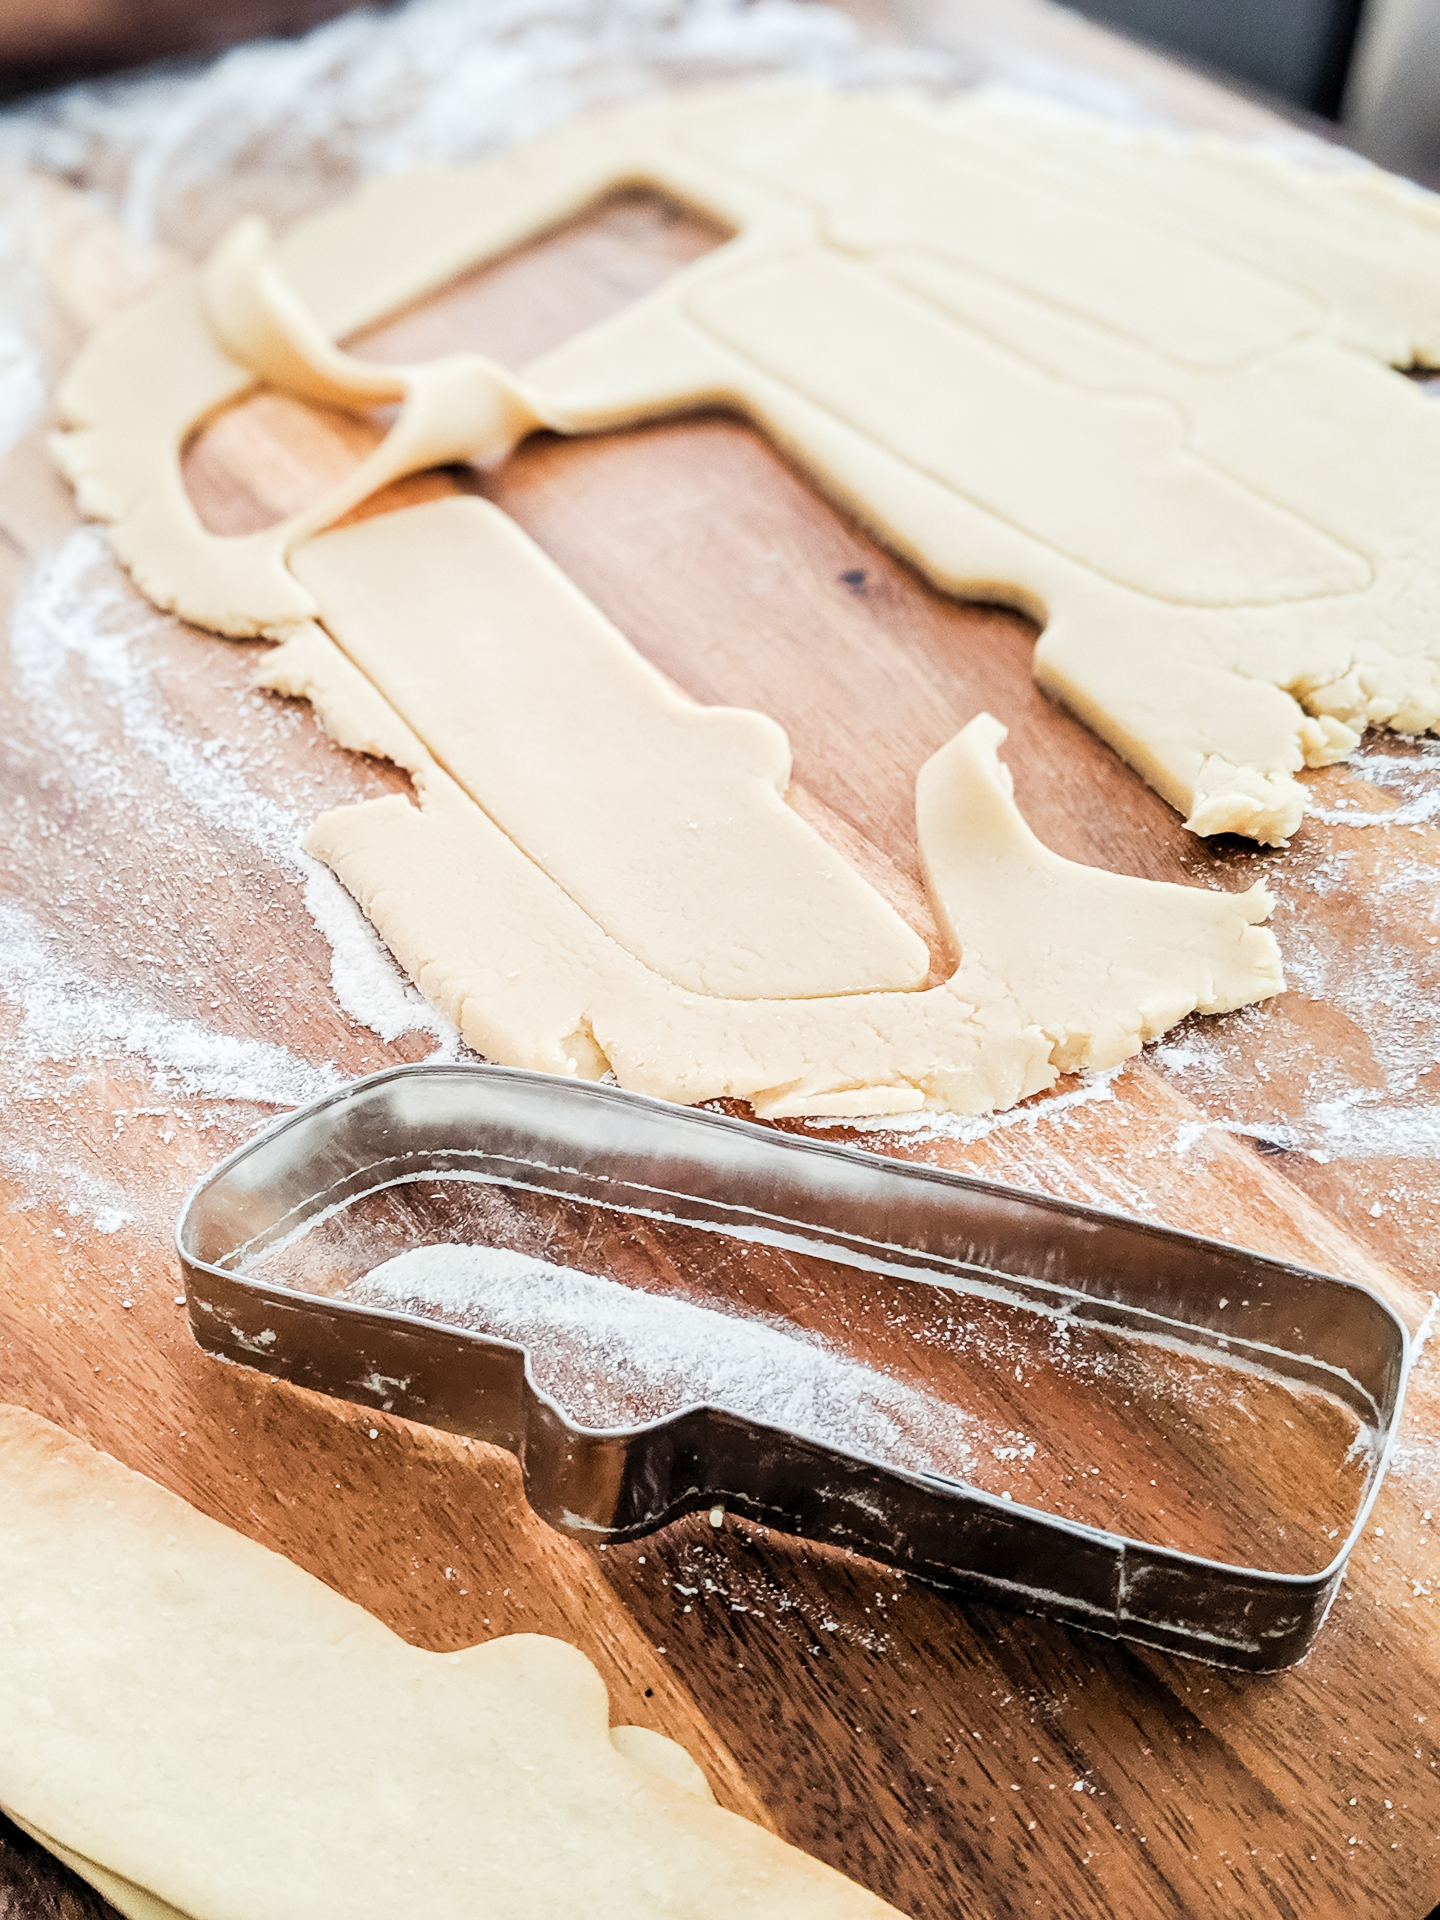
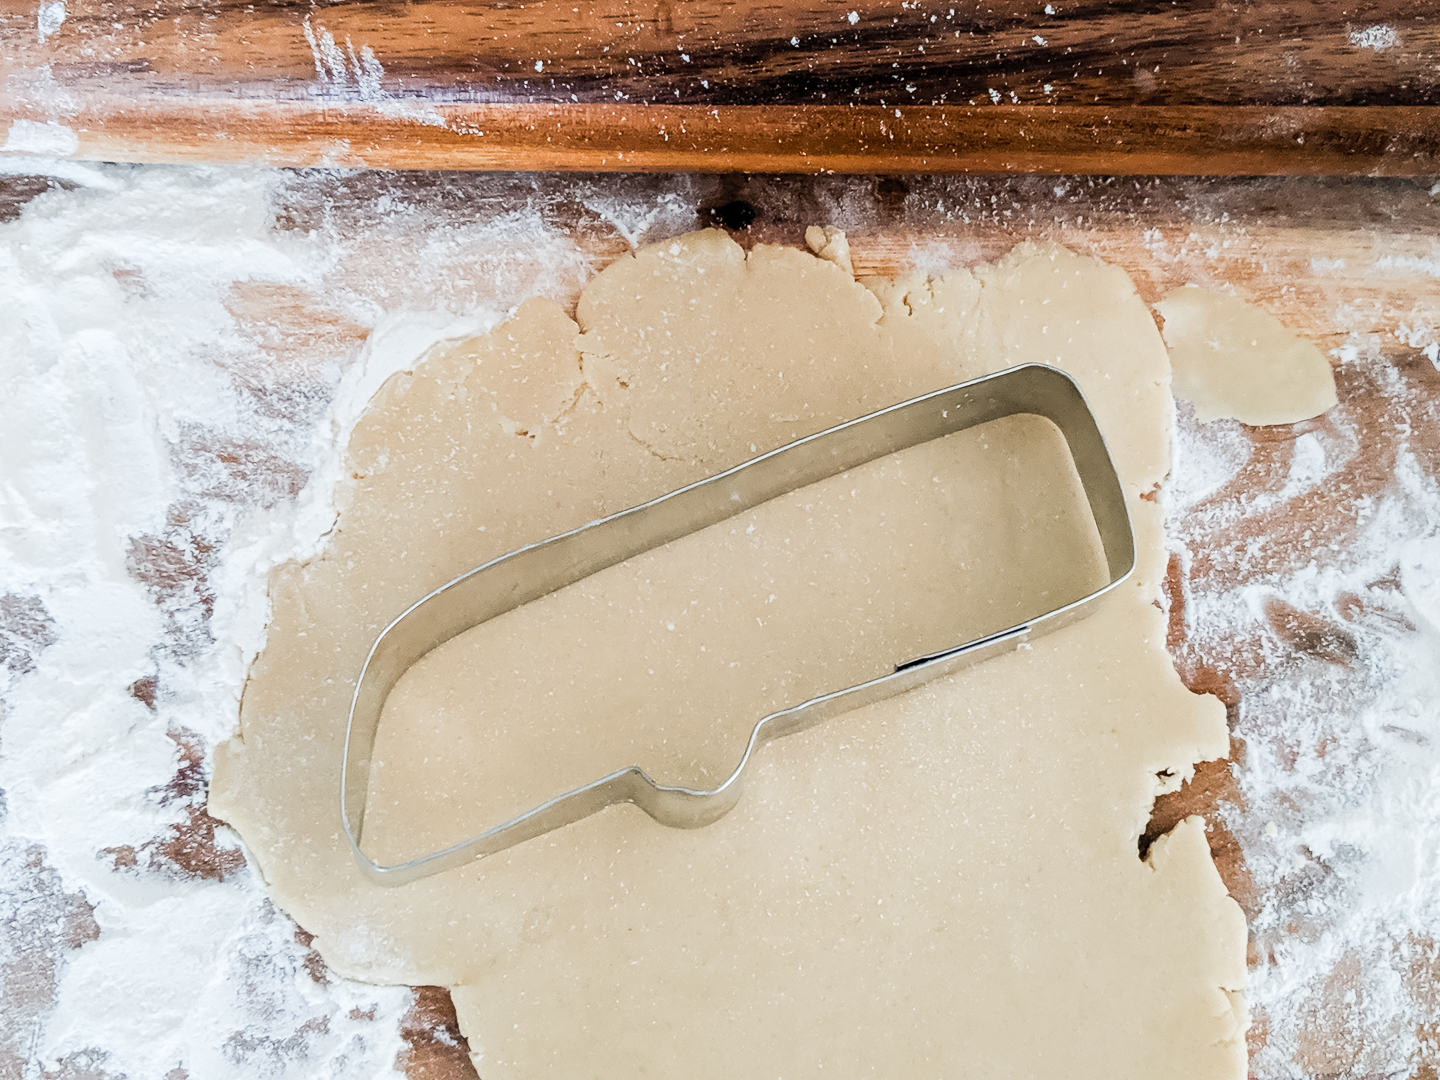
- Cut out and bake!
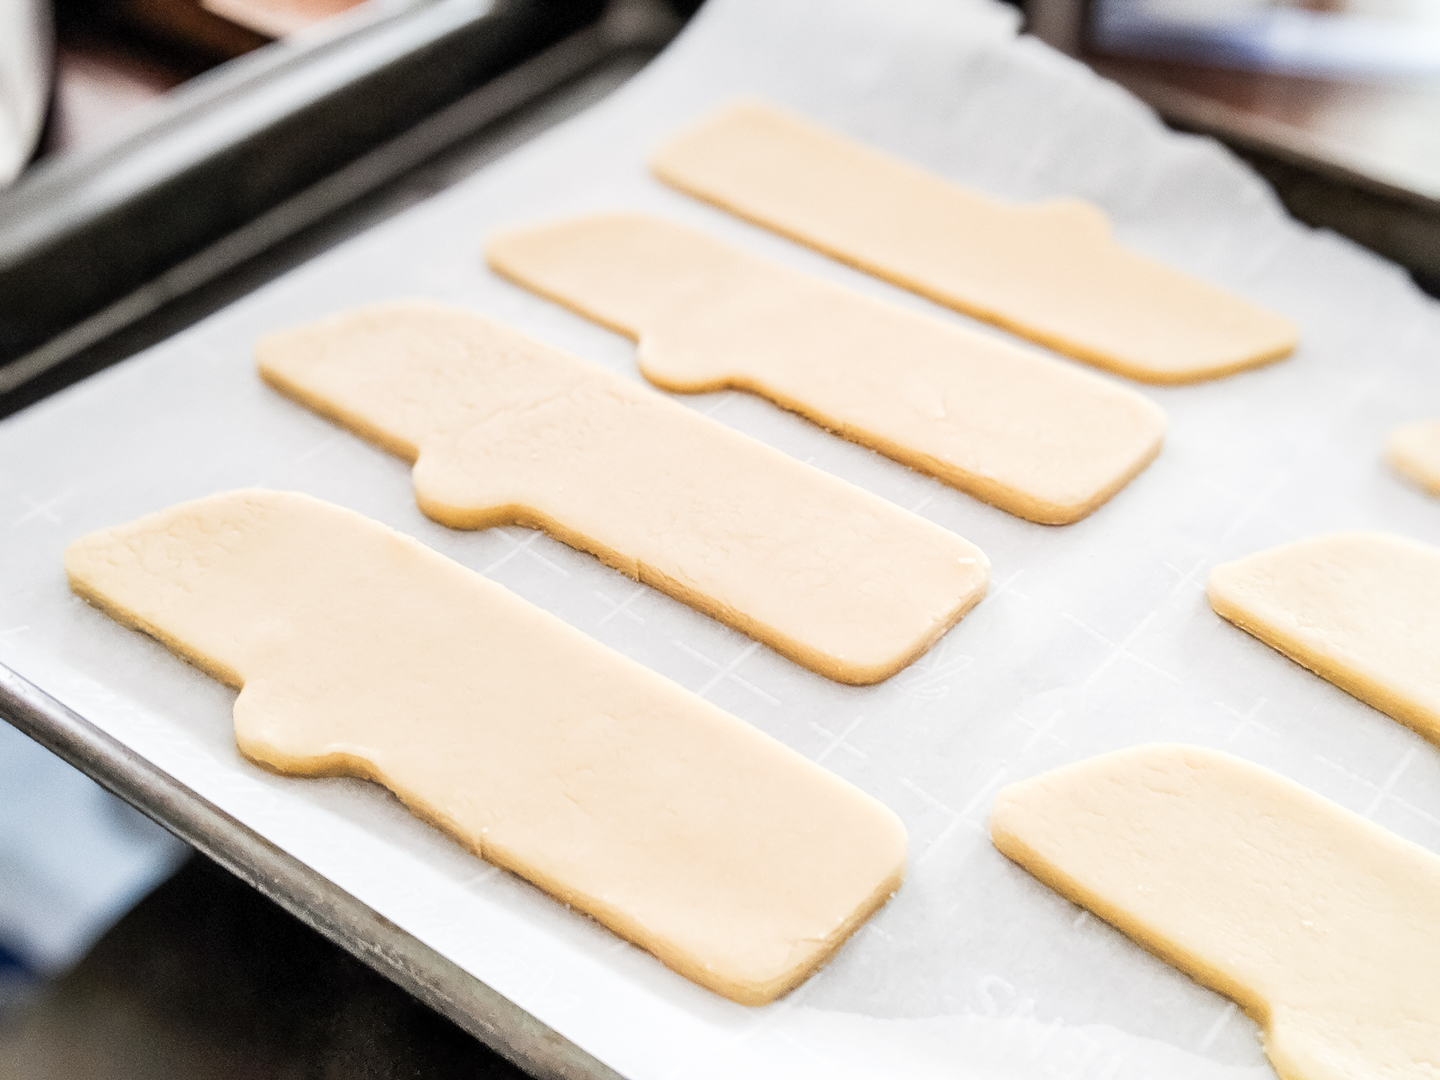
The cookie cutter worked! Nice and sturdy for cutting out cookie dough, cookie after cookie. I used my favorite cookie dough to compare it to the new recipe I’ll share tomorrow, and the new recipe holds its shape in the oven a lot more. It’s good to make it thick enough and hard enough to hold this much icing, too (it’s a LOT).
- Decorate!
I played around with the icing tools I had and the specialty tools my mom has (she loves decorating cakes, so I used a mix of our supplies — gray for the camper, black for the tire/windows, green, some silver and pearl icing spray, and some metallic paint-on icing).
I’ll say it myself to save you the trouble — I’ve got a lot of room to improve my icing abilities! It’s… pretty amateur. I actually hate EATING icing, so these were purely for show (you can see in the video I got better at keeping my hands off them to hold them still). I’m still learning what icing looks best, how to get the right consistency (thicker but not too thick for the outline, thin and runny for the “flooding” — look at me talking cookie lingo!). I also learned that putting silver-painted cookies in the fridge can really dull the shine ?. But, if you put some meh cookies in front of pretty Christmas lights, Santa won’t know the difference. ?
Plus, since I only used a little bit of the cookie cutter kit, I can make lots more custom cookie cutters for CHEAP. Each one will basically cost pennies compared to the cost of buying custom ones on Etsy or buying individual cutters that aren’t what I’m looking for!
P.S. I’ll be using this same video for the sugar cookie recipe (I hope you find watching icing videos as satisfying as I do) but I’ll also include a few more tips on how to ice cookies! In the meantime, go check out the other posts in this Christmas series if you missed any below:
25 DIYs of Christmas
This project is part of a series of DIY gifts, decor, and other fun inspiration that I’m calling my “25 DIYs of Christmas“! Check out the list below to see each post (step by step tutorials, recipes, videos, free patterns, and woodworking plans available for each (where applicable). Lots of these ideas have multiple versions to show you the possibilities of each DIY. Even better, you can subscribe to make sure you don’t miss a single post!



Sarah, you crack me up! Thx for the video on cookie cutter making. I would buy the stuff – but, that’s all that would probably happen with it. Ruby looks great as a cookie. Keep up the good work,
Kristin
Thanks Kristin! It’s so EASY to make cookie cutters with it! I’m so glad I found out that they have these kits!
Those are so cute!
Thanks Reenie! Much appreciated. I don’t know what cookie cutter to make next, but I have lots of supply to make more. Let me know if you have a suggestion!
Okay, mind blown. How did I make it to 36 years without knowing a “make your own cookie cutter” kit exists???!!! Gonna need that. Thanks for sharing! Your Ruby cookies are adorable :)
Thanks Amanda! I didn’t know either until I found this kit, but I’m excited at the possibilities! Good luck at your custom cookie cutters!