Disclosure: this post may contain affiliate links, which means I may make a commission if you decide to make a purchase through one of my links, at no cost to you.
This post may contain affiliate links. This won’t change your price, but may share some commission. Read my full disclosure here.
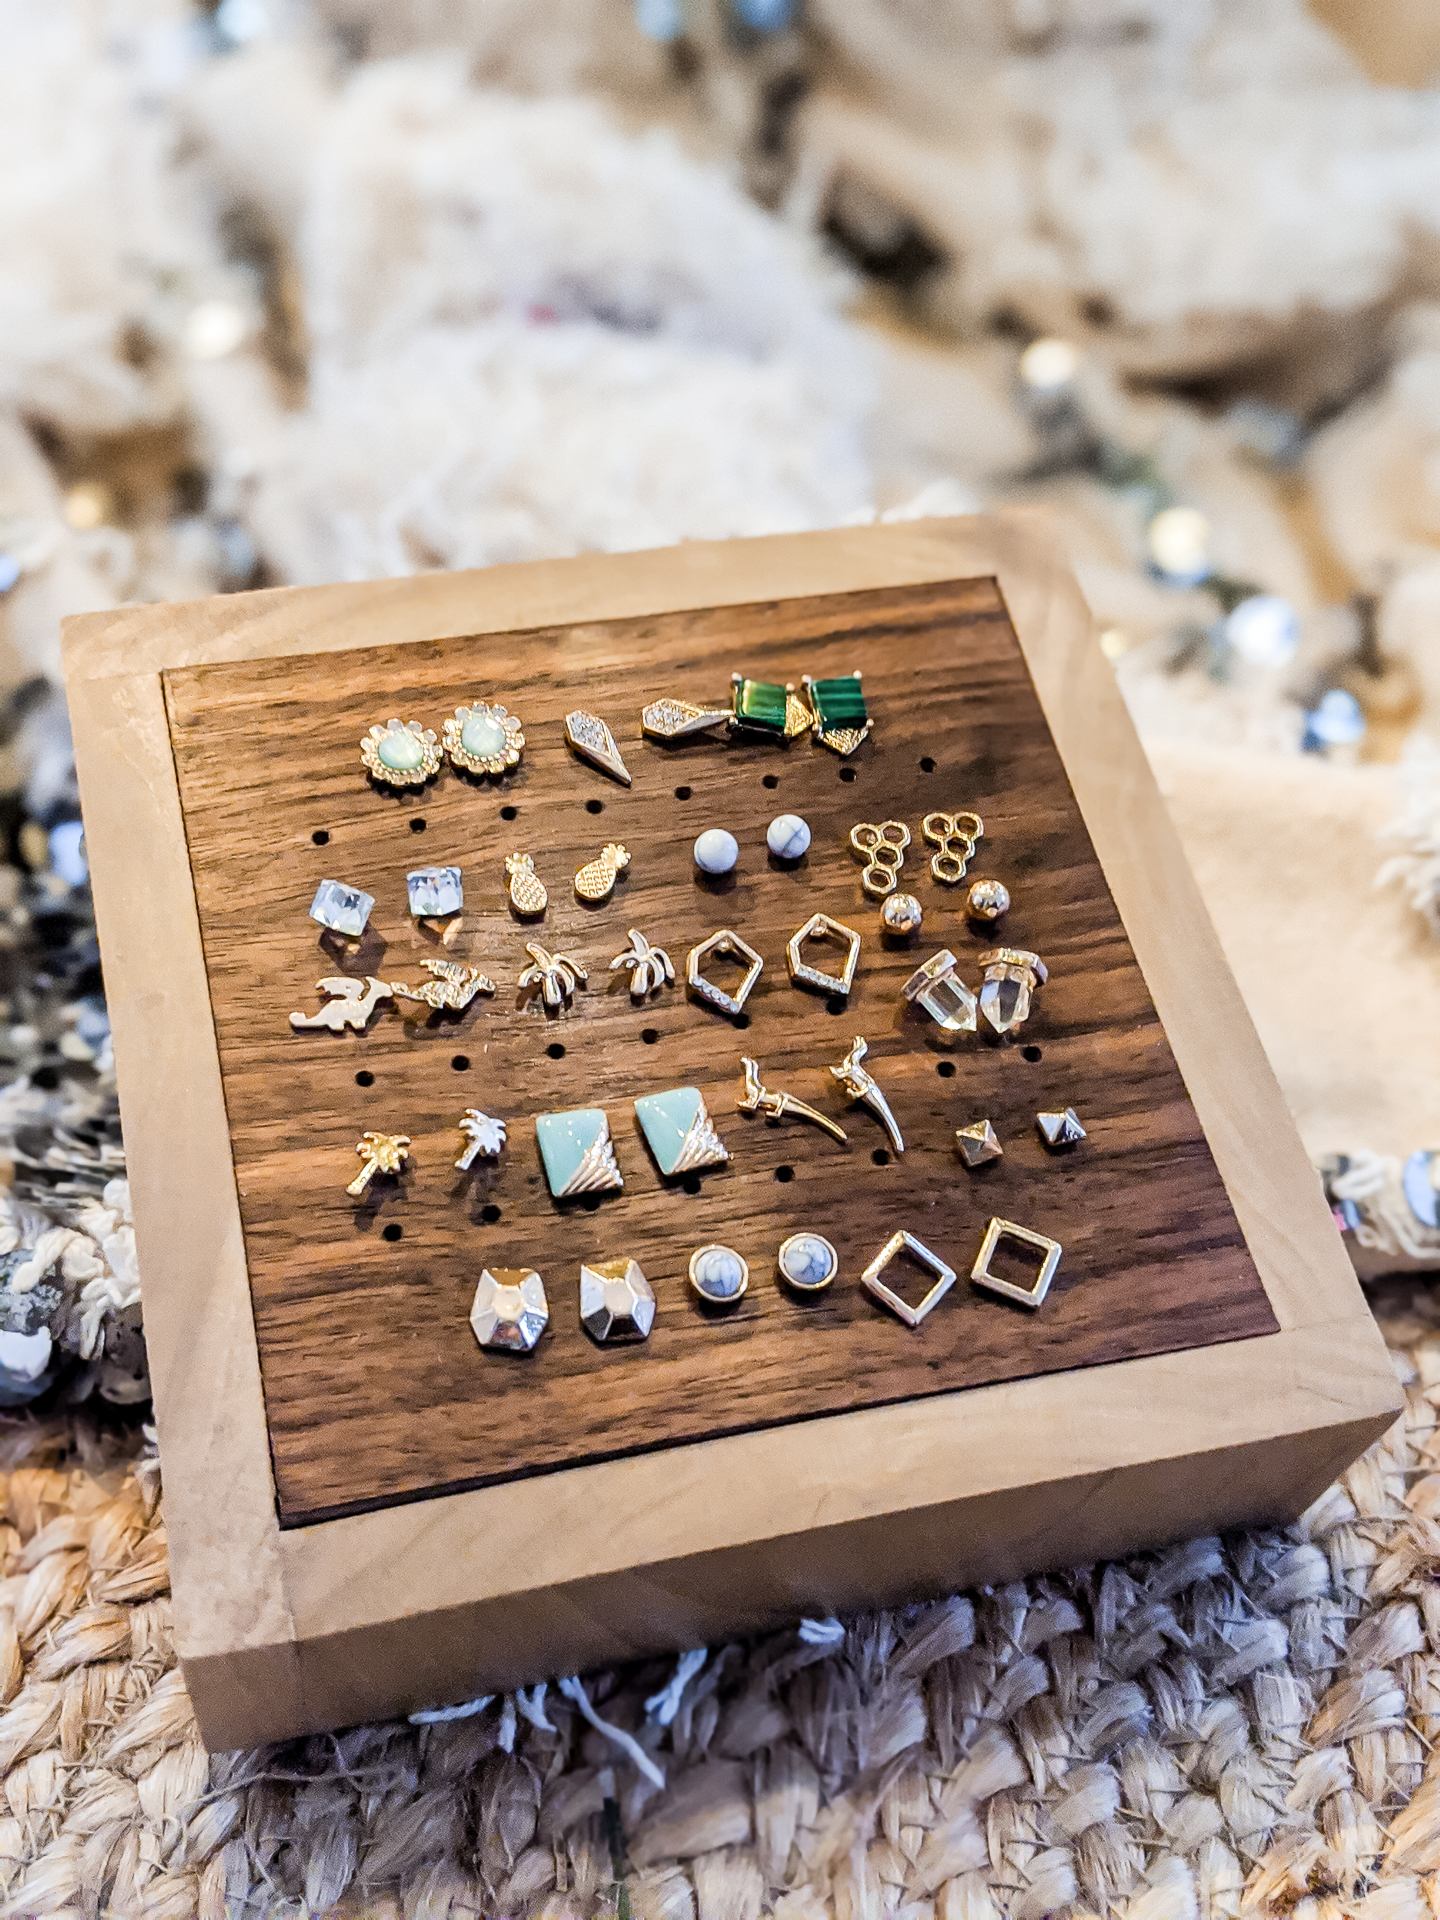
This earring holder can be made easily with scrap wood and can dress up a set of stud earrings as a nice “bonus” gift.
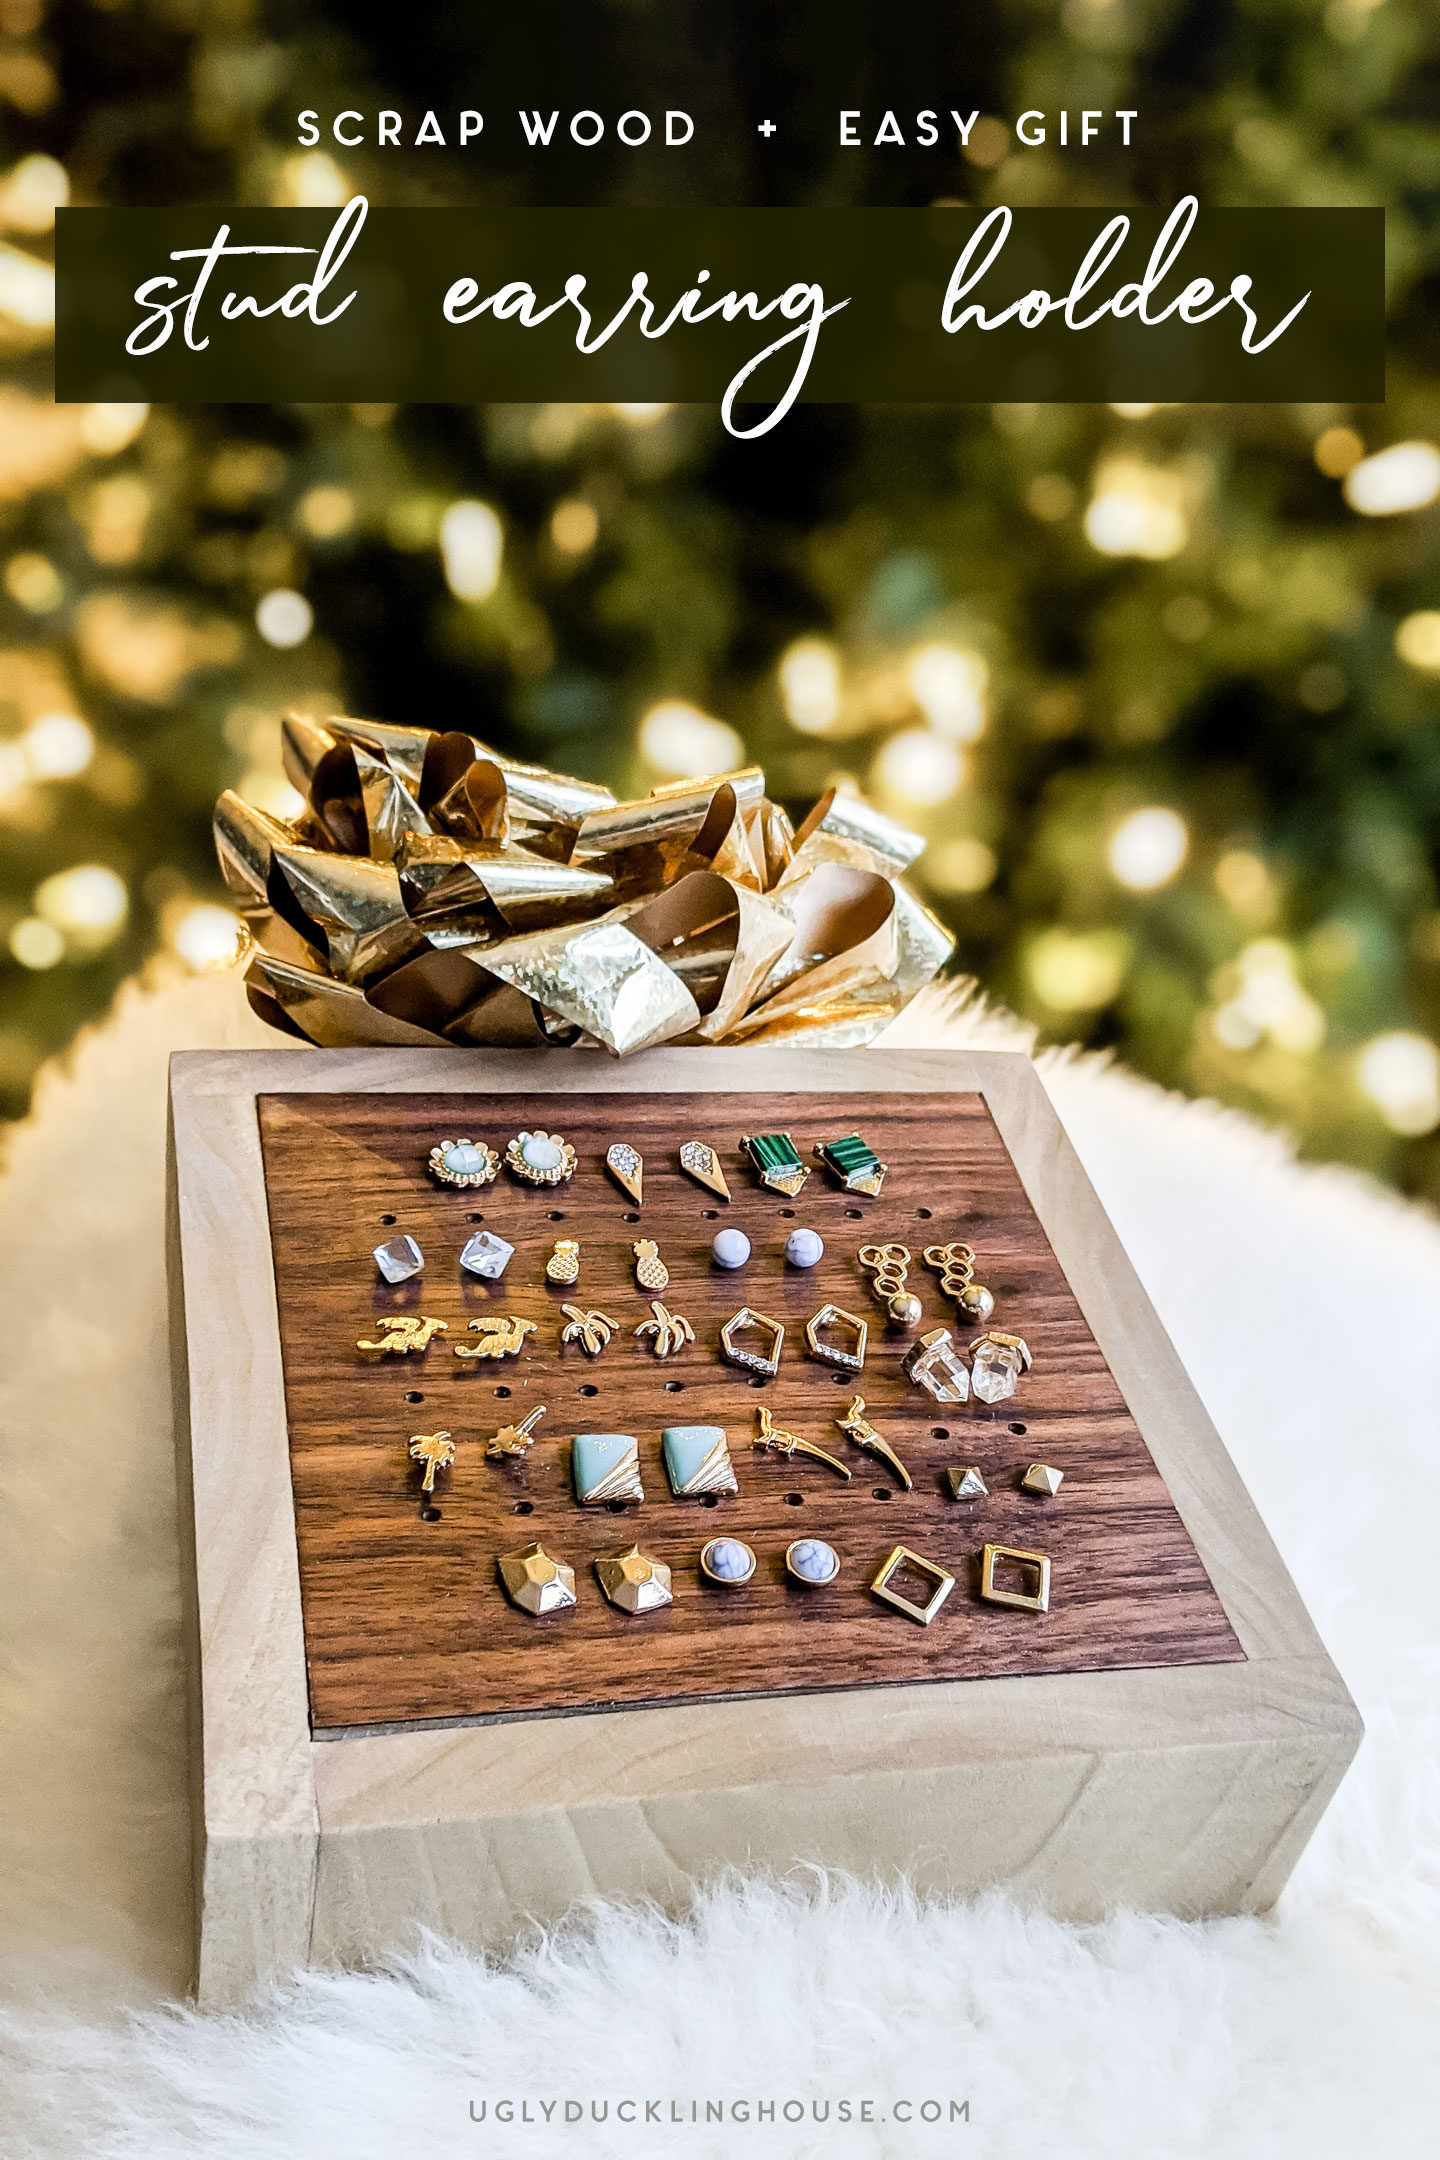
I had to wait on sharing this one because it was for a DIY gift, but since all the gifts have been opened, it’s finally ok to share! As I mentioned on the other post using this same basic frame, I started this project on a whim as a way to see what I could make from a few scrap wood pieces. It wasn’t until later, when I was grabbing some of the earrings I planned to give to my sister as a stocking stuffer, that I realized it could be converted into a small earring holder. Perfect for stud earrings!
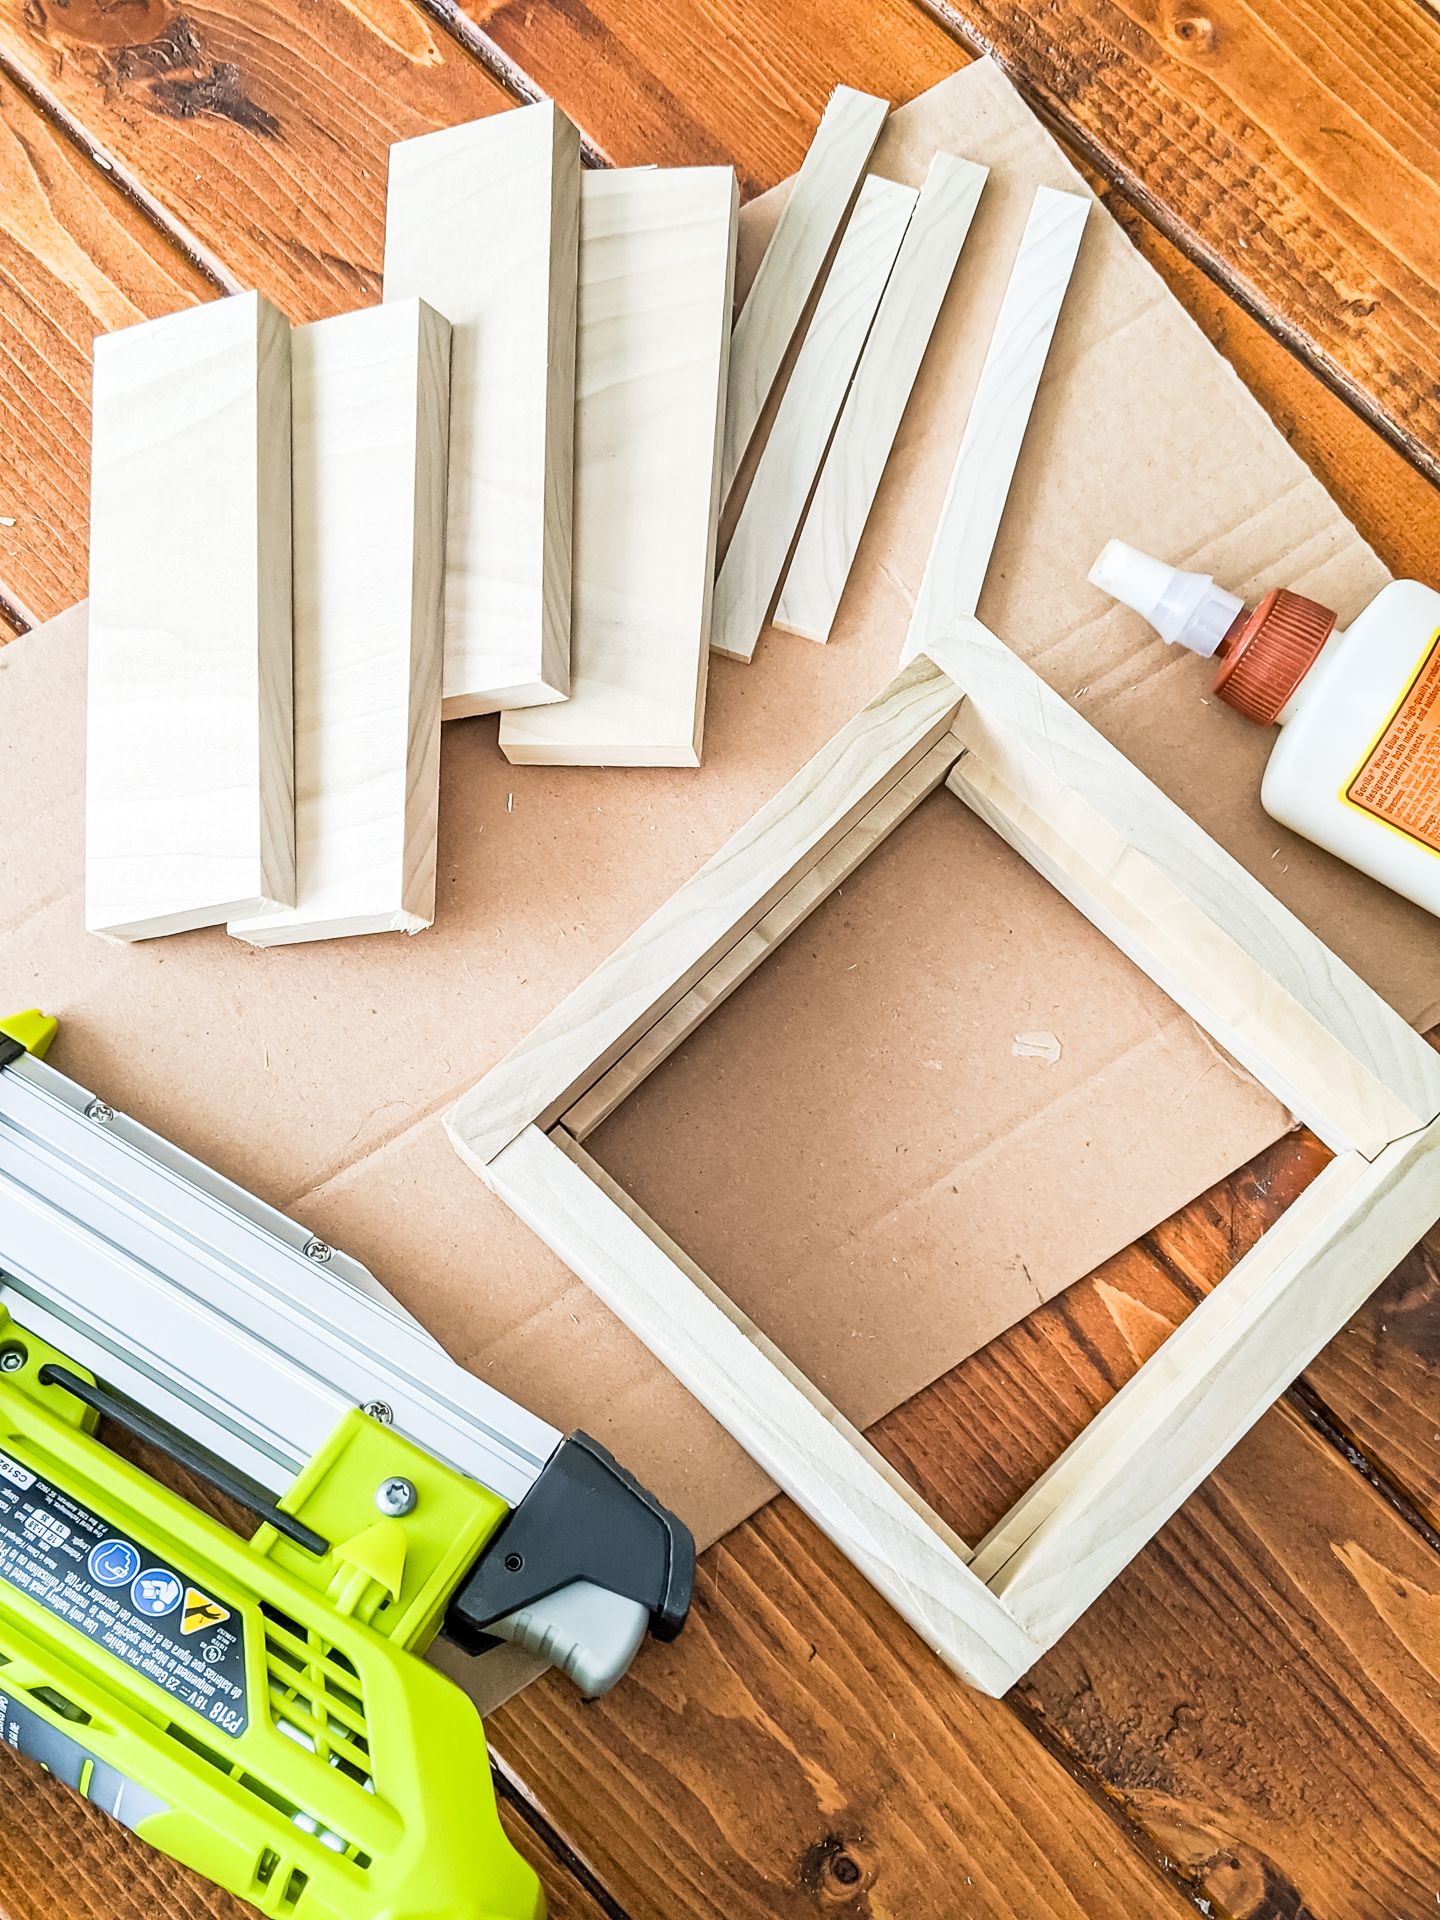
My sister and I both wear a lot of costume jewelry. It makes for an easy inexpensive gift, but the plastic packaging it comes in isn’t exactly the nicest presentation. I realized as I was thinking about wrapping the small assortment I bought for her that it might make a nicer gift if I used one of the frames I was making to hold them all, similar to how I made my magnetic version that I hung in my bedroom earlier this year. Instead of my wall-mounted version, this one is petite enough to put on a shelf, nightstand, or in a closet.
While the real gift is mainly the earrings, I figured it wouldn’t hurt to give this project a try! And if you’ve read my blog for longer than a minute, it probably doesn’t surprise you that I like making scrap wood projects. 😊
Catch the video:
Materials & Tools
- pencil
- miter saw
- orbital sander
- sandpaper
- measuring tape
- safety gear (glasses, hearing protection, breathing mask)
- stain
- drill
- drill bits
- clamps
- Ryobi Airstrike 23-gauge finishing nailer (makes an excellent gift!)
- Maker Brand Simple Finish
How to Make a Small Earring Holder
Time needed: 1 day
This earring holder was made with a few cuts of scrap wood and can be tucked away in a variety of places to keep earrings (especially studs) organized.
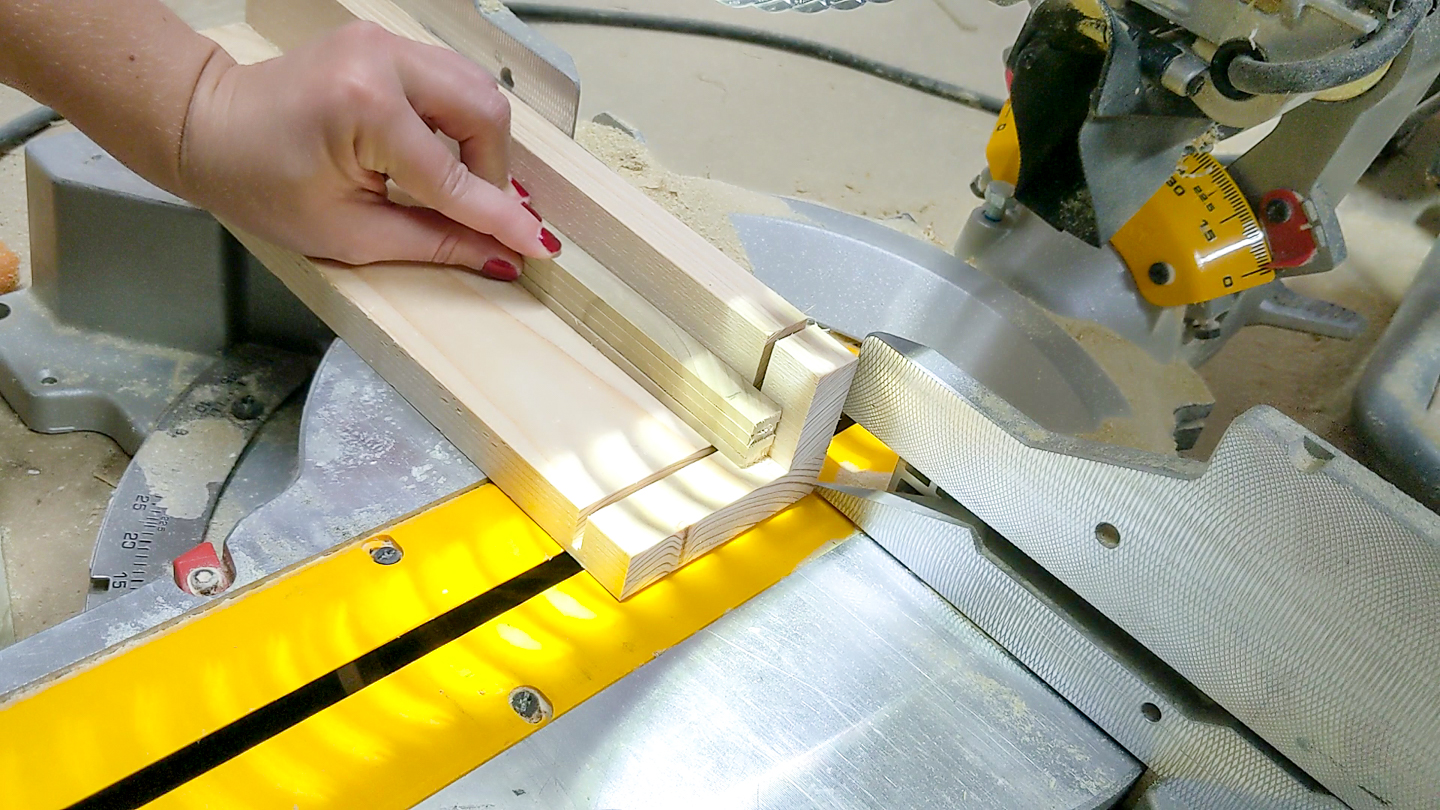
- Cut frame pieces
*I didn’t actually measure the frame width; I lined up the edge of the wood with the grooves in my miter saw to create the cuts and it made 4 identical widths. (* These first few steps will be nearly identical to the twin post I shared earlier today of the tree cutout art; I’m sharing them again in case someone finds this tutorial but hasn’t seen the other one yet!)
- Cut the inside of the frame pieces
I did a similar “measuring” with the pieces that make the inside of the frame, only I used the small width between the blade and the edge of the cutting area.
- Trim inner frame pieces to size
I then trimmed them down so the pieces could fit inside of the eventual exterior frame. I have found it makes things much easier when cutting small pieces to use a piece of scrap wood as a “jig” — it stabilizes the pieces to keep them from flying. Also, I only make cuts like these when I feel comfortable with my saw.
- Glue and nail the frame together
In a spiral fashion, I glued and nailed each piece together to make a square box (there was a little warping due to this being scrap wood, so clamps helped). I then glued the small thin cuts inside the frame, offsetting it so that the plywood would sit flush with the outer frame. After the frame was dry, I filled holes with wood filler and sanded everything smooth to prep for stain.
- Cut thin plywood to size
I had some scrap walnut plywood left over from my jewelry organizer project, so I cut this down to fit inside the frame. Using painter’s tape along the cut line helped minimize splintering.
- Drill holes
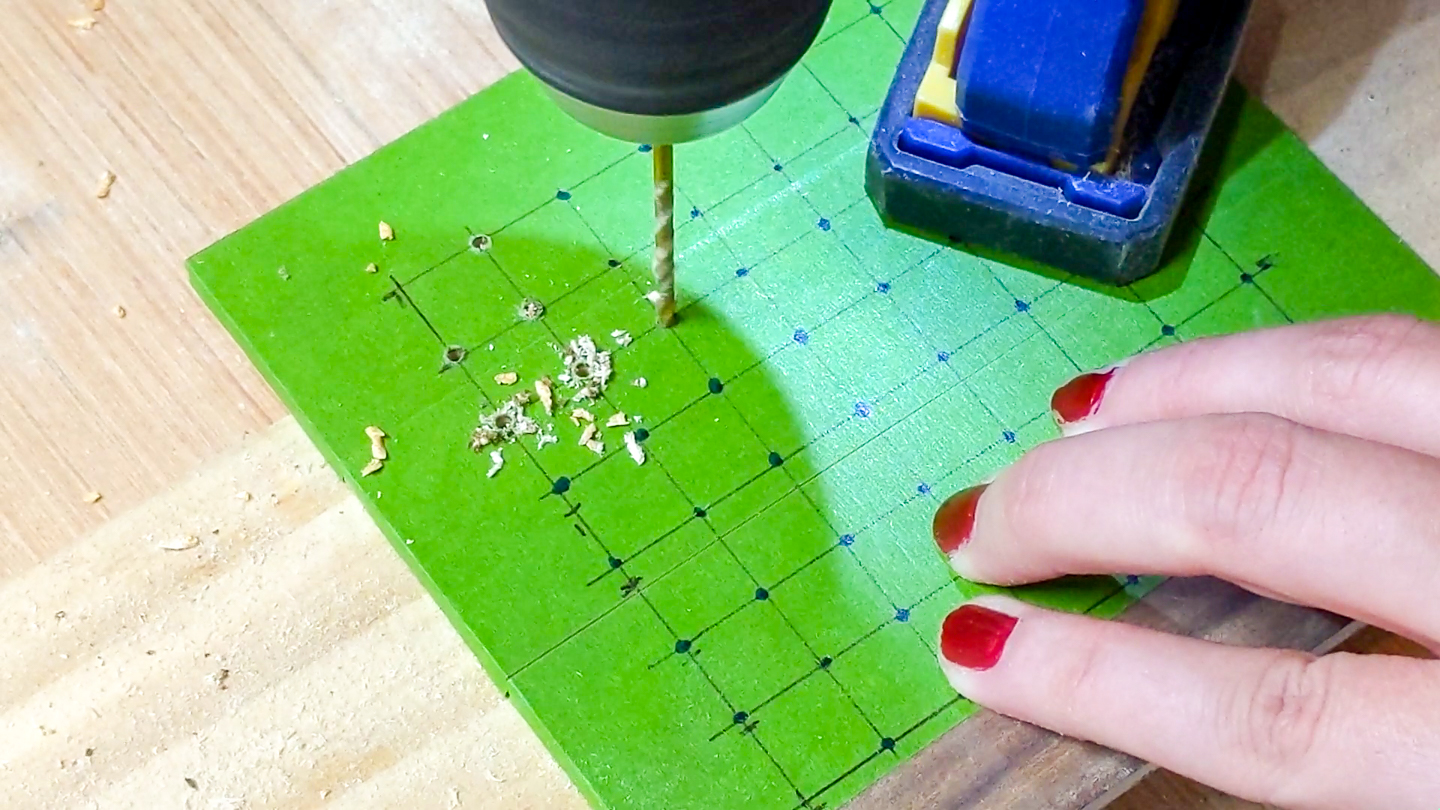
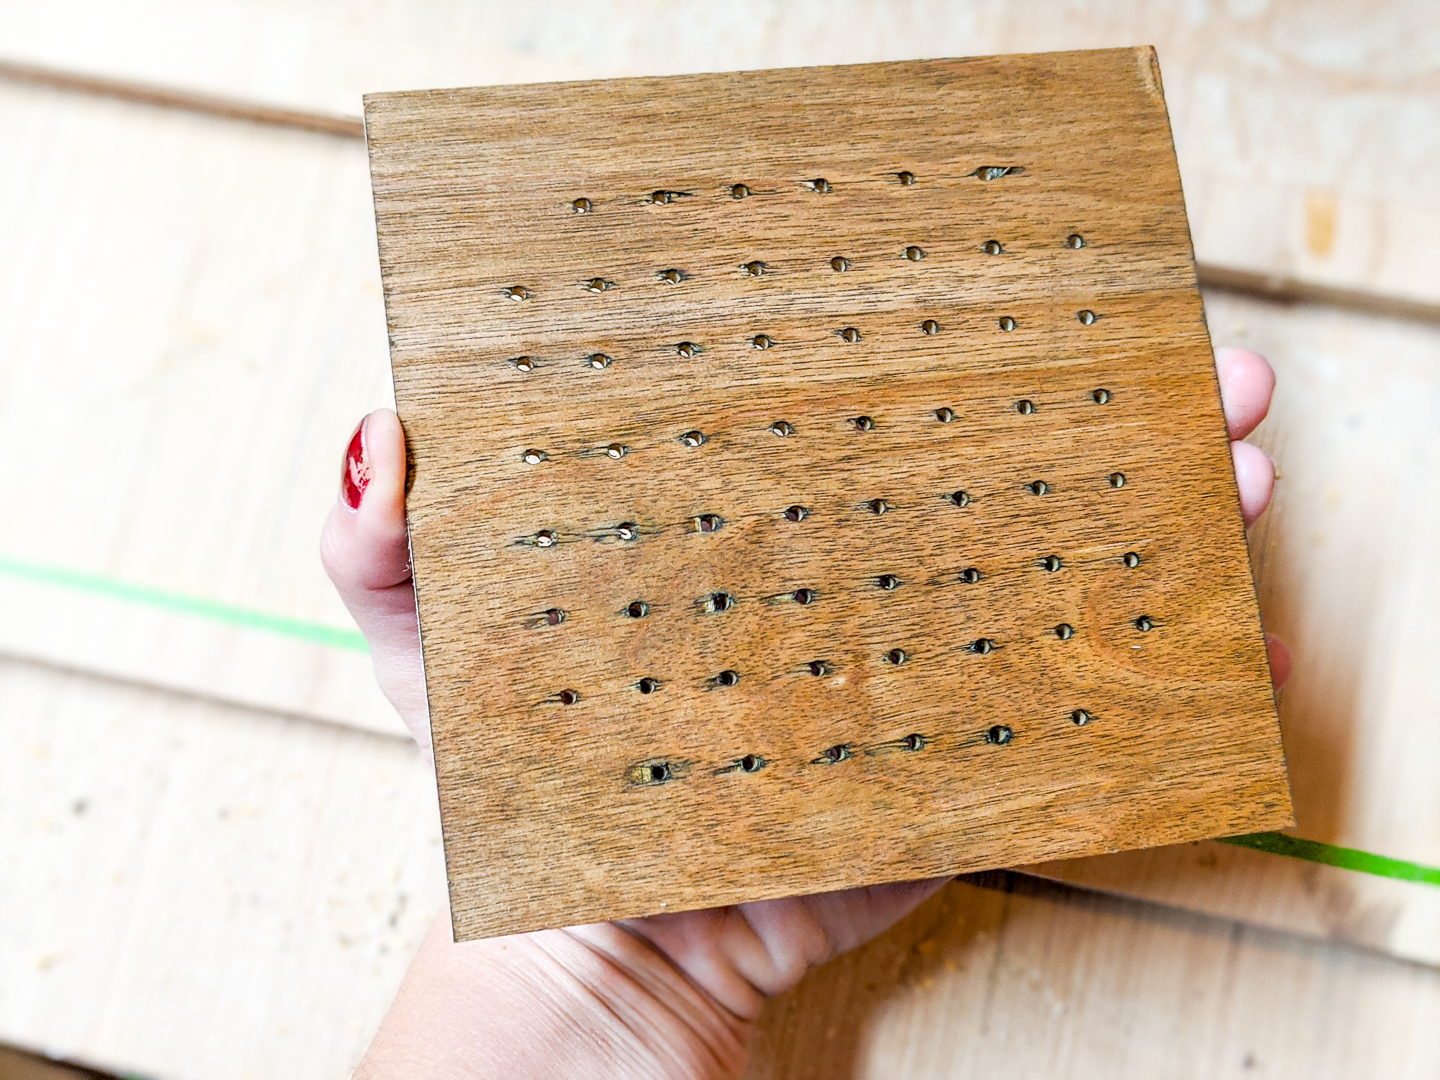
Using a narrow bit (the size doesn’t have to be exact, just as long as it’s large enough for the back of earrings to fit through), I drilled pairs of holes, row by row, so plenty or earrings could be mounted into the holder. The spacing of each is about half an inch apart. I pinned the plywood to a scrap piece of wood as I drilled; keeping the wood tight against another block of wood helps minimize tear out along the backside. If there’s even a little bit of space, there’s a chance for tear-out (which happened to me a couple of times, so I would advise using clamps instead of just pinning it down as I did).
- Stain the back and frame
I sanded both sides to prep for finish. Since the back will be visible, I stained the backside of the plywood with a medium brown stain. Don’t let the stain get too drippy or it will spill to the front side and stain the walnut. I also stained the frame with a light stain (Flagstone) to provide contrast.
- Oil the front
With the backside dry, I then added Maker Brand Simple Finish to the front to bring out the color in the walnut. Hopefully, you can see why I hold on to every scrap of this stuff! 😍
- Finish
With the plywood dry, I glued it to the inside of the frame. You may notice that the way this was mounted is exactly the opposite of the way I did the plywood art version yesterday (this would be considered the back of yesterday’s frame).
Another DIY added to my Christmas roundup! I have just one more post to share that is truly “Christmassy” — my trees that I put up this year! There were several more ideas I had that I didn’t quite get to, but they don’t have as much of a holiday theme (they could be made at other times of the year). So, I’ll still share them after a small break to circle back to some of my home projects (January is going to be allllll about purging and organizing and I am READY to shed 2019!).
Still, when I look at my original goal of 25 DIYs and think that — since late November — I’ve made & shared:
- 2 scrap wood gift ideas
- 2 gift card holders
- 6 ornaments
- 1 cross stitch pattern (& stitched it)
- 1 advent calendar
- 3 sets of coasters (12 total)
- a number of cookies (& iced them)
- with my custom-made cookie cutter
- several pine cone card holders for table decor
- a table setting
- a decorative holiday centerpiece
- 6 watercolor printables
- 1 cocktail recipe
- 1 small piece of holiday art
- & put up 3 trees this year…
I’m still pretty proud of that! On the one hand, I set a really ambitious goal. 25 posts is so many tutorials, videos, and photos! If we count the number of posts, I didn’t reach the goal I originally set. Buuuuut I actually made far more than 25 things, and I have wanted to do a huge series of Christmas projects for years, and I finally made it happen. Thinking back to the years where I was too busy working on drywall repairs or too tired from grad school, I kind of feel like I made up for it now! I also had more ideas than the 25 I first wrote down, and I just went with the inspiration and time constraints as I saw fit. I’m always going to wish I could have done even more… but this was still pretty a satisfying list to make. I hope you enjoyed at least one (or more) of them. See the list below for the entire group and a few more Christmas DIYs from past years. 😊
See you all in 2020, friends! Thank you SO MUCH for following along. For commenting, for sharing, for sending me emails about your projects I helped inspire, for signing up for my email list, and so much more. While I can EASILY say this was a one-time project series, it was fun to flex some creative muscle and “fill my cup,” so to speak, of small DIY Christmas projects. Maybe within the next year, I can also get these all edited to re-share on YouTube (what stopped me this year is needing to add voiceover instructions — those take a while since my equipment isn’t high end and there is a lot of editing needed, and I don’t want to half-ass it when there’s no going back or adding notes like there is with written posts).
K and I are going out tonight and dressing up (rare for us both), so I am most excited about my NYE outfit and risotto (right now I’m more excited about the outfit, but that won’t be the case around dinnertime). Happy holidays, friends! Happy new year! I hope 2020 brings you happiness, health, and lots of possibilities.
25 DIYs of Christmas
This project is part of a series of DIY gifts, decor, and other fun inspiration that I’m calling my “25 DIYs of Christmas“! Check out the list below to see each post (step by step tutorials, recipes, videos, free patterns, and woodworking plans available for each (where applicable). Lots of these ideas have multiple versions to show you the possibilities of each DIY. Even better, you can subscribe to make sure you don’t miss a single post!


