
Disclosure: this post may contain affiliate links, which means I may make a commission if you decide to make a purchase through one of my links, at no cost to you.
This post may contain affiliate links. This won’t change your price, but may share some commission. Read my full disclosure here.
We’ve finished installing the sound-dampening drywall in the garage for my new workshop! I’ve got pics and video to prove it! Plus, get a peek of my 3D-generated garage workshop plan.
Hey friends! I feel like it’s been AGES since I’ve updated you on the goings-on at the UDH (that wasn’t a tutorial). There are so many random updates and things I’ve been buying for the house to share with you and work that still needs to be done…. and I’ve got Ruby updates and shed posts I’m STILL trying to work on…
… sorry, deep breaths. This has been a busy summer.
So, let’s focus on one thing in particular that has tied up a LOT of this season of sweat: my garage. Or, more specifically, my garage WORKSHOP. I can hardly believe it, but it’s finally happening!!!! Feelin’ the tingle over a functional workspace and all the furniture I might make in it.
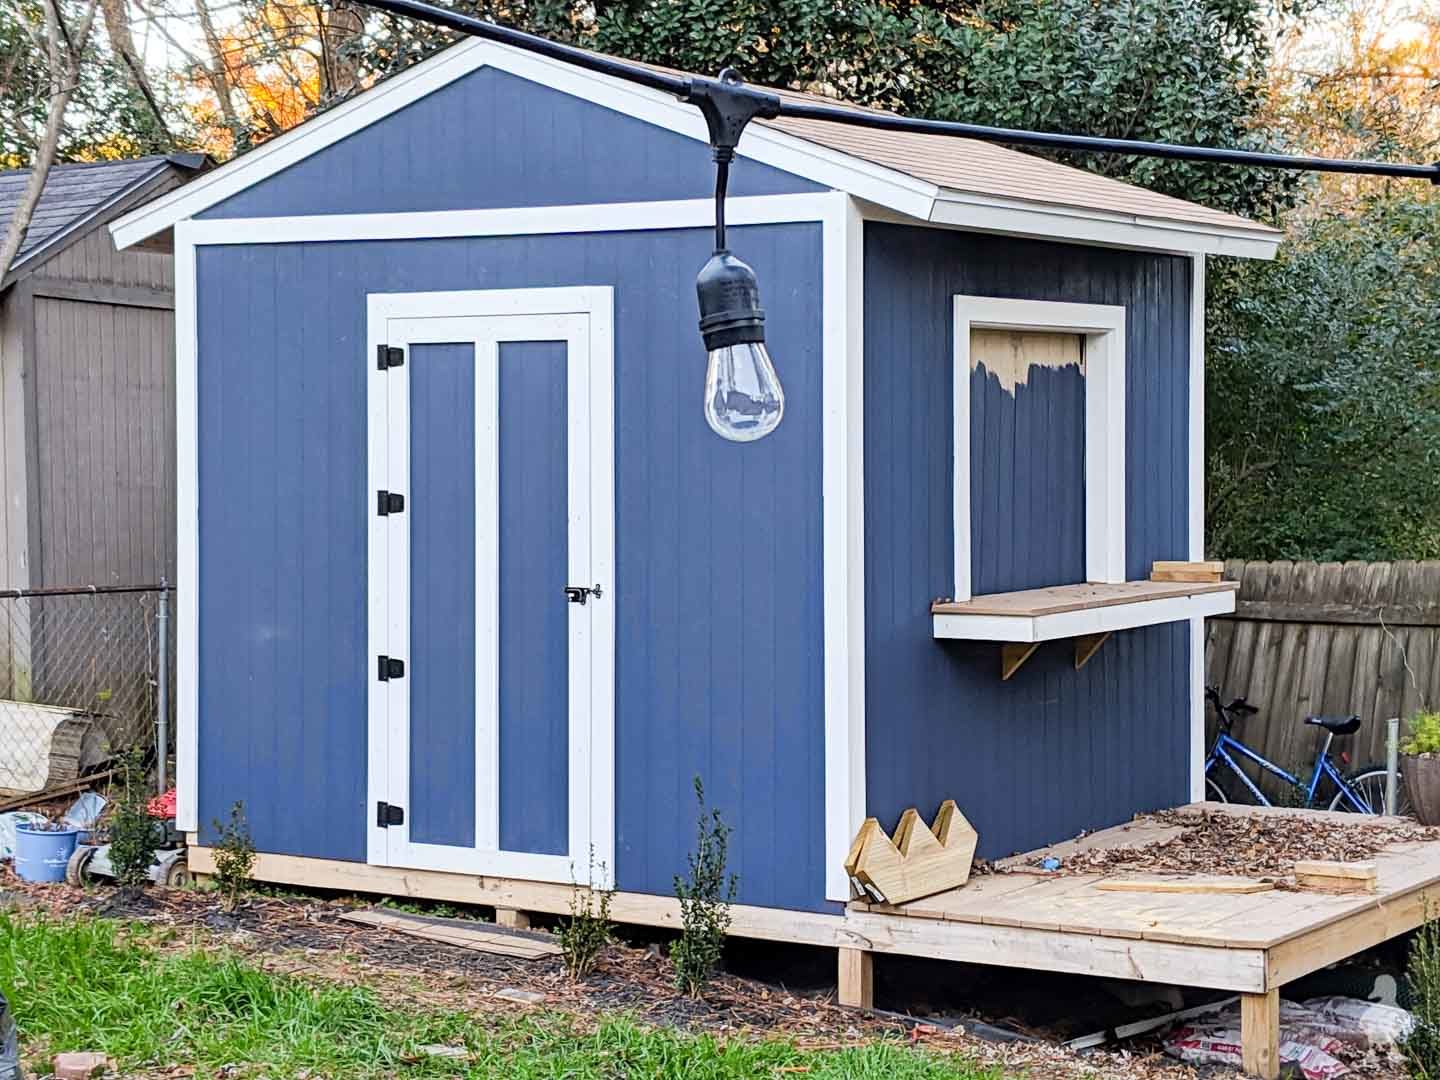
As you guys already know, Kyle and I built my “pub shed” last summer (which, I know, I still need to share with you and break down all the details, which is coming, but there’s just SO MUCH content that it feels like I’m drowning, so I’m trying to condense hours and hours of video footage into a timelapse as a place to begin). The shed was primarily built to help separate my tools from my outdoor maintenance needs (power equipment, ladders, rakes, seed, gardening supplies, etc.).
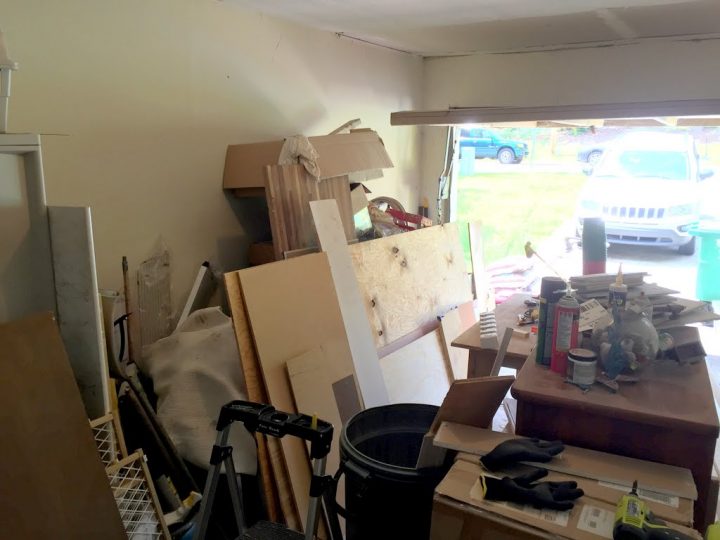
My storage needs were swallowing up my one-car garage, and I was left with ZERO space to actually make things in. Leading to diy projects that spill over into my kitchen and living room on more than one occasion.
So, the shed went up, and I finally have a place to store my things until the garage is better organized. That’s step 1. Granted — a big
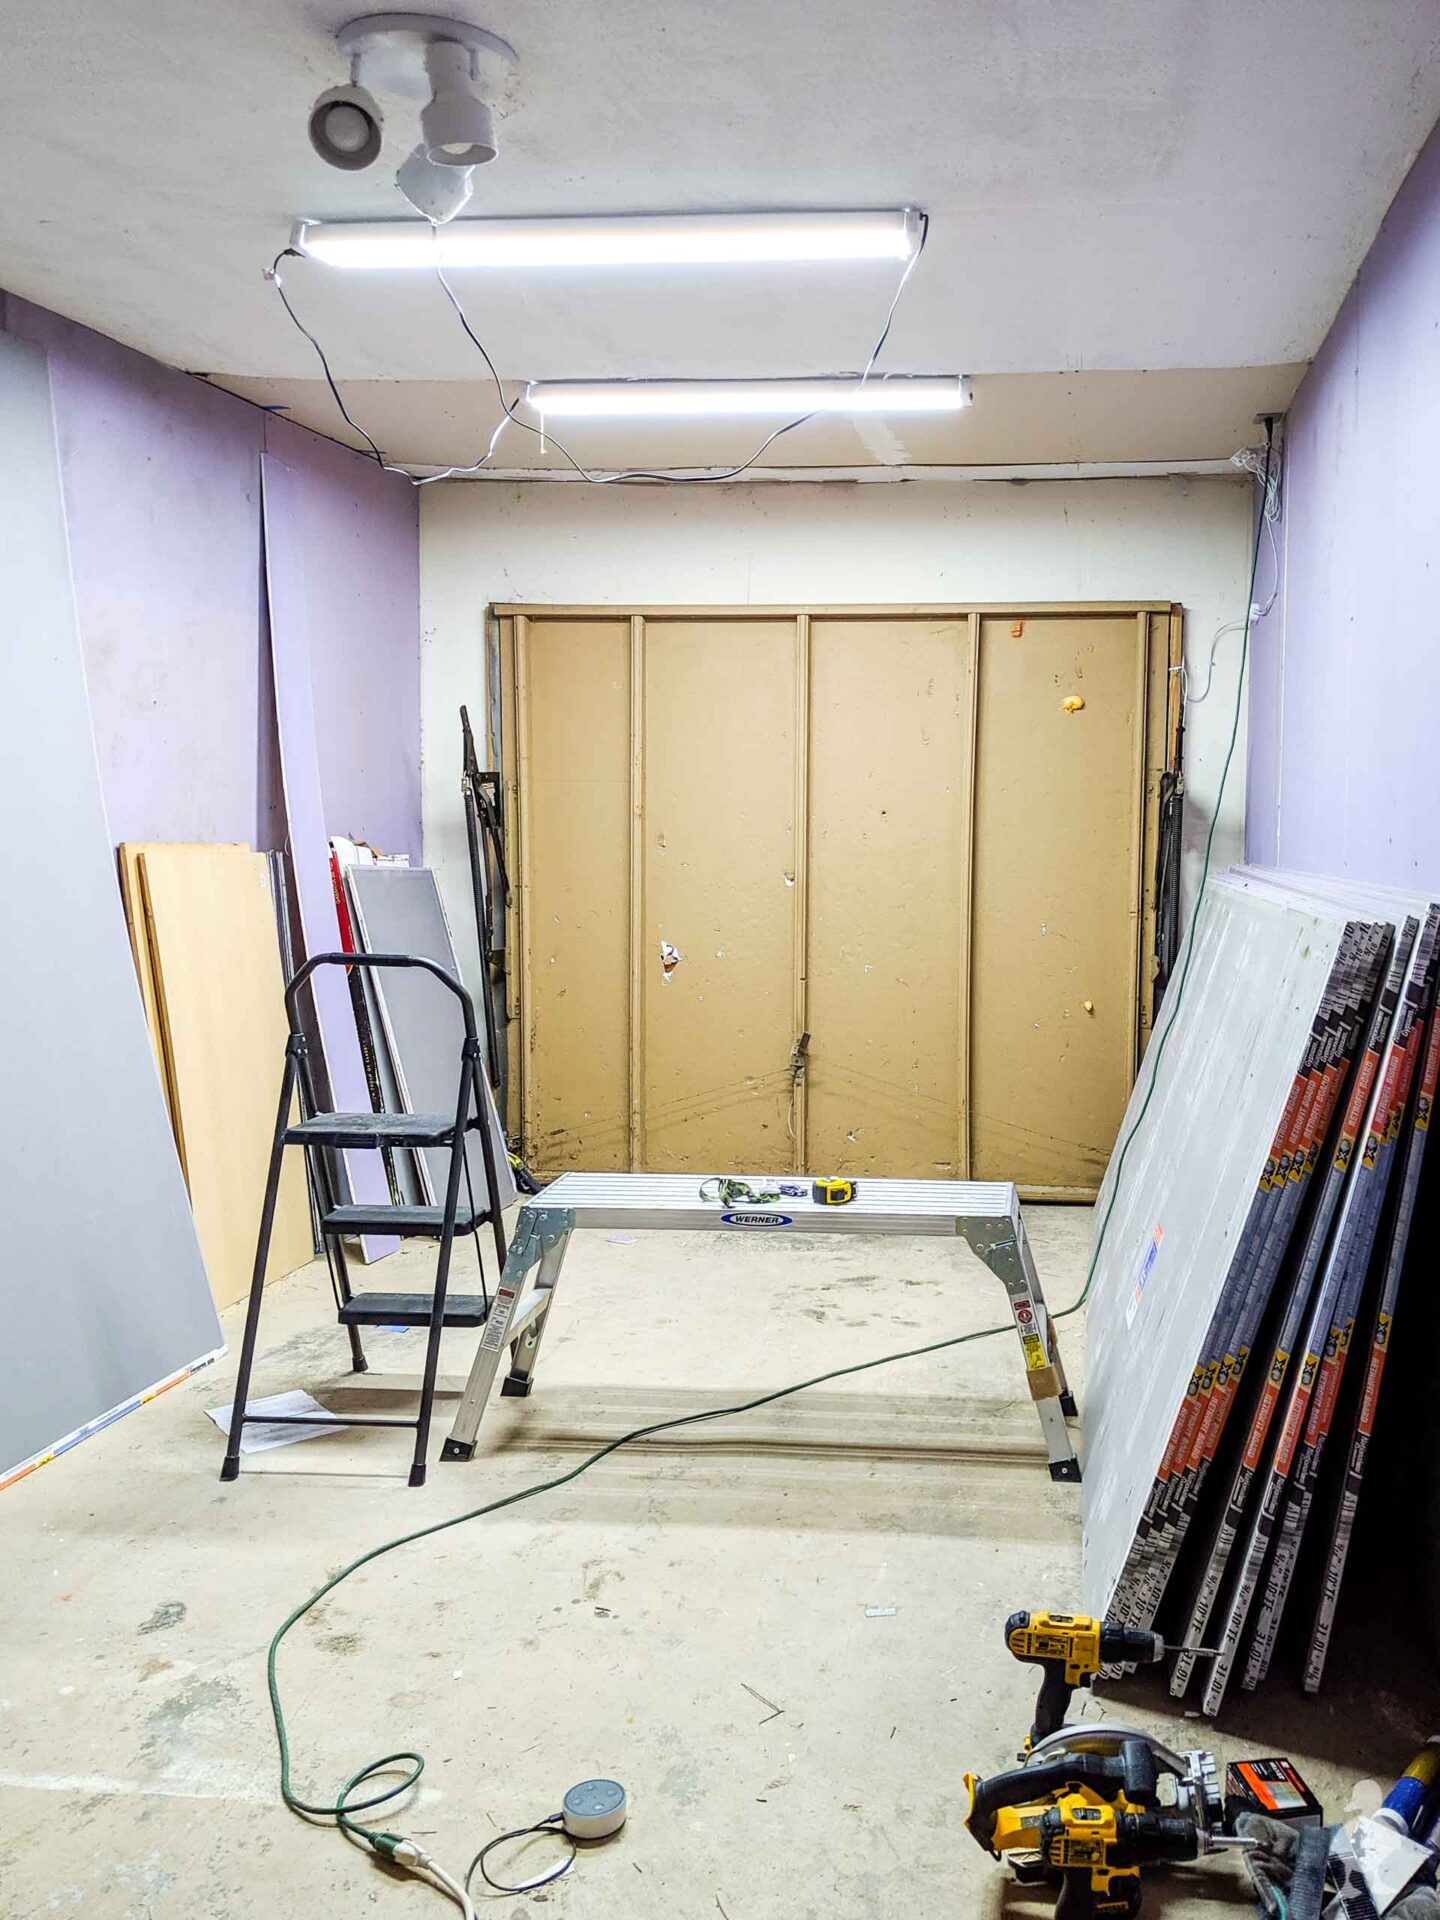
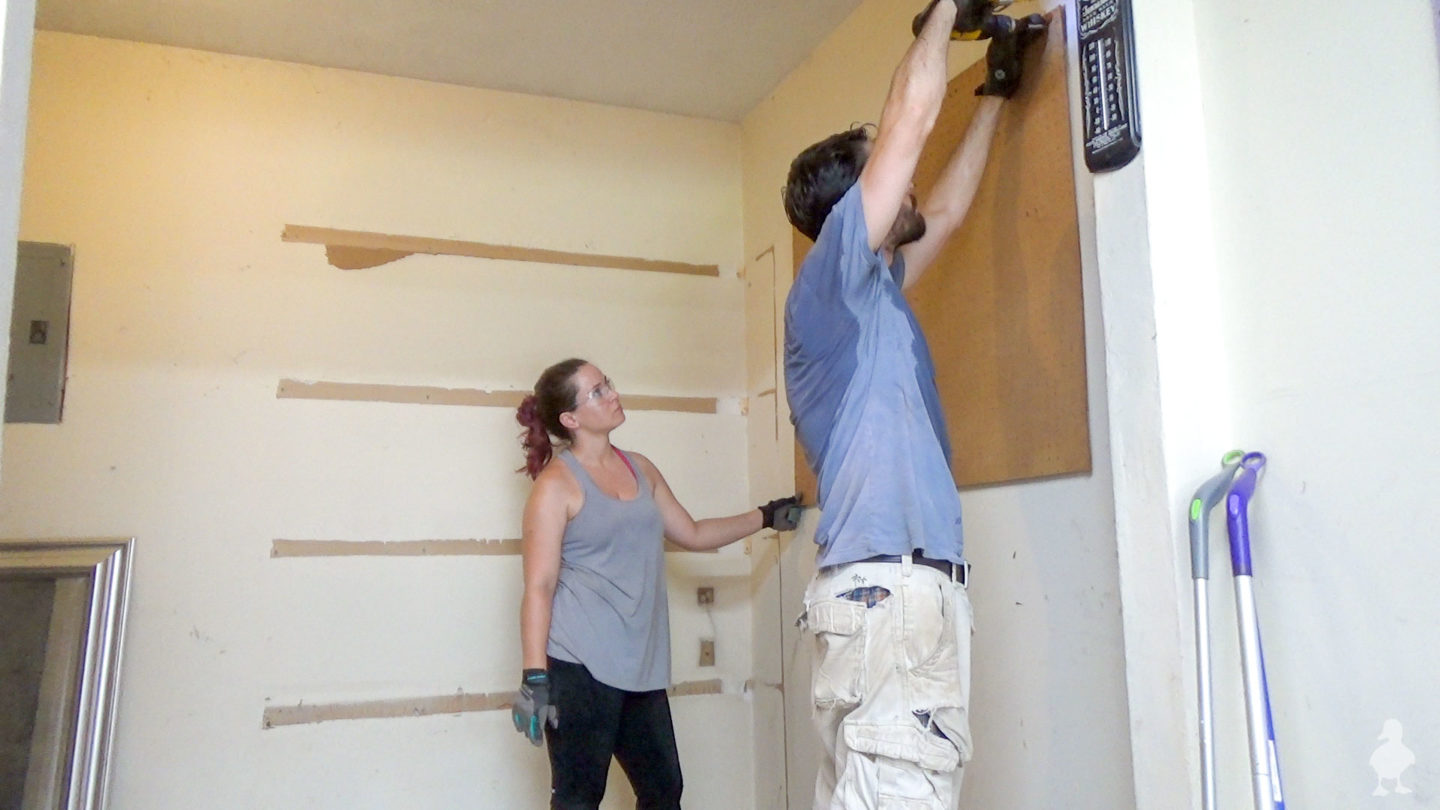
Another factor that went into all of this is that the garage also needed to be totally emptied for a long period of time. I usually do things piece by piece, where I can move things around just a little bit and then work in small sections. This time, I needed to install an entire pallet of sound-dampening drywall over the existing walls, and that meant clearing everything out. It’s way too hard to work on taping and mudding new walls with things in the way, so it all had to go!
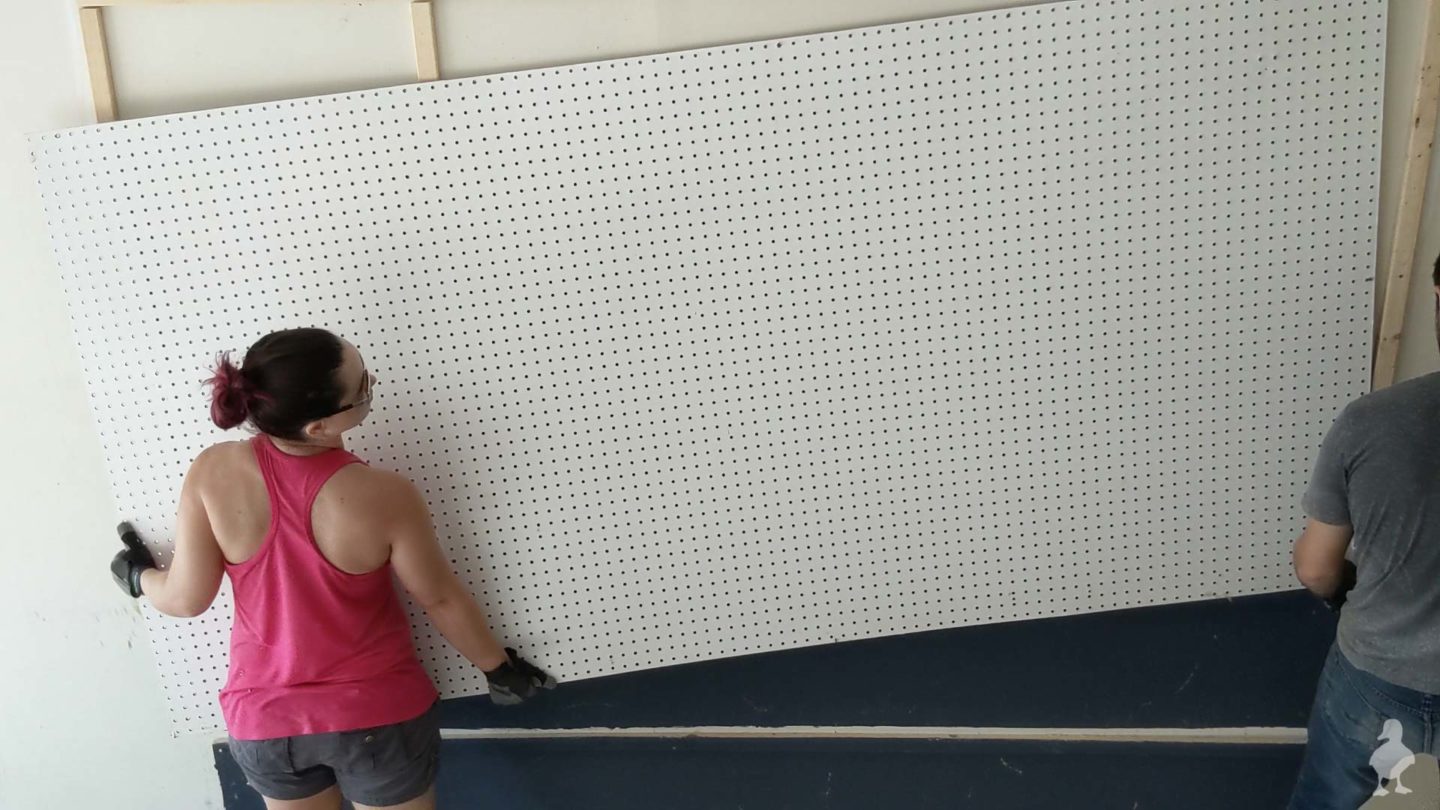
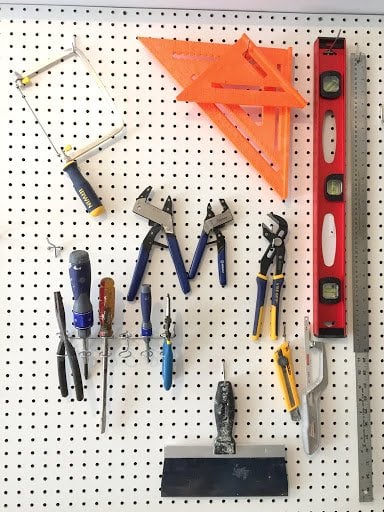
We took down the lumber rack, the pegboard wall, the shelving unit in the back, hooks, moved the
This was the perfect time to purge duplicates, donate items I’ve never used, and get rid of plain
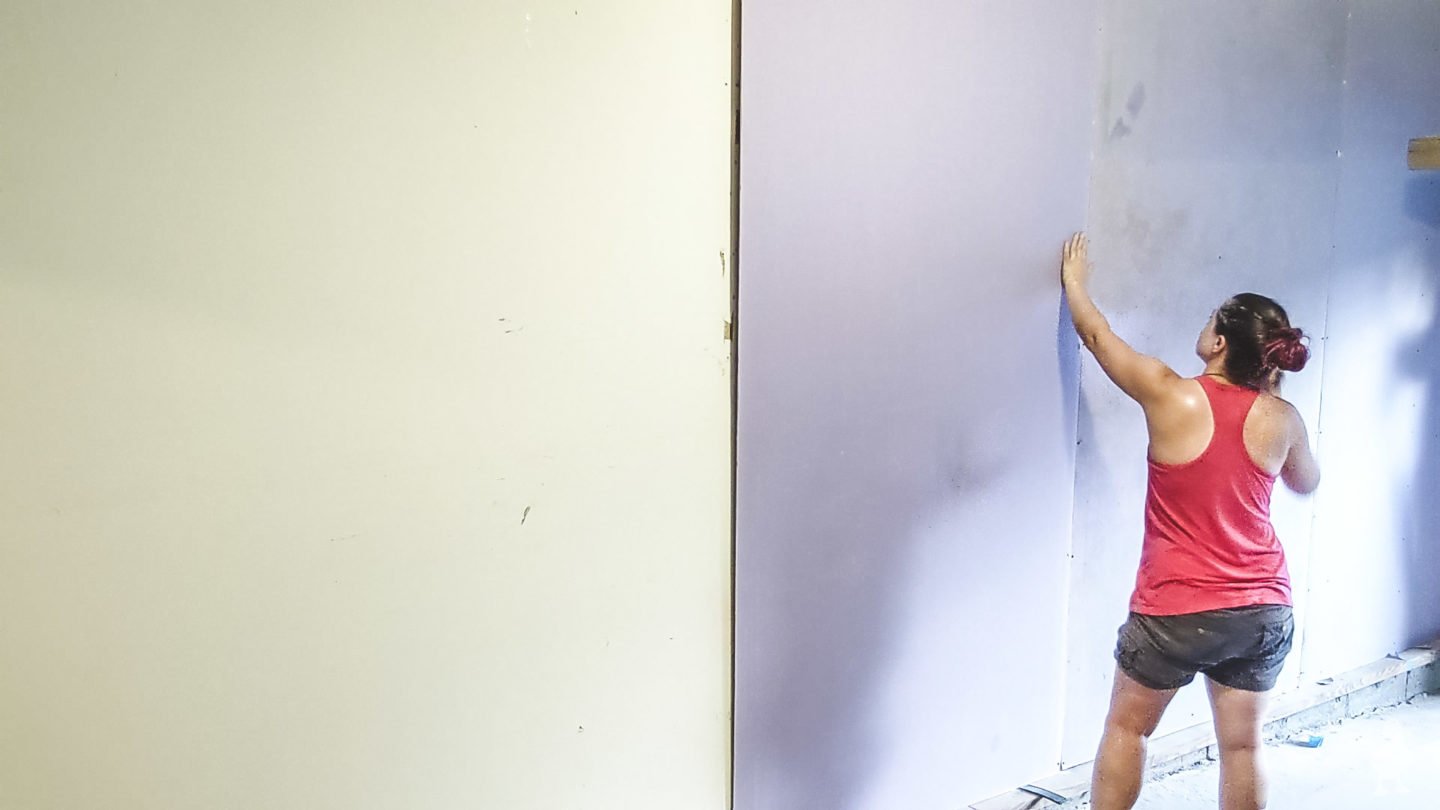
From there, we were able to start adding drywall. I’m just going to let you guys view the video below, because it’s a heck of a lot more fun to watch than the reality of installing and drywall in the summer without A/C.
It’s been HOT, so we’ve had to still work each night as we feel up for it. The back area was probably the toughest, but the studs in this room have been spaced somewhat haphazardly (it was pretty clear when I went into the attic above that a tape measure was NOT used on one

But, that hard part is done! And, one more upgrade: new LED lighting fixtures! It’s connected to a voice-activated outlet, so it will help light up every inch of my new work spaces. Putting in some GOOD lighting will make a massive difference since the only natural light source is an open garage door. Not exactly what I’m looking forward to in the Georgia heat. Speaking of. I’m thinking of adding an extra breaker to separate the power needs out here, and may even install a separate air/heating system so that I can work more comfortably throughout the year.
It’s slow going, so I’m going to continue to work in this space when necessary — like the scrap wood art project I shared last month (I mostly did all of that on the floor with all of this going on around it!).
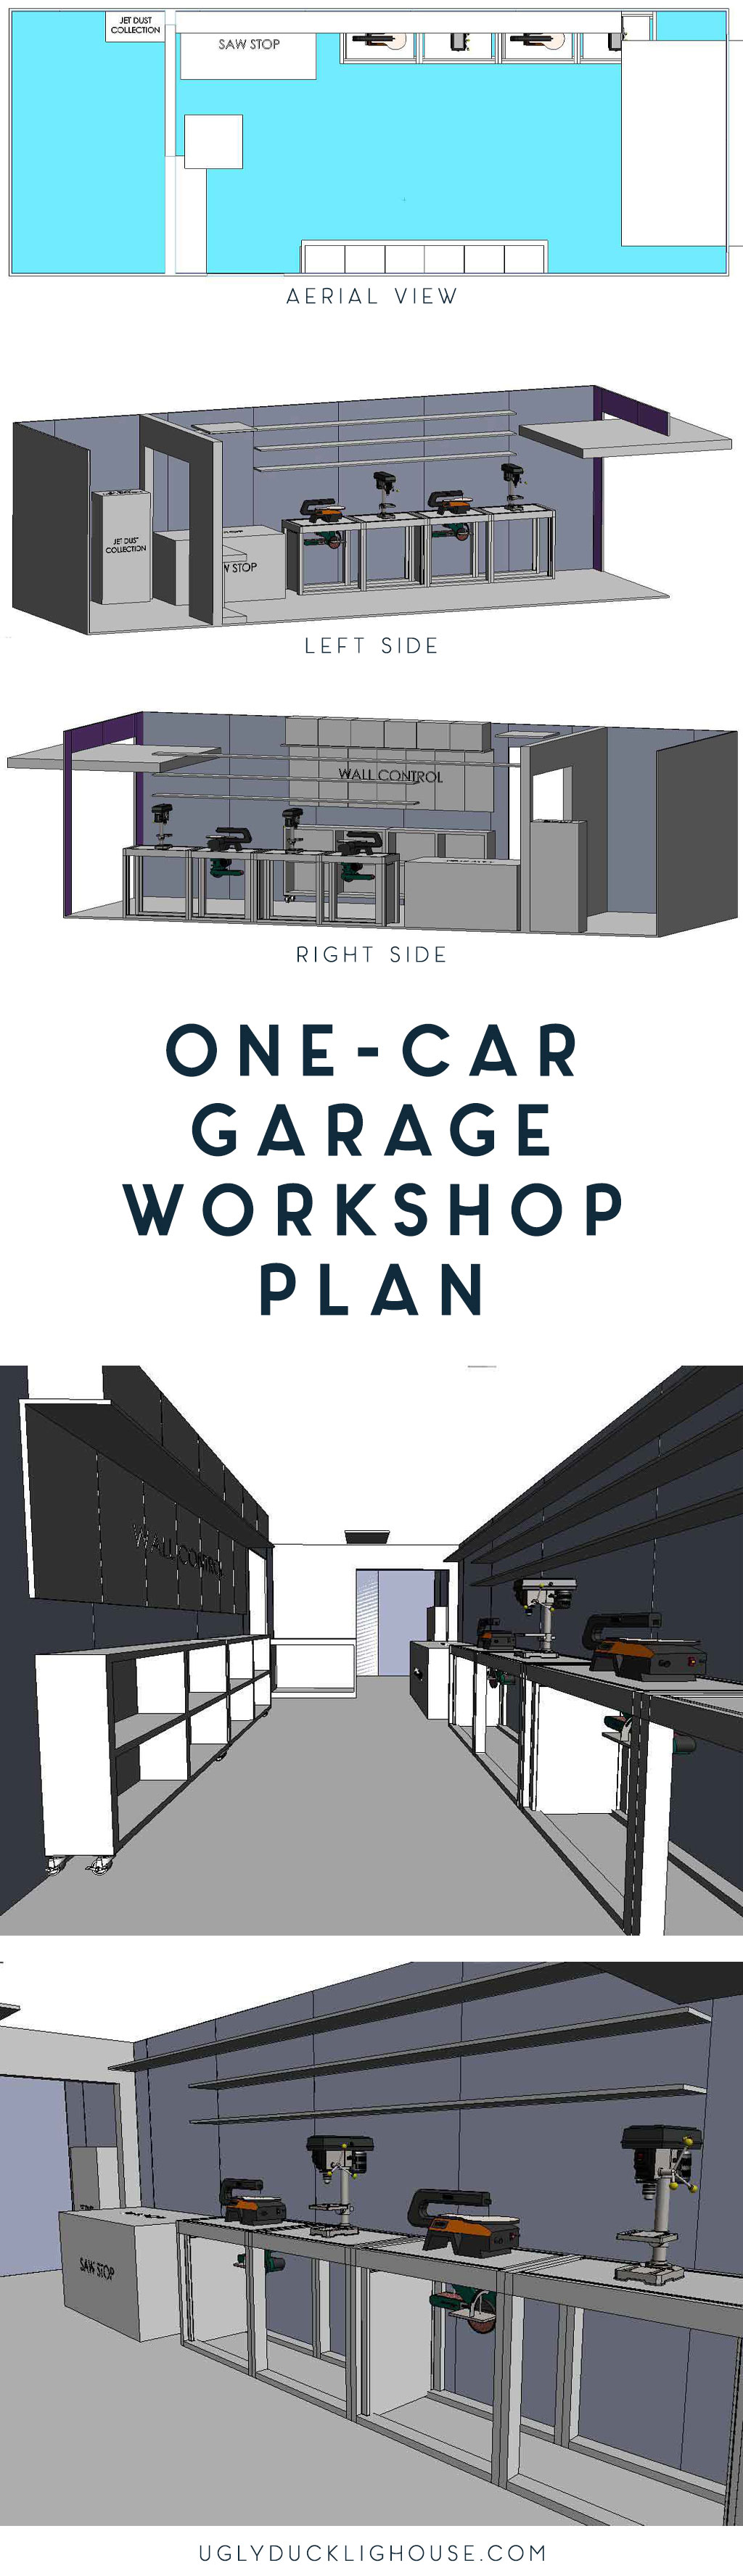
My One-Car Garage Workshop Plans
And now that it’s done, and the space is all cleared out, it’s been a lot easier to see a PLAN from all of this mess. Amazing how that happens, right? I’ve been throwing around garage workshop ideas with Kyle to create a 3D version so we can space everything out and make plans:
Right Side
- new storage spaces to make the most of any available space
- some metal pegboard organization for hand tools (thanks to a company called Wall Control that’s based here in Georgia — I’ll be going to their HQ soon, so if you want a tour of how it’s made, let me know!)
- a narrow work table, storage for clamps, and a charging station for allll the power tool batteries near the door
Left Side
- new workbenches (that may have a few tricks)
- room for a table saw I’ve been saving up for
- a new lumber rack for miscellaneous building materials
- a few shelves for a plastic tub or two
Back Area
- dust collection (good for my asthma)
- room for Kyle’s automotive stuff in the back (cabinetry and drawers TBD)
I’ve put all of the 3D images below so you can scroll through and take a look. Where it looks like duplicate tools, just ignore. That’s a simple copy + paste to give us an idea of the tools that will go on top. Everything is also planned to have wheels, so I can roll things around in different configurations (such as the table saw and using one of the workbenches as an outfeed table). It will also allow us to move everything out of the garage if Kyle needs to do some work on one of the cars.
That’s it for this update for now, but I’m so excited to have a space like this soon. I’ll share another when we have the new drywall finished and painted (and whatever changes we inevitably make along the way)! And if you want to take a trip down memory lane, you can see how all of the previous storage was created and more about the new drywall and why it went in below:
More Garage Workshop Ideas
How to create your ideal garage workshop, inexpensive supply organization ideas, and more.


That is a good work, no doubt. Would you please tell me the interior measurements of your one car garage.
Thanks a lot
I forget the length (when I know I’ll update the post), but I remember that the width is about 10 feet.