Disclosure: this post may contain affiliate links, which means I may make a commission if you decide to make a purchase through one of my links, at no cost to you.
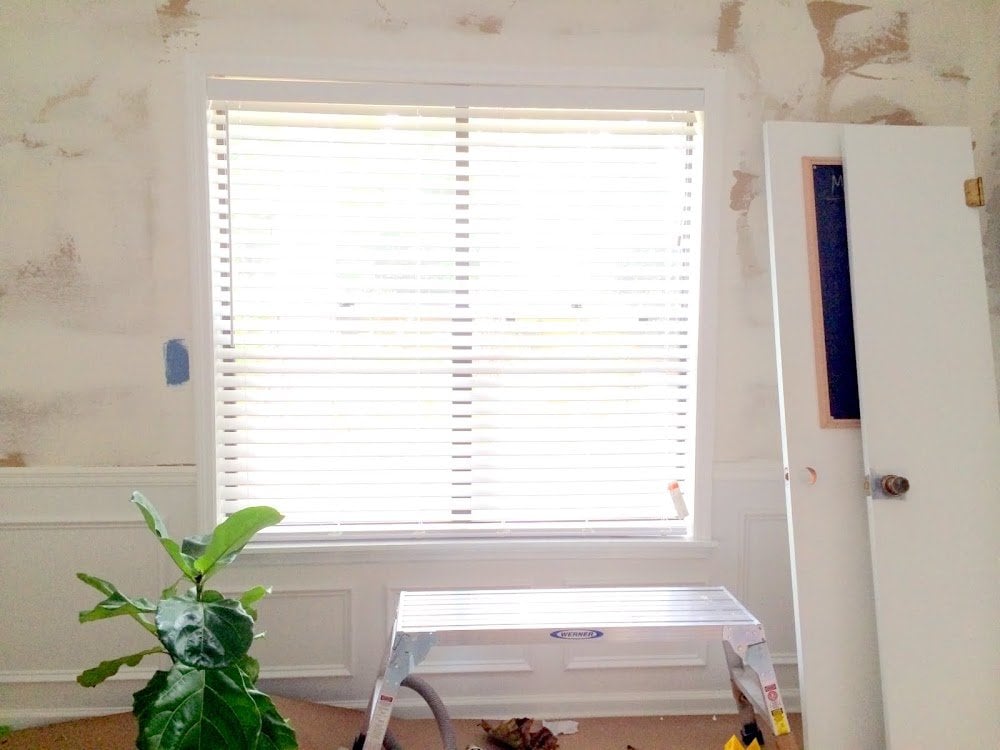
The dining room is at an awkward stage right now. Awkward, as in if I showed you a picture of this room yesterday, it would have looked exactly the same as today. Only the difference between them is a couple of hours spent sanding joint compound with my new favorite tool. And therefore rubbery arms. But I’m grateful to find new ways to get in shape (she said, sarcastically).

To give you the full history of progress, let’s backtrack a bit:
The wallpaper was taken down, which left an awful mess of torn drywall behind (before you regale me with your favorite wallpaper removal tip, I’ve tried them all on these walls. I’m 100% sure they work in most other situations, just not on these walls when the builders didn’t use any kind of priming on the bare drywall to slap a coat of glue and paper on top. Hence the shredded paper mess that has to be repaired. In most houses, people are a little smarter and properly prime bare drywall first before wallpapering, which helps prevent sheetrock from getting as damaged during removal. Not the case in the UDH, but now I’ve had the pleasure of honing my expertise with repair, which I have used to pay it forward, tutorial-style).

I slapped up a rough skim coat shortly thereafter to get me started on the repair job. And when my uncle came to visit to help me with the kitchen overhaul, we took a day to put up picture frame molding beneath the existing chair rail. Looking better already, right?

Because of the momentum going on in the kitchen (plus some motivational smack talk), the dining room was converted into a work space for several months while the kitchen cabinets were painted and other things installed. Basically, all DIY-related junk went into this room. On the floor. Classy.
And during that time, a contractor gave me a helpful tip that I should have used oil primer on the drywall first – to seal the torn paper and prevent bubbling when I added layers of joint compound (not so much a problem in the dining room, but the pantry area in the kitchen could have really used this tip). So that’s why I tried out some oil primer on the kitchen walls last week. It’s the last room to need wall repair, so… I guess that was good timing?

I’ve been really happy with the progress in the kitchen, but there has been one little detail that has been nagging me for months: I have everything I need for decorating the dining room. The curtains. The rug. The paint. The furniture. Everything (well, except a piece of original art – I’m still making my mind up about that).

So now that the kitchen is in reasonable enough shape, I simply can’t take it anymore. Two, side-by-side, broken rooms. And knowing that I have everything I need to get this room finished… it’s just driving me nuts. And all that’s been standing in my way are these unfinished upper walls.

That’s how I came to sanding this weekend. Actually, I did wind up adding oil primer to one of the walls – the one that I’d been debating on taking out to open up the floor layout (which seems kinda pointless to consider now when I don’t know how much longer I’ll be in the house). So far, it seems like the contractor was right: I added the primer, waited for it to dry, then sanded to get any little rough bits of paper to flake off. The result is a smoother finish to apply the skim coat, so I’m hopeful there may be a little less sanding work overall than if I hadn’t applied it.

Now that the oil primer seems to have done such a good job on the one wall, I’ve decided to just go ahead and add a primer layer to the other three walls to get them all evenly applied (plus, just in case a second layer partially re-wets the first, as joint compound tends to do, I don’t want previously smooth paper areas to bubble). I’ll be doing that this afternoon, and once dry, the second skim coat will go up. And then, of course, another arm workout.


Ugh, the worst. We sanded and scraped and filled joints and holes for an entire weekend and the room basically looked the same, and my arms were jello. But I know we’ll be so happy we did the prep work…and so will you! :)
You poor thing, you need a monthly subscription to your local spa. Our dining room was exactly the same way, and it got worse from where you are before it got okay. After my husband was meticulous about trying everything you have, refinishing the walls, priming etc., with plenty of drying between, the paint bubbled and bubbled and bubbled. I wish my husband had taken the suggestion I had of just putting up beadboard, painting it and be done. It would have cost him so much time, labor, grumbling, money etc. Even now, with all that he did, it is not what it should be or what we wanted.
Gosh, that sucks! I’m so sorry that happened to you. I’ve done this a few other times with good results, so I’m just going to keep plugging along at it. It will all be worth it in the end :)
Jeez! I so hope you get back in the sale of your home all the sweat equity and materials you have put into it! I was curious as to why you are decorating if you are selling. I guess if you have it, you use it, to help sell the home. Then you said you weren’t sure how long you would be there. I am clueing in you will commute to the new job until your home sells and it isn’t going on the market until you are complete with all the projects……SO I guess that is why you are trying to still make the house a home. Gee–so glad I wasted all that to share my thought process! Dah and sorry–but correct me if I am wrong! You are doing awesome and hope you are enjoying your new job. :)
I’m definitely enjoying it. Still waiting on a few photos from the team to give a proper update on what’s going on behind the scenes (these photos are totally worth the wait, I promise). But I added a link in the sidebar so you have a link to the website if you want to check things out at any point (hoping to replace the logo with something more visually interesting soonish). I’m still commuting and trying to finish up the house, but I’m happy with the way things are working right now, so I’m just going with this pace until it seems like it’s necessary to change it. Working from home is great, I work a LOT of hours, but it’s going very well so far.
Oh my gosh that sucks! You’re doing a great job though. Been there. Did this. Wallpaper is the worst. Hang in there it’s going to be beautiful when you’re done. :)
Blessings,
Beth