Disclosure: this post may contain affiliate links, which means I may make a commission if you decide to make a purchase through one of my links, at no cost to you.
I was asked to share the materials I use for watercolor, but it’s nothing fancy! Even if you have an inexpensive watercolor set, you can make these!
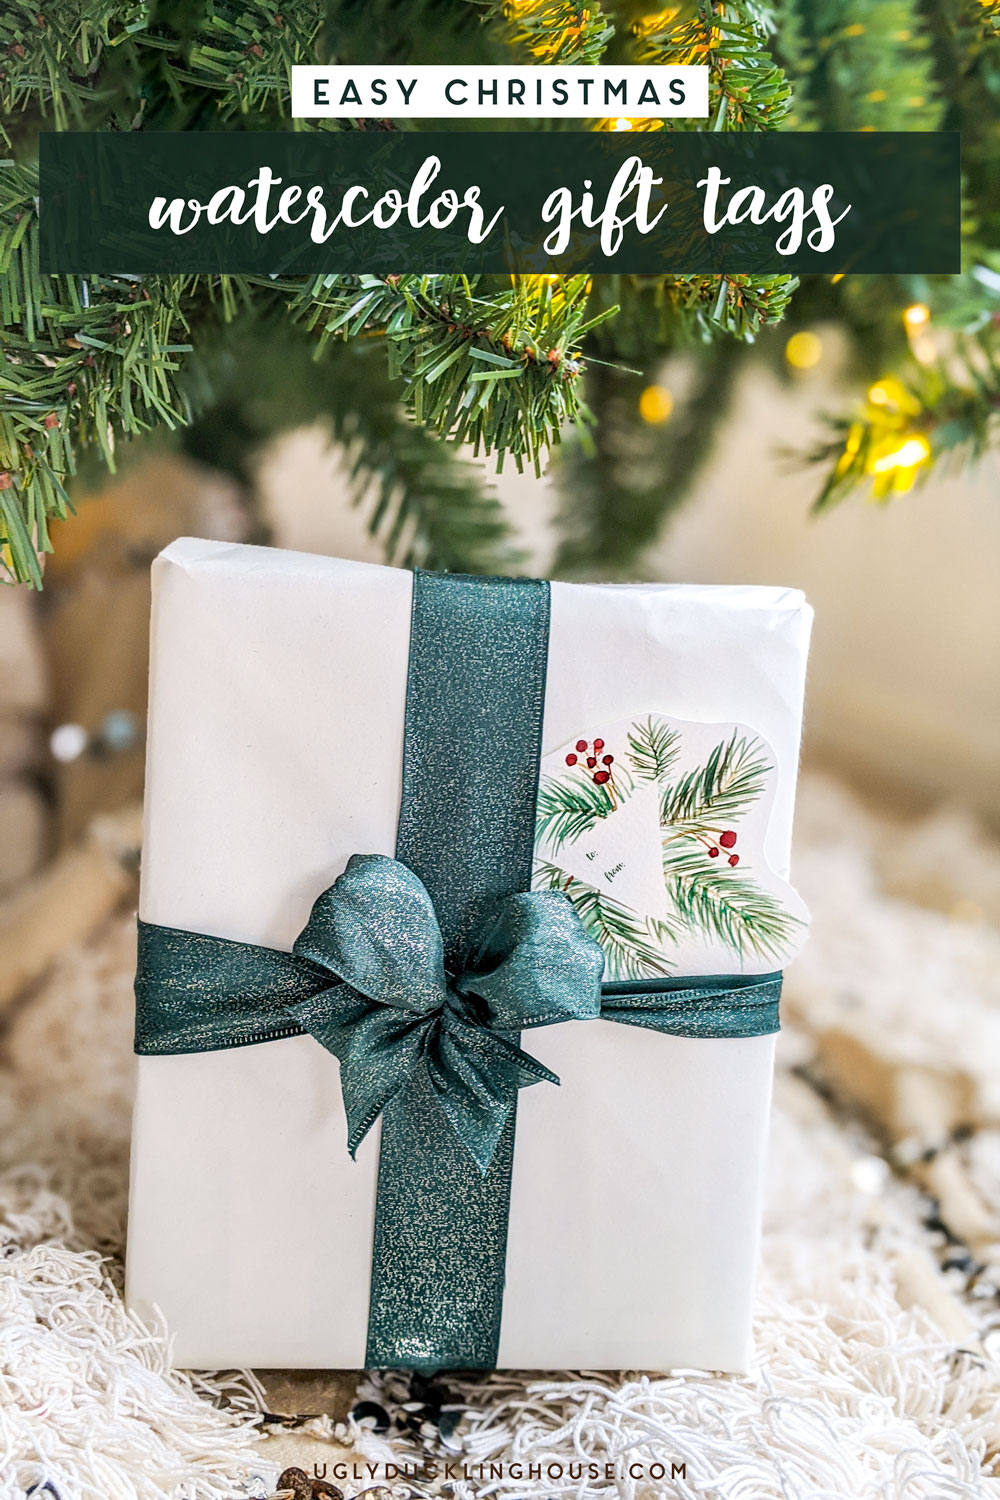
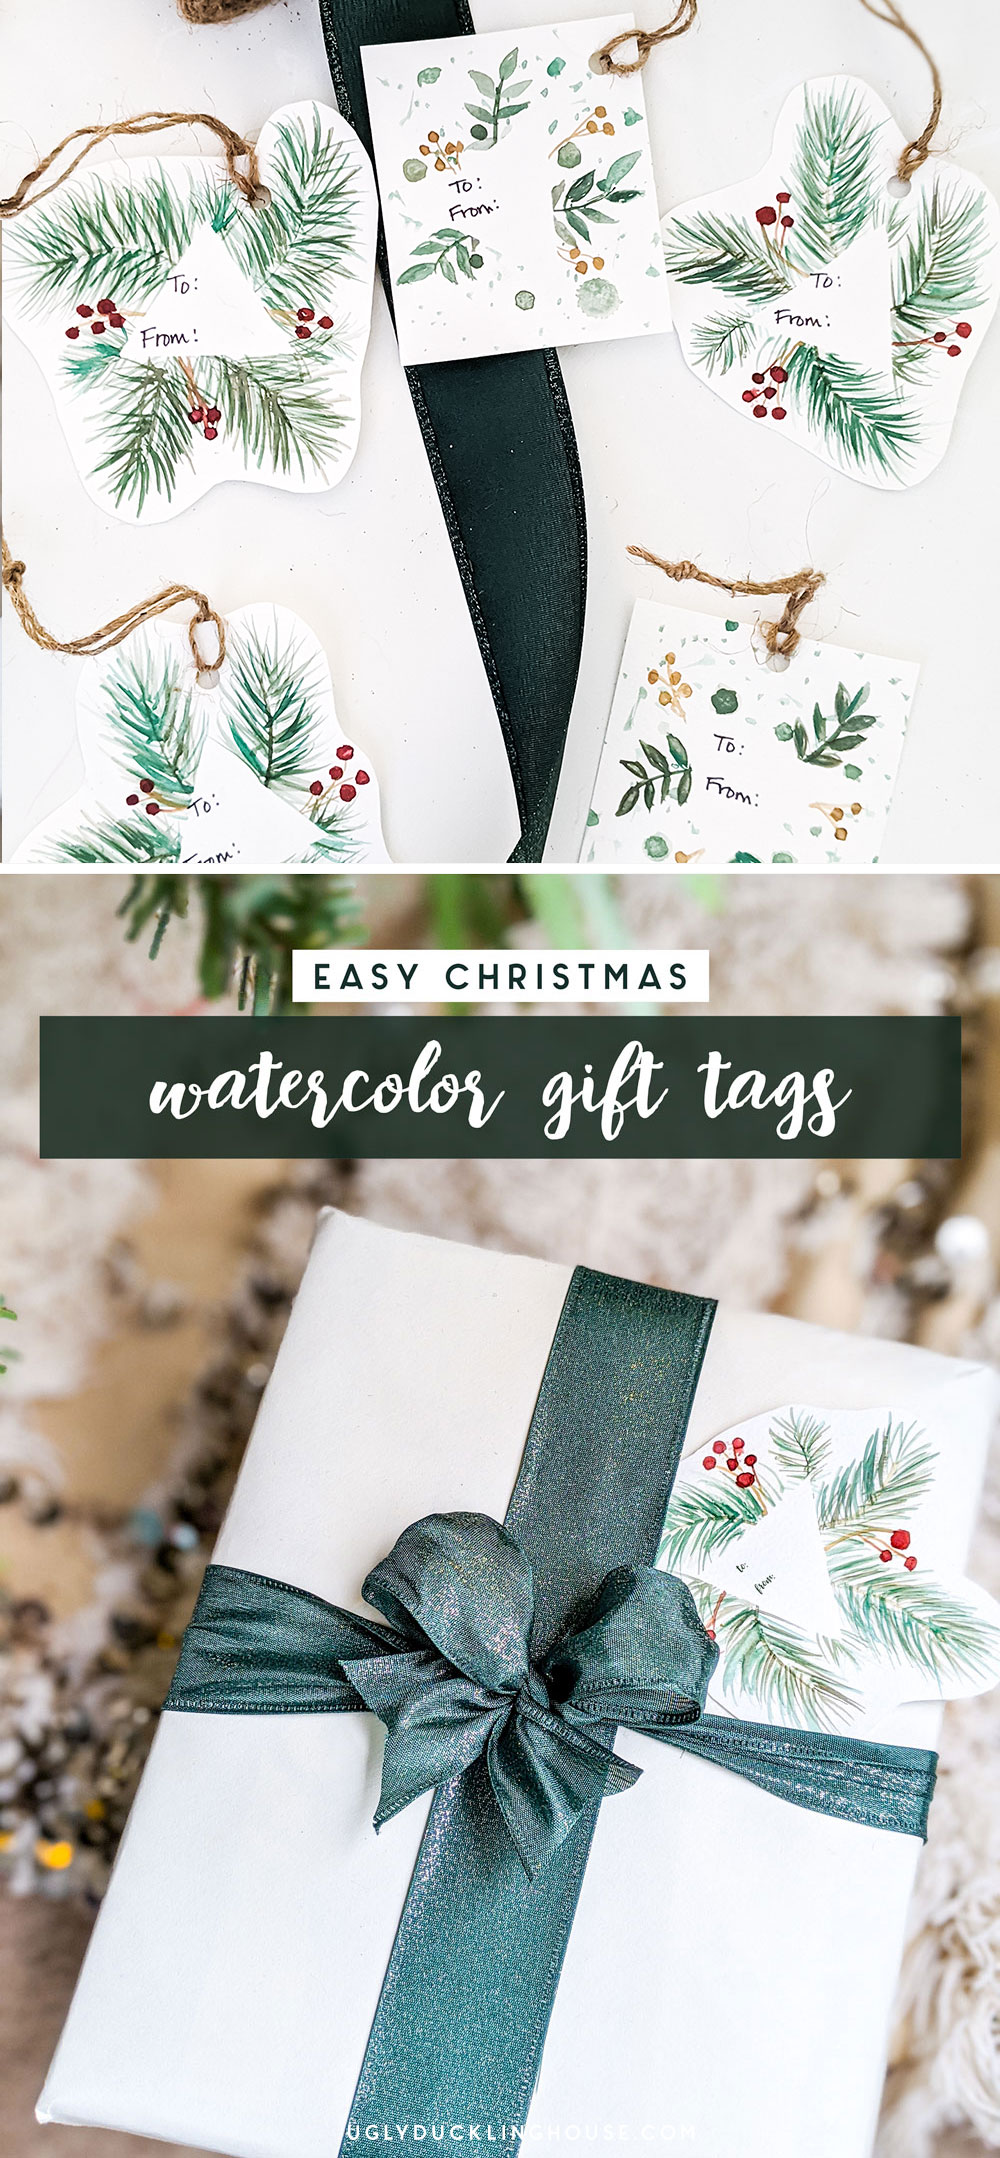
For the holidays, it seems I’ve picked up my art supplies again! It’s been a LONG time and I am no expert, but I realized that painting by Christmas tree light is especially fun. I’ve painted a few prints that I’ll share in the next post, but I thought these would be good to share first. They’re easy to make and customize and play around with, so feel free to download the printable or follow the tutorial to make your own!
Materials & Tools
- pencil
- watercolor paint palette – beginner or more advanced (either make a great gift!)
- watercolor brushes (I used a #2 exclusively on this one)
- watercolor paper/pad (I use either 90lb. or 140lb.)
- water glass
- paper towels
- painter’s tape
How to make Christmas watercolor gift tags
Time needed: 1 hour
These little watercolor gift tags are a quick way to personalize any gift!
- Tape off the area you don’t want to paint
It’s funny; I don’t use painter’s tape for painting walls (see this tutorial as to why not). But I DO use it for lots of other things, like taping off the area I don’t want to paint with watercolors! It’s great for masking off spots that I want to leave blank.
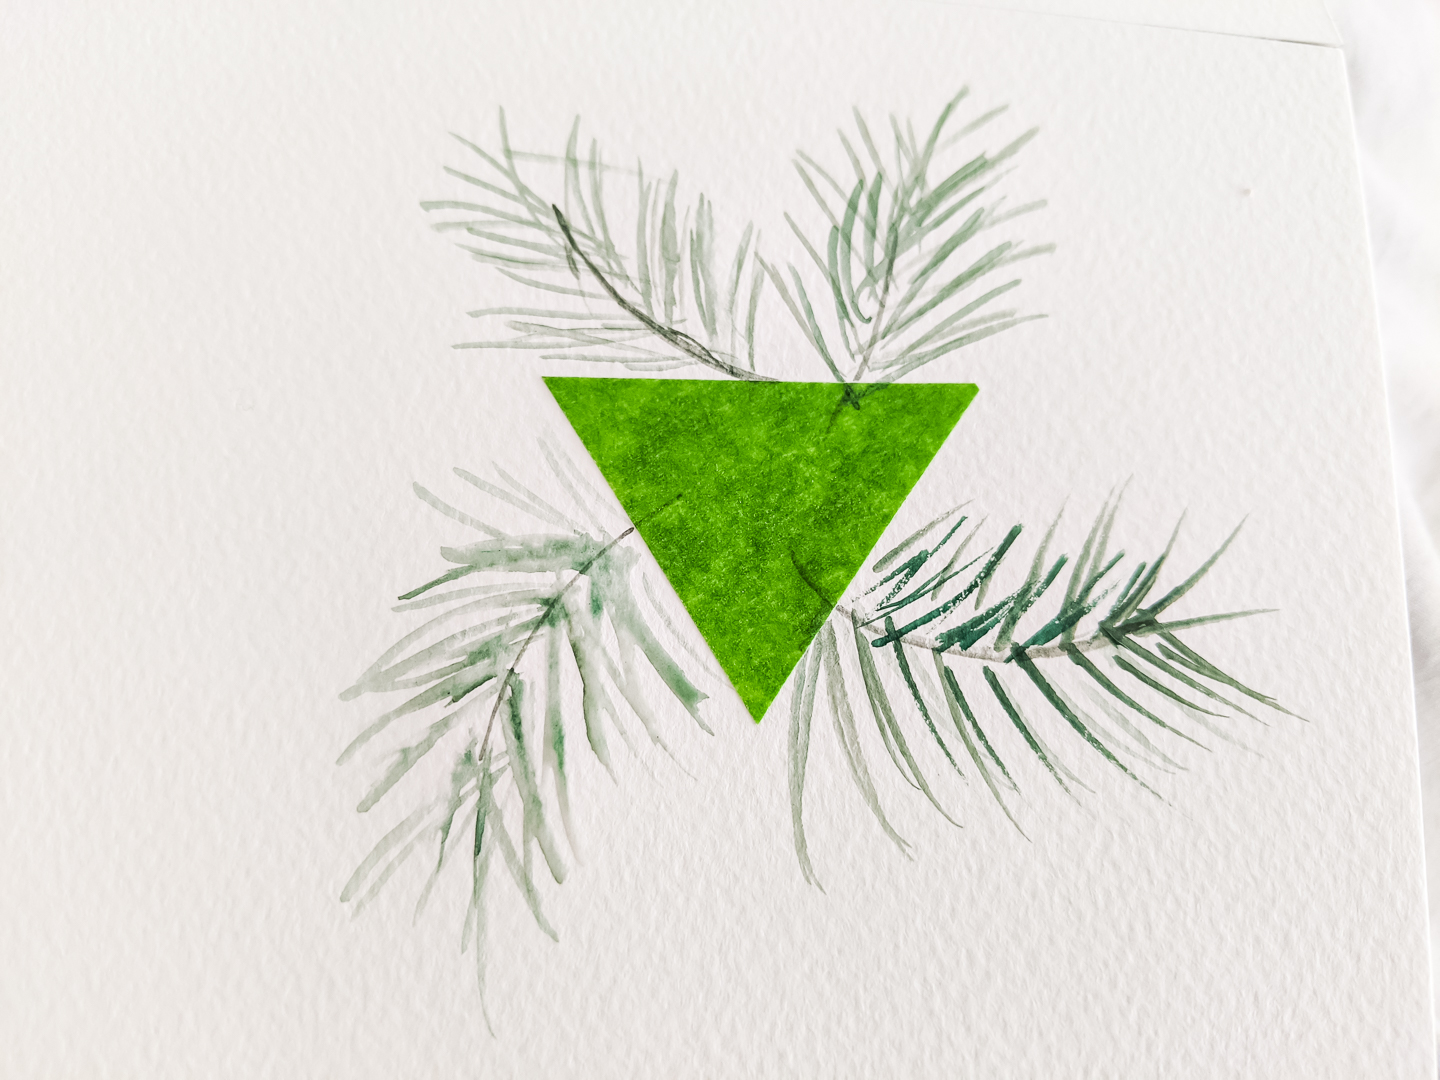
- Start with the lightest layer
The key to building up layers of color, for me, starts with putting a light color down first and layering it up with darker and darker colors. It adds a good amount of depth, but it takes patience since you won’t see the end result right away.
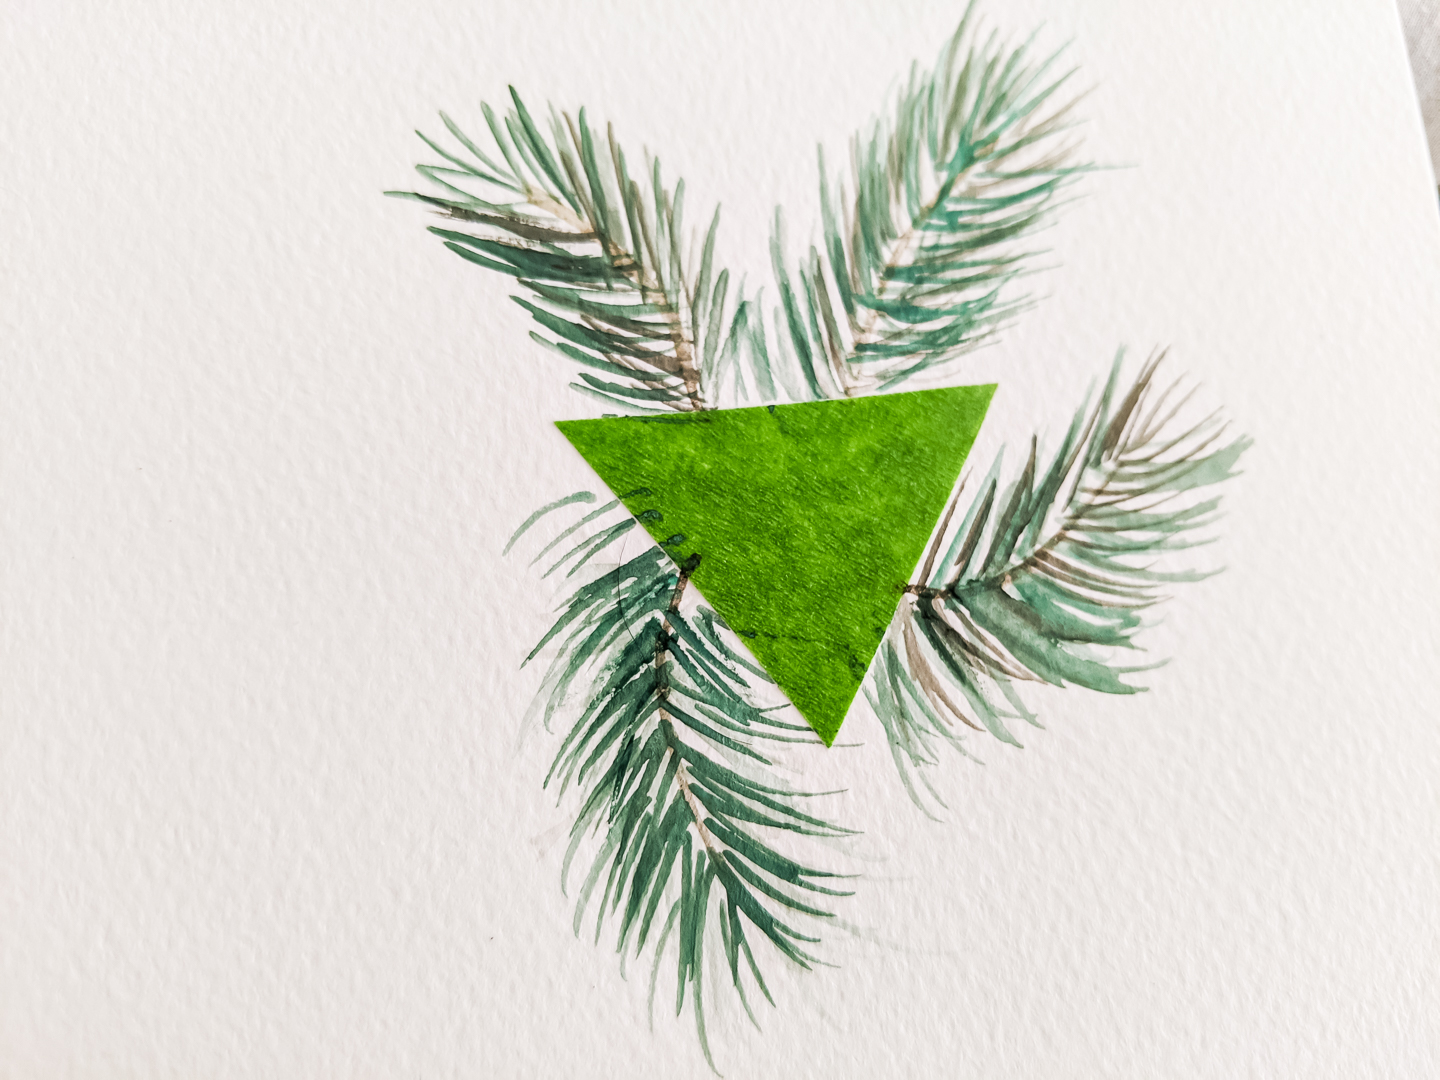
- How to paint the pine needles
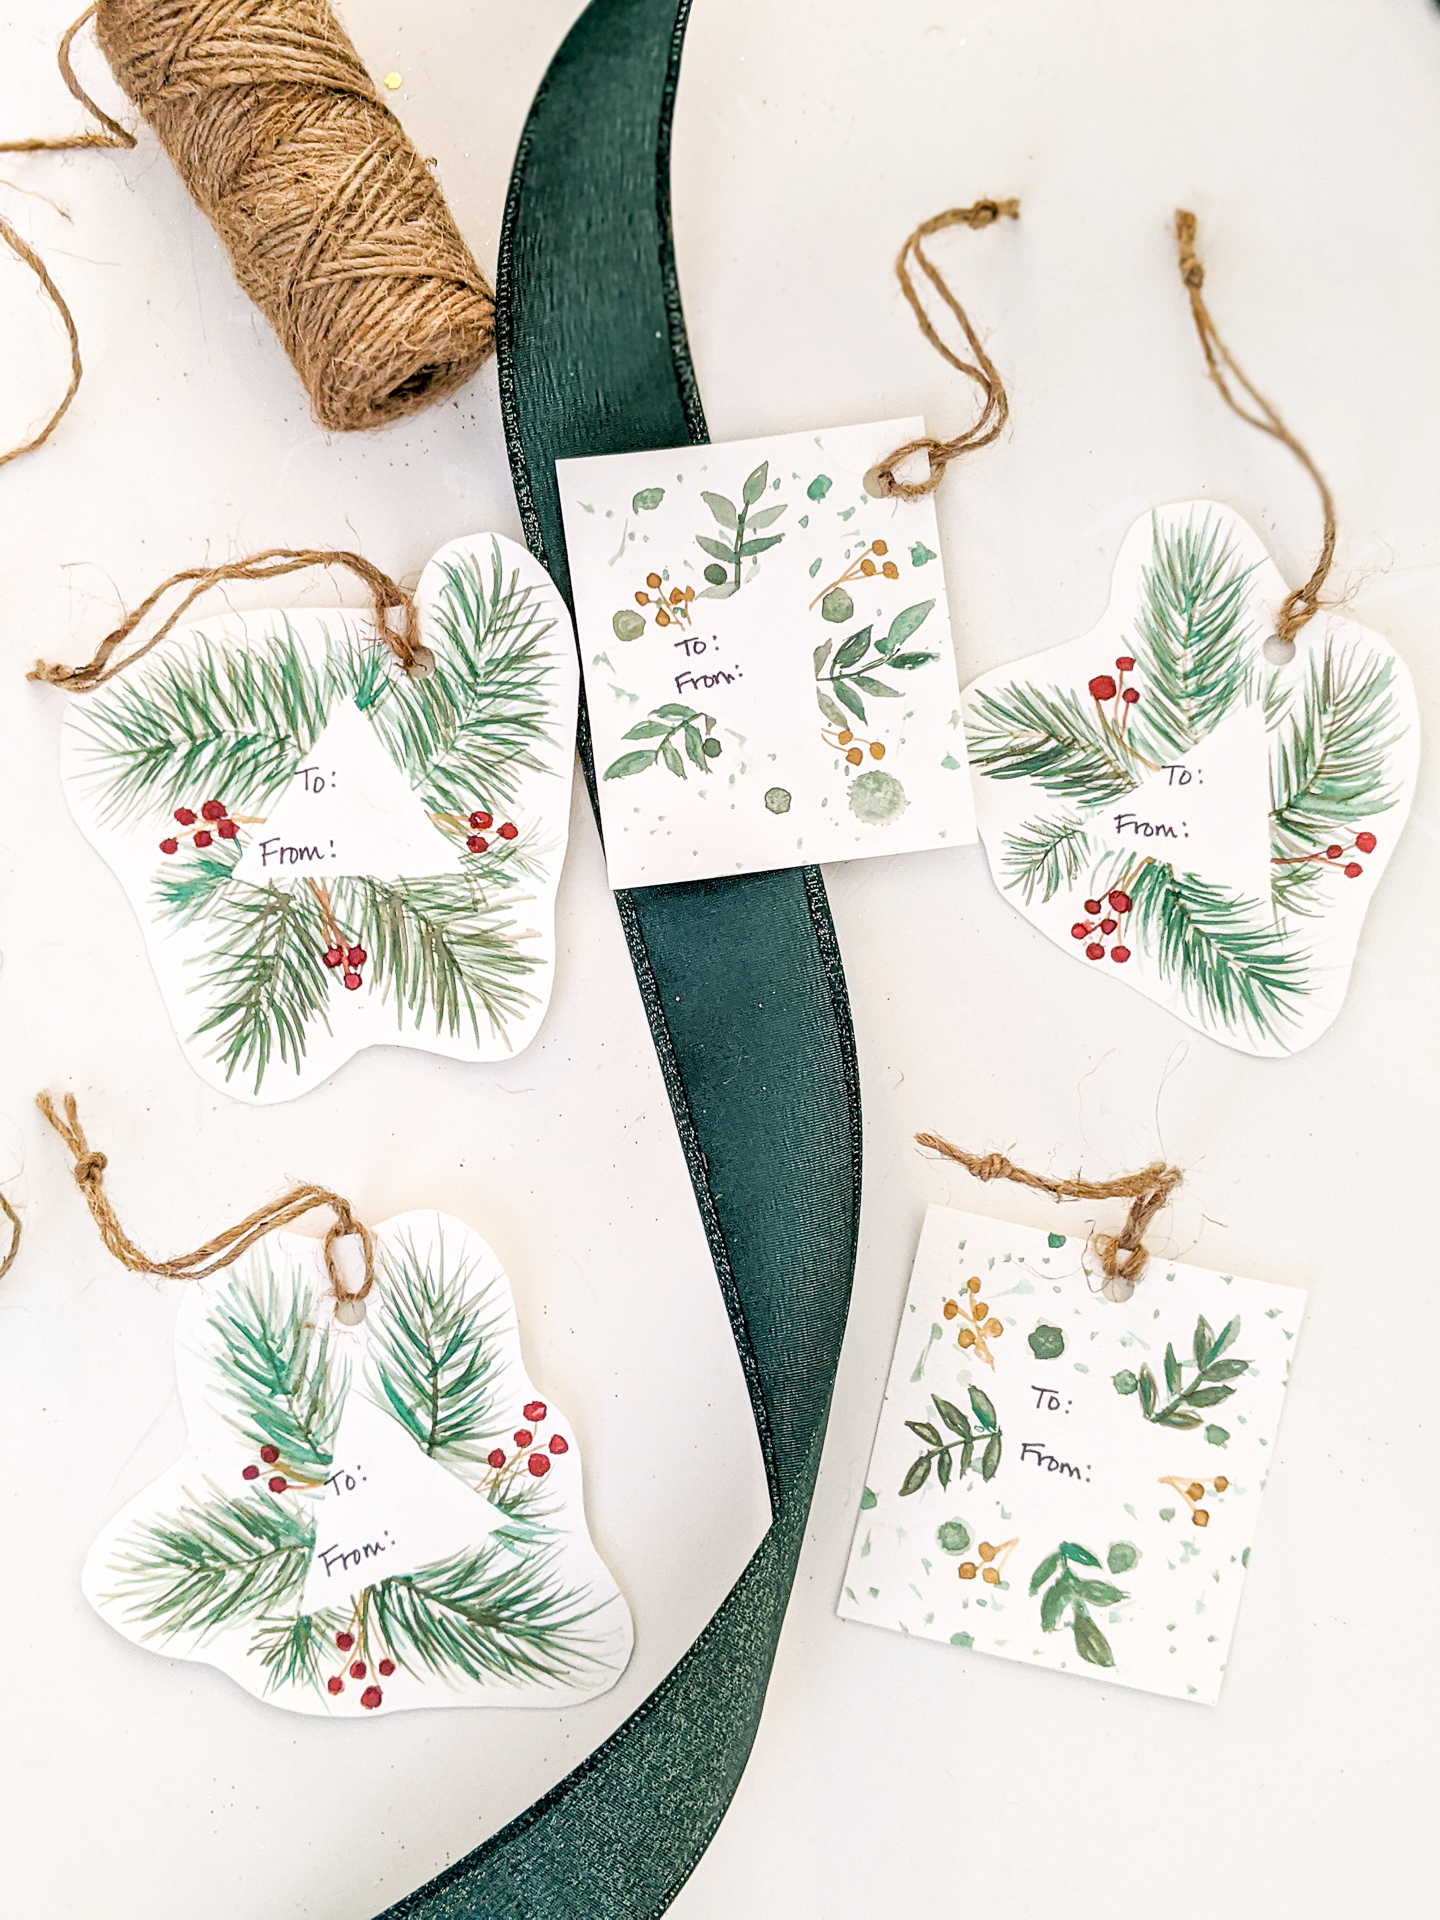
I first painted little stems, then painted the needles. Using a #2 brush, I painted a light layer of brush strokes from the center of the “branch” I wanted to make to the outside (check the video for an example). It works best to do this with a light hand! With each new layer of color, I mixed various levels of green, brown, and water (the more water, the lighter the color pigmentation).
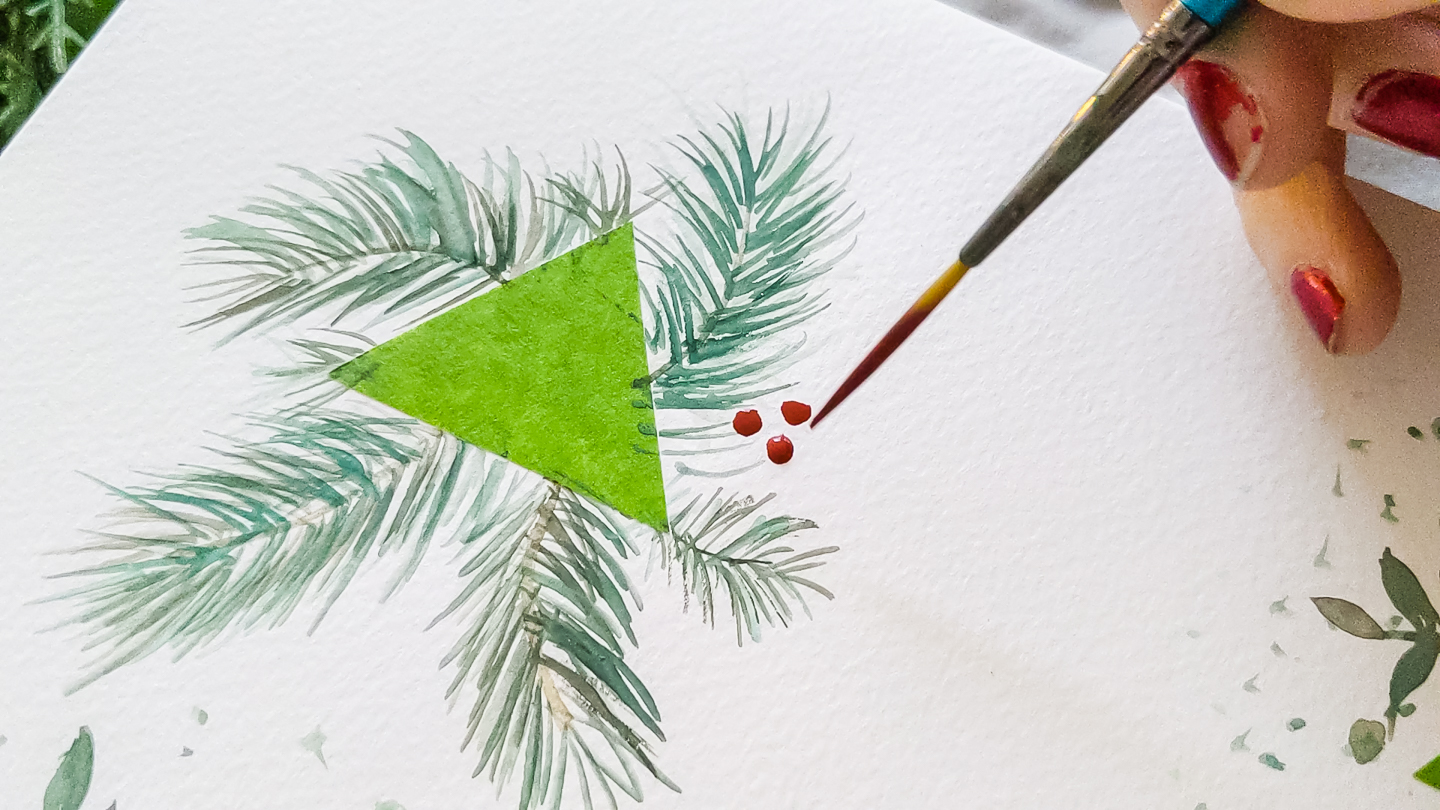
- How to paint berries
I like to start with painting the berries themselves first, kind of sporadically and in odd numbers (3 or 5 always seem to look better than 2 or 4). I then connect the dots with very light strokes to form a small branch.
- Let each layer dry before painting the same area with a new color
If you don’t want the lines to thicken or the colors to blend (in my case, I wanted that to a minimum), let the layer fully dry and then add another. This adds more color without blending them, adding to more of a three-dimensional look.
- Add dots (big and small)
I may be having a moment with irregular polka dots lately, especially if you look at my dining room decor. But this was a happy accident since I accidentally dropped a large, colorful dot on one of the areas as I was painting. So, I went with it and added more dots.
- Cut out
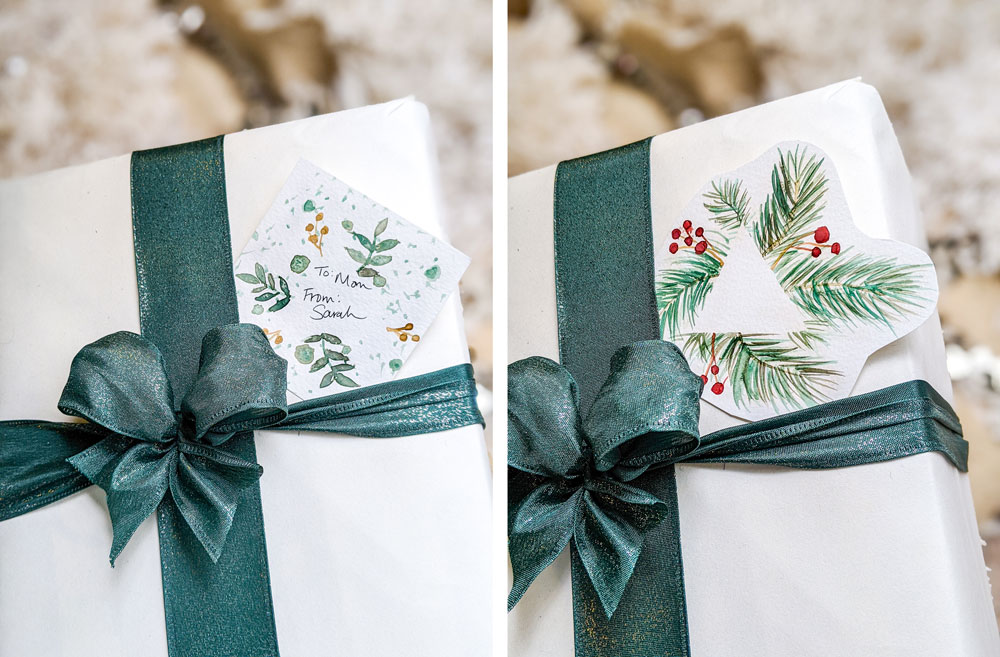
After drying, I cut out the tags (the polka-dotted ones were squared off, while I traced the outline for the others).
- Attach to presents
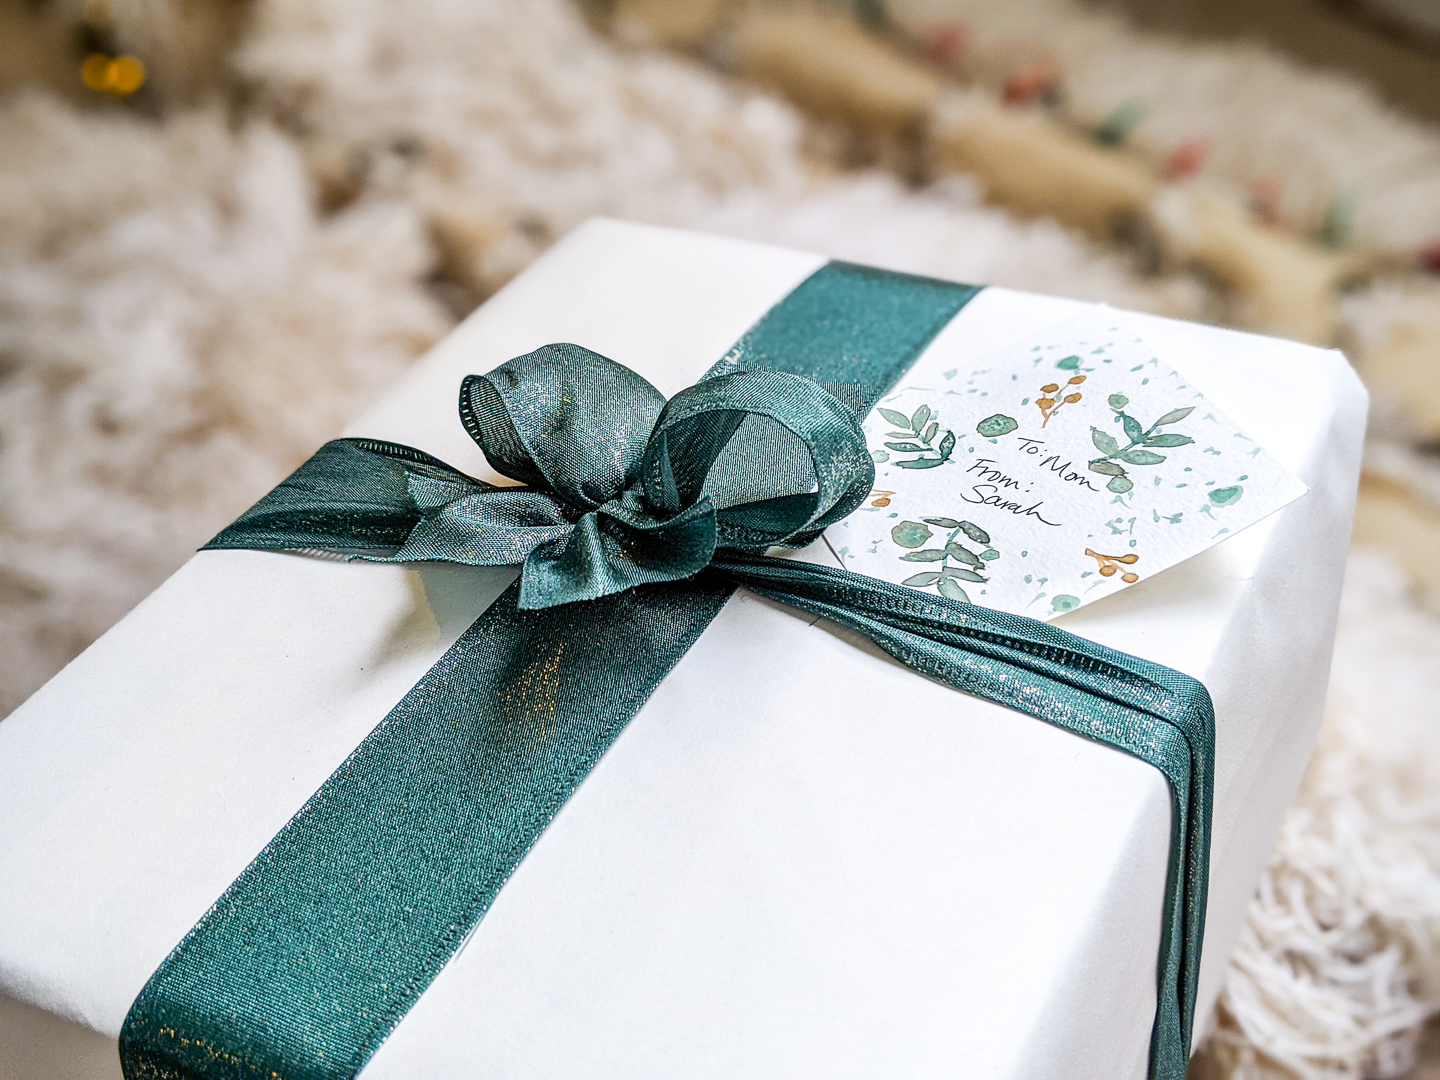
I punched a hole in most of them and threaded some twine to make my gift tags. For the first one, though, I opted to tuck it into the ribbon on my gift and tape it behind (to look like it’s tucked in but it won’t actually fall off the present).
A quick word on art supplies as gifts
As a kid, some of my most prized possessions were my “nicer” art supplies. I would have much rather had fewer colors of better quality than hundreds of colors of a brand I didn’t like as much. If you have an artist (of any age) in your household, I would HIGHLY recommend spending the budget you’ve allotted for on quality vs. quantity. The big cheap art kits (those things with colored pencils and oil pastels and markers and sketching tools, oh my!) cost about the same as one really good set of watercolors or acrylics or markers or brushes.
I liked every medium I could get my hands on, so it wasn’t about exploring what I was “good” at, but I loved it when I received a really good set of a medium that I could spend hours and hours with. Often, the better quality items are more highly pigmented or break apart less (such as watercolor paper — the heavier stuff can hold water to make some cool effects or can be layered more). It helped me understand the possibilities I could achieve with better materials. To this day, the smell of an art supply store or opening a new box of supplies is magical! There’s definitely still time to order on Amazon Prime for these items, so I’ve linked a few possibilities above.
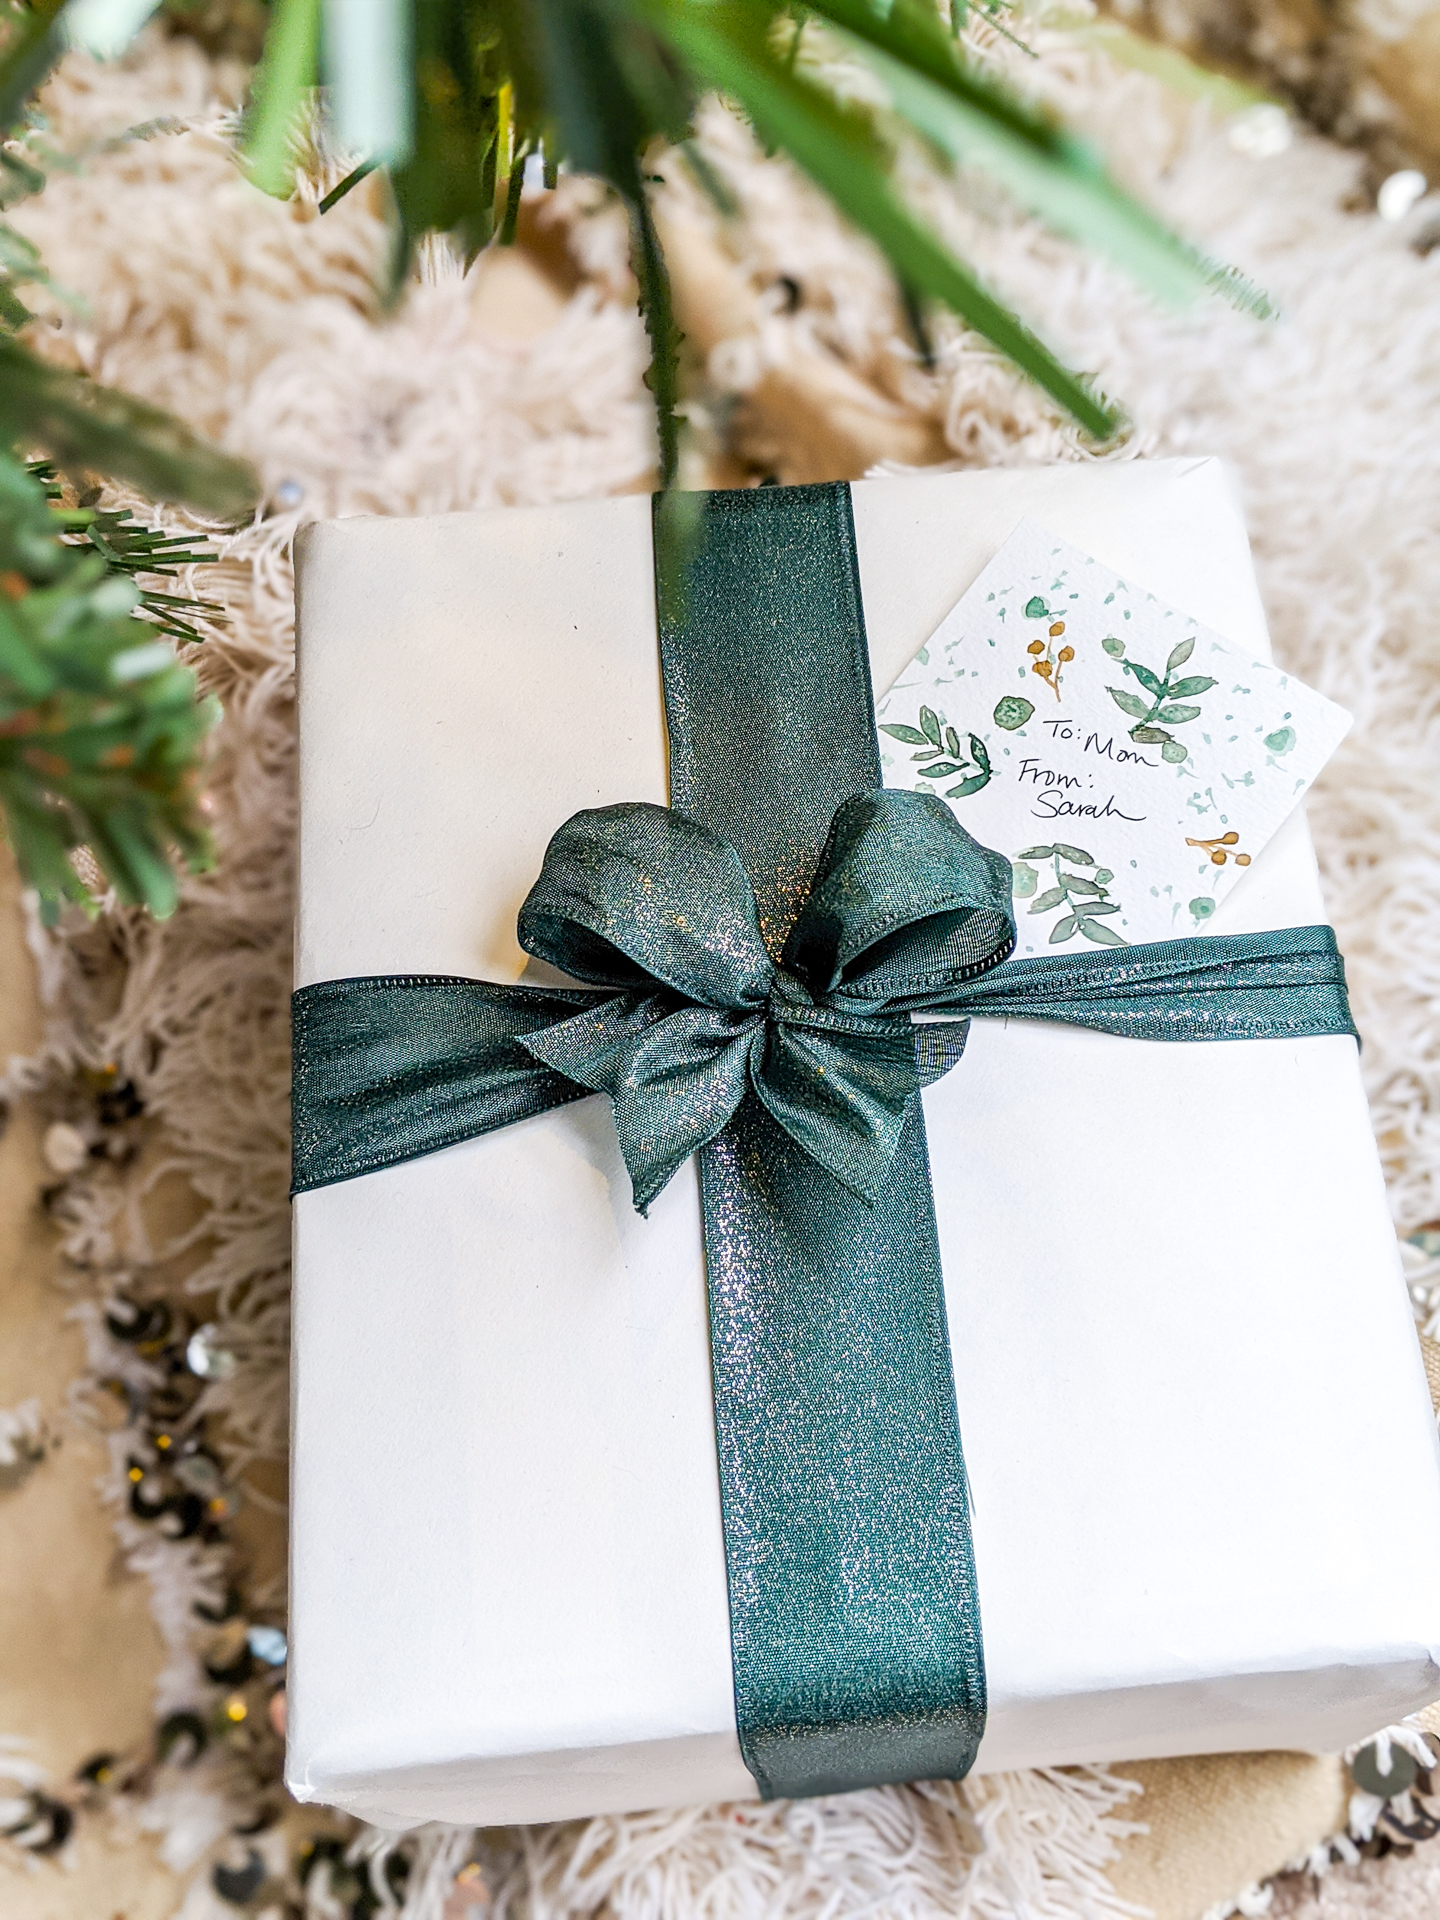
Don’t want to DIY? There’s a printable 😊
I’m not much for making printables, so I haven’t really made a library for them — until today! Since I’m sharing these and several printable art pieces in the next post, I’ve gone ahead and created them here. Subscribers can get them for FREE just like my cross stitch patterns and woodworking plans. The library works just like those do; type in your name and email address and it will pass you through (if you’re not already a subscriber, you’ll have to enter it, confirm subscription in your email inbox, then come back to the page and type it in again to use the pass-through; I do this because I don’t want spammy email addresses subscribing to my email service since that gets VERY costly!).
I’ve gone ahead and added all the watercolors to the library already, but come back to the next post to see them being created and details for how they happened!
Don’t forget to pin!
25 DIYs of Christmas
This project is part of a series of DIY gifts, decor, and other fun inspiration that I’m calling my “25 DIYs of Christmas“! Check out the list below to see each post (step by step tutorials, recipes, videos, free patterns, and woodworking plans available for each (where applicable). Lots of these ideas have multiple versions to show you the possibilities of each DIY. Even better, you can subscribe to make sure you don’t miss a single post!

