Disclosure: this post may contain affiliate links, which means I may make a commission if you decide to make a purchase through one of my links, at no cost to you.
I experimented with glitter and confetti to make some DIY concrete coasters. Perfect as a hostess gift or decor at your next party this Christmas or New Years Eve! Full tutorial and video instructions below.
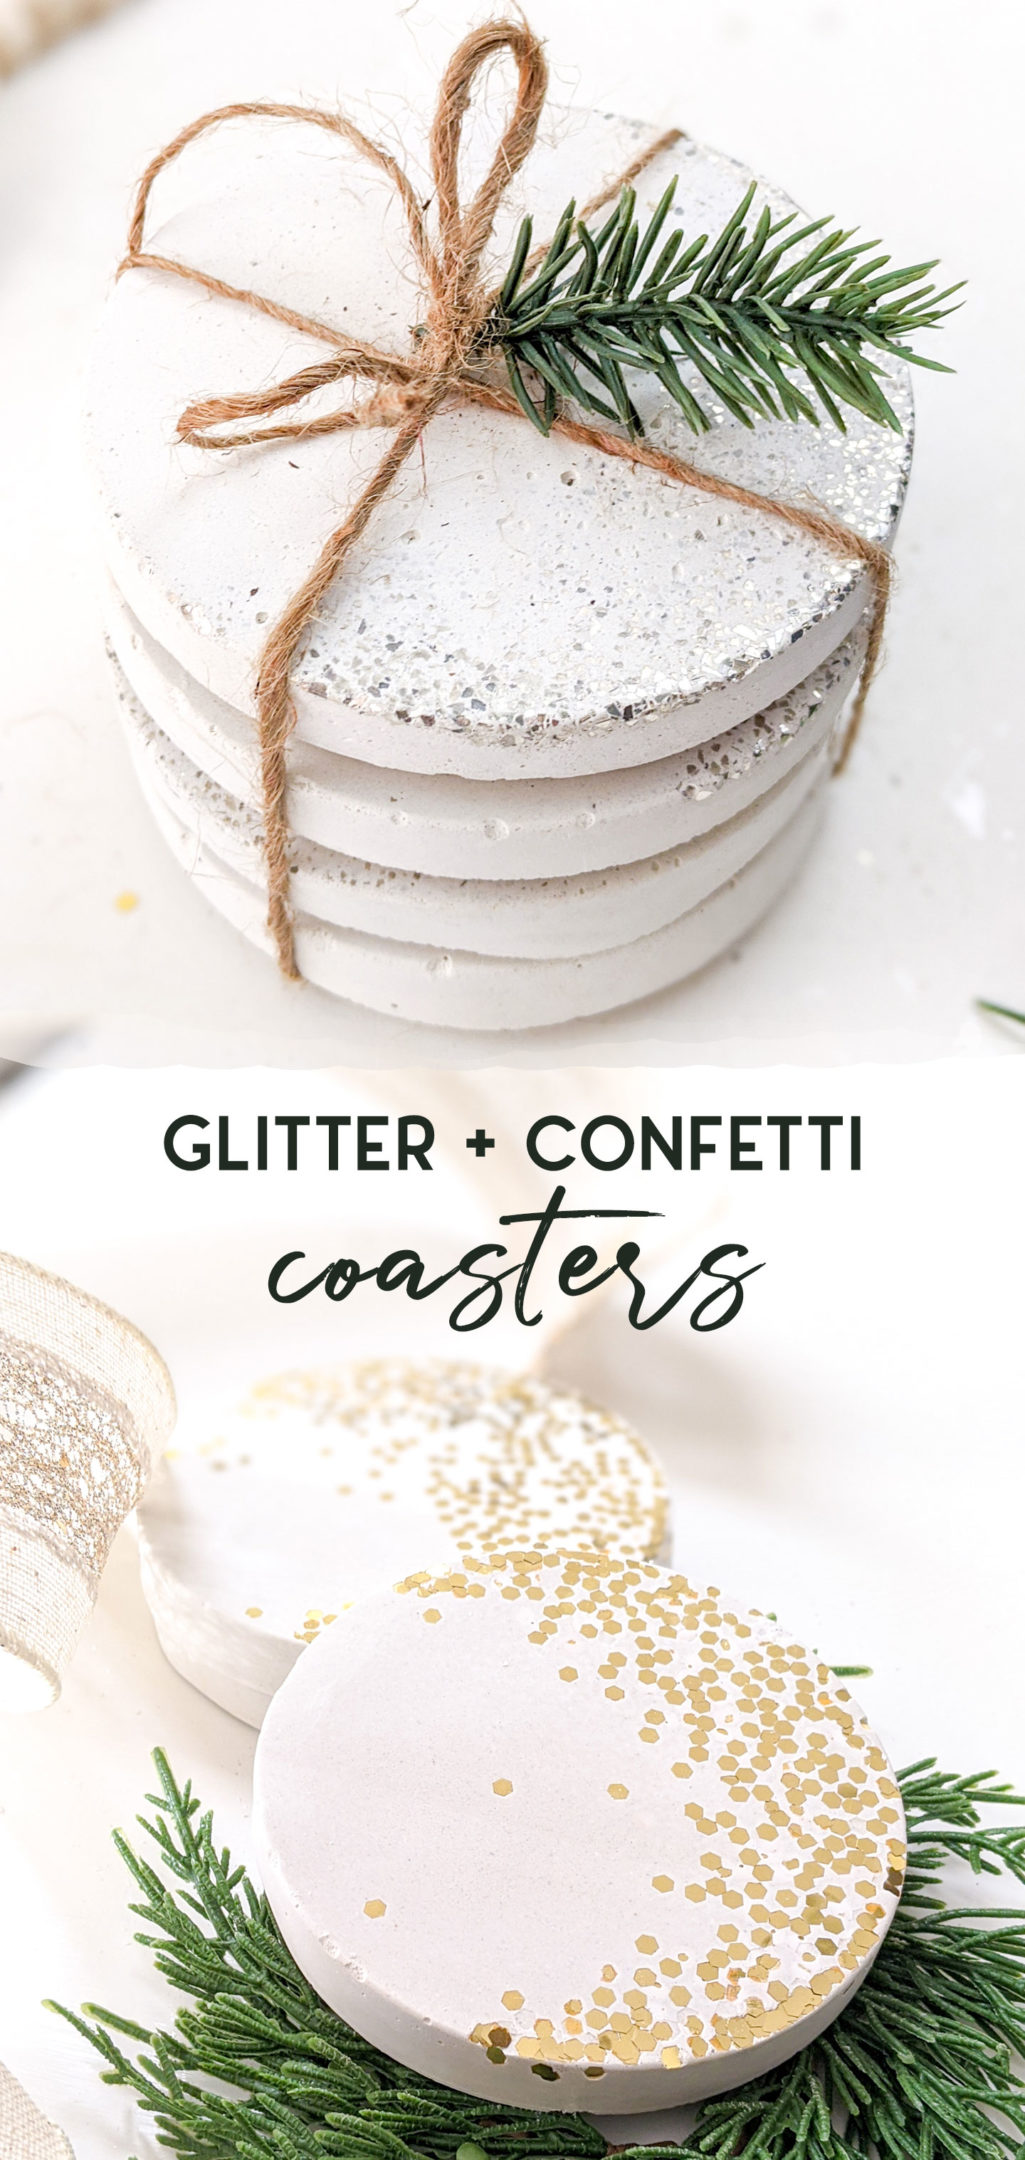
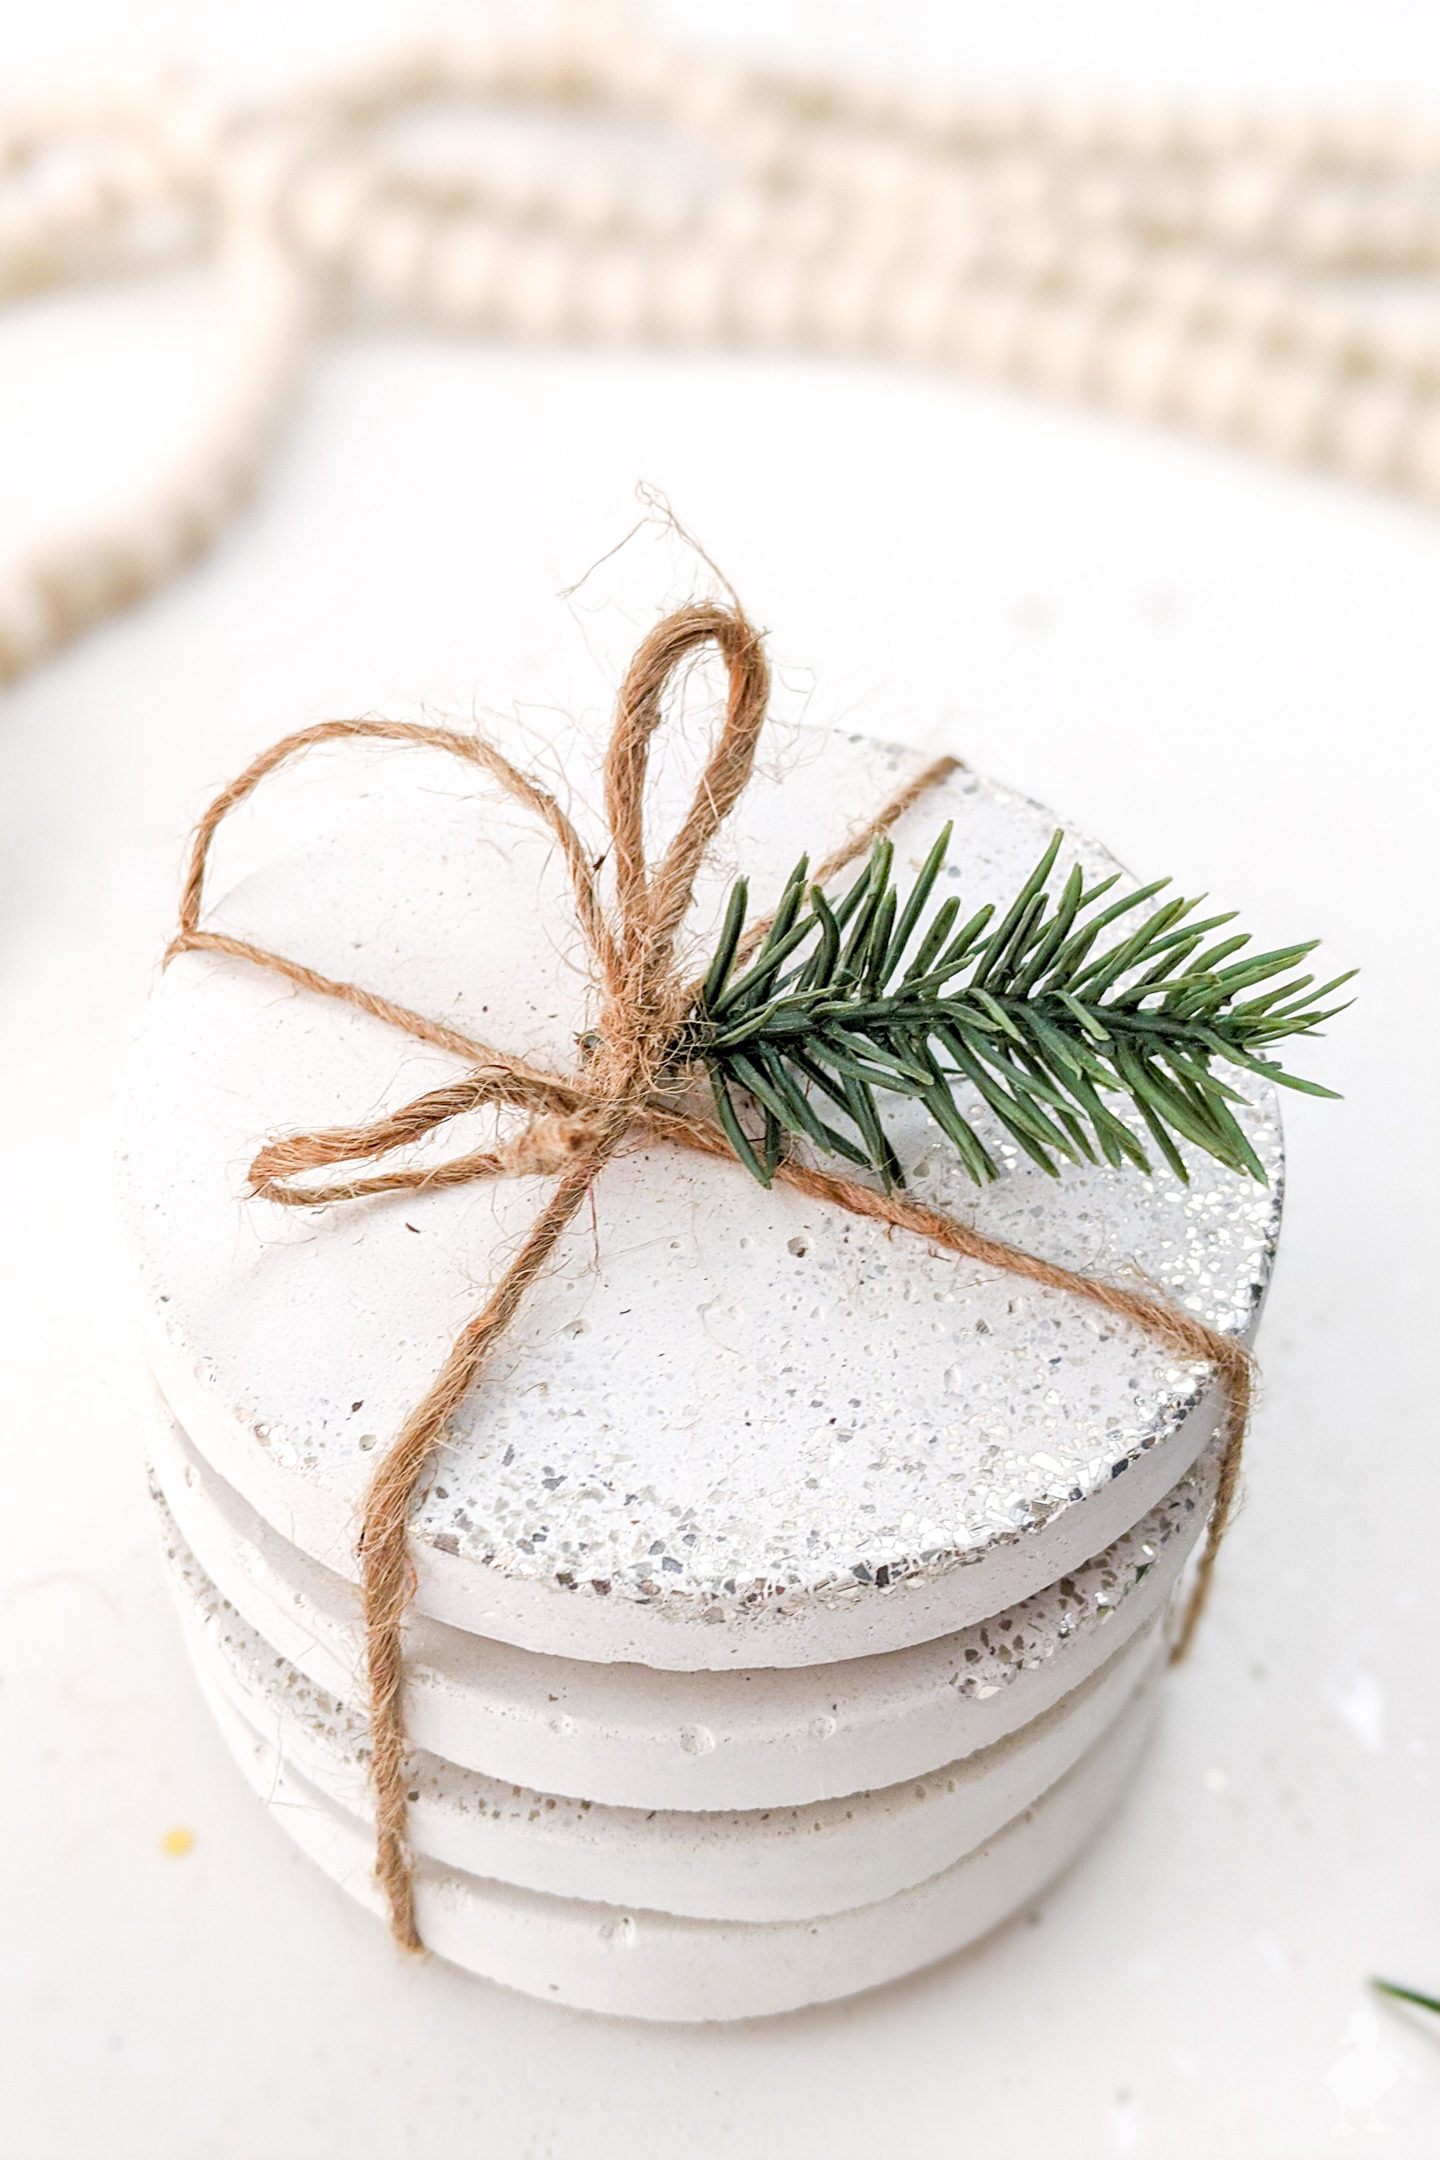
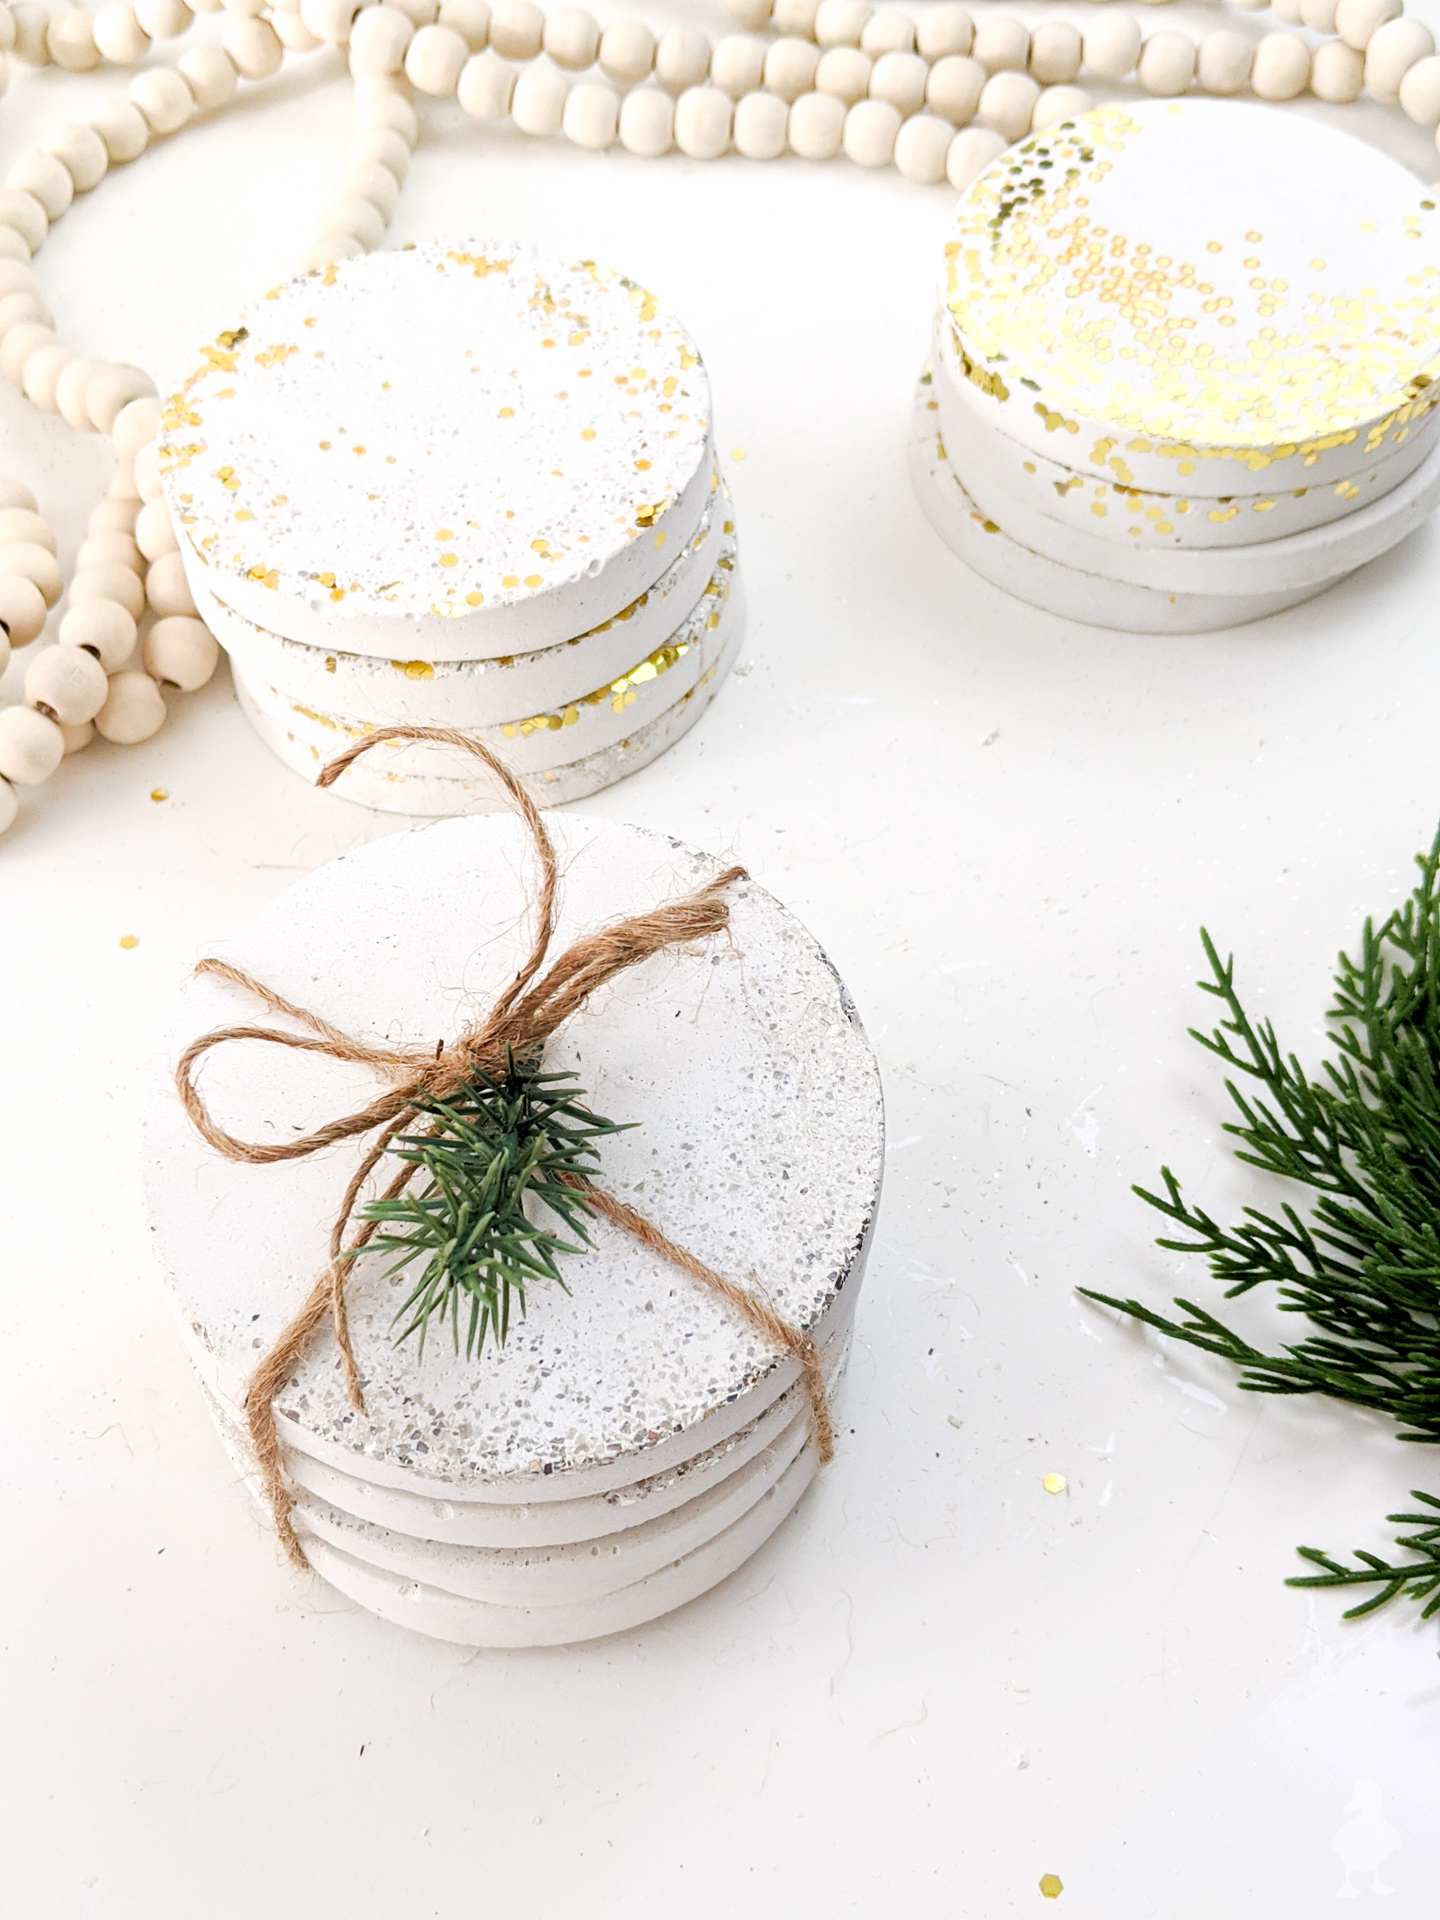
I’m excited to show you this one today. Mainly because it involves my favorite thing as a 5-year-old: GLITTER. I don’t know if it’s just the tacky kid in me (or a magpie?) that wants to smother everything in glitter during the holiday season, but I’ll own it: at Christmas and New Years, I really, really like glitter and confetti and this was a perfect project for me. So much so, that I made 3 separate sets of coasters:
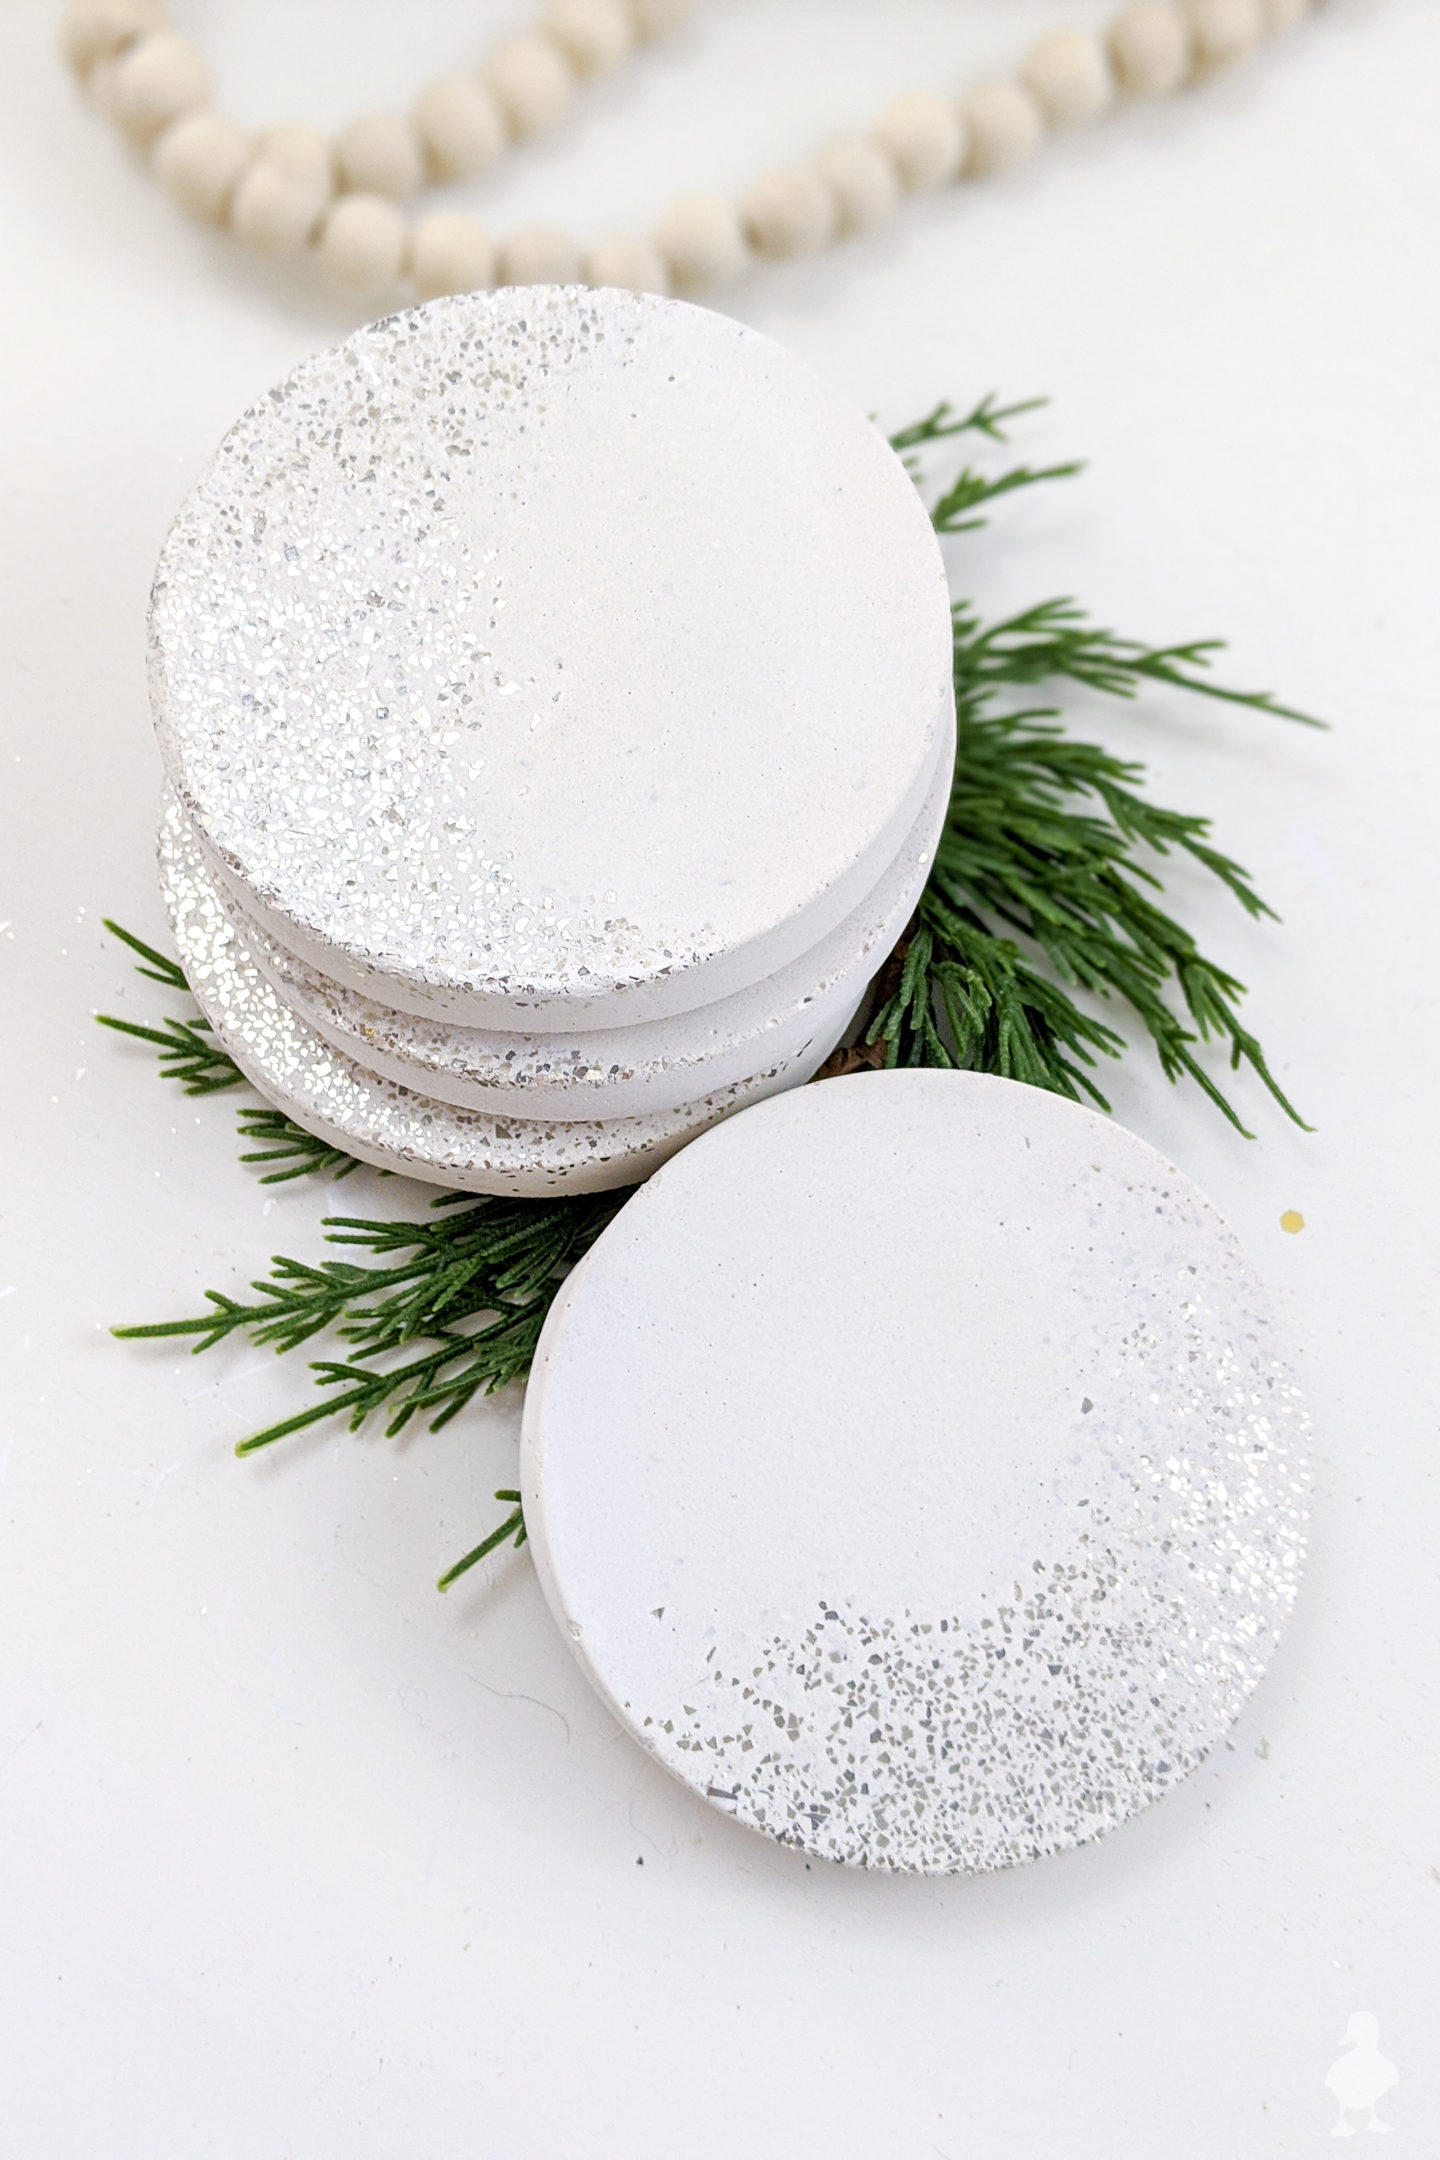
Silver glitter:
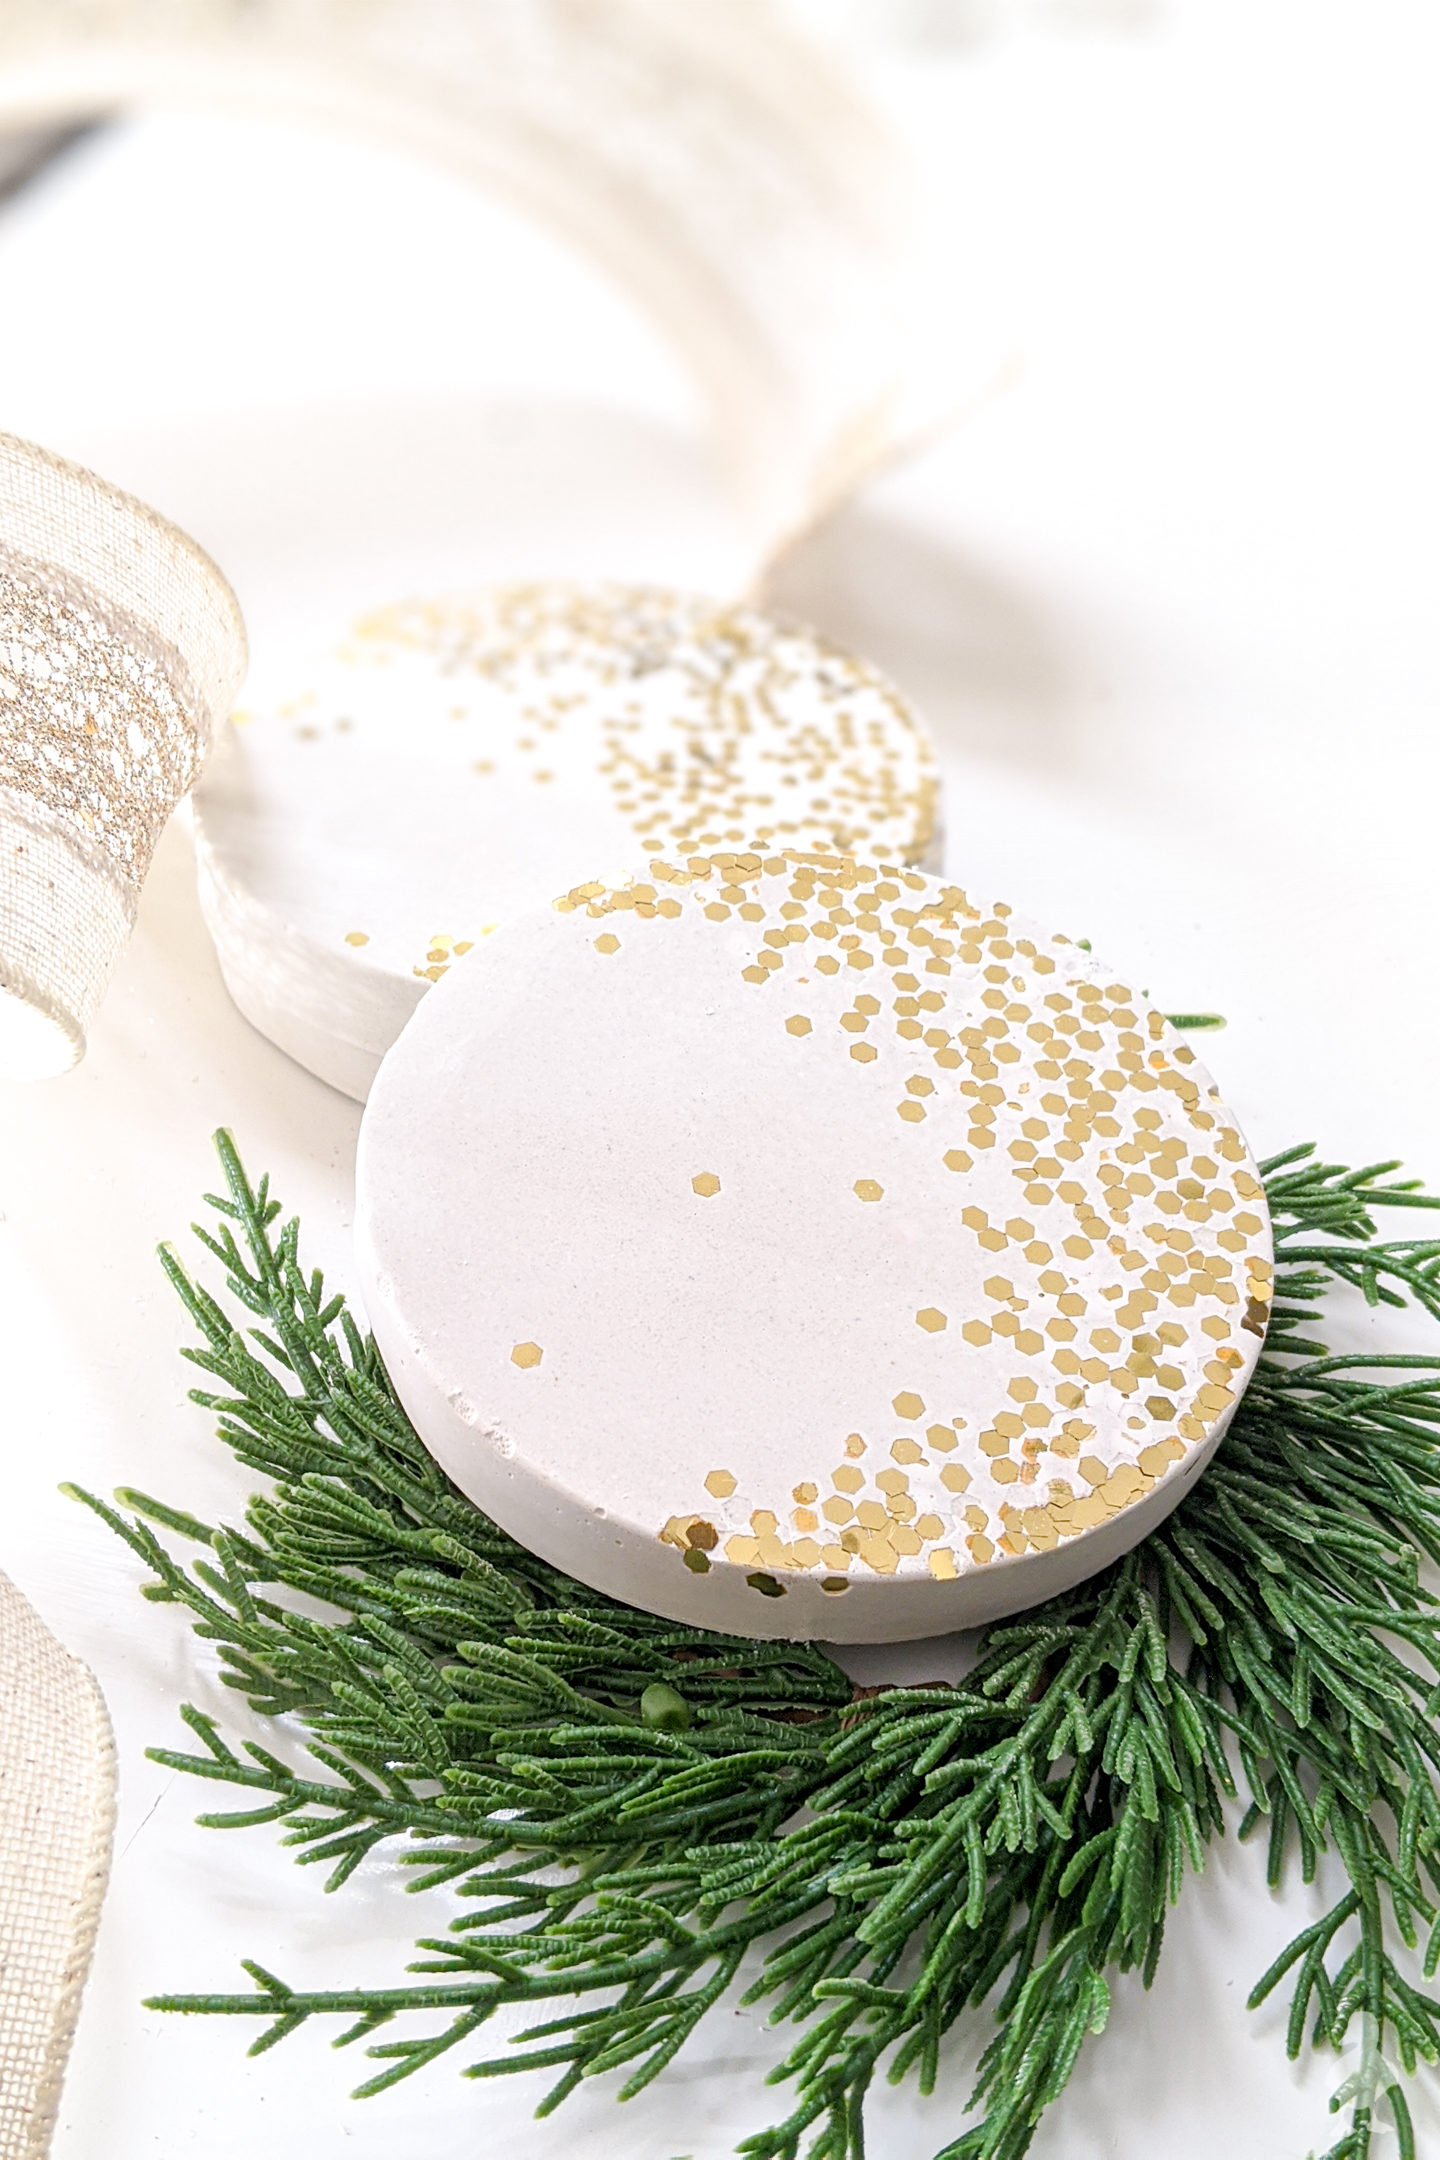
Gold confetti (chunky glitter):
And a combination of glitter and confetti:
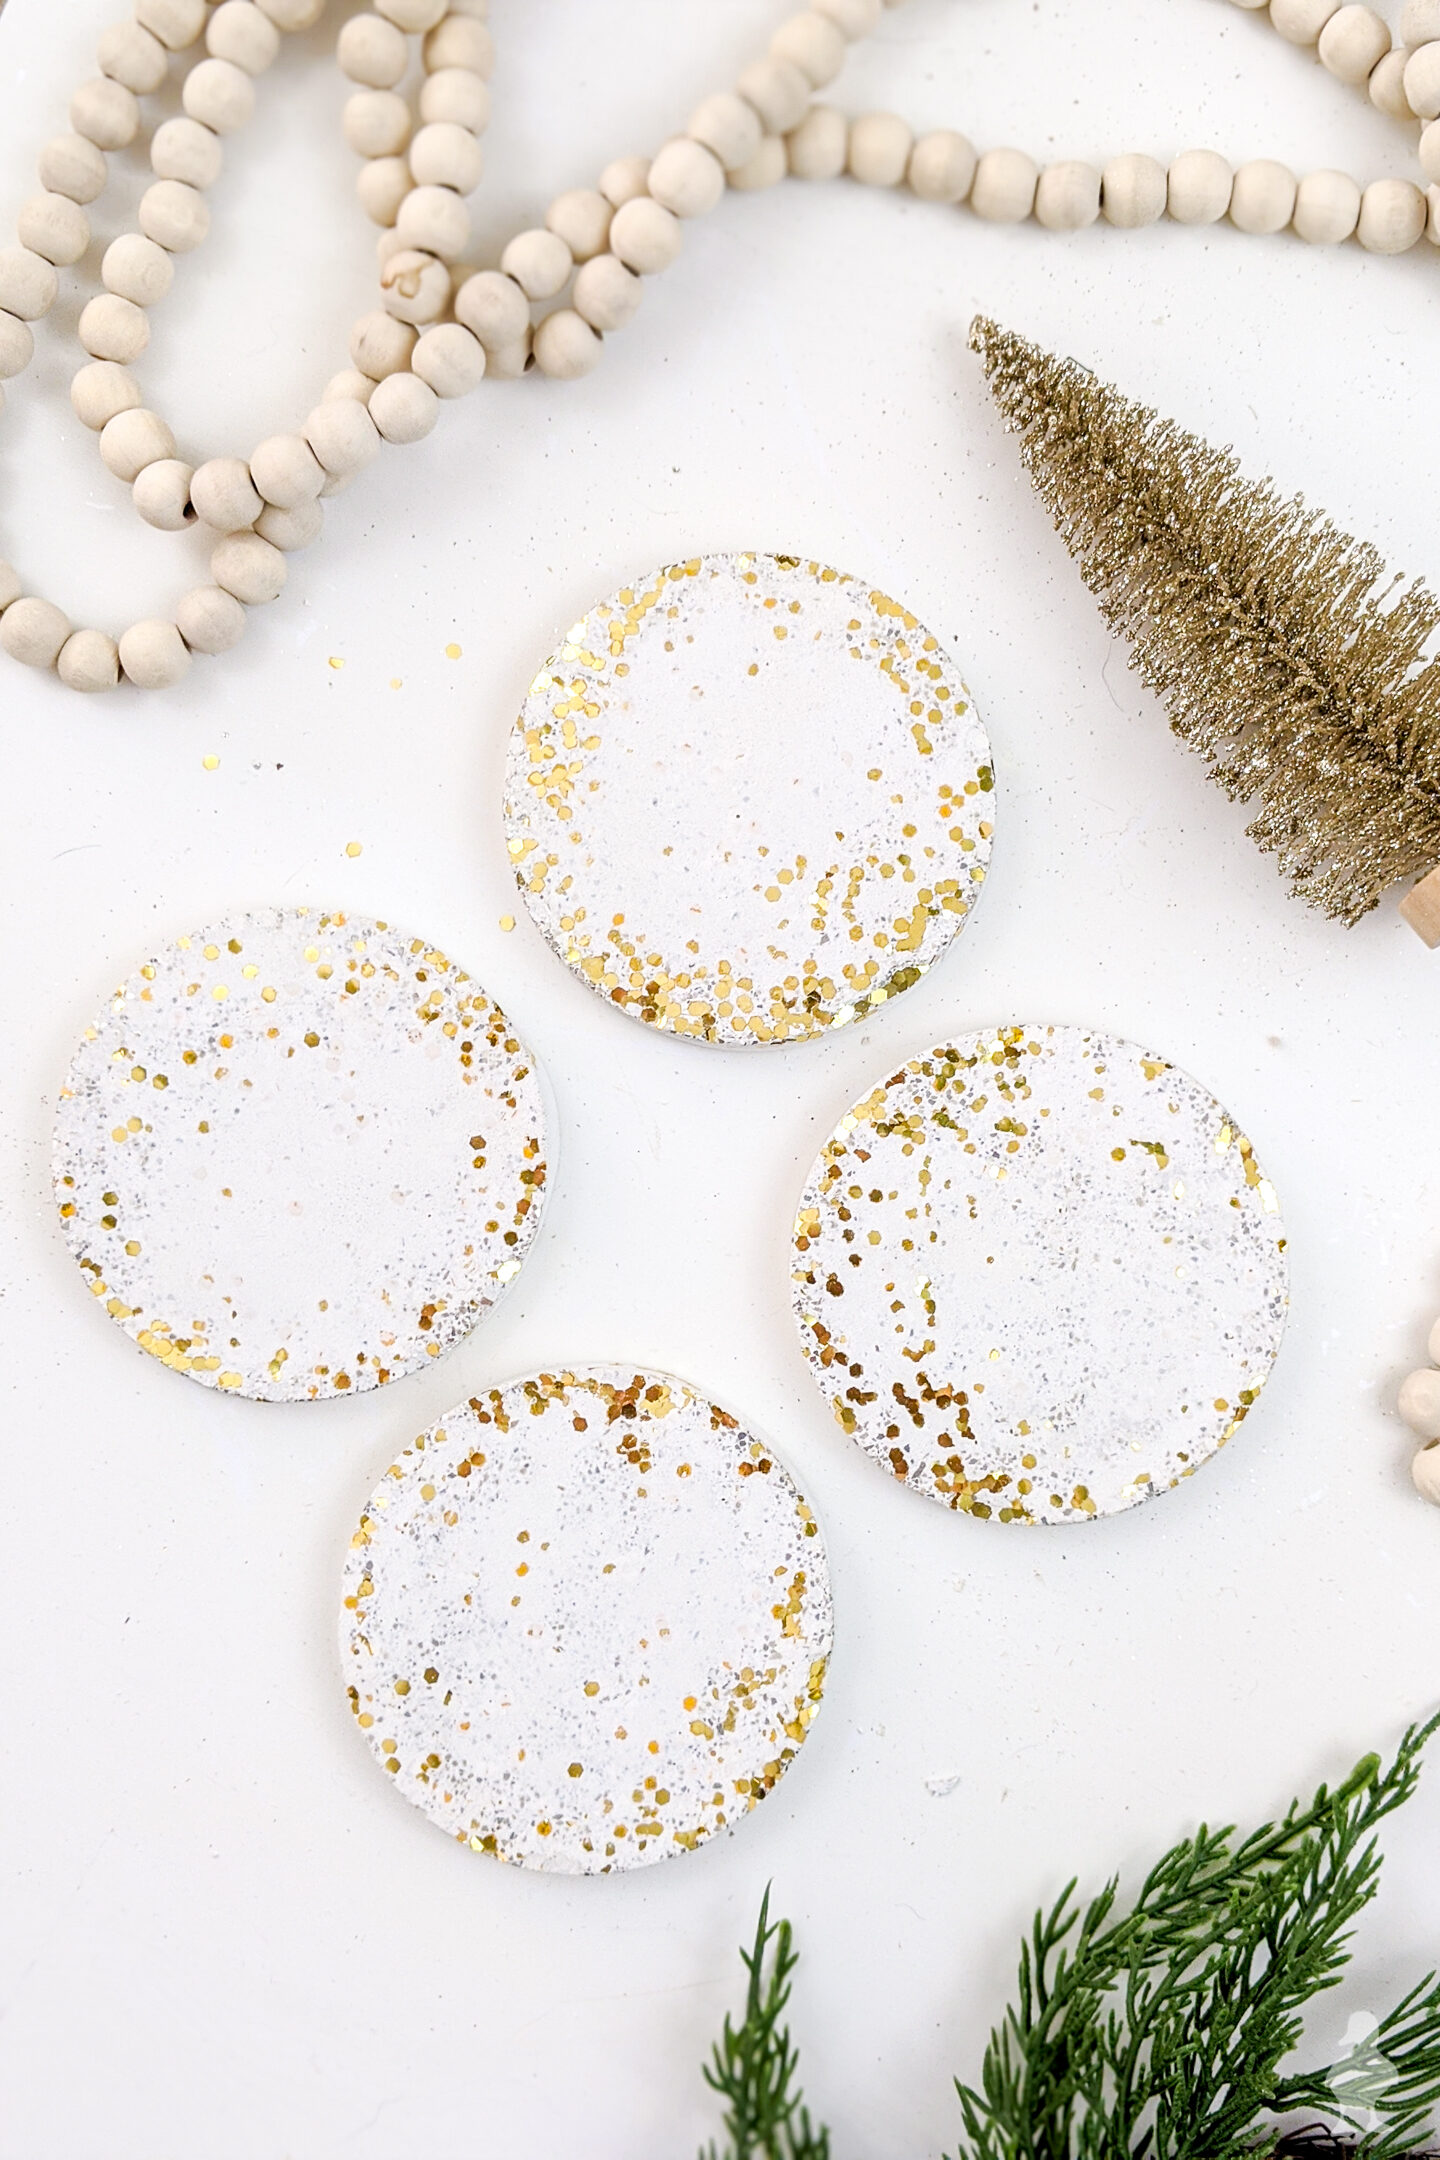
(The combo is Kyle’s favorite. It’s my least favorite.)
Check out the video:
I think I’m officially HOOKED on concrete projects now! This is technically my first concrete project, but I’m definitely making more!
Materials & Tools
- orbital sander
- sandpaper
- safety gear (glasses, hearing protection, breathing mask, gloves)
- silicone mold
- white cement
- glitter or confetti
- popsicle sticks
- small disposable cups
- toothpicks and small brush
Making them is super easy, too! Just a word of caution: the dust is very fine and can travel and you definitely don’t want it hitting your eyes, nose, and lungs, so consider wearing gloves, a breathing mask, and other safety gear if you have sensitivities especially.
How to make these easy DIY glitter coasters:
Time needed: 1 day
These confetti, glitter, and white concrete coasters make a perfect hostess gift or New Year’s Eve decoration!
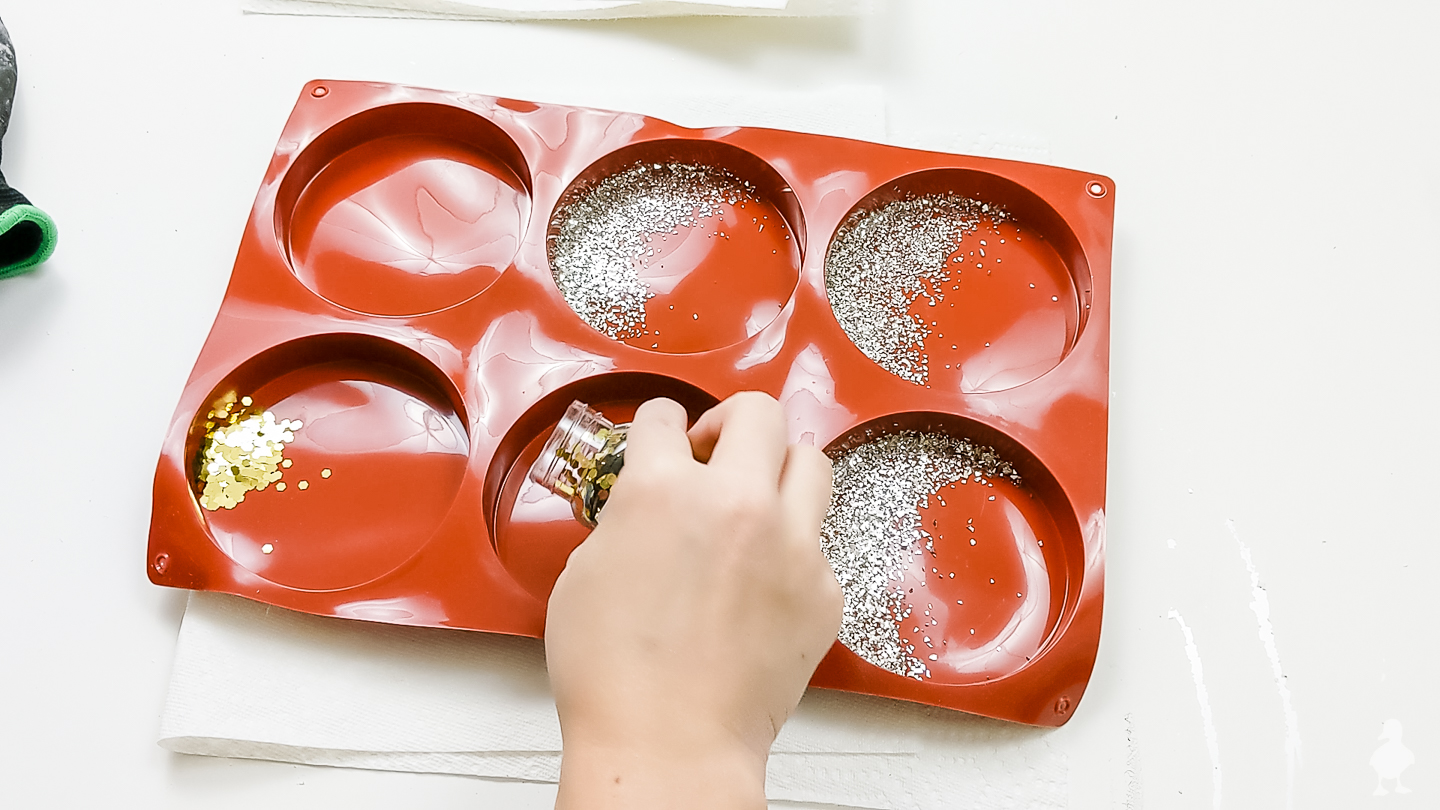
- Pour glitter/confetti into molds
I wanted a sort of swoopy, crescent design in each coaster, so I poured the glitter/confetti to one side of each coaster mold and spread it out. I wasn’t sure if the confetti would float up into the concrete or stay on the bottom, so I varied how much glitter I poured into each one (in case I did things a second time, I wanted to know if it made a difference). I learned: with the confetti, avoid piling it in the corner of the edges; the confetti will fall away too much when un-molding if it is too thick (with the glitter, it wasn’t as important). If the glitter/confetti winds up in a spot you’re unhappy with, use a toothpick or small paintbrush to sweep it to better placement.
- Mix concrete
Fill one cup with water and pour a little bit into another cup. Stir in concrete. It takes some practice to get the mixture just right, but you’re looking for a mixture consistency of thick pancake mix. A word of caution: add just a little bit of water at a time if the mixture is too dry; the ratio can get soupy deceptively fast!
- Tap out all the air bubbles
I did two pours total (12 coasters). The first time, I just tapped out the bubbles by hand on the tabletop for a few minutes before leaving it to cure. The second time, I took my orbital sander (no sandpaper) and ran it on the side of the table to help vibrate the mold. This definitely impacts the amount that gets absorbed into the concrete, so next time, I would probably still just hand tap.
- De-mold after curing
I left them to dry overnight and de-molded them the next day. This was SO FUN because I didn’t know what to expect! I thought it was so cool how the bigger pieces of confetti tended to stay on the surface while the smaller glass glitter sort of blended into the concrete (kind of like quartz countertops). My personal favorite is the glitter one because it’s more subtle, but I am really glad I did the gold confetti one (it was my original idea before I saw the glitter and had to try it too).
- Fill in any bubbles
I still had a small number of bubbles in mine, but I filled them in a little bit with another small mixture of concrete. I could have tried for perfection, but I was more interested in the different combos I could make. Since the mold can make 6 coasters at a time, I made 4 total of the gold confetti, 4 of the silver glitter, and 4 of a combination of the two.
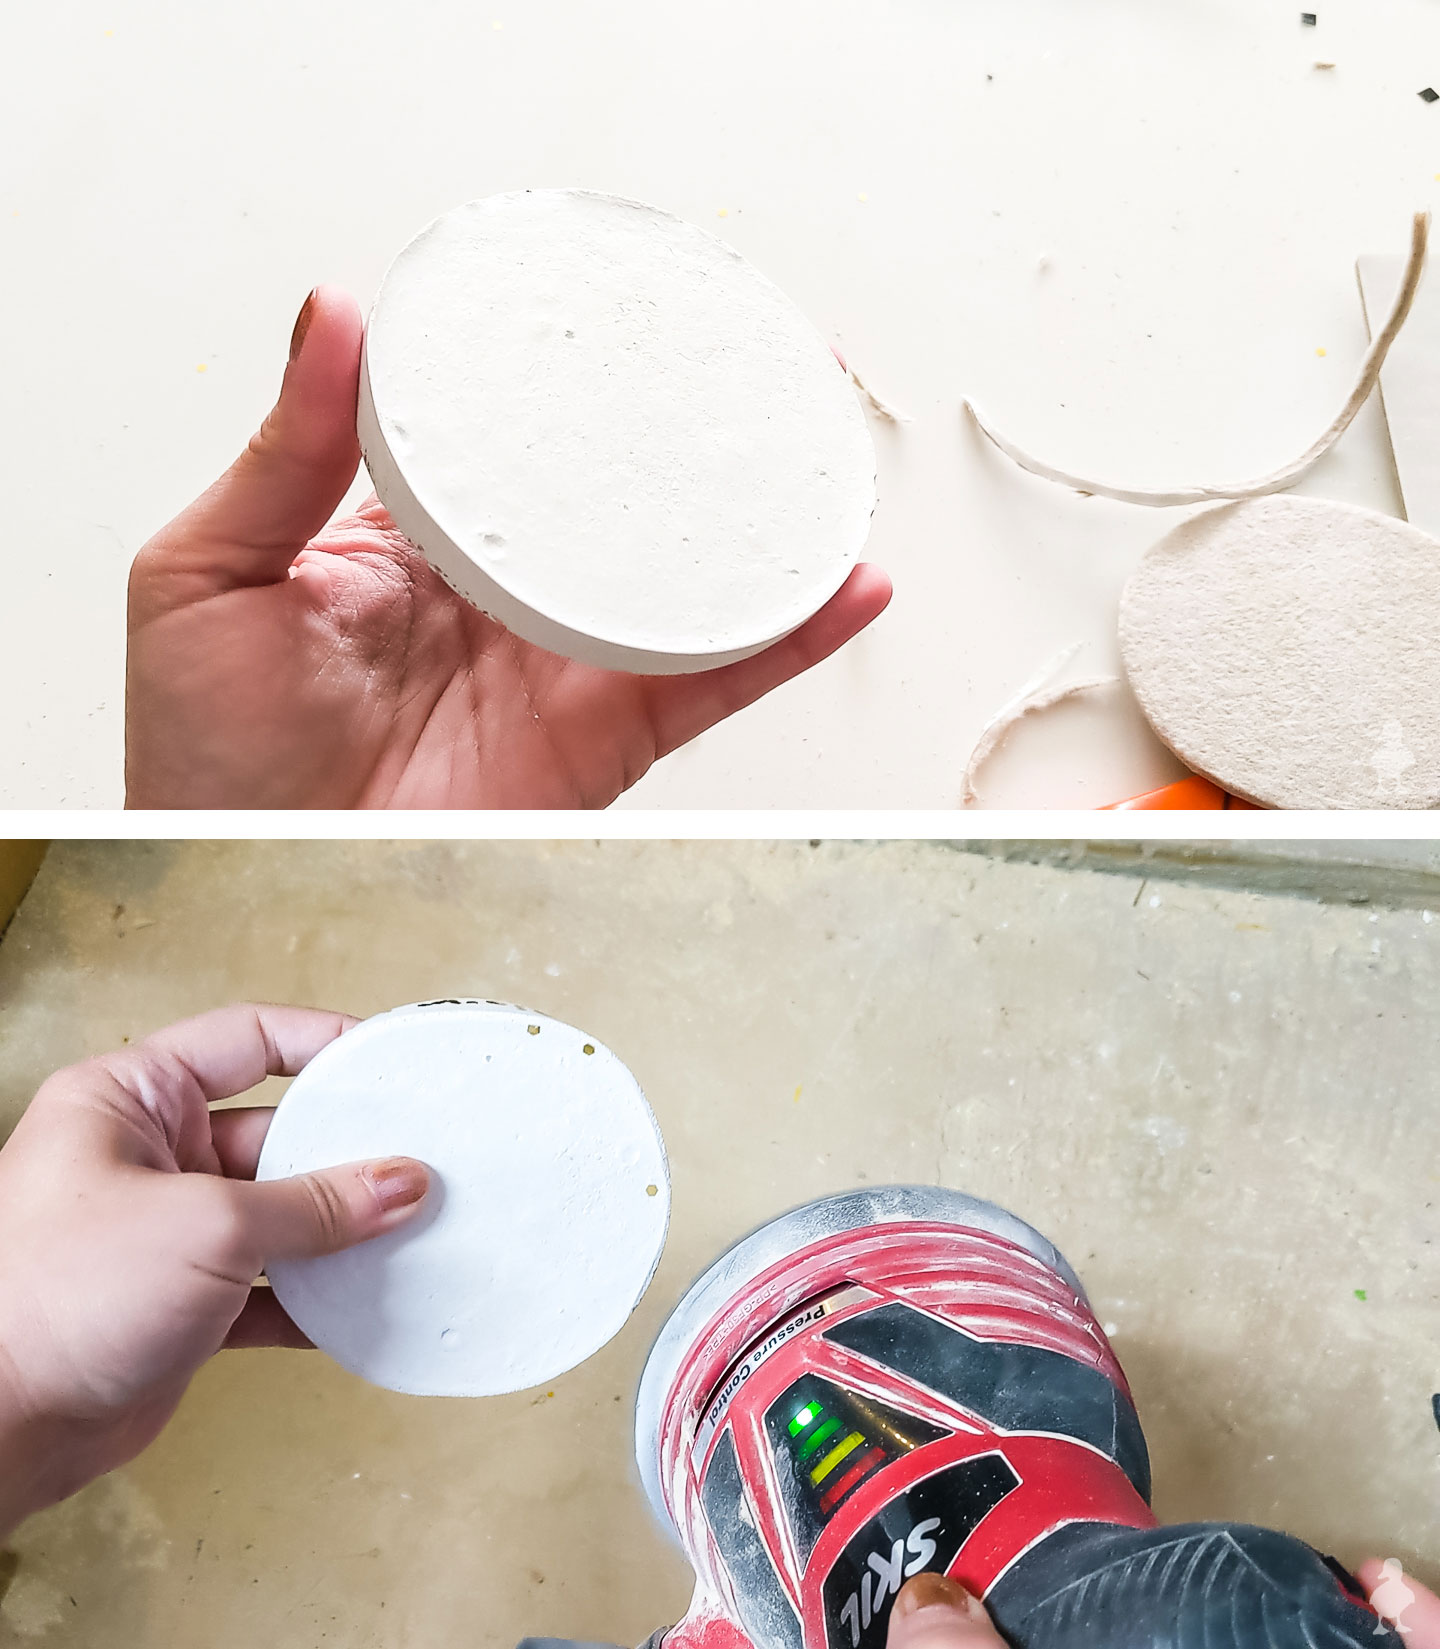
- Sand bottom
There were a few sharp ridges on the bottom, so I sanded them off with some 80-grit sandpaper. Better safe than a scratched table! ☺️
- Add felt to the bottom
I have been hanging on to some scratch protection sheets from a partnership I did with 3M a few years ago. They sent a BUNCH of large sheets that were felted on one side and sticky on the other; I’ve always thought they would be perfect to go on the bottom of coasters or small trinket boxes (I actually pitched this idea to them at the time, but understandably, they wanted me to show off what their product line was actually made for i.e. protecting the floor, rather than a tabletop craft ?. As you can tell, once I get an idea in my head, I often circle back and do it anyway!).
Sealing
The concrete I bought was meant for outdoor use, and the instructions said that sealing separately would not be necessary.
Use for parties or wrap & give as gifts
Since these are glittery, I fully want to use these for a New Year’s Eve party someday (this year, we’re probably going out because I’m itching to wear sequins and overpay for champagne). I think they’d make great hostess gifts as well if you’re invited out to a party this holiday season!
Stick around, folks! We’re IN THE THICK OF IT now, so I’m going to be sharing DIY after DIY from here until Christmas!
Don’t forget to pin it!
25 DIYs of Christmas
This project is part of a series of DIY gifts, decor, and other fun inspiration that I’m calling my “25 DIYs of Christmas“! Check out the list below to see each post (step by step tutorials, recipes, videos, free patterns, and woodworking plans available for each (where applicable). Lots of these ideas have multiple versions to show you the possibilities of each DIY. Even better, you can subscribe to make sure you don’t miss a single post!







I love these Sarah! Want them!
Thanks Ellen!
These coasters are absolutely gorgeous! I agree, the glitter definitely gives then a more interesting look, but they are both gift giving worthy!! Beautiful job!
I love these! Can you tell me which white cement you used? I’m having a hard time finding it.
There’s a section in the post under “Materials & Tools” with links to everything I used (or if unavailable to link, a similar product)!
Hi! What type of concrete did you use? I have cement all but it’s gray
I don’t see it in my order history, so I think we found it in white at Micheal’s craft store!